
Installing an LG ceiling cassette air conditioner requires careful planning, the right tools, and attention to safety. This guide walks you through every step—from site assessment to final testing—to ensure a professional-quality installation. Whether you’re a DIY enthusiast or hiring a technician, this comprehensive how-to ensures optimal performance and energy efficiency.
Key Takeaways
- Professional installation is recommended: While DIY is possible, LG ceiling cassettes involve refrigerant lines, electrical work, and precise alignment—best handled by a certified HVAC technician.
- Proper site preparation is crucial: Measure ceiling space, check load-bearing capacity, and ensure access for maintenance before drilling or cutting.
- Follow LG’s installation manual precisely: Each model has specific requirements for mounting, drainage, and electrical connections—never skip manufacturer guidelines.
- Use the right tools and safety gear: You’ll need a drill, level, vacuum pump, manifold gauge, and PPE like gloves and goggles to work safely.
- Test the system thoroughly after installation: Check for leaks, proper airflow, drainage, and thermostat communication to avoid future issues.
- Schedule regular maintenance: Clean filters and inspect coils annually to maintain efficiency and extend the unit’s lifespan.
- Ensure compliance with local codes: Electrical and building codes vary—verify permits and regulations before starting.
How to Install LG Ceiling Cassette Air Conditioner
Installing an LG ceiling cassette air conditioner might seem daunting, but with the right preparation, tools, and step-by-step guidance, it’s a manageable task—especially if you’re working with a qualified technician. Ceiling cassettes are sleek, space-saving units that sit flush with your ceiling, offering powerful, quiet cooling for large rooms, offices, or open-plan spaces. LG’s models are known for their energy efficiency, smart features, and elegant design, making them a popular choice for modern homes and businesses.
In this comprehensive guide, you’ll learn everything you need to know about installing an LG ceiling cassette air conditioner. From assessing your space and gathering tools to mounting the unit, connecting refrigerant lines, and testing the system, we’ll walk you through each phase with clear instructions and practical tips. Whether you’re a DIYer with HVAC experience or planning to hire a professional, this guide ensures you understand the process and can make informed decisions.
We’ll also cover safety precautions, common mistakes to avoid, and troubleshooting tips to keep your system running smoothly. By the end, you’ll have the confidence and knowledge to complete a safe, efficient, and code-compliant installation.
Step 1: Assess Your Installation Site
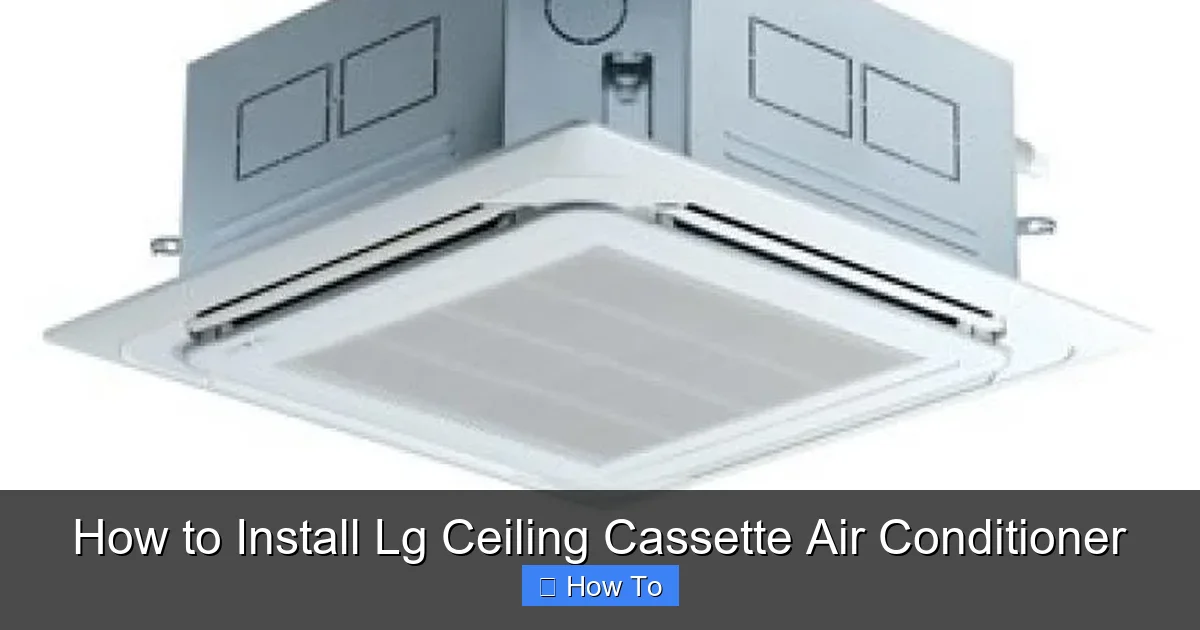
Visual guide about How to Install Lg Ceiling Cassette Air Conditioner
Image source: aeroventic.com
Before you even unbox your LG ceiling cassette, you need to evaluate whether your space is suitable for installation. This step is critical—rushing it can lead to poor performance, structural issues, or even safety hazards.
Check Ceiling Structure and Load Capacity
Ceiling cassettes are heavier than wall-mounted units. Most LG models weigh between 60 to 100 pounds, and the ceiling must support this weight plus any additional stress from vibration. Inspect your ceiling to ensure it’s made of solid materials like concrete or wood joists—not just drywall or drop ceilings without proper reinforcement.
If you’re installing in a drop ceiling, you’ll need to install a support frame or backing board between the joists. LG provides mounting brackets, but you may need additional structural support depending on your ceiling type. Consult a structural engineer if you’re unsure.
Measure the Space
Use a tape measure to confirm the dimensions of the ceiling opening. LG cassettes typically require a recessed space of about 24″ x 24″ to 36″ x 36″, depending on the model. Check your user manual for exact specifications.
Also, ensure there’s enough clearance above the ceiling for the unit and ductwork. Most cassettes need at least 8 to 12 inches of overhead space. If your ceiling is too tight, consider a low-profile model or a different unit type.
Evaluate Airflow and Obstructions
The cassette should be installed in a central location to distribute air evenly. Avoid placing it near large furniture, light fixtures, or HVAC vents that could block airflow. LG cassettes use four-way airflow, so they work best when unobstructed on all sides.
Also, check for electrical outlets and access to an outdoor condenser unit. The indoor cassette connects to an outdoor compressor via refrigerant lines, so plan the routing path early.
Verify Electrical Requirements
LG ceiling cassettes require a dedicated electrical circuit. Most models run on 208/230V single-phase power, but check your specific unit’s specs. The circuit should be protected by a properly sized breaker (usually 20–30 amps) and wired according to local electrical codes.
If your home doesn’t have the right wiring, hire a licensed electrician to install it. Never attempt to modify electrical systems without proper training.
Step 2: Gather Tools and Materials
Having the right tools on hand saves time and prevents mistakes. Here’s a checklist of what you’ll need for a standard LG ceiling cassette installation.
Essential Tools
- Drill and drill bits (for wood and metal)
- Level (laser level recommended for precision)
- Tape measure
- Screwdrivers (Phillips and flathead)
- Wrenches and adjustable spanner
- Vacuum pump (for refrigerant lines)
- Manifold gauge set
- Pipe cutter and flaring tool
- Insulation tape and foam
- Wire strippers and electrical tester
Safety Equipment
- Safety goggles
- Work gloves
- Hard hat (if working in tight spaces)
- Respirator mask (when cutting or drilling)
Materials and Supplies
- Refrigerant lines (copper tubing, typically 1/4″ and 3/8″)
- Drain hose (PVC or flexible tubing)
- Electrical wiring (12–14 gauge, depending on distance)
- Mounting brackets and screws (usually included with unit)
- Insulation sleeves for refrigerant lines
- Sealant (silicone or foam) for gaps
- Wire nuts and electrical tape
Optional but Helpful
- Ladder or scaffolding
- Assistant (for lifting and holding the unit)
- Smartphone or camera (to document wiring and connections)
- Label maker (to tag wires and lines)
Step 3: Prepare the Ceiling Opening
Once your site is ready, it’s time to cut the ceiling opening. This step must be precise—too big, and the unit won’t fit snugly; too small, and you’ll damage the cassette or ceiling.
Mark the Cutout Area
Use the template provided in your LG installation manual. Place it on the ceiling and trace the outline with a pencil. Double-check measurements with a tape measure and level to ensure the cutout is square.
If no template is included, measure the unit’s dimensions and add 1/4 inch on each side for clearance. Use a laser level to draw straight lines.
Cut the Opening
Put on safety goggles and a mask. Use a reciprocating saw or jigsaw to cut along the marked lines. If you’re cutting through drywall, score the line first with a utility knife to prevent tearing.
For drop ceilings, remove ceiling tiles and cut the grid as needed. Reinforce the area with wood or metal supports if required.
Install Mounting Frame (If Required)
Some LG models require a mounting frame to secure the cassette. Follow the manual to assemble and attach it to the ceiling joists using screws. Ensure it’s level and tightly secured.
Route Refrigerant and Drain Lines
Before installing the unit, run the refrigerant lines and drain hose from the indoor location to the outdoor condenser. Drill a hole in the wall or ceiling for the lines, and seal it later with foam or silicone.
Use insulation sleeves on refrigerant lines to prevent condensation and energy loss. Secure the lines with clips every 3–4 feet.
Step 4: Install the Indoor Cassette Unit
Now it’s time to mount the LG ceiling cassette. This is the most delicate part of the installation—take your time and follow the steps carefully.
Lift and Position the Unit
Ceiling cassettes are heavy and awkward to handle. Use a lifting strap or ask a helper to assist. Carefully lift the unit into the ceiling opening, aligning it with the mounting frame or brackets.
Never force the unit—if it doesn’t fit, recheck your measurements and cutout.
Secure the Cassette
Once in place, attach the unit to the mounting brackets using the provided screws. Tighten them evenly to avoid warping the casing. Use a level to confirm the unit is perfectly horizontal.
LG units often have adjustable mounting feet or brackets—use these to fine-tune the alignment.
Connect Refrigerant Lines
Attach the liquid and suction lines to the corresponding ports on the cassette. Use a wrench to tighten the flare nuts—don’t over-tighten, as this can crack the fittings.
After connecting, pressurize the lines with nitrogen to check for leaks. Use a leak detector or soapy water to inspect joints.
Connect the Drain Hose
Attach the drain hose to the condensate outlet on the unit. Ensure it has a slight downward slope (1/4 inch per foot) to allow gravity drainage. Secure it with hose clamps.
Route the hose to a floor drain, sink, or condensate pump. Never let it drip freely—this can cause water damage.
Wire the Unit
Connect the electrical wiring according to the LG wiring diagram. Match wire colors (typically red, blue, yellow, and green/yellow for ground). Use wire nuts and electrical tape to secure connections.
Ensure the power is off at the breaker before wiring. After connecting, tuck wires neatly into the electrical box and secure the cover.
Step 5: Install the Outdoor Condenser
The outdoor unit (condenser) must be installed on a stable, level surface with adequate airflow.
Choose a Location
Place the condenser at least 12 inches from walls, fences, or shrubs to allow airflow. Avoid direct sunlight and areas prone to flooding.
Mount it on a concrete pad or anti-vibration feet to reduce noise and movement.
Connect Refrigerant Lines
Run the lines from the indoor unit to the condenser. Use a pipe cutter to trim them to length, then flare the ends. Connect to the service valves and tighten with a wrench.
Evacuate the lines using a vacuum pump for at least 15 minutes to remove moisture and air. This step is critical—skipping it can damage the compressor.
Wire the Condenser
Connect the power and communication wires from the indoor unit to the condenser. Follow the wiring diagram and ensure all connections are secure.
Turn on the power and test the system briefly to confirm communication between units.
Step 6: Test and Commission the System
Before finishing the installation, you must test the system to ensure it’s working correctly.
Check for Leaks
Use a refrigerant leak detector or soapy water to inspect all connections. Bubbles indicate a leak—tighten fittings or re-flare lines as needed.
Test Drainage
Pour water into the drain pan to verify the hose flows freely. If water pools, check for kinks or blockages.
Power On and Test Operation
Turn on the system and set it to cooling mode. Feel the airflow from each vent—it should be strong and even. Listen for unusual noises like rattling or hissing.
Check the thermostat display and ensure it communicates with the indoor unit. Test heating mode if applicable.
Measure Performance
Use a thermometer to check the temperature drop. A properly functioning system should cool the air by 15–20°F within 10 minutes.
Monitor energy usage and ensure the unit cycles on and off correctly.
Troubleshooting Common Issues
Even with careful installation, problems can arise. Here’s how to fix the most common issues.
Unit Won’t Turn On
Check the circuit breaker and ensure power is reaching the unit. Verify wiring connections and test the thermostat batteries.
Poor Cooling
This could be due to low refrigerant, dirty filters, or blocked airflow. Check filters and clean them. If the issue persists, call a technician to check refrigerant levels.
Water Leaking Indoors
Inspect the drain hose for clogs or improper slope. Clean the hose and ensure it’s securely connected.
Strange Noises
Rattling may indicate loose panels or mounting screws. Hissing could signal a refrigerant leak. Turn off the unit and inspect.
Thermostat Not Responding
Check wiring between the indoor unit and thermostat. Ensure the correct mode is selected and the display is functioning.
Final Steps and Maintenance Tips
Once the system is running smoothly, complete the installation with these final steps.
Seal Gaps and Finish Ceiling
Use silicone or foam sealant to fill any gaps around the cassette. Replace ceiling tiles or install a decorative bezel if included.
Label Wiring and Lines
Label all wires and refrigerant lines for future maintenance. Take photos of connections for reference.
Schedule Professional Maintenance
Even with a perfect installation, regular maintenance is essential. Clean filters every 1–2 months, inspect coils annually, and have a technician check refrigerant levels and electrical components yearly.
Keep the Manual and Warranty Info
Store the LG installation and user manuals in a safe place. Register your product online to activate the warranty.
Conclusion
Installing an LG ceiling cassette air conditioner is a complex but rewarding project that can significantly improve your indoor comfort and energy efficiency. While DIY installation is possible for experienced individuals, we strongly recommend hiring a certified HVAC technician—especially for refrigerant handling and electrical work.
By following this guide, you’ve learned how to assess your site, prepare the ceiling, install the indoor and outdoor units, connect refrigerant and electrical lines, and test the system for optimal performance. Remember to prioritize safety, follow LG’s instructions, and comply with local building codes.
With proper installation and maintenance, your LG ceiling cassette will deliver quiet, powerful cooling for years to come. Stay cool, stay efficient, and enjoy the sleek, modern comfort of your new system.

