
Is your LG air conditioner leaking water or not draining properly? This guide walks you through simple, safe methods to remove water, fix clogs, and prevent future issues. Keep your unit running efficiently and avoid water damage with expert tips.
Key Takeaways
- Turn off the power first: Always disconnect your LG air conditioner from the power source before attempting any water removal to prevent electrical hazards.
- Check the drain pan and tube: Most water buildup is caused by a clogged or dirty drain pan and condensate drain line—cleaning these is often the solution.
- Use a wet/dry vacuum for stubborn clogs: A wet/dry vacuum can effectively suck out blockages in the drain line when manual cleaning isn’t enough.
- Inspect the air filter regularly: A dirty filter restricts airflow, leading to ice buildup and eventual water leakage—clean or replace it monthly.
- Ensure proper unit leveling: An unlevel AC unit can cause water to pool instead of draining—check and adjust the installation if needed.
- Schedule annual maintenance: Prevent future water issues by having a professional inspect and service your LG air conditioner once a year.
- Know when to call a technician: If water continues to accumulate after troubleshooting, there may be a refrigerant leak or internal component failure requiring expert help.
How to Get Water Out of LG Air Conditioner: A Complete Step-by-Step Guide
Finding water pooling around your LG air conditioner can be alarming. Whether it’s dripping from the unit, forming puddles on the floor, or causing dampness near the installation site, excess water is a sign that something isn’t working as it should. The good news? In most cases, getting water out of your LG air conditioner is a straightforward process—especially if you know where to look and what to do.
This comprehensive guide will walk you through every step of safely removing water from your LG air conditioner, diagnosing the root cause, and preventing future leaks. We’ll cover everything from basic maintenance to advanced troubleshooting, all explained in simple, easy-to-follow language. By the end, you’ll not only know how to get water out of your LG air conditioner, but also how to keep it running smoothly and efficiently for years to come.
Why Is Water Coming Out of My LG Air Conditioner?
Before jumping into solutions, it’s important to understand why water is accumulating in the first place. Air conditioners naturally produce condensation as they cool the air. This moisture collects on the evaporator coils and drips into a drain pan, where it’s supposed to exit through a condensate drain line. When this system works properly, you’ll never see a drop.
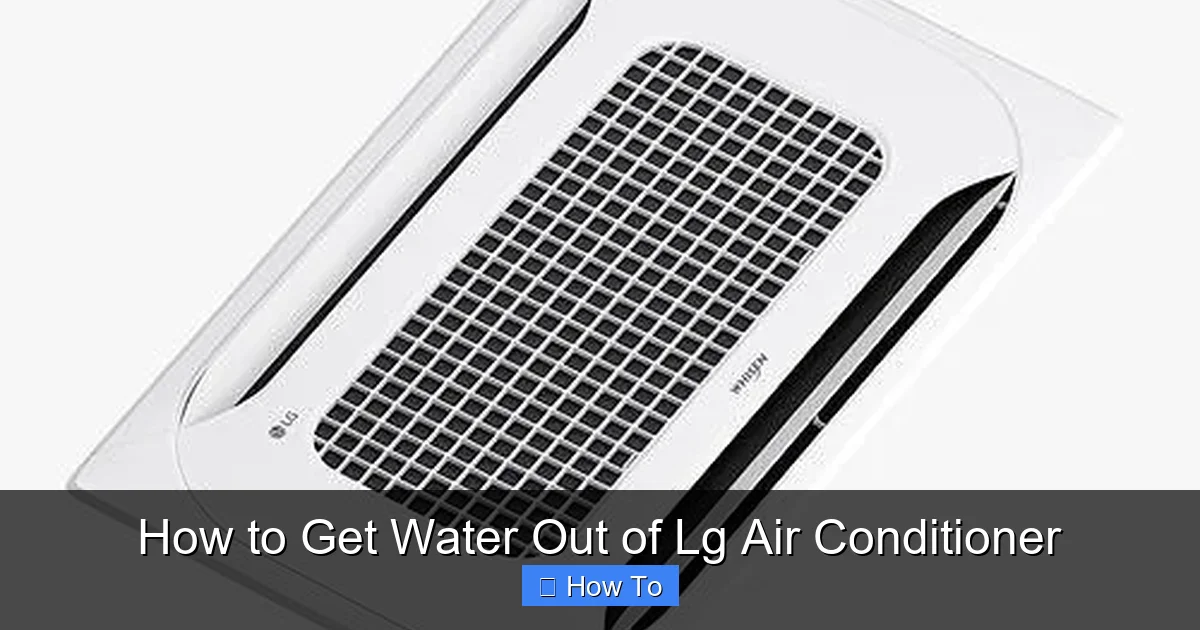
Visual guide about How to Get Water Out of Lg Air Conditioner
Image source: img1.cgtrader.com
However, several issues can disrupt this process and lead to water buildup or leaks:
- Clogged drain line: Dirt, algae, and mold can block the drain tube, preventing water from flowing out.
- Dirty or damaged drain pan: Over time, the pan can rust, crack, or become filled with debris.
- Frozen evaporator coils: Restricted airflow (often due to a dirty filter) can cause coils to freeze, then thaw and overflow the drain pan.
- Improper installation or leveling: If the unit isn’t level, water may not drain properly and can pool inside.
- High humidity or excessive runtime: In very humid climates, the system may produce more condensation than usual, overwhelming the drain.
- Blocked or disconnected drain hose: The hose that carries water outside may be kinked, disconnected, or clogged.
Understanding these causes will help you target the right fix. Most of the time, the solution involves cleaning or unclogging components—something you can do yourself with a few basic tools.
Safety First: Preparing to Work on Your LG Air Conditioner
Before you begin any maintenance or water removal, safety must come first. Air conditioners are electrical appliances, and water and electricity don’t mix. Follow these essential safety steps:
Turn Off the Power
Locate the circuit breaker that controls your air conditioner and switch it off. If it’s a window unit, unplug it from the wall outlet. For central or ducted LG systems, turn off the power at the main electrical panel. Never work on the unit while it’s powered on.
Wear Protective Gear
Put on gloves and safety goggles to protect your hands and eyes from dirt, mold, and sharp edges. If you’re cleaning mold or algae, consider wearing a dust mask to avoid inhaling spores.
Gather Your Tools
You’ll need a few basic items to get started:
- Bucket or container
- Sponge or absorbent cloth
- Wet/dry vacuum (optional but helpful)
- Pipe cleaner, wire, or flexible brush
- Mild detergent or vinegar solution
- Screwdriver (if accessing internal panels)
- Garden hose (for flushing the drain line)
Having everything ready before you start will make the process faster and safer.
Step 1: Locate the Source of the Water
The first step in getting water out of your LG air conditioner is figuring out where it’s coming from. This will help you determine the best removal method and identify the underlying issue.
Check for Visible Leaks
Inspect the exterior and interior of the unit. Look for:
- Water dripping from the front, sides, or bottom
- Puddles on the floor near the unit
- Moisture around the window or wall opening (for window units)
- Stains or discoloration on walls or flooring
Open the Front Panel
Most LG air conditioners have a front grille or panel that can be removed to access internal components. Gently lift or slide it off (refer to your user manual if unsure). Once open, look inside for standing water in the drain pan or around the coils.
Inspect the Drain Pan
The drain pan sits beneath the evaporator coils and collects condensation. If it’s full or overflowing, that’s likely where the water is coming from. Note its condition—look for cracks, rust, or debris.
Trace the Drain Line
Follow the white or clear plastic tube (the condensate drain line) from the drain pan to where it exits the unit. Check if it’s clogged, kinked, or disconnected. If water is backing up, the line is probably blocked.
Once you’ve identified the source, you can move on to removing the water and fixing the problem.
Step 2: Remove Standing Water from the Drain Pan
If you find water in the drain pan, you’ll need to remove it before addressing the cause. Here’s how:
Soak Up the Water
Use a sponge, cloth, or paper towels to soak up as much water as possible. Wring it out into a bucket as you go. For larger amounts, a small handheld pump or turkey baster can help extract water from hard-to-reach areas.
Use a Wet/Dry Vacuum (Optional)
If the pan is deep or hard to reach, a wet/dry vacuum can be very effective. Set the vacuum to liquid mode, place the hose over the water, and turn it on. This method is especially useful if the water is mixed with sludge or debris.
Clean the Drain Pan
Once the water is removed, clean the pan to prevent mold and odors. Mix a solution of warm water and mild detergent or white vinegar. Scrub the inside with a soft brush or sponge, then rinse with clean water. Dry thoroughly with a clean cloth.
Tip: Add a small amount of vinegar or bleach to the pan after cleaning to inhibit future algae growth.
Step 3: Clear the Condensate Drain Line
The condensate drain line is a common culprit when water backs up. Over time, it can become clogged with dirt, mold, or mineral deposits. Here’s how to clean it:
Locate the Drain Line Exit
Find where the drain line exits the unit—usually on the back or side. It may lead to a nearby drain, outside wall, or drip tray.
Flush with Water
Use a garden hose to gently flush water through the drain line. Start from the exit point and work backward if possible. This can dislodge loose debris. If water flows freely, the clog may be minor.
Use a Pipe Cleaner or Brush
If flushing doesn’t work, insert a flexible pipe cleaner, wire, or small brush into the drain line. Gently push it through to break up blockages. Be careful not to damage the tube.
Try a Wet/Dry Vacuum
Attach the vacuum hose to the end of the drain line and seal it tightly with tape or your hand. Turn on the vacuum to suck out stubborn clogs. This method is highly effective for deep blockages.
Pour a Cleaning Solution
Mix 1 cup of white vinegar or a commercial AC drain cleaner with 1 cup of warm water. Slowly pour it into the drain line through the access point (usually near the drain pan). Let it sit for 30 minutes to dissolve algae and sludge, then flush with water.
Repeat this process every few months as part of regular maintenance.
Step 4: Check and Clean the Air Filter
A dirty air filter is one of the most common causes of water problems in air conditioners. When the filter is clogged, airflow is restricted, causing the evaporator coils to freeze. Once the ice melts, it can overflow the drain pan.
Remove the Filter
Open the front panel and locate the air filter. Most LG models have a removable filter that slides out easily.
Inspect for Dirt and Dust
Hold the filter up to the light. If you can’t see through it, it’s time to clean or replace it.
Clean or Replace
If it’s a reusable filter, rinse it under warm water until clean. Let it air dry completely before reinstalling. If it’s disposable, replace it with a new one of the same size and type.
Tip: Check and clean the filter every 30 days during heavy use. This simple step can prevent ice buildup and water leaks.
Step 5: Ensure Proper Unit Leveling
An air conditioner that’s not level can cause water to pool instead of drain. This is especially common with window units.
Check the Angle
Use a bubble level to check if the unit is tilted correctly. LG window units should slope slightly backward (about 1/4 inch) to allow water to flow out.
Adjust the Installation
If the unit is level or tilted forward, adjust the mounting brackets or use shims to correct the angle. Refer to your installation guide for specific instructions.
For wall-mounted or central units, ensure the entire system is level. Consult a professional if you’re unsure.
Step 6: Inspect for Ice Buildup and Thaw Safely
If you notice ice on the coils or refrigerant lines, turn off the unit and let it thaw completely before proceeding. Never chip ice off with tools—this can damage components.
Turn Off and Wait
Switch off the AC and let it sit for 4–6 hours. Use fans to speed up the process if needed.
Check for Underlying Causes
Once thawed, inspect the filter, coils, and airflow. Clean as needed. If ice returns frequently, there may be a refrigerant leak or fan issue—contact a technician.
Troubleshooting Common Water Issues
Even after following these steps, water problems may persist. Here’s how to troubleshoot further:
Water Still Leaking After Cleaning?
Check for cracks in the drain pan or loose connections in the drain line. Replace damaged parts if necessary.
Drain Line Keeps Clogging?
Install an algae prevention tablet or in-line filter in the drain line. These dissolve slowly and inhibit mold growth.
Unit Is Making Gurgling or Bubbling Sounds?
This often indicates a partial blockage in the drain line. Use the wet/dry vacuum method to clear it.
Water Is Coming from the Back of a Window Unit?
The drain holes on the back may be blocked. Clean them with a wire or compressed air.
Excessive Water in High Humidity?
Use a dehumidifier in the room to reduce moisture levels. Also, avoid running the AC at very low temperatures for long periods.
When to Call a Professional
While most water issues can be resolved at home, some problems require expert attention. Contact an LG-certified technician if:
- You suspect a refrigerant leak (hissing sounds, ice buildup, reduced cooling)
- The drain pan is cracked or rusted beyond repair
- The compressor or fan motor is malfunctioning
- Water damage has affected walls, floors, or electrical systems
- You’ve tried all steps and the problem persists
Professional servicing ensures safety and prevents further damage.
Preventing Future Water Problems
The best way to deal with water in your LG air conditioner is to stop it before it starts. Follow these preventive tips:
- Clean the filter monthly during peak usage seasons.
- Inspect the drain line every 3 months and flush with vinegar solution.
- Keep the area around the unit clean and free of debris.
- Schedule annual professional maintenance to check coils, refrigerant levels, and drainage.
- Use a condensate pump if your unit is installed below drain level.
- Monitor humidity levels in your home and use a dehumidifier if needed.
Regular care extends the life of your air conditioner and keeps it running efficiently.
Conclusion
Getting water out of your LG air conditioner doesn’t have to be a stressful experience. By following this step-by-step guide, you can safely remove standing water, clear clogs, and restore proper drainage. Most issues are caused by simple problems like a dirty filter or clogged drain line—fixes that take just minutes with the right tools.
Remember to always prioritize safety, perform regular maintenance, and know when to call in a professional. With a little attention, your LG air conditioner will stay dry, efficient, and reliable for many cooling seasons to come.

