
Keeping your LG window air conditioner filter clean is essential for optimal performance, energy efficiency, and indoor air quality. This step-by-step guide walks you through safely removing, cleaning, and reinstalling your filter to ensure your unit runs smoothly all season long.
Key Takeaways
- Regular cleaning improves efficiency: A clean filter helps your LG window AC cool faster and use less energy, lowering your electricity bills.
- Prevents mold and bacteria buildup: Dirty filters trap moisture and dust, creating a breeding ground for allergens and unpleasant odors.
- Extends the life of your unit: Reducing strain on the motor and internal components helps prevent costly repairs and extends your AC’s lifespan.
- Easy to do in under 15 minutes: With basic tools and household supplies, you can clean your filter quickly and safely at home.
- Check monthly during peak season: For best results, inspect and clean the filter every 30 days when the AC is in heavy use.
- Use mild soap and water only: Avoid harsh chemicals or high-pressure sprays that can damage the delicate filter mesh.
- Ensure filter is completely dry before reinstalling: Installing a damp filter can lead to mold growth and reduce airflow.
How to Clean LG Window Air Conditioner Filter: A Complete Step-by-Step Guide
Summer is here, and your LG window air conditioner is working overtime to keep your home cool and comfortable. But did you know that a dirty air filter could be making your unit work harder, costing you more in energy bills, and even affecting your indoor air quality? Cleaning your LG window air conditioner filter is one of the simplest yet most effective maintenance tasks you can do to keep your AC running efficiently.
In this comprehensive guide, we’ll walk you through everything you need to know about cleaning your LG window air conditioner filter—from why it matters to how to do it safely and effectively. Whether you’re a first-time homeowner or a seasoned DIYer, this guide will help you maintain your AC like a pro. By the end, you’ll know exactly how often to clean the filter, what tools you need, and how to troubleshoot common issues.
Why Cleaning Your LG Window AC Filter Matters
Your LG window air conditioner’s filter plays a crucial role in the unit’s performance. It traps dust, pollen, pet dander, and other airborne particles before they enter the system or circulate back into your room. Over time, these particles build up, clogging the filter and restricting airflow.
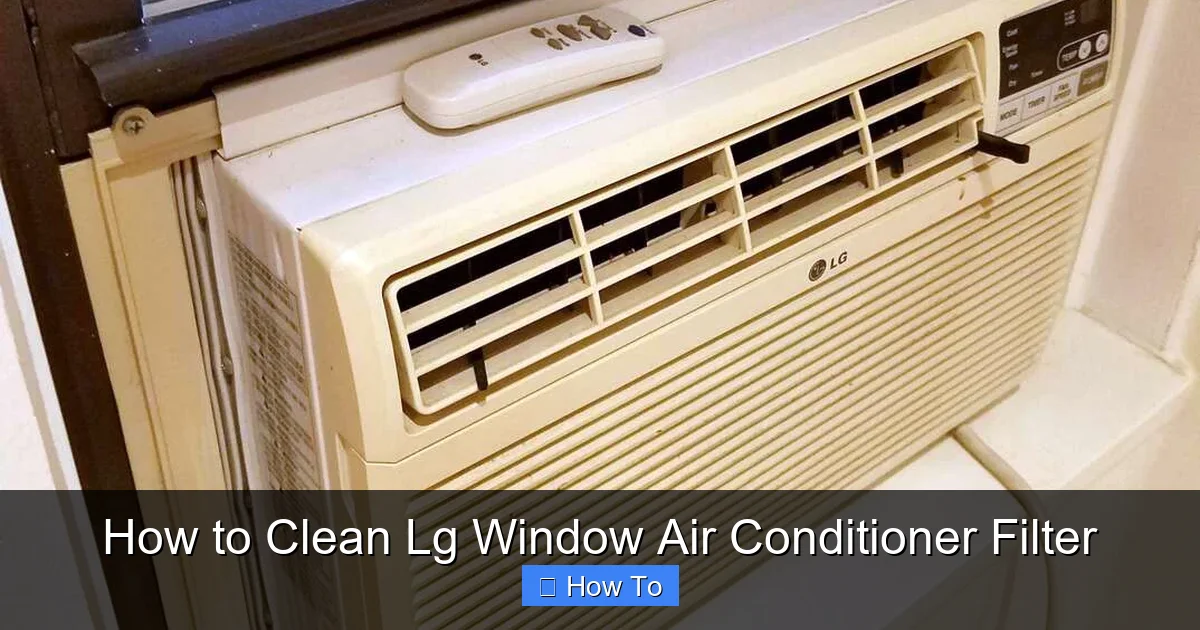
Visual guide about How to Clean Lg Window Air Conditioner Filter
Image source: library.homeserve.com
When airflow is restricted, your AC has to work harder to cool your space. This not only increases energy consumption but also puts extra strain on the compressor and fan motor. In extreme cases, a severely clogged filter can cause the evaporator coil to freeze, leading to poor cooling and potential damage to the unit.
Additionally, a dirty filter can become a breeding ground for mold, mildew, and bacteria—especially in humid climates. These contaminants can then be blown back into your home, triggering allergies, asthma, or unpleasant odors. Regular cleaning helps maintain healthy indoor air and ensures your AC operates at peak efficiency.
LG recommends cleaning the air filter every two weeks during heavy use and at least once a month during lighter use. However, if you have pets, live in a dusty area, or suffer from allergies, you may need to clean it more frequently.
What You’ll Need to Clean Your LG Window AC Filter
Before you begin, gather the following supplies. Most of these items are likely already in your home:
- Soft-bristle brush (like an old toothbrush)
- Mild dish soap or all-purpose cleaner
- Warm water
- Clean towel or paper towels
- Vacuum cleaner with a brush attachment (optional)
- Gloves (optional, for sensitive skin)
- Bucket or sink
You won’t need any special tools or chemicals. Avoid using bleach, ammonia, or high-pressure washers, as these can damage the filter’s delicate mesh and reduce its effectiveness.
Step 1: Turn Off and Unplug the Air Conditioner
Safety first! Before you do anything, make sure your LG window air conditioner is completely turned off and unplugged from the power outlet. This prevents accidental startup and protects you from electrical shock.
Even if the unit appears to be off, it’s best to unplug it to be absolutely sure. If your AC is hardwired, turn off the circuit breaker that controls it. Wait a few minutes before proceeding to ensure all internal components have powered down.
Why This Step Is Important
Air conditioners contain electrical components that can remain energized even when the unit is off. Unplugging the unit eliminates any risk of electric shock while you’re handling the filter or working near the internal parts.
Additionally, turning off the power prevents the fan from accidentally turning on while you’re removing or cleaning the filter, which could cause injury or damage.
Step 2: Locate the Air Filter
Now that the unit is safely off, it’s time to find the air filter. On most LG window air conditioners, the filter is located behind the front panel or grille.
Look for a plastic or metal grille on the front of the unit. It’s usually held in place by clips, screws, or a simple latch. Some models have a removable front panel, while others have a sliding or flip-up grille.
How to Access the Filter
For most LG window ACs:
- Gently pull the front grille outward from the bottom or sides. It should release easily without forcing.
- If it doesn’t budge, check for small tabs or screws near the edges. Use a screwdriver if needed.
- Once the grille is removed, you’ll see the air filter—typically a flat, rectangular panel made of plastic or metal mesh.
Some newer LG models feature a washable filter that slides out like a drawer. Others have a filter that lifts out after the grille is removed. Refer to your user manual if you’re unsure—LG provides model-specific instructions for filter access.
Tip: Take a Photo
Before removing the filter, take a quick photo of how it’s positioned. This will help you remember how to reinstall it correctly later.
Step 3: Remove the Air Filter
Once you’ve accessed the filter, carefully remove it from the unit. Most LG filters are designed to slide out or lift out easily.
Gently pull the filter straight out. Avoid twisting or bending it, as this can damage the frame or mesh. If the filter feels stuck, double-check that all clips or latches are fully released.
Handling the Filter
Hold the filter by its frame, not the mesh. The mesh is delicate and can tear if handled roughly. If the filter is very dirty, wear gloves to protect your hands from dust and grime.
Place the removed filter on a clean surface or in a bucket to avoid spreading dust around your home.
What If the Filter Is Damaged?
Inspect the filter for tears, holes, or warping. A damaged filter won’t trap particles effectively and should be replaced. LG offers replacement filters for most models, which you can purchase online or at appliance stores.
If the filter is still in good condition but just dirty, proceed to the cleaning steps below.
Step 4: Vacuum Loose Debris (Optional but Recommended)
Before washing the filter, use a vacuum cleaner with a soft brush attachment to remove loose dust and debris. This step helps reduce the amount of dirt you’ll need to wash off and prevents clogging your sink or drain.
Hold the filter over a trash can or outside, and gently vacuum both sides. Focus on areas with heavy buildup, such as the center or corners.
Why Vacuum First?
Vacuuming removes large particles that could otherwise mix with water and create a muddy paste during washing. It also makes the washing step more effective and reduces the risk of spreading allergens indoors.
If you don’t have a vacuum, you can skip this step and go straight to washing—just be prepared for a messier cleanup.
Step 5: Wash the Filter with Mild Soap and Water
Now it’s time to clean the filter thoroughly. Fill a sink or bucket with warm water and add a few drops of mild dish soap. Avoid using hot water, as it can warp the plastic frame.
Submerge the filter in the soapy water and let it soak for 5–10 minutes. This helps loosen stubborn dirt and grime.
Scrub Gently
After soaking, use a soft-bristle brush (like an old toothbrush) to gently scrub both sides of the filter. Focus on areas with heavy buildup, but avoid pressing too hard—this can damage the mesh.
For filters with a plastic frame, you can also wipe the frame with a damp cloth to remove dust and fingerprints.
Rinse Thoroughly
Once you’ve scrubbed the filter, rinse it under lukewarm running water. Make sure all soap residue is washed away. Soap left on the filter can attract more dust and reduce airflow.
Hold the filter at an angle to allow water to drain through the mesh. Rinse both sides until the water runs clear.
Avoid These Common Mistakes
- Don’t use a high-pressure hose or sprayer: The force can tear the mesh or bend the frame.
- Don’t use bleach or harsh cleaners: These can degrade the filter material and leave harmful residues.
- Don’t scrub with abrasive pads: Steel wool or scouring pads will damage the filter.
Step 6: Dry the Filter Completely
After washing, shake off excess water and place the filter on a clean towel or paper towels. Let it air dry in a well-ventilated area, away from direct sunlight or heat sources.
Drying can take 1–2 hours, depending on humidity and airflow. Make sure the filter is completely dry before reinstalling it.
Why Drying Is Critical
Installing a damp filter can lead to mold and mildew growth inside the unit. Moisture trapped in the filter can also reduce airflow and cause musty odors when the AC is turned back on.
If you’re in a hurry, you can speed up drying by gently patting the filter with a dry towel—but don’t wring or twist it.
Never Use a Hair Dryer or Heater
Applying heat can warp the plastic frame or damage the mesh. Air drying is the safest and most effective method.
Step 7: Reinstall the Filter and Front Grille
Once the filter is completely dry, it’s time to put everything back together.
Carefully slide or lift the filter back into its original position. Make sure it fits snugly and is oriented correctly—most filters have a directional arrow or label indicating the correct airflow direction.
Reattach the Front Grille
Replace the front grille or panel by aligning it with the unit and pressing it into place. If your model uses screws, tighten them gently—don’t over-tighten, as this can crack the plastic.
Give the grille a gentle tug to ensure it’s secure and won’t fall off during operation.
Double-Check Everything
Before plugging the unit back in, do a quick visual inspection:
- Is the filter fully inserted?
- Is the grille properly attached?
- Are there any tools or debris left inside the unit?
If everything looks good, you’re ready to power up your AC.
Step 8: Plug In and Test the Unit
Plug your LG window air conditioner back into the power outlet. Turn it on and set it to a low cooling setting.
Listen for normal operation—the fan should run smoothly, and cool air should begin flowing within a few minutes.
What to Expect
After cleaning the filter, you may notice:
- Improved airflow and cooling performance
- Reduced noise from the fan
- Fresher, cleaner-smelling air
If the unit doesn’t turn on or makes unusual noises, double-check that the filter is properly installed and the grille is secure. If problems persist, consult your user manual or contact LG customer support.
How Often Should You Clean the Filter?
The frequency of cleaning depends on usage and environment. Here’s a general guideline:
- Heavy use (summer months): Clean every 2–4 weeks
- Light use (spring/fall): Clean every 4–6 weeks
- Off-season (winter): Clean before storing and once before reinstalling
If you have pets, live in a dusty area, or suffer from allergies, consider cleaning the filter every 1–2 weeks.
Signs It’s Time to Clean
Even if it’s not time for your scheduled cleaning, watch for these signs that the filter needs attention:
- Reduced airflow from the vents
- Increased energy bills
- Visible dust buildup on the filter
- Musty or stale odors when the AC runs
- Ice forming on the evaporator coil
Regular inspection helps you stay ahead of problems and keep your AC running efficiently.
Troubleshooting Common Issues
Even with proper cleaning, you might encounter some issues. Here’s how to handle them:
Filter Won’t Fit After Cleaning
If the filter seems warped or doesn’t fit properly, it may have been damaged during washing or drying. Check for bends or cracks in the frame. If damaged, replace the filter with a genuine LG replacement part.
AC Still Not Cooling Well
A clean filter improves airflow, but if your AC still isn’t cooling, the issue may be elsewhere. Check for:
- Dirty evaporator or condenser coils
- Low refrigerant levels
- Blocked vents or obstructions outside the unit
- Thermostat settings or sensor issues
These problems may require professional service.
Water Leaking from the Unit
Water leakage can occur if the drain hole is clogged or the unit isn’t level. Clean the drain hole with a pipe cleaner and ensure the AC is slightly tilted backward to allow proper drainage.
Unusual Odors After Cleaning
If your AC smells musty after cleaning, mold may have grown inside the unit. In this case, consider having the interior cleaned by a professional or using an HVAC-safe disinfectant spray.
Tips for Maintaining Your LG Window AC Year-Round
Cleaning the filter is just one part of AC maintenance. To keep your unit in top shape, follow these additional tips:
- Clean the exterior: Wipe down the front grille and exterior with a damp cloth monthly.
- Check the seal: Inspect the window seal for gaps that let in warm air. Use weatherstripping if needed.
- Clear debris outside: Keep the outdoor side of the unit free of leaves, dirt, and obstructions.
- Schedule professional maintenance: Have a technician inspect and service your AC once a year.
- Use a cover in winter: Protect the unit from snow and ice when not in use.
Regular care not only improves performance but also extends the life of your LG window air conditioner.
Conclusion
Cleaning your LG window air conditioner filter is a simple, quick, and highly effective way to maintain your unit’s performance, save energy, and improve indoor air quality. By following the steps in this guide—turning off the power, removing the filter, washing it gently, drying it thoroughly, and reinstalling it correctly—you can keep your AC running smoothly all season long.
Remember to clean the filter regularly, especially during peak cooling months, and watch for signs that it needs attention. With just a few minutes of effort each month, you’ll enjoy cooler air, lower bills, and peace of mind knowing your AC is in great condition.
Don’t wait for problems to arise—make filter cleaning a part of your routine home maintenance. Your LG window air conditioner will thank you with reliable, efficient cooling for years to come.

