
Keeping your LG wall air conditioner clean is essential for optimal performance, energy efficiency, and healthy indoor air. This guide walks you through a complete cleaning process—from safety prep to reassembly—so your unit runs smoothly all season long.
Key Takeaways
- Turn off power before cleaning: Always switch off the unit at the circuit breaker to prevent electrical shock or damage.
- Clean or replace filters monthly: Dirty filters reduce airflow, increase energy use, and can cause the unit to freeze.
- Use mild cleaners only: Harsh chemicals can damage plastic parts and internal components—stick to soap and water or vinegar solutions.
- Clean the evaporator and condenser coils: Dust buildup on coils reduces cooling efficiency and can lead to costly repairs.
- Check and clear the drain line: A clogged drain can cause water leaks and mold growth inside the unit.
- Inspect the outdoor unit (if applicable): Remove debris like leaves and dirt from around the exterior to maintain airflow.
- Schedule professional maintenance annually: While DIY cleaning helps, a technician can check refrigerant levels and electrical connections.
How to Clean LG Wall Air Conditioner: A Complete Step-by-Step Guide
If you own an LG wall-mounted air conditioner—whether it’s a window unit, split system, or ductless mini-split—you know how important it is to keep it running efficiently. Over time, dust, dirt, pet dander, and mold can build up inside and around your AC, reducing cooling power, increasing energy bills, and even affecting your indoor air quality. The good news? Cleaning your LG wall air conditioner is simpler than you might think—and doing it regularly can extend the life of your unit by years.
In this comprehensive guide, we’ll walk you through everything you need to know to clean your LG wall air conditioner safely and effectively. Whether you’re a first-time cleaner or just looking for a refresher, you’ll learn how to remove filters, clean coils, clear drain lines, and maintain both indoor and outdoor components. We’ll also share practical tips, troubleshooting advice, and safety reminders to help you get the best results.
By the end of this guide, you’ll have a spotless, high-performing air conditioner that keeps your home cool, comfortable, and healthy—without calling in a professional every time.
Why Cleaning Your LG Wall Air Conditioner Matters
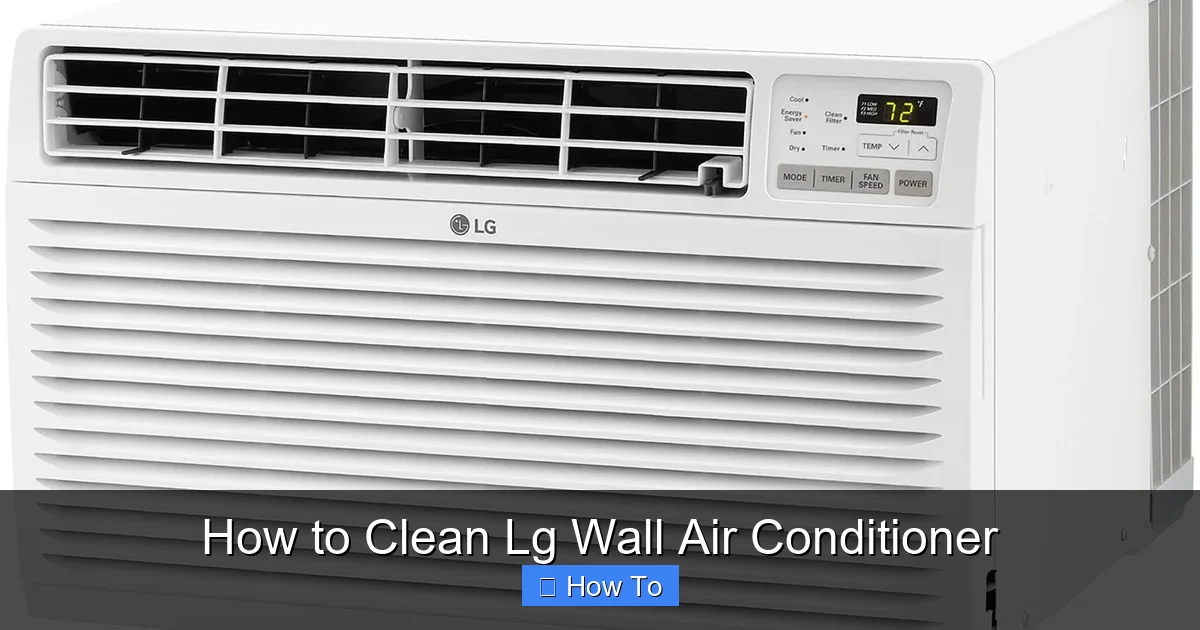
Visual guide about How to Clean Lg Wall Air Conditioner
Image source: m.media-amazon.com
Before diving into the cleaning steps, it’s helpful to understand why regular maintenance is so important. LG wall air conditioners are designed for durability and efficiency, but like any appliance, they need care to perform at their best.
Over time, air filters trap dust, pollen, and other airborne particles. If left unchecked, these filters become clogged, forcing the unit to work harder to push air through. This not only increases energy consumption but can also cause the evaporator coil to freeze, leading to poor cooling and potential damage.
Similarly, the condenser and evaporator coils collect dirt and grime. These coils are responsible for transferring heat, and when they’re coated in debris, heat exchange becomes less efficient. This means your AC has to run longer to cool your room, wasting electricity and putting extra strain on the compressor.
Another often-overlooked issue is the drain line. Air conditioners remove moisture from the air, and this water needs to drain properly. If the drain line gets clogged with algae or mold, water can back up into the unit or leak into your wall—causing water damage and creating a breeding ground for bacteria.
Finally, dirty units can circulate allergens and odors throughout your home. If you or your family members suffer from allergies or asthma, a clean air conditioner can make a noticeable difference in air quality.
Regular cleaning—ideally every 1–3 months during peak usage—helps prevent these problems and keeps your LG wall air conditioner running smoothly, quietly, and efficiently.
What You’ll Need to Clean Your LG Wall Air Conditioner
Before you start, gather the right tools and supplies. Having everything ready will make the process faster and safer.
Here’s a checklist of what you’ll need:
- Soft cloth or microfiber towel – For wiping down surfaces without scratching.
- Mild dish soap or all-purpose cleaner – Avoid bleach or ammonia-based products.
- White vinegar – Great for dissolving mold and mildew in the drain line.
- Spray bottle – For applying cleaning solutions.
- Soft-bristle brush or old toothbrush – For scrubbing tight spaces and coils.
- Vacuum cleaner with brush attachment – For removing loose dust from filters and coils.
- Bucket of warm water – For soaking filters.
- Garden hose (for outdoor units) – To rinse the condenser coils.
- Screwdriver (if needed) – Some models require removing screws to access panels.
- Gloves and safety goggles – To protect your hands and eyes from dust and cleaning agents.
Optional but helpful:
- Fin comb – For straightening bent aluminum fins on the coils.
- Foam coil cleaner (eco-friendly) – A specialized spray that breaks down dirt on coils without rinsing.
- Pipe cleaner or drain snake – For clearing stubborn clogs in the drain line.
Once you have your supplies, find a well-lit, dry area to work. If you’re cleaning a wall-mounted split system, you may need a small step ladder to reach the indoor unit safely.
Step 1: Turn Off the Power
Safety first! Before touching any part of your LG wall air conditioner, you must disconnect the power. This is non-negotiable.
Why Power Off Is Critical
Air conditioners use high-voltage electricity, and even when turned off via the remote or wall switch, internal components may still be live. Working on a powered unit can result in electric shock, short circuits, or damage to the system.
How to Safely Turn Off Power
Follow these steps:
- Turn off the unit using the remote or control panel. This stops the fan and compressor.
- Locate your home’s circuit breaker panel. Look for the breaker labeled “AC,” “Air Conditioner,” or something similar. If you’re unsure, turn off the main breaker to be safe.
- Switch the breaker to the “Off” position. This cuts power to the entire unit.
- Wait at least 5–10 minutes. This allows any residual charge to dissipate.
Pro tip: Place a note on the breaker panel saying “AC Maintenance in Progress” to prevent someone from accidentally turning the power back on while you’re working.
For window units plugged into an outlet, unplug the power cord instead of using the breaker. However, if the unit is hardwired (common with wall-mounted split systems), the breaker method is necessary.
Step 2: Remove and Clean the Air Filters
The air filters are the first line of defense against dust and allergens. LG wall air conditioners typically have reusable mesh filters that should be cleaned every 2–4 weeks during heavy use.
Locating the Filters
Most LG wall units have filters behind the front panel. Here’s how to find them:
- Look for a plastic grille or cover on the front of the indoor unit.
- Gently pull the bottom edge of the grille outward. It usually snaps off or swings down on hinges.
- Behind the grille, you’ll see one or two flat, rectangular filters.
Some models have a filter indicator light that flashes when cleaning is needed. Check your user manual if you’re unsure.
Removing the Filters
Carefully slide the filters out of their slots. They should come out easily—no tools required. Handle them gently to avoid tearing the mesh.
Cleaning the Filters
Follow these steps:
- Vacuum both sides of the filter using the brush attachment to remove loose dust.
- Fill a bucket with warm water and a few drops of mild dish soap.
- Submerge the filters and let them soak for 10–15 minutes.
- Gently scrub with a soft brush or your hands to remove embedded dirt.
- Rinse thoroughly under running water until all soap is gone.
- Shake off excess water and let the filters air dry completely—this may take 1–2 hours. Never reinstall a wet filter, as it can promote mold growth.
Pro tip: If your filters are damaged, torn, or more than 2–3 years old, consider replacing them. LG sells compatible replacement filters online or at appliance stores.
Step 3: Clean the Evaporator and Condenser Coils
The coils are the heart of your air conditioner’s cooling system. The evaporator coil (inside the unit) absorbs heat from indoor air, while the condenser coil (in the outdoor unit) releases that heat outside. When these coils get dirty, your AC loses efficiency.
Accessing the Coils
For most LG wall-mounted split systems, the evaporator coil is behind the front panel, just below the filters. You may need to remove additional screws or panels to access it. Refer to your user manual for model-specific instructions.
The condenser coil is part of the outdoor unit. If you have a ductless mini-split, this unit is mounted outside your home.
Cleaning the Evaporator Coil (Indoor Unit)
- Use a vacuum with a brush attachment to remove loose dust from the coil surface.
- Spray a foam coil cleaner (eco-friendly and non-corrosive) onto the coil. Let it sit for 5–10 minutes to break down grime.
- Gently wipe with a soft cloth or use a soft brush to remove residue.
- Do not rinse with water unless your model specifically allows it. Most indoor coils should not be wet-cleaned.
If you don’t have coil cleaner, a mild vinegar-water solution (1:1) in a spray bottle can work for light cleaning. Spray lightly and wipe—don’t soak.
Cleaning the Condenser Coil (Outdoor Unit)
- Turn off power to the outdoor unit at the breaker.
- Remove any debris like leaves, grass, or dirt from around the unit.
- Use a garden hose with a gentle spray setting to rinse the coil fins. Spray from the inside out to push dirt outward.
- Avoid high-pressure washers, as they can bend the delicate aluminum fins.
- If fins are bent, use a fin comb to straighten them. This improves airflow.
Pro tip: Trim back any plants or shrubs within 2 feet of the outdoor unit to ensure proper airflow.
Step 4: Clean the Fan Blades and Housing
The fan inside your indoor unit circulates air across the evaporator coil. Over time, dust builds up on the blades and housing, reducing airflow and causing the motor to work harder.
Accessing the Fan
This step may require removing additional panels or the entire front cover. Check your user manual. Some LG models allow you to clean the fan without full disassembly.
Cleaning the Fan Blades
- Use a vacuum with a brush attachment to remove loose dust from the blades and motor housing.
- Wipe the blades gently with a damp cloth—avoid soaking the motor.
- For stubborn grime, use a soft brush dipped in soapy water, then wipe dry.
Never spray water directly into the motor or electrical components.
Cleaning the Housing
Wipe down the interior plastic housing with a damp cloth and mild cleaner. Pay attention to corners where dust accumulates.
Step 5: Clear the Drain Line and Pan
Moisture removed from the air collects in a drain pan and exits through a drain line. If this system clogs, water can back up, causing leaks or mold.
Locating the Drain Line
The drain line usually exits near the bottom of the indoor unit or runs through the wall to the outside. Look for a small PVC or rubber tube.
Cleaning the Drain Line
- Use a wet/dry vacuum to suck out any debris from the drain opening.
- Pour a cup of white vinegar into the drain line to dissolve algae and mold.
- Let it sit for 30 minutes, then flush with water.
- For stubborn clogs, use a pipe cleaner or drain snake to gently clear the blockage.
Cleaning the Drain Pan
If you can access the drain pan (usually behind the front panel):
- Wipe it out with a cloth and mild cleaner.
- Rinse with water and ensure it’s completely dry before reassembly.
Pro tip: Pour a little vinegar into the drain pan monthly during summer to prevent mold growth.
Step 6: Reassemble and Test the Unit
Once everything is clean and dry, it’s time to put your LG wall air conditioner back together.
Reassembly Steps
- Replace the air filters in their correct orientation.
- Snap the front grille back into place.
- Reattach any panels or screws you removed.
- Double-check that all parts are secure.
Restoring Power and Testing
- Turn the circuit breaker back on.
- Wait 1–2 minutes for the system to initialize.
- Turn on the unit using the remote and set it to cool mode.
- Listen for unusual noises and check that air is flowing properly.
- Monitor for leaks around the unit or drain line.
If the unit doesn’t turn on, double-check the power and breaker. If it runs but doesn’t cool, the issue may be deeper—consider calling a technician.
Troubleshooting Common Cleaning Issues
Even with careful cleaning, you might run into problems. Here’s how to handle common issues:
Unit Won’t Turn On After Cleaning
- Check that the breaker is on and the remote has fresh batteries.
- Ensure all panels are securely closed—some models have safety switches that prevent operation if panels are open.
- Wait 5–10 minutes; some LG units have a restart delay.
Water Leaking Inside the Room
- This usually means the drain line is still clogged or the drain pan is misaligned.
- Recheck the drain line and pan. Use a flashlight to inspect for blockages.
- Ensure the unit is level—if it’s tilted, water may not drain properly.
Reduced Airflow
- Make sure filters are clean and properly installed.
- Check that the fan blades are free of debris and spinning freely.
- Inspect the outdoor unit for obstructions.
Unusual Odors
- A musty smell often indicates mold in the drain pan or coils.
- Clean the drain pan and consider using an antimicrobial coil cleaner.
- Run the fan-only mode for 30 minutes to dry out moisture.
Maintenance Schedule for Your LG Wall Air Conditioner
To keep your unit in top shape, follow this simple maintenance schedule:
- Monthly: Clean or replace air filters.
- Every 3 months: Clean indoor coils, fan, and housing.
- Every 6 months: Clear the drain line and inspect the outdoor unit.
- Annually: Schedule a professional inspection to check refrigerant levels, electrical connections, and overall performance.
Keeping a cleaning log can help you stay on track. Note the date and what you cleaned each time.
Final Thoughts
Cleaning your LG wall air conditioner doesn’t have to be a daunting task. With the right tools, a little patience, and this step-by-step guide, you can keep your unit running efficiently, save on energy bills, and enjoy cleaner, cooler air all season long.
Regular maintenance not only improves performance but also prevents costly repairs down the line. By taking the time to clean filters, coils, and drain lines, you’re investing in the longevity of your appliance and the comfort of your home.
Remember: safety comes first. Always turn off the power, use gentle cleaners, and avoid water near electrical parts. And when in doubt, consult your user manual or contact LG customer support.
With a clean air conditioner, you’ll breathe easier—literally and figuratively.

