
Keeping your LG Neo Plasma air conditioner clean ensures better air quality, energy efficiency, and longer unit life. This guide walks you through a complete cleaning process—from filters to internal components—using simple tools and safe methods.
Key Takeaways
- Regular cleaning improves air quality: Dust and allergens build up over time, so cleaning every 1–3 months helps maintain fresh, healthy airflow.
- Turn off power before cleaning: Always disconnect the unit from the power source to prevent electrical shock or damage.
- Clean or replace filters monthly: Dirty filters reduce efficiency and strain the system—wash reusable filters gently with mild soap and water.
- Use soft cloths and mild cleaners: Avoid harsh chemicals or abrasive tools that can scratch surfaces or damage sensitive components.
- Don’t forget the exterior and vents: Wipe down the front panel and louvers with a damp cloth to remove dust and fingerprints.
- Schedule professional maintenance annually: While DIY cleaning helps, a technician should inspect internal parts like coils and drainage systems yearly.
- Check for error codes after reassembly: If the unit doesn’t start or shows warnings, double-check that all parts are properly reinstalled.
How to Clean LG Neo Plasma Air Conditioner
If you own an LG Neo Plasma air conditioner, you already know it’s designed to deliver cool, fresh air with advanced filtration technology. The “Neo Plasma” system uses ionizers and multi-stage filters to trap dust, bacteria, odors, and allergens—making your indoor air noticeably cleaner. But like any high-performance appliance, it needs regular maintenance to keep working at its best.
Over time, dust, pet dander, and moisture can accumulate on filters, vents, and internal components. If left unchecked, this buildup reduces cooling efficiency, increases energy bills, and may even trigger unpleasant odors or mold growth. Worse, a dirty unit can circulate polluted air instead of purified air—defeating the whole purpose of having a Neo Plasma system!
The good news? Cleaning your LG Neo Plasma AC is easier than you think. With just a few basic tools and about 30–45 minutes of your time, you can restore peak performance and breathe easier. In this guide, we’ll walk you through every step—from safety prep to reassembly—so you can clean your unit confidently and correctly.
Whether you’re a first-time cleaner or just need a refresher, this comprehensive how-to will help you maintain your LG Neo Plasma air conditioner like a pro. Let’s get started!
Why Cleaning Your LG Neo Plasma AC Matters
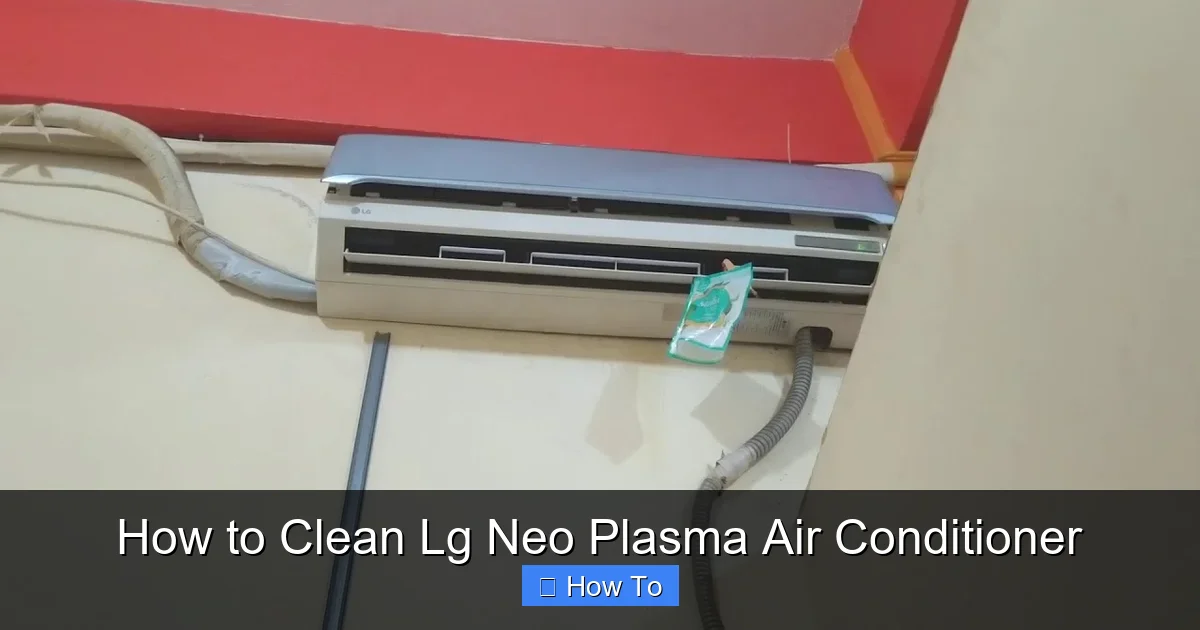
Visual guide about How to Clean Lg Neo Plasma Air Conditioner
Image source: i.ytimg.com
Before diving into the steps, it’s worth understanding why cleaning matters so much—especially for models with advanced features like Neo Plasma.
The LG Neo Plasma system includes multiple filtration stages: a pre-filter, a deodorizing filter, and an ionizer that releases negative ions to neutralize airborne pollutants. These components are highly effective… but only when they’re clean. When filters get clogged, the fan has to work harder to pull air through, which increases energy use and strains the motor. Over time, this can lead to overheating, reduced cooling capacity, or even premature failure.
Additionally, moisture trapped in dirty filters or drain pans creates a breeding ground for mold and mildew. That’s not just gross—it’s a health hazard. People with allergies, asthma, or respiratory conditions are especially vulnerable to poor indoor air quality.
Regular cleaning also extends the lifespan of your unit. LG recommends cleaning the filters at least once a month during heavy use (like summer) and every two to three months otherwise. A well-maintained AC runs more efficiently, saves money on electricity, and keeps your home comfortable year after year.
Think of it like changing the oil in your car: a small effort now prevents big problems later.
What You’ll Need
Gather these supplies before you begin. Most are probably already in your home:
- Soft microfiber cloths (at least two)
- Mild dish soap or neutral pH cleaner
- Lukewarm water
- Soft-bristle brush (like an old toothbrush)
- Vacuum cleaner with brush attachment
- Screwdriver (if your model requires panel removal)
- Garden hose (optional, for outdoor condenser units—only if applicable)
- Replacement filters (if yours are damaged or non-reusable)
Avoid using bleach, ammonia-based cleaners, steel wool, or high-pressure water sprays. These can damage plastic parts, degrade filter materials, or cause electrical hazards.
Also, never spray water directly into the unit’s interior—especially near the ionizer or control panel. Moisture and electronics don’t mix!
Step 1: Turn Off the Power
Safety first! Before touching anything, make sure the air conditioner is completely powered down.
For Window or Wall Units
Unplug the power cord from the wall outlet. If your unit is hardwired (connected directly to your home’s electrical system), turn off the corresponding circuit breaker in your electrical panel. Wait at least 5 minutes before proceeding—this gives capacitors time to discharge.
For Split Systems (Indoor Unit Only)
If you’re only cleaning the indoor unit (the part mounted on your wall), you can usually just turn off the remote or switch the unit to “Off” mode. However, for extra safety—especially if you plan to remove panels or reach near electrical components—it’s still best to turn off the breaker.
⚠️ Never clean a running or recently turned-off unit. Even if the fan isn’t spinning, internal components may still hold a charge.
Step 2: Remove the Front Panel
Most LG Neo Plasma models have a front grille or panel that swings open or lifts off to reveal the filters.
Locate the Release Latches
Look along the bottom or sides of the front panel for small tabs or buttons. On many LG models, you’ll need to gently pull the bottom edge outward while pressing the latches inward.
Lift or Swing Open
Once the latches release, the panel should swing downward or lift straight up. Support it with one hand to avoid straining the hinges. Some newer models have magnetic closures—just pull gently.
Set the panel aside on a soft surface (like a towel) to prevent scratches.
💡 Tip: Take a photo of the panel orientation before removing it. This makes reassembly much easier!
Step 3: Remove and Clean the Filters
This is the most important step—and the one you should do most frequently.
Identify Your Filter Types
LG Neo Plasma units typically have two main filters:
– Pre-filter: A coarse mesh that catches large particles like hair and dust.
– Deodorizing/Plasma Filter: Often green or blue, this contains activated carbon and works with the ionizer to remove odors and fine pollutants.
Some models also include a washable electrostatic filter or a dedicated plasma ionizer panel.
Carefully Pull Out Each Filter
Gently slide each filter out of its slot. Note the direction they were installed—most have arrows indicating airflow direction. This matters when reinstalling!
Rinse Under Lukewarm Water
Hold the filters under a gentle stream of lukewarm water. Use your fingers or a soft brush to loosen stubborn dirt. For greasy buildup (common in kitchens), add a drop of mild dish soap.
🚫 Do not use hot water—it can warp plastic frames.
🚫 Do not wring or twist the filters—they’re delicate!
Air-Dry Completely
Place the filters on a clean towel in a well-ventilated area. Let them dry for at least 2–4 hours—or overnight if possible. Never reinstall damp filters; moisture can promote mold and damage the ionizer.
💡 Pro Tip: Clean filters in the morning so they’re dry by evening. If you’re in a hurry, use a fan to speed up drying—but don’t use a hair dryer!
Step 4: Vacuum the Interior
While the filters dry, use your vacuum to remove loose dust from inside the unit.
Use the Brush Attachment
Gently run the vacuum brush over the evaporator coils (the finned metal section behind the filters), the fan blades, and the drain pan. Be careful not to bend the delicate aluminum fins on the coils—they’re easy to damage.
Focus on Hard-to-Reach Spots
Use the soft brush to dislodge dust from crevices around the ionizer module (usually a small rectangular panel near the top). Avoid touching the ionizer needles directly—they’re fragile.
If you see visible mold or slime in the drain pan, wipe it out with a cloth dampened with a 50/50 vinegar-water solution. Vinegar is natural, non-toxic, and effective against mildew.
Step 5: Wipe Down the Exterior and Vents
A clean outside helps maintain a clean inside.
Clean the Front Panel
Dampen a microfiber cloth with water (or a mild cleaner if needed) and wipe the front grille, louvers, and control panel. Avoid getting water into button seams or the display.
Don’t Forget the Remote
Wipe the remote control with a slightly damp cloth and dry immediately. Dust buildup here can interfere with signal reception.
Check Airflow Vents
Make sure the horizontal and vertical louvers move freely. If they’re stiff, wipe the pivot points with a dry cloth—never force them.
Step 6: Reinstall Filters and Panel
Once everything is dry and clean, it’s time to put your unit back together.
Insert Filters Correctly
Slide each filter back into its slot, making sure the airflow arrows point toward the unit (not outward). The deodorizing filter usually goes behind the pre-filter.
Secure the Front Panel
Align the panel with the unit and press firmly until you hear or feel the latches click into place. Give it a gentle tug to confirm it’s secure.
Restore Power
Plug the unit back in or turn the breaker on. Wait a minute, then test the power.
Step 7: Run a Test Cycle
Turn on your LG Neo Plasma AC and set it to cool mode for 10–15 minutes.
Listen and Observe
– Is the fan running smoothly?
– Is cool air coming out?
– Do you smell any unusual odors (like burning or mildew)?
If everything sounds and smells normal, you’re good to go!
Check for Error Codes
Some LG models display error codes if filters aren’t installed properly. Common ones include:
– CL (Clean Filter): Appears as a reminder—press and hold the “Filter” button for 3 seconds to reset.
– CH or E1: May indicate a sensor issue or improper reassembly.
If you see an error, double-check that all parts are seated correctly.
Troubleshooting Common Issues
Even with careful cleaning, you might run into hiccups. Here’s how to handle them:
Unit Won’t Turn On After Cleaning
– Confirm power is restored (check outlet/breaker).
– Ensure the front panel is fully closed—many LG units have a safety switch that prevents operation if the panel is open.
– Wait 5–10 minutes; some models have a built-in delay after power restoration.
Reduced Airflow or Weak Cooling
– Recheck filter installation—misaligned filters block airflow.
– Inspect the outdoor condenser (if applicable) for debris like leaves or grass clippings.
– Consider scheduling professional coil cleaning if dust is deeply embedded.
Strange Odors Persist
– Run the unit in “Fan Only” mode for an hour to dry out any residual moisture.
– Replace old deodorizing filters—they lose effectiveness after 6–12 months.
– Clean the drain pan thoroughly; standing water causes musty smells.
Ionizer Not Working
– Make sure the plasma filter is clean and properly installed.
– Check your user manual—some models require you to enable the ionizer manually via the remote.
– If the ionizer light doesn’t glow, contact LG support; the module may need replacement.
When to Call a Professional
DIY cleaning covers 90% of maintenance needs—but some tasks require expert help.
Schedule a professional service if:
– You notice refrigerant leaks (oily residue near pipes).
– The unit freezes up frequently.
– Electrical components appear burnt or corroded.
– You’re uncomfortable handling internal parts.
LG recommends annual professional maintenance for optimal performance, especially in humid climates or homes with pets.
Maintenance Schedule: Keep It Simple
Consistency is key. Follow this quick-reference schedule:
| Task | Frequency |
|——|———-|
| Clean/replace filters | Monthly (heavy use), every 2–3 months (light use) |
| Wipe exterior & vents | Monthly |
| Vacuum interior | Every 3–6 months |
| Deep clean (coils, drain pan) | Every 6–12 months |
| Professional inspection | Annually |
Set calendar reminders or tie cleaning to seasonal changes (e.g., “clean filters every spring and fall”).
Final Thoughts
Cleaning your LG Neo Plasma air conditioner isn’t just about tidiness—it’s about health, efficiency, and longevity. By following these steps, you’ll ensure your unit continues to deliver crisp, purified air while keeping your energy bills low and your family safe from allergens and mold.
Remember: a little effort goes a long way. Fifteen minutes a month can add years to your AC’s life and keep your home feeling fresh all season long.
So grab that microfiber cloth, unplug the unit, and give your LG Neo Plasma the care it deserves. Your lungs—and your wallet—will thank you!

