
Keeping your LG Inverter V air conditioner clean ensures better performance, energy efficiency, and healthier indoor air. This guide walks you through a complete cleaning process—from turning off power to reassembling components—so you can maintain your unit like a pro.
Key Takeaways
- Turn off power before cleaning: Always switch off the unit at the wall and unplug it to prevent electrical hazards.
- Clean or replace air filters monthly: Dirty filters reduce airflow and strain the compressor, lowering efficiency.
- Use gentle cleaning tools: Soft brushes, microfiber cloths, and mild detergent prevent damage to delicate fins and coils.
- <>Inspect and clean the evaporator and condenser coils: Dust buildup on coils reduces heat exchange and increases energy use.
- Clear drain lines to prevent clogs: A blocked drain can cause water leaks and indoor humidity issues.
- Schedule professional maintenance annually: While DIY cleaning helps, a technician should service internal parts yearly.
- Keep the outdoor unit unobstructed: Trim vegetation and remove debris around the external unit for optimal airflow.
How to Clean LG Inverter V Air Conditioner: A Complete Step-by-Step Guide
Your LG Inverter V air conditioner is a smart, energy-efficient cooling system designed to keep your home comfortable year-round. But like any appliance, it needs regular maintenance to perform at its best. Dust, dirt, and debris can build up over time, reducing efficiency, increasing energy bills, and even affecting indoor air quality. The good news? Cleaning your LG Inverter V AC is easier than you think—and doing it yourself can save you money on service calls.
In this comprehensive guide, you’ll learn exactly how to clean your LG Inverter V air conditioner safely and effectively. We’ll walk you through every step, from preparing your workspace to reassembling the unit, with practical tips and troubleshooting advice along the way. Whether you’re a first-time cleaner or just need a refresher, this guide ensures your AC runs smoothly, quietly, and efficiently all season long.
Why Cleaning Your LG Inverter V AC Matters
Before diving into the cleaning process, it’s important to understand why regular maintenance is so crucial. The LG Inverter V series uses advanced inverter technology to adjust compressor speed based on cooling demand, which saves energy and reduces wear and tear. However, this efficiency depends on clean internal components.
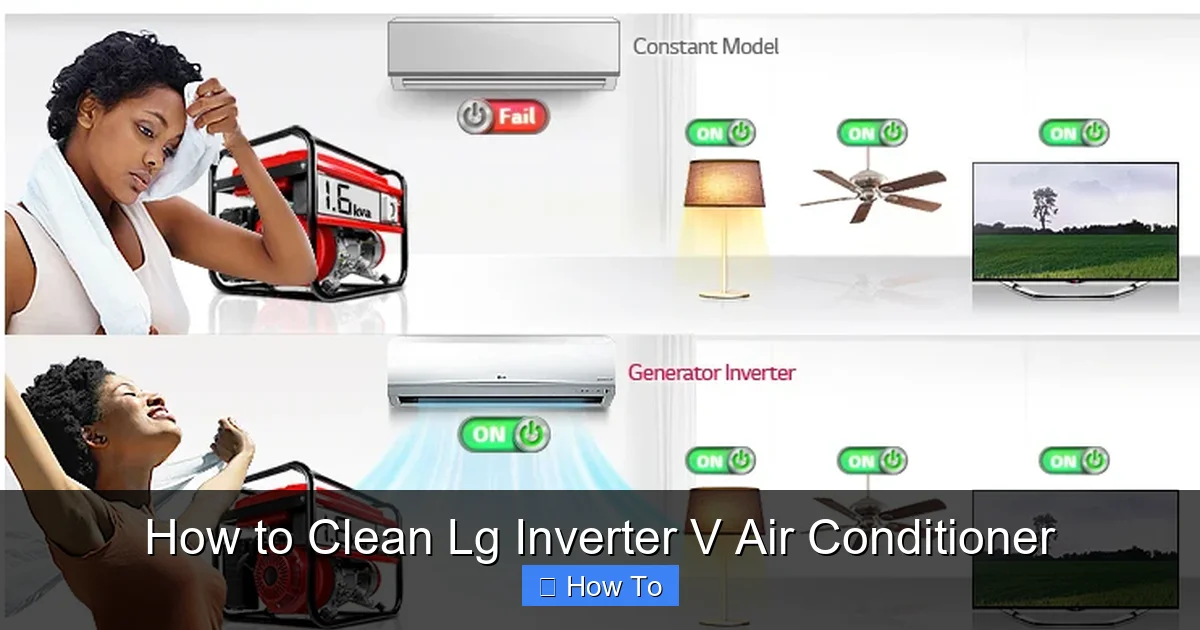
Visual guide about How to Clean Lg Inverter V Air Conditioner
Image source: ogbongeblog.com
When filters, coils, and fans get clogged with dust and grime, the system has to work harder to cool your space. This leads to higher electricity usage, uneven cooling, and even system shutdowns. Over time, neglected units may develop mold, unpleasant odors, or refrigerant leaks. Regular cleaning not only prevents these issues but also extends the lifespan of your air conditioner—potentially saving you hundreds in repairs or replacements.
Plus, a clean AC improves indoor air quality. Pollen, pet dander, and mold spores can accumulate inside the unit and circulate through your home. By cleaning your LG Inverter V regularly, you’re not just maintaining your appliance—you’re protecting your health and comfort.
Tools and Supplies You’ll Need
Before you begin, gather all the necessary tools and cleaning supplies. Having everything ready will make the process faster and safer.
- Soft-bristle brush or vacuum with brush attachment: For gently removing dust from coils and fins.
- Microfiber cloths: Ideal for wiping down surfaces without scratching.
- Mild detergent or coil cleaner: Use a non-abrasive cleaner designed for HVAC systems.
- Garden hose (for outdoor unit): Helps rinse off stubborn dirt from the condenser.
- Screwdriver (Phillips or flathead): To remove access panels and filters.
- Spray bottle: For applying cleaning solution evenly.
- Safety gloves and goggles: Protect your hands and eyes from dust and cleaning chemicals.
- Fin comb (optional): Helps straighten bent aluminum fins on coils.
- Wet/dry vacuum (optional): Useful for clearing clogged drain lines.
Tip: Avoid using harsh chemicals, abrasive sponges, or high-pressure washers, as they can damage sensitive components. Stick to gentle, HVAC-safe products for the best results.
Step 1: Turn Off Power to the Unit
Safety comes first. Before touching any part of your air conditioner, you must disconnect it from the power source. This prevents accidental startup and protects you from electrical shock.
Turn Off the Indoor Unit
Start by switching off the air conditioner using the remote control or the power button on the indoor unit. This stops the fan and compressor from running.
Switch Off the Circuit Breaker
Next, go to your home’s electrical panel and locate the circuit breaker labeled for the air conditioner. Flip it to the “OFF” position. This cuts power to both the indoor and outdoor units.
Unplug the Unit (If Applicable)
Some LG Inverter V models are plugged into a wall outlet instead of hardwired. If yours is, unplug it from the socket. For hardwired units, the circuit breaker step is sufficient—but double-check that power is off using a non-contact voltage tester if you’re unsure.
Wait at least 10–15 minutes before proceeding. This allows any residual electricity in the capacitors to dissipate, reducing the risk of shock.
Step 2: Remove and Clean the Air Filters
The air filters are the first line of defense against dust and allergens. LG Inverter V units typically have two washable filters located behind the front panel. Cleaning them monthly is essential for optimal performance.
Access the Filters
Open the front panel of the indoor unit. On most LG models, you’ll need to gently pull the panel downward or lift it slightly to release the clips. Some models may require removing a small screw—use your screwdriver if needed.
Once the panel is open, you’ll see the filter frames. Slide them out carefully. Most LG filters are rectangular and slide out horizontally.
Rinse the Filters
Take the filters to a sink or outdoor area and rinse them under lukewarm water. Use your hands or a soft brush to remove dust and debris. Avoid hot water, as it can warp the filter material.
If the filters are particularly dirty, soak them in a mixture of warm water and mild detergent for 10–15 minutes. Gently scrub, then rinse thoroughly.
Dry the Filters Completely
Shake off excess water and let the filters air-dry completely—preferably in the shade. Never reinstall wet filters, as moisture can promote mold growth and damage the unit.
Tip: While the filters are out, wipe down the filter housing with a damp microfiber cloth to remove any accumulated dust.
Step 3: Clean the Evaporator Coils and Fins
The evaporator coils inside the indoor unit absorb heat from your home’s air. Over time, they collect dust and grime, reducing heat transfer efficiency. Cleaning them improves cooling performance and energy savings.
Locate the Coils
With the front panel and filters removed, you’ll see the evaporator coils behind them. They’re usually made of copper tubing with thin aluminum fins.
Dust Off the Coils
Use a soft-bristle brush or a vacuum with a brush attachment to gently remove loose dust from the coils and fins. Work from top to bottom, following the direction of the fins to avoid bending them.
Apply Coil Cleaner
Spray a foaming coil cleaner (available at hardware stores) onto the coils. Let it sit for 5–10 minutes to break down stubborn dirt and grease. The foam will expand and lift contaminants from the surface.
After the cleaner has worked, use a damp microfiber cloth to wipe away residue. For hard-to-reach areas, a soft brush can help.
Straighten Bent Fins (If Needed)
If you notice bent or crushed fins, use a fin comb to gently straighten them. This improves airflow and prevents future blockages.
Warning: Never use a knife, screwdriver, or other sharp tool to clean coils—this can puncture the tubing and cause refrigerant leaks.
Step 4: Clean the Condenser Unit (Outdoor Unit)
The outdoor unit houses the condenser coils and fan, which release heat from your home. It’s exposed to weather, leaves, and debris, so it needs regular attention.
Clear Debris Around the Unit
Start by removing any leaves, grass, or dirt piled around the base of the outdoor unit. Keep at least 2 feet of clearance on all sides for proper airflow.
Remove the Outer Cover
Most LG outdoor units have a protective grille or cover. Use a screwdriver to remove the screws holding it in place. Carefully lift off the cover to access the fan and coils.
Clean the Condenser Coils
Use a soft brush or vacuum to remove surface dust from the coils. Then, spray a coil cleaner onto the fins. Let it foam and sit for 10 minutes.
Rinse the coils gently with a garden hose. Use low pressure and spray at a 45-degree angle to avoid bending the fins. Never use a pressure washer—it can damage the delicate aluminum fins.
Clean the Fan Blades
Wipe the fan blades with a damp cloth to remove dirt and grease. Be careful not to bend or damage the blades. If the fan is hard to reach, use a long-handled brush.
Check the Base Pan
The base of the outdoor unit collects water and debris. Use a wet/dry vacuum or sponge to remove standing water and sludge. This prevents corrosion and mold growth.
Tip: Trim any nearby shrubs or vines that could block airflow or drop debris onto the unit.
Step 5: Clean the Drain Line and Pan
The drain line removes condensation from the indoor unit. If it clogs, water can back up and cause leaks or indoor humidity problems.
Locate the Drain Pan and Line
The drain pan is usually located beneath the evaporator coils inside the indoor unit. The drain line exits the wall near the outdoor unit or into a floor drain.
Flush the Drain Line
Use a wet/dry vacuum to suction out the drain line from the outdoor end. Alternatively, pour a cup of vinegar or a commercial drain cleaner into the indoor drain pan to dissolve algae and mold.
Let it sit for 30 minutes, then flush with water. You should see clear water flowing out the other end.
Clean the Drain Pan
Wipe the inside of the drain pan with a cloth and mild detergent. Remove any sludge or mold buildup. Rinse and dry before reassembling.
Tip: Pour a small amount of bleach or algaecide into the drain pan monthly to prevent future clogs.
Step 6: Reassemble and Test the Unit
Once all components are clean and dry, it’s time to put everything back together.
Reinstall the Filters and Front Panel
Slide the clean, dry filters back into their slots. Make sure they’re seated properly and facing the correct direction (usually with the arrow pointing inward).
Close the front panel and secure it with screws if needed. Ensure all clips are snapped into place.
Replace the Outdoor Cover
Put the outdoor unit cover back on and tighten the screws. Make sure the fan spins freely without obstruction.
Restore Power
Go back to the circuit breaker and flip it to the “ON” position. If your unit is plugged in, reconnect it to the outlet.
Test the System
Turn on the air conditioner using the remote. Set it to cool mode and listen for normal operation. Check that air is flowing strongly and that there are no unusual noises or leaks.
Let it run for 15–20 minutes, then feel the air coming from the vents. It should be noticeably cooler and fresher.
Troubleshooting Common Issues
Even after cleaning, you might encounter problems. Here’s how to address common issues:
- Unit won’t turn on: Double-check the circuit breaker and power connection. Ensure the remote has fresh batteries.
- Weak airflow: This could mean the filters are still dirty or the coils are clogged. Recheck and clean if needed.
- Water leaks: A clogged drain line is the usual culprit. Flush it again or call a technician if the problem persists.
- Unusual noises: Rattling may indicate loose panels or fan blades. Tighten screws and ensure nothing is obstructing the fan.
- Ice on coils: This often happens when airflow is restricted. Clean the filters and coils, and ensure vents aren’t blocked.
If problems continue, consult your LG user manual or contact LG customer support. Some issues may require professional diagnosis.
How Often Should You Clean Your LG Inverter V AC?
Cleaning frequency depends on usage and environment, but here’s a general schedule:
- Air filters: Clean every 1–2 months, or monthly during heavy use (summer/winter).
- Indoor coils and drain line: Clean every 6 months.
- Outdoor unit: Clean every 3–6 months, or after storms or heavy leaf fall.
- Professional service: Schedule once a year for refrigerant checks, electrical inspections, and deep cleaning.
Homes with pets, smokers, or high pollen counts may need more frequent cleaning.
Tips for Maintaining Your LG Inverter V AC
Beyond cleaning, these habits will keep your unit running smoothly:
- Use a programmable thermostat: Set it to raise the temperature when you’re away to reduce runtime.
- Keep vents unobstructed: Don’t block indoor vents with furniture or curtains.
- Seal windows and doors: Prevent cool air from escaping, reducing the workload on your AC.
- Upgrade insulation: Better insulation keeps your home cooler with less effort.
- Monitor energy usage: Use the LG ThinQ app (if compatible) to track performance and receive maintenance reminders.
Conclusion
Cleaning your LG Inverter V air conditioner is a simple yet powerful way to boost efficiency, improve air quality, and extend the life of your unit. By following this step-by-step guide, you’ve learned how to safely clean filters, coils, drain lines, and outdoor components—all without calling a technician.
Regular maintenance not only saves money on energy bills but also ensures your home stays cool and comfortable when you need it most. Make cleaning a seasonal habit, and your LG Inverter V will reward you with reliable, quiet, and efficient performance for years to come.
Remember: A little effort today prevents big problems tomorrow. So grab your tools, follow these steps, and enjoy the refreshing breeze of a clean, well-maintained air conditioner.

