
Keeping your LG window air conditioner’s filter clean is essential for optimal performance, energy efficiency, and healthy indoor air. This guide walks you through the simple process of removing, cleaning, and reinstalling the filter—no tools required.
Key Takeaways
- Regular filter cleaning improves airflow and cooling efficiency: A dirty filter restricts airflow, forcing your AC to work harder and use more energy.
- Clean filters enhance indoor air quality: Dust, pollen, pet dander, and other allergens get trapped in the filter—cleaning it reduces airborne irritants.
- LG window AC filters are washable and reusable: Most models use a mesh or foam filter that can be rinsed with water and reused, saving money on replacements.
- Clean the filter every 2–4 weeks during peak usage: In hot summer months or high-pollen seasons, more frequent cleaning is recommended.
- Always turn off and unplug the unit before cleaning: Safety first—never handle internal components while the AC is powered on.
- Check for damage during cleaning: If the filter is torn or warped, replace it to maintain performance and prevent debris from entering the unit.
- Proper reassembly ensures safe operation: Make sure the filter is fully dry and securely in place before turning the AC back on.
How to Clean Filter in LG Window Air Conditioner
Your LG window air conditioner works hard to keep your home cool and comfortable, especially during sweltering summer months. But like any appliance, it needs regular maintenance to perform at its best. One of the simplest yet most impactful tasks you can do is cleaning the air filter. A clean filter not only helps your AC run more efficiently but also improves the air you breathe indoors.
In this comprehensive guide, you’ll learn exactly how to clean the filter in your LG window air conditioner—step by step. Whether you’re a first-time user or just need a refresher, we’ll cover everything from safety precautions to troubleshooting common issues. By the end, you’ll know how to keep your LG AC running smoothly, reduce energy bills, and enjoy fresher, cleaner air in your home.
Why Cleaning the Filter Matters
Before diving into the cleaning process, it’s important to understand why this task is so crucial. The air filter in your LG window air conditioner plays a vital role in the system’s overall performance. As air circulates through the unit, the filter traps dust, dirt, pollen, pet hair, and other airborne particles. Over time, these contaminants build up, forming a thick layer that blocks airflow.
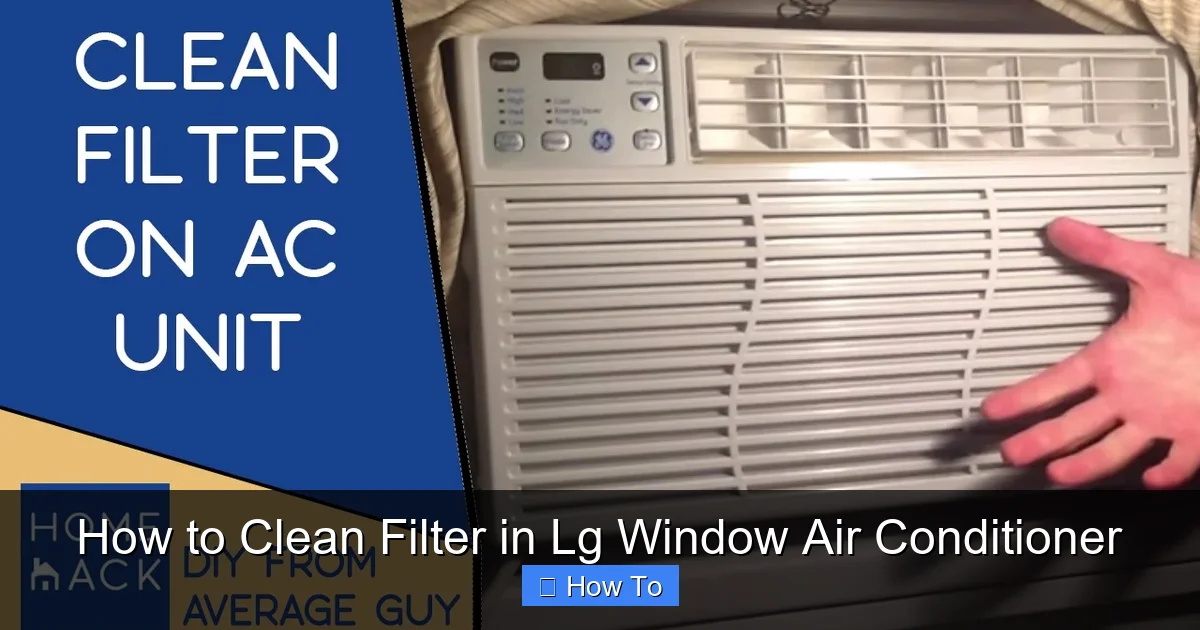
Visual guide about How to Clean Filter in Lg Window Air Conditioner
Image source: i.ytimg.com
When airflow is restricted, your air conditioner has to work harder to cool the room. This leads to longer run times, higher energy consumption, and increased wear and tear on the compressor and fan. In extreme cases, a clogged filter can cause the evaporator coil to freeze, leading to poor cooling and potential damage to the unit.
Beyond efficiency, a dirty filter also affects indoor air quality. If the filter is saturated with debris, it can no longer trap new contaminants effectively. Instead, some particles may be recirculated into your living space, aggravating allergies, asthma, or other respiratory conditions. For households with pets, smokers, or allergy sufferers, clean air is especially important.
LG designs its window air conditioners with user-friendly, washable filters that are meant to be cleaned regularly. Unlike disposable filters that need frequent replacement, LG’s reusable filters save you money and reduce waste. With just a few minutes of effort every few weeks, you can keep your AC in top shape and enjoy cleaner, cooler air all season long.
What You’ll Need
Cleaning the filter in your LG window air conditioner is a straightforward process that requires minimal tools and supplies. Here’s what you’ll need:
- Soft brush or vacuum cleaner with brush attachment: For gently removing loose dust and debris from the filter surface.
- Mild dish soap or all-purpose cleaner: To break down grease and stubborn grime. Avoid harsh chemicals or bleach, which can damage the filter material.
- Warm water: For rinsing the filter. Hot water can warp certain filter types, so stick to lukewarm or cool water.
- Clean towel or drying rack: To air-dry the filter completely before reinstalling.
- Gloves (optional): If you have sensitive skin or are cleaning a very dirty filter, wearing gloves can protect your hands.
- Flashlight (optional): To inspect the filter and internal components for dirt or damage.
Most of these items are likely already in your home, making this maintenance task both convenient and cost-effective. Keep them handy so you can clean your filter on a regular schedule without delay.
Step-by-Step Guide to Cleaning the Filter
Now that you understand the importance of filter maintenance and have gathered your supplies, it’s time to get started. Follow these detailed steps to safely and effectively clean the filter in your LG window air conditioner.
Step 1: Turn Off and Unplug the Unit
Safety is the top priority when working with any electrical appliance. Before you begin, make sure your LG window air conditioner is completely powered down. Start by turning off the unit using the remote control or the power button on the front panel. Then, unplug the power cord from the wall outlet. This ensures that no electricity is flowing to the unit while you’re handling internal components.
Even if the AC appears to be off, there could still be residual power in the system. Unplugging eliminates any risk of electric shock. It’s also a good idea to wait 10–15 minutes after unplugging to allow the internal capacitors to discharge fully. This extra precaution is especially important if you plan to inspect or clean other parts of the unit beyond the filter.
Step 2: Locate the Air Filter
Next, find the air filter compartment. On most LG window air conditioners, the filter is located behind the front panel or grille. This panel is usually positioned at the top or front of the unit and is designed to slide or snap off easily.
Look for a latch, tab, or set of clips along the edge of the front panel. Gently press or pull these to release the panel. Some models may have a small handle or indentation to help you grip it. Avoid using excessive force—LG designs these panels to be removed by hand without tools.
Once the front panel is open, you should see the air filter sitting in a slot or frame. It’s typically a rectangular mesh or foam panel, often labeled with “Air Filter” or an LG logo. Take a moment to observe how the filter is positioned so you can reinstall it correctly later.
Step 3: Remove the Filter
Carefully slide the filter out of its housing. Most LG filters are designed to lift straight out or tilt slightly before removal. Be gentle to avoid bending or tearing the filter material.
If the filter is stuck or difficult to remove, check for any clips or tabs that may be holding it in place. Some models have a small latch on the side or bottom of the filter frame. Press or lift these to release the filter.
Once removed, inspect the filter for visible dirt, dust buildup, or damage. A clean filter should appear light in color with minimal debris. If it’s dark, clogged, or has a musty smell, it’s definitely time for a thorough cleaning.
Step 4: Vacuum Loose Debris
Before washing, use a soft brush or a vacuum cleaner with a brush attachment to remove loose dust and hair from the filter surface. This step helps prevent clogging your sink or drain during the washing process.
Hold the filter over a trash can or outside to avoid spreading dust indoors. Gently brush both sides of the filter, paying extra attention to the corners and edges where debris tends to accumulate. If using a vacuum, set it to a low suction setting to avoid damaging the filter mesh.
This preliminary cleaning removes the bulk of the dirt, making the washing step more effective and reducing the amount of soap and water needed.
Step 5: Wash the Filter
Fill a sink, basin, or bathtub with lukewarm water. Add a few drops of mild dish soap or an all-purpose cleaner. Avoid using hot water, as it can warp or melt certain filter materials, especially foam-based filters.
Submerge the filter completely and let it soak for 10–15 minutes. This helps loosen embedded dirt and grease. After soaking, gently agitate the filter in the water or use your hands to rub the surface lightly. Focus on areas with heavy buildup, but avoid scrubbing too hard—this can damage the filter’s structure.
For stubborn grime, you can use a soft-bristled brush (like an old toothbrush) to gently scrub the mesh. Be careful not to poke holes or tear the material. Rinse the filter thoroughly under cool running water until all soap residue is gone. Hold it up to the light to check for cleanliness—no suds or dirt should remain.
Step 6: Dry the Filter Completely
After washing, shake off excess water and place the filter on a clean towel or drying rack. Allow it to air-dry in a well-ventilated area, away from direct sunlight or heat sources. Sunlight can degrade certain filter materials over time, and heat may cause warping.
Do not reinstall the filter while it’s still damp. Moisture left in the filter can promote mold or mildew growth, which can then be blown into your home when the AC runs. This not only reduces air quality but can also cause unpleasant odors.
Drying typically takes 1–2 hours, depending on humidity and airflow. You can speed up the process by placing the filter near a fan, but avoid using a hair dryer or placing it in a clothes dryer, as high heat can damage the filter.
Step 7: Reinstall the Filter
Once the filter is completely dry, it’s time to put it back. Carefully slide the filter into its original position in the housing. Make sure it fits snugly and is oriented correctly—most LG filters have a specific top and bottom or front and back.
Look for alignment marks or arrows on the filter or housing to guide proper installation. If the filter doesn’t slide in easily, double-check that it’s not upside down or backward. Forcing it can damage the frame or the unit.
After the filter is in place, reattach the front panel by aligning it with the unit and pressing or snapping it back into position. Ensure all clips or latches are securely fastened to prevent air leaks or rattling during operation.
Step 8: Plug In and Test the Unit
With the filter reinstalled, plug the air conditioner back into the wall outlet. Turn it on using the remote or control panel and set it to a cool mode. Listen for normal operation—there should be a steady fan sound and cool air flowing from the vents.
If the unit doesn’t turn on, check that the power cord is fully plugged in and the outlet is working. If the fan runs but no cool air comes out, the filter may not be seated properly, or there could be another issue (see troubleshooting section below).
Run the AC for 15–20 minutes and monitor performance. You should notice improved airflow and cooling compared to before the cleaning. If everything works as expected, your LG window air conditioner is ready to keep you comfortable.
How Often Should You Clean the Filter?
The frequency of filter cleaning depends on several factors, including usage, environment, and household conditions. As a general rule, LG recommends cleaning the filter every 2–4 weeks during periods of regular use.
If you run your air conditioner daily—especially in hot summer months—you may need to clean the filter every 2 weeks. In homes with pets, smokers, or allergy sufferers, more frequent cleaning (every 1–2 weeks) is advisable to maintain air quality.
During off-seasons or when the AC is used infrequently, you can extend the cleaning interval to once a month or before storing the unit for winter. Always inspect the filter visually before each use—if it looks dirty, clean it regardless of the schedule.
Setting a calendar reminder or linking filter cleaning to other routine tasks (like changing bedsheets or vacuuming) can help you stay consistent. Regular maintenance not only extends the life of your AC but also saves money on energy bills and potential repairs.
Troubleshooting Common Issues
Even with proper cleaning, you may encounter occasional problems. Here are some common issues and how to resolve them:
Filter Doesn’t Fit After Cleaning
If the filter seems warped or doesn’t slide back into place, it may have been exposed to excessive heat or moisture during drying. Check for bends or tears. If the filter is damaged, replace it with a genuine LG replacement part. Never operate the AC without a properly installed filter.
AC Still Blows Dust or Odors
A clean filter should eliminate most dust and odors. If problems persist, the issue may lie elsewhere. Check the evaporator coil and drain pan for mold or mildew buildup. These areas can harbor bacteria that produce smells. Use a coil cleaner spray (available at hardware stores) to clean the coil, and wipe the drain pan with a mild bleach solution.
Reduced Cooling Performance
If your AC isn’t cooling as well as it used to, even with a clean filter, other factors could be at play. Ensure the unit is sized correctly for the room, check for blocked vents or obstructions outside the window, and verify that the thermostat is set correctly. If problems continue, consult the user manual or contact LG customer support.
Water Leaking from the Unit
Leaking water can result from a clogged drain or improper installation. Make sure the unit is level and the drain hole is clear. If the filter was reinstalled while damp, moisture may have contributed to the issue. Always ensure the filter is fully dry before use.
Tips for Maintaining Your LG Window AC
Beyond filter cleaning, a few additional maintenance steps can keep your LG window air conditioner running smoothly:
- Clean the exterior and vents: Wipe the front panel and louvers with a damp cloth to remove dust and fingerprints.
- Check the window seal: Ensure the unit is tightly sealed in the window to prevent warm air from entering and cool air from escaping.
- Inspect the condenser coils: If accessible, gently clean the outdoor side of the unit to remove dirt and debris that can reduce efficiency.
- Schedule professional service: Once a year, consider having a technician inspect the refrigerant levels, electrical connections, and overall system performance.
Conclusion
Cleaning the filter in your LG window air conditioner is a simple, quick, and highly effective way to maintain performance, save energy, and improve indoor air quality. By following the step-by-step instructions in this guide, you can keep your AC running efficiently all season long.
Remember to clean the filter every 2–4 weeks, always unplug the unit before starting, and allow the filter to dry completely before reinstalling. With regular care, your LG window air conditioner will continue to deliver cool, clean air for years to come.

