
Cleaning your LG air conditioner regularly ensures optimal performance, better air quality, and energy efficiency. This guide walks you through a complete cleaning process, from safety prep to reassembly, helping you maintain your unit like a pro.
Key Takeaways
- Safety first: Always turn off power at the breaker before cleaning to avoid electrical hazards.
- Clean filters monthly: Dirty filters reduce airflow and efficiency—rinse or replace them every 4–6 weeks.
- Use gentle cleaners: Avoid harsh chemicals; mild soap and water work best for most components.
- Check the drain line: A clogged drain can cause leaks and mold—flush it with vinegar monthly.
- Inspect coils and fins: Clean evaporator and condenser coils annually to maintain cooling power.
- Schedule professional maintenance: Have a technician service your unit yearly for deep cleaning and refrigerant checks.
- Keep the area clear: Ensure 2 feet of space around outdoor units for proper airflow.
How to Clean a LG Air Conditioner
Keeping your LG air conditioner clean isn’t just about appearances—it’s essential for performance, energy efficiency, and indoor air quality. Over time, dust, pollen, pet dander, and mold can build up inside your unit, reducing airflow and forcing the system to work harder. This not only increases your energy bills but can also lead to costly repairs or premature failure.
The good news? Cleaning your LG air conditioner is simpler than you might think. Whether you have a window unit, a portable AC, or a split-system model, regular maintenance can keep it running smoothly for years. In this guide, we’ll walk you through a complete, step-by-step process to clean your LG air conditioner safely and effectively. You’ll learn how to clean filters, coils, fins, drain lines, and more—without damaging your unit or voiding your warranty.
By the end of this guide, you’ll know exactly how to clean a LG air conditioner like a pro. We’ll cover everything from basic monthly upkeep to seasonal deep cleans, plus troubleshooting tips for common issues. Let’s get started!
Why Cleaning Your LG Air Conditioner Matters
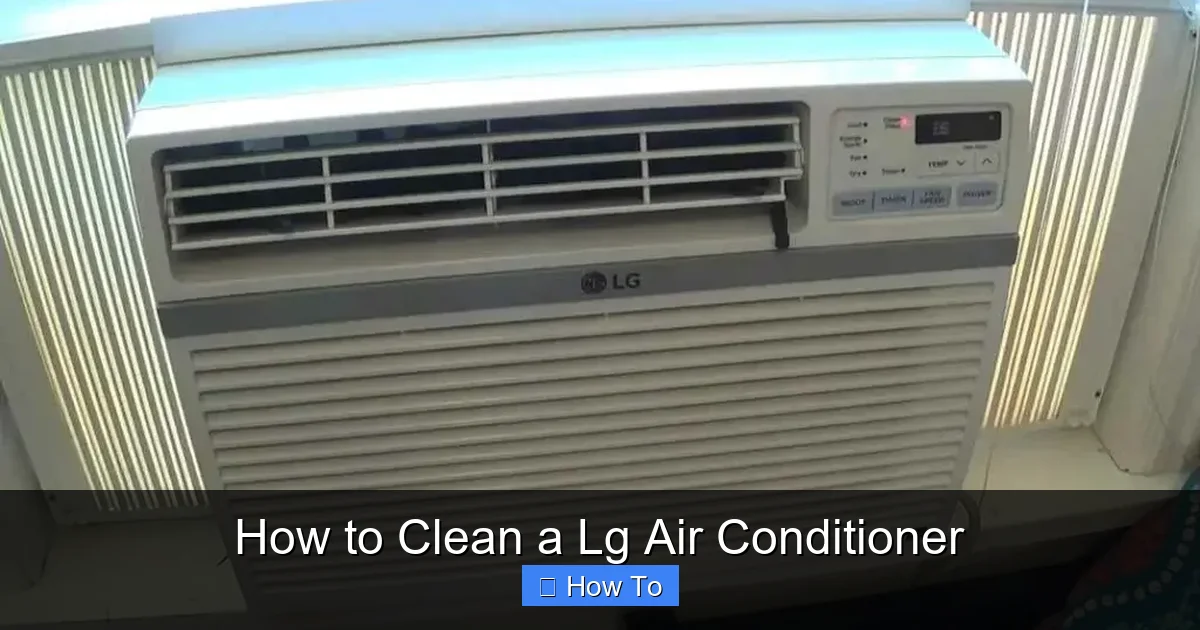
Visual guide about How to Clean a Lg Air Conditioner
Image source: smartacsolutions.com
Before diving into the cleaning process, it’s important to understand why regular maintenance is so crucial. Your LG air conditioner works by pulling in warm air from your room, passing it over cold evaporator coils, and blowing cooled air back out. Along the way, it also removes humidity and filters out airborne particles.
But when dust and debris accumulate, several problems can arise:
– Reduced airflow: Clogged filters and dirty coils restrict air movement, making your AC less effective.
– Higher energy bills: A dirty unit has to run longer to cool your space, increasing electricity use.
– Poor air quality: Mold, bacteria, and allergens can grow inside the unit and circulate through your home.
– System breakdowns: Overheating, frozen coils, and motor strain can lead to malfunctions or complete failure.
LG designs its air conditioners with user-friendly maintenance in mind, but even the most advanced models need regular care. Cleaning your unit every 1–3 months—depending on usage and environment—can prevent these issues and extend the life of your appliance.
Tools and Supplies You’ll Need
Before you begin, gather the right tools and cleaning supplies. Having everything ready will make the process faster and safer.
Basic Cleaning Kit
- Soft cloths or microfiber towels
- Mild dish soap or all-purpose cleaner
- Warm water
- Soft-bristle brush (like a toothbrush or bottle brush)
- Vacuum cleaner with a brush attachment
- Spray bottle
- Garden hose (for outdoor units)
- Fin comb (optional, for straightening bent fins)
Optional but Helpful
- Coil cleaner spray (eco-friendly, non-corrosive)
- White vinegar (for mold and drain line cleaning)
- Compressed air (for tight spaces)
- Rubber gloves and safety goggles
- Replacement air filters (if needed)
Avoid using abrasive scrubbers, bleach, or strong chemical cleaners—they can damage sensitive components like aluminum fins or plastic housings.
Safety First: Preparing to Clean
Safety should always come first when working with any electrical appliance. Air conditioners contain live wires, moving parts, and refrigerants, so taking precautions is essential.
Turn Off the Power
Never clean your LG air conditioner while it’s plugged in or running. Follow these steps:
- Turn off the unit using the remote or control panel.
- Unplug the power cord from the wall outlet.
- For central or split systems, turn off the circuit breaker that powers the indoor and outdoor units. This is usually labeled “AC” or “Air Conditioner” in your electrical panel.
Wait at least 10–15 minutes before starting to allow any residual charge to dissipate.
Wear Protective Gear
Even with the power off, it’s wise to wear:
- Rubber gloves to protect your hands from sharp edges or cleaning solutions.
- Safety goggles to shield your eyes from dust or debris.
- Closed-toe shoes to prevent slips or injuries.
Clear the Area
Make sure you have enough space to work comfortably. Move furniture, rugs, or obstacles away from the unit. For window or portable units, ensure the area outside is accessible and safe.
Step 1: Clean the Air Filters
The air filter is the first line of defense in your LG air conditioner. It traps dust, pollen, and other particles, but when it gets clogged, it restricts airflow and reduces efficiency. Cleaning or replacing the filter is the most important maintenance task—and it’s also the easiest.
Locate the Filters
Most LG air conditioners have one or two washable filters located behind the front panel. Here’s how to find them:
- Window units: Remove the front grille by gently pulling it forward or unscrewing it.
- Portable units: Look for a filter compartment on the side or back, often secured with clips.
- Split systems: Open the front cover of the indoor unit—filters are usually behind a removable panel.
Refer to your user manual if you’re unsure. LG often labels filter locations clearly.
Remove the Filters
Carefully slide or lift the filters out. Most LG filters are made of fine mesh or foam and are designed to be reusable.
Clean the Filters
Follow these steps:
- Rinse the filters under lukewarm water. Use a gentle stream—don’t use high pressure, as it can damage the mesh.
- If there’s stubborn dirt, soak the filters in a mixture of warm water and mild dish soap for 10–15 minutes.
- Gently scrub with a soft brush to remove embedded debris.
- Rinse thoroughly until all soap is gone.
- Shake off excess water and let the filters air-dry completely—this may take 1–2 hours. Never reinstall a wet filter, as it can promote mold growth.
Replace if Necessary
If the filter is torn, warped, or extremely dirty (even after cleaning), replace it with a genuine LG filter. Using the correct model ensures proper fit and performance.
Reinstall the Filters
Once dry, slide the filters back into place. Make sure they’re seated correctly and the front panel clicks securely.
Step 2: Clean the Evaporator and Condenser Coils
The evaporator and condenser coils are critical for heat exchange. When they’re coated in dust and grime, your AC has to work harder to cool your home. Cleaning these coils annually—or more often in dusty environments—can significantly improve efficiency.
Access the Coils
– Indoor unit (evaporator coil): Remove the front panel and filter. The coil is usually behind a plastic cover. You may need to unscrew a few screws to access it.
– Outdoor unit (condenser coil): Turn off the power at the breaker. Remove the outer grille or protective cover using a screwdriver.
Vacuum Loose Debris
Use a vacuum with a brush attachment to gently remove dust, leaves, and dirt from the coil fins. Be careful not to bend the delicate aluminum fins.
Apply Coil Cleaner
Spray a commercial coil cleaner (or a mix of water and mild detergent) onto the coils. Let it sit for 5–10 minutes to break down grease and grime. Avoid overspray on electrical components.
Rinse Thoroughly
For outdoor units, use a garden hose with a gentle spray to rinse the coils. Start from the inside and work outward to avoid pushing dirt deeper. Never use a pressure washer—it can damage the fins.
For indoor units, wipe with a damp cloth instead of rinsing, as water can drip into the unit.
Straighten Bent Fins
If you notice bent or crushed fins, use a fin comb (available at hardware stores) to gently straighten them. Properly aligned fins improve airflow and efficiency.
Step 3: Clean the Air Vents and Louvers
The air vents and louvers direct cooled air into your room. Over time, they collect dust and can become sticky or discolored. Cleaning them improves airflow and keeps your unit looking fresh.
Remove Dust with a Cloth
Wipe the front grille and louvers with a damp microfiber cloth. For tight spaces, use a soft brush or cotton swab.
Deep Clean Stubborn Grime
For sticky residue or built-up dirt:
- Mix warm water with a few drops of dish soap.
- Dip a cloth in the solution and wring it out well.
- Gently scrub the vents and louvers.
- Rinse with a clean, damp cloth.
- Dry thoroughly with a towel.
Avoid spraying water directly into the unit. If the louvers are removable, take them off for easier cleaning.
Step 4: Clean the Drain Line and Pan
Your LG air conditioner removes moisture from the air, which drains through a tube or pan. If this system gets clogged, water can back up, causing leaks, mold, or even water damage.
Locate the Drain Line
– Window and portable units: The drain line is usually a small hose at the back or bottom.
– Split systems: The drain line runs from the indoor unit to the outside, often through a wall.
Flush the Drain Line
To prevent clogs:
- Mix equal parts white vinegar and water in a spray bottle or small cup.
- Locate the drain outlet (usually outside or in a basement).
- Pour the vinegar solution into the drain line or use a funnel to guide it in.
- Let it sit for 30–60 minutes to dissolve mold and slime.
- Flush with clean water to clear any residue.
Check the Drain Pan
The drain pan collects excess water under the evaporator coil. If it’s dirty or corroded:
- Wipe it clean with a cloth and mild cleaner.
- Check for cracks or rust—replace if damaged.
- Ensure it’s level so water drains properly.
Step 5: Clean the Outdoor Unit (Condenser)
The outdoor unit houses the condenser coil, fan, and compressor. It’s exposed to the elements, so it collects dirt, leaves, and debris. Cleaning it annually ensures proper heat dissipation.
Turn Off Power
Always shut off the circuit breaker before working on the outdoor unit.
Clear Debris Around the Unit
Remove leaves, grass, and dirt from around the base. Keep a 2-foot clearance on all sides for airflow.
Clean the Fins and Coils
Follow the same steps as for the indoor coils: vacuum, spray cleaner, and rinse gently with a hose.
Check the Fan Blades
Inspect the fan for dirt or damage. Wipe the blades with a damp cloth. Never force the fan to spin—it should turn freely.
Inspect for Damage
Look for bent fins, loose screws, or signs of corrosion. Address minor issues yourself; call a technician for major problems.
Step 6: Reassemble and Test the Unit
Once everything is clean and dry, it’s time to put your LG air conditioner back together.
Reinstall All Components
- Replace the filters and front panel.
- Secure any screws or clips you removed.
- Ensure all parts are properly aligned.
Restore Power
Plug in the unit or turn the breaker back on. Wait a few minutes before turning it on.
Test the System
Turn on the air conditioner and listen for unusual noises. Check that cool air is flowing and that there are no leaks or odors. Run it for 15–20 minutes to ensure everything is working correctly.
Troubleshooting Common Cleaning Issues
Even with careful cleaning, you might run into problems. Here’s how to handle common issues:
Water Leaking from the Unit
This is often caused by a clogged drain line or dirty filter. Clean the filter and flush the drain line with vinegar. If the leak continues, check the drain pan for cracks.
Unit Not Cooling Properly
Dirty coils or a clogged filter can reduce cooling. Clean both and ensure vents aren’t blocked. If the problem persists, the refrigerant level may be low—call a technician.
Strange Odors
Musty smells usually indicate mold in the drain pan or evaporator coil. Clean these areas thoroughly and use a disinfectant spray designed for HVAC systems.
Bent or Damaged Fins
Use a fin comb to gently straighten aluminum fins. Avoid using metal tools that can scratch or puncture the coils.
Unit Won’t Turn On After Cleaning
Double-check that all panels are securely closed and the power is restored. Some LG models have safety switches that prevent operation if the front panel isn’t properly seated.
Maintenance Schedule: How Often to Clean
To keep your LG air conditioner in top shape, follow this cleaning schedule:
- Monthly: Clean or replace air filters.
- Every 3 months: Clean air vents and louvers.
- Every 6 months: Flush the drain line with vinegar.
- Annually: Clean evaporator and condenser coils, inspect outdoor unit.
- As needed: Wipe exterior surfaces and check for damage.
If you live in a dusty area, have pets, or use your AC heavily, increase the frequency.
When to Call a Professional
While most cleaning tasks can be done at home, some jobs require a certified technician:
- Refrigerant leaks or low levels
- Electrical issues or wiring problems
- Compressor or fan motor failure
- Major mold infestations
- Annual system inspection and tune-up
LG recommends professional maintenance at least once a year to ensure optimal performance and warranty compliance.
Conclusion
Cleaning your LG air conditioner doesn’t have to be complicated or time-consuming. With the right tools, a little patience, and this step-by-step guide, you can keep your unit running efficiently, improve indoor air quality, and avoid costly repairs. Regular maintenance not only extends the life of your air conditioner but also saves you money on energy bills.
Remember: safety first, clean regularly, and don’t hesitate to call a pro when needed. By taking care of your LG air conditioner, you’re investing in comfort, health, and long-term savings. So grab your cleaning supplies and give your AC the care it deserves—your home (and your wallet) will thank you.

