Cleaning your LG air conditioner filter regularly is essential for optimal performance, energy efficiency, and indoor air quality. This guide walks you through the entire process—from preparation to reassembly—so you can maintain your AC like a pro.
Key Takeaways
- Regular cleaning improves efficiency: A clean filter allows better airflow, reducing strain on your AC and lowering energy bills.
- Frequency matters: Clean the filter every 2–4 weeks during heavy use, and at least once a season otherwise.
- Turn off power first: Always disconnect power before cleaning to prevent electrical hazards.
- Use gentle cleaning methods: Avoid harsh chemicals; mild soap and water are usually sufficient.
- Check for damage: Inspect the filter for tears or warping—replace if necessary to maintain performance.
- Proper reassembly is crucial: Ensure the filter is dry and correctly installed to avoid operational issues.
- Maintenance extends lifespan: Routine care helps your LG air conditioner run smoothly for years.
How to Clean a LG Air Conditioner Filter: A Complete Step-by-Step Guide
Keeping your LG air conditioner running efficiently isn’t just about setting the right temperature—it’s about regular maintenance. One of the most important tasks? Cleaning the air filter. Over time, dust, pet dander, pollen, and other airborne particles build up on the filter, restricting airflow and forcing your AC to work harder. This not only increases energy consumption but can also lead to poor cooling performance and even system breakdowns.
In this comprehensive guide, you’ll learn exactly how to clean a LG air conditioner filter safely and effectively. Whether you have a window unit, a split-system AC, or a portable LG model, the principles are similar. We’ll walk you through every step—from turning off the power to reassembling the unit—and share expert tips to help you maintain peak performance all season long.
By the end of this guide, you’ll know how often to clean your filter, what tools you need, and how to spot signs that your filter needs replacing. Let’s get started!
Why Cleaning Your LG Air Conditioner Filter Matters
Before diving into the cleaning process, it’s important to understand why this simple task has such a big impact. The air filter in your LG air conditioner acts as the first line of defense against indoor air pollutants. As air circulates through the unit, the filter traps dust, mold spores, pet hair, and other allergens.
When the filter becomes clogged, several problems can arise:
– Reduced airflow: A dirty filter restricts the amount of air that can pass through, making your AC less effective at cooling your space.
– Higher energy bills: Your unit has to run longer and harder to achieve the desired temperature, increasing electricity usage.
– Poor indoor air quality: A clogged filter can’t trap pollutants effectively, allowing them to recirculate in your home.
– Frozen coils: Restricted airflow can cause the evaporator coils to freeze, leading to system malfunctions.
– Shortened lifespan: Constant strain on the compressor and fan motor can lead to premature wear and costly repairs.
LG recommends cleaning the filter every two weeks during peak usage seasons (like summer) and at least once a month during lighter use. If you have pets, allergies, or live in a dusty environment, you may need to clean it even more frequently.
Tools and Supplies You’ll Need
Thankfully, cleaning your LG air conditioner filter doesn’t require any special tools. Most of what you need is likely already in your home. Here’s a quick checklist:
- Soft brush or vacuum cleaner with brush attachment: For gently removing loose dust and debris.
- Mild dish soap: Avoid harsh chemicals or bleach, which can damage the filter material.
- Lukewarm water: Hot water can warp or melt certain filter types.
- Clean towel or paper towels: For drying the filter thoroughly.
- Gloves (optional): To protect your hands from dust and grime.
- Replacement filter (if needed): Keep a spare on hand in case the current one is damaged.
Having these items ready before you start will make the process smoother and more efficient.
Step 1: Turn Off the Power
Safety should always come first. Before you touch any part of your air conditioner, make sure the unit is completely powered off. This prevents accidental startup and reduces the risk of electric shock.
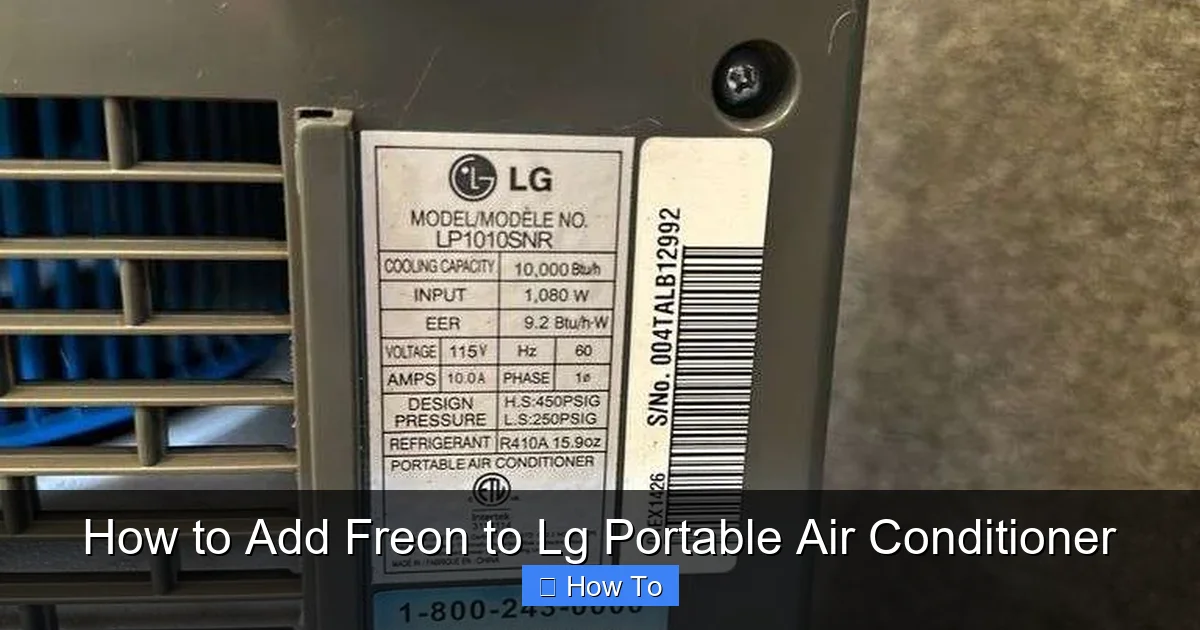
For Window and Portable Units
Unplug the unit from the wall outlet. If your portable AC has a remote, remove the batteries or turn it off at the source. Wait at least 10–15 minutes before proceeding to ensure all internal components have powered down.
Visual guide about How to Clean a Lg Air Conditioner Filter
Image source: m.media-amazon.com
For Split-System (Ductless) Units
Turn off the unit using the remote control, then switch off the circuit breaker that powers the indoor and outdoor units. This double-check ensures no electricity is flowing to the system. If you’re unsure which breaker controls your AC, consult your home’s electrical panel or the unit’s installation manual.
Never skip this step—even if the unit appears off, residual power could still pose a risk.
Step 2: Locate the Air Filter
The location of the air filter varies depending on your LG air conditioner model. Here’s how to find it in the most common types:
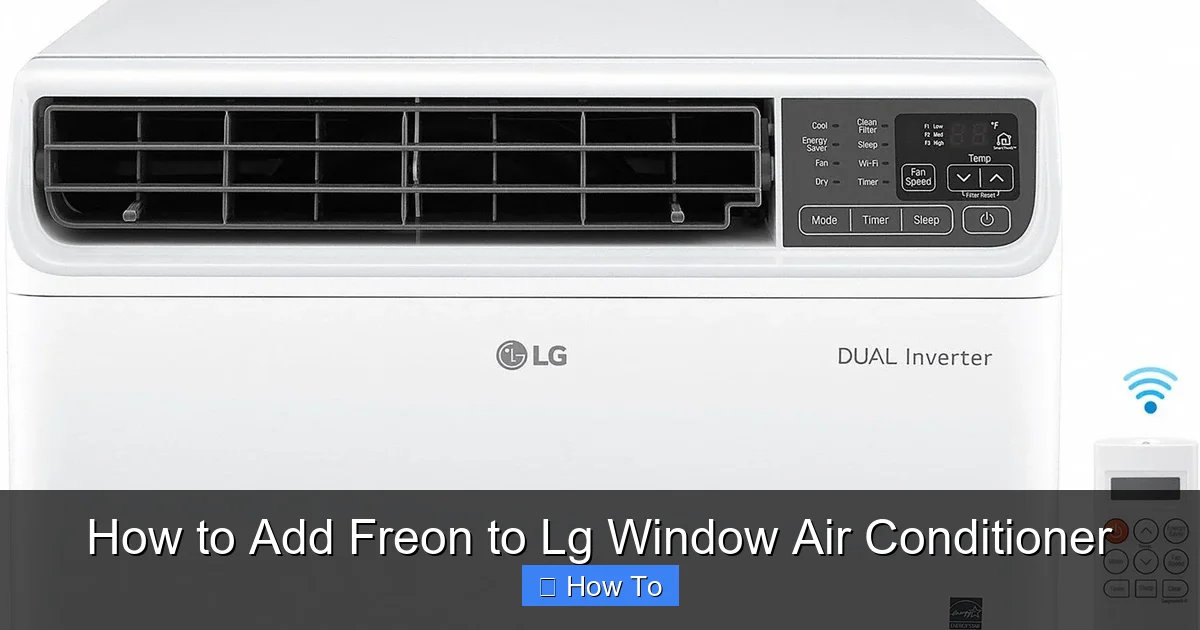
Window Air Conditioners
The filter is usually located behind the front grille. Look for a plastic or metal panel on the front of the unit. It’s often held in place by clips or screws. Gently pull or unscrew the grille to access the filter.
Split-System (Wall-Mounted) Units
The filter is typically behind the front panel of the indoor unit. Open the panel by lifting it from the bottom or side—most LG models have a latch or hinge system. The filter will be a flat, rectangular panel that slides out easily.
Portable Air Conditioners
Check the back or side of the unit. Some models have a removable vent cover that reveals the filter. Others may require you to remove a side panel. Refer to your user manual if you’re unsure.
Once you’ve located the filter, take a moment to observe its condition. Is it visibly dirty? Does it look warped or torn? This will help you decide whether a simple cleaning is enough or if a replacement is needed.
Step 3: Remove the Filter
Carefully remove the filter from its housing. Most LG filters are designed to slide out without tools, but some may have clips or tabs that need to be released.
Handling the Filter
Hold the filter by its edges to avoid damaging the delicate mesh. If it’s very dirty, wear gloves to protect your hands. Gently pull it straight out—don’t force it, as this could bend or break the frame.
Inspecting for Damage
While the filter is out, check for signs of wear:
- Tears or holes: These allow unfiltered air to bypass the filter.
- Warping or bending: A misshapen filter won’t fit properly and may cause air leaks.
- Excessive mold or mildew: This indicates moisture buildup and may require professional cleaning or replacement.
If you notice any of these issues, it’s time to replace the filter. LG offers genuine replacement filters for most models, which you can order online or purchase from an authorized dealer.
Step 4: Vacuum Loose Debris
Before washing, remove as much loose dust and debris as possible. This prevents clogging your sink or shower drain and makes the washing step more effective.
Using a Vacuum Cleaner
Attach a soft brush nozzle to your vacuum and gently run it over both sides of the filter. Focus on the side that faces the air intake—this is usually the dirtiest. Avoid pressing too hard, as this can push dirt deeper into the mesh.
Alternative: Use a Soft Brush
If you don’t have a vacuum, use a clean, dry paintbrush or makeup brush to sweep away surface dust. Work in one direction to avoid redistributing dirt.
This step can remove up to 70% of the buildup, making the next step much easier.
Step 5: Wash the Filter
Now it’s time to give the filter a thorough cleaning. The goal is to remove embedded dirt without damaging the filter material.
Prepare the Cleaning Solution
Fill a sink, bathtub, or large basin with lukewarm water. Add a few drops of mild dish soap—just enough to create light suds. Avoid using bleach, ammonia, or abrasive cleaners, as these can degrade the filter over time.
Soak and Gently Scrub
Submerge the filter completely and let it soak for 10–15 minutes. This helps loosen stubborn grime. After soaking, use your hands or a soft cloth to gently rub both sides of the filter. Focus on areas with heavy buildup, but avoid scrubbing too hard.
Rinse Thoroughly
Rinse the filter under cool, running water until all soap residue is gone. Hold it up to the light to check for cleanliness—no suds or dirt should remain. If necessary, repeat the soaking and rinsing process.
Never use a pressure washer or high-pressure hose, as this can tear the filter mesh.
Step 6: Dry the Filter Completely
Drying is a critical step. A damp filter can promote mold growth and may damage your AC unit if installed while wet.
Air-Drying Method
Place the filter on a clean, dry towel in a well-ventilated area away from direct sunlight. Let it air-dry for at least 2–4 hours, or until completely dry to the touch. You can also use a fan to speed up the process.
Avoid These Drying Methods
- Hair dryers or heat guns: High heat can warp or melt the filter.
- Direct sunlight: UV rays may degrade certain filter materials over time.
- Placing near heaters or radiators: Excessive heat can damage the frame.
Never reinstall a wet or damp filter—this can lead to mold, odors, and reduced efficiency.
Step 7: Reinstall the Filter
Once the filter is completely dry, it’s time to put it back in place.
Check the Direction
Most LG filters have an arrow or label indicating the correct airflow direction. Make sure the arrow points toward the unit (usually inward). Installing it backward can restrict airflow and reduce performance.
Slide It Back In
Gently slide the filter back into its housing, ensuring it fits snugly without forcing it. If it doesn’t go in easily, double-check the orientation and alignment.
Secure the Cover
Replace the front grille or panel and secure any clips or screws. Make sure everything is tightly closed to prevent air leaks.
A properly installed filter ensures optimal airflow and protects your AC’s internal components.
Step 8: Restore Power and Test
With the filter back in place, it’s time to turn the power back on and test the unit.
Restore Power
Plug in window or portable units. For split systems, turn the circuit breaker back on, then use the remote to power up the unit.
Run a Test Cycle
Set the AC to cool mode and let it run for 10–15 minutes. Listen for unusual noises and check that air is flowing smoothly from the vents. If everything sounds and feels normal, you’re good to go!
If you notice reduced airflow, strange smells, or the unit isn’t cooling properly, double-check that the filter is installed correctly and completely dry.
How Often Should You Clean Your LG Air Conditioner Filter?
The frequency of cleaning depends on several factors:
- Usage: Clean every 2 weeks during heavy use (summer), and monthly during lighter seasons.
- Environment: Homes with pets, smokers, or high pollen counts may need weekly cleaning.
- Allergies: If you or family members have allergies, clean more often to maintain air quality.
- Filter type: Some LG models come with washable filters, while others use disposable ones. Washable filters can be cleaned and reused, while disposable ones should be replaced every 1–3 months.
Set a reminder on your phone or calendar to stay on track. Regular maintenance prevents problems before they start.
Troubleshooting Common Issues
Even with proper cleaning, you might encounter issues. Here’s how to handle them:
Filter Still Looks Dirty After Cleaning
This could mean the filter is old or damaged. Over time, filters lose their ability to trap particles effectively. If cleaning doesn’t restore performance, replace the filter with a new one.
Airflow Is Still Weak
Check for other blockages, such as dirty evaporator coils or blocked vents. Also, ensure the filter is installed correctly and the unit isn’t undersized for the room.
Unusual Odors After Cleaning
A musty smell may indicate mold in the unit. Clean the coils and drain pan, or consider a professional deep clean. Never ignore persistent odors—they can affect health.
Filter Doesn’t Fit Properly
Make sure you’re using the correct filter model for your LG unit. Using the wrong size can cause air leaks and reduce efficiency. Check your user manual or LG’s website for the right part number.
Tips for Maintaining Your LG Air Conditioner
Cleaning the filter is just one part of AC maintenance. Here are a few extra tips to keep your unit in top shape:
- Clean the exterior: Wipe down the front grille and vents with a damp cloth monthly.
- Check the drain line: Ensure it’s not clogged to prevent water leaks.
- Inspect the coils: Dusty evaporator or condenser coils reduce efficiency—clean them annually.
- Schedule professional maintenance: Have a technician service your unit once a year for deep cleaning and system checks.
- Use a programmable thermostat: This helps reduce runtime and saves energy.
A little effort goes a long way in extending the life of your LG air conditioner.
Conclusion
Cleaning your LG air conditioner filter is a simple yet powerful way to improve performance, save energy, and breathe cleaner air. By following this step-by-step guide, you can keep your AC running smoothly all year long. Remember to clean the filter regularly, use gentle cleaning methods, and always ensure it’s completely dry before reinstalling.
With just a few minutes of maintenance every few weeks, you’ll enjoy cooler temperatures, lower bills, and peace of mind knowing your unit is in great condition. So grab your supplies, follow these steps, and give your LG air conditioner the care it deserves.