
Attaching the hose to your LG portable air conditioner is essential for proper ventilation and cooling performance. This guide walks you through each step—from gathering tools to securing the connection—ensuring a leak-free, efficient setup.
Key Takeaways
- Proper hose attachment prevents hot air from re-entering your room: A secure connection ensures exhaust air is vented outside, maintaining cooling efficiency.
- Use the correct hose and adapter for your LG model: Always check your user manual or model number to ensure compatibility.
- Install the window kit before attaching the hose: The window bracket supports the hose and prevents gaps that cause air leaks.
- Check for kinks or bends in the hose: A straight, unobstructed hose allows maximum airflow and prevents overheating.
- Secure all connections with clamps or tape: This minimizes air leakage and improves overall unit performance.
- Perform a test run after installation: Listen for unusual noises and check for warm air escaping back into the room.
- Regular maintenance extends hose life: Clean and inspect the hose every few months to prevent mold, dust buildup, or damage.
How to Attach Hose to LG Portable Air Conditioner
If you’ve just unboxed your LG portable air conditioner, you’re probably excited to cool down your space. But before you hit the power button, there’s one critical step you can’t skip: attaching the exhaust hose. This flexible tube is the lifeline of your portable AC—it vents hot air outside so your unit can keep your room cool and comfortable.
Many users overlook this step or rush through it, leading to poor cooling, increased energy bills, and even unit overheating. But don’t worry—this guide will walk you through the entire process, from preparation to final checks, so your LG portable air conditioner runs smoothly from day one.
By the end of this guide, you’ll know exactly how to attach the hose to your LG portable air conditioner, avoid common mistakes, and maintain your unit for long-term performance. Whether you’re a first-time user or just need a refresher, these clear, step-by-step instructions will make the process simple and stress-free.
Why the Exhaust Hose Matters
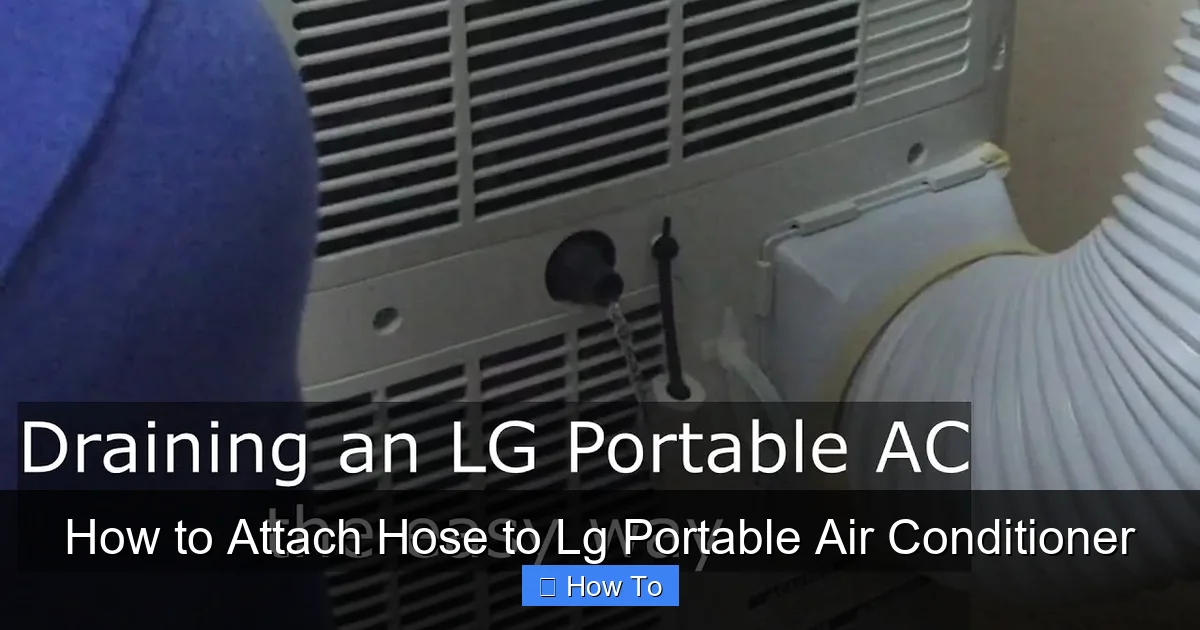
Visual guide about How to Attach Hose to Lg Portable Air Conditioner
Image source: i.ytimg.com
Before diving into the installation, it’s important to understand why the exhaust hose is so crucial. Portable air conditioners work by pulling in warm indoor air, cooling it using a refrigeration cycle, and then expelling the hot air outside through the hose. Without a properly attached hose, that hot air has nowhere to go—and it can end up blowing back into your room.
This not only reduces cooling efficiency but can also cause your unit to overheat or shut down as a safety precaution. In extreme cases, poor ventilation can lead to moisture buildup, mold growth, or even damage to internal components.
Think of the exhaust hose like the exhaust pipe on a car—it’s essential for releasing waste gases so the engine can keep running. The same principle applies here. A well-installed hose ensures your LG portable AC operates at peak performance, keeps your energy costs low, and extends the life of your appliance.
What You’ll Need
Before you begin, gather the following tools and materials. Most of these come included with your LG portable air conditioner, but it’s good to double-check your box.
- LG portable air conditioner unit
- Exhaust hose (usually 5–6 feet long)
- Hose adapter or connector (attaches hose to unit)
- Window vent kit (includes window bracket, adjustable panels, and screws)
- Hose clamps or duct tape (for extra security)
- Measuring tape
- Screwdriver (if needed for window kit)
- Scissors or utility knife (to trim window panel if necessary)
- Gloves (optional, to protect hands)
If any of these items are missing, contact LG customer support or check your user manual for replacement part numbers. Using incompatible parts can void your warranty or cause installation issues.
Step 1: Choose the Right Location
The first step in attaching your hose is selecting the best spot for your portable air conditioner. This decision affects both performance and convenience.
Look for a Window or Sliding Door
Your exhaust hose needs a way to vent hot air outside. The most common options are a standard window (single or double-hung) or a sliding glass door. Avoid placing the unit too far from the exit point—most hoses are only 5 to 6 feet long, and stretching them too far can cause kinks or reduce airflow.
Ensure Clearance Around the Unit
Your LG portable AC needs space to breathe. Leave at least 12–18 inches of clearance on all sides, especially near the intake and exhaust vents. Don’t place it behind furniture, curtains, or in a cramped corner. Good airflow helps the unit cool efficiently and prevents overheating.
Check for Power Access
Make sure there’s a nearby electrical outlet. Avoid using extension cords if possible, as they can overheat or reduce power delivery. If you must use one, choose a heavy-duty, grounded cord rated for at least 15 amps.
Consider Noise and Accessibility
Portable ACs can be noisy, so avoid placing them in bedrooms or quiet offices unless necessary. Also, think about how often you’ll need to empty the water tank (if your model has one). Choose a location that’s easy to access for maintenance.
Step 2: Install the Window Vent Kit
The window vent kit is the bridge between your indoor space and the outdoors. It holds the exhaust hose in place and seals the opening to prevent air leaks.
Measure Your Window Opening
Open your window or sliding door to the desired height. Use a measuring tape to determine the width of the opening. Most LG window kits are adjustable, but you may need to trim the included panels to fit.
Assemble the Window Bracket
Lay out the components of the window kit. Typically, it includes a main bracket, adjustable side panels, and screws. Slide the side panels into the main bracket and extend them to match your window width. Tighten the screws to lock them in place.
Secure the Bracket in the Window
Place the assembled bracket into the window opening. Close the window or door firmly onto the bracket to hold it in place. If your window doesn’t clamp down securely, use the included screws to anchor the bracket to the window frame. Be careful not to overtighten, as this can crack glass or damage the frame.
Seal Any Gaps
Even with a tight fit, small gaps may remain. Use weatherstripping tape or foam sealant to fill these spaces. This prevents hot air from sneaking back into your room and improves energy efficiency.
Test the Stability
Give the bracket a gentle tug to make sure it’s secure. It should not move or wobble. If it feels loose, reinforce it with additional screws or tape.
Step 3: Prepare the Exhaust Hose
Now that your window is ready, it’s time to prepare the exhaust hose for connection.
Uncoil the Hose
Remove the hose from its packaging and uncoil it fully. Let it sit for a few minutes to relax any tight bends. A kinked or twisted hose restricts airflow and reduces cooling power.
Inspect for Damage
Check the entire length of the hose for cracks, holes, or weak spots. Even small leaks can significantly impact performance. If you find damage, contact LG for a replacement.
Attach the Hose Adapter
Most LG portable ACs come with a plastic adapter that connects the hose to the unit. Slide one end of the hose over the adapter and secure it with a hose clamp or duct tape. Make sure the connection is tight and airtight.
Label the Ends (Optional)
To avoid confusion later, use a marker to label one end “Unit” and the other “Window.” This helps during reinstallation or maintenance.
Step 4: Connect the Hose to the Air Conditioner
This is the moment of truth—attaching the hose to your LG portable air conditioner.
Locate the Exhaust Port
On the back or side of your unit, you’ll find a round or rectangular exhaust port. This is where the hose connects. Refer to your user manual if you’re unsure—port locations vary by model.
Insert the Adapter into the Port
Take the hose adapter (already attached to the hose) and push it firmly into the exhaust port. You should feel it click or seat securely. Some models have a locking mechanism—rotate the adapter slightly to lock it in place.
Secure the Connection
Even if the adapter clicks in, use a hose clamp or strong duct tape to reinforce the connection. This prevents the hose from popping off during operation, especially if the unit vibrates or moves.
Double-Check the Fit
Give the hose a gentle pull to ensure it’s firmly attached. If it comes loose easily, reseat the adapter and add extra tape or a second clamp.
Step 5: Route the Hose to the Window
With the hose connected to the unit, it’s time to guide it toward the window.
Keep the Hose Straight
Avoid sharp bends, twists, or pinching the hose. A straight path allows maximum airflow. If the hose must bend, use a gentle curve—never fold it in half.
Use Hose Supports (Optional)
If the hose sags or drags on the floor, use adhesive hooks, Velcro straps, or foam pipe insulation to support it. This reduces strain on the connections and prevents tripping hazards.
Minimize Length
Only extend the hose as far as needed. Extra length increases resistance and reduces efficiency. If your window is far from the unit, consider relocating the AC or using a longer hose (check LG compatibility first).
Step 6: Attach the Hose to the Window Kit
Now it’s time to connect the other end of the hose to the window bracket.
Insert the Hose into the Bracket
Push the open end of the hose through the hole in the window bracket. Make sure it goes all the way through and sits flush against the outdoor side.
Secure with Clamps or Tape
Use a hose clamp or duct tape to fasten the hose to the bracket. This prevents it from slipping out, especially on windy days.
Seal the Connection
Apply weatherstripping or foam tape around the hose where it meets the bracket. This creates an airtight seal and stops hot air from leaking back inside.
Check for Obstructions
Make sure the hose isn’t blocked by curtains, furniture, or outdoor debris. A clear path ensures smooth airflow.
Step 7: Power On and Test
You’re almost done! Now it’s time to test your setup.
Plug In the Unit
Connect your LG portable air conditioner to a grounded outlet. Avoid power strips or extension cords unless absolutely necessary.
Turn On the AC
Press the power button and set your desired temperature and fan speed. Listen for the compressor to start—this may take a minute.
Listen for Unusual Noises
A properly installed unit should run quietly. If you hear loud rattling, whistling, or grinding, turn it off immediately. These sounds may indicate a loose hose, blocked airflow, or internal issue.
Feel the Airflow
Place your hand near the window bracket. You should feel warm air blowing outside. If you feel cool air or no airflow at all, check for kinks, disconnections, or blockages.
Monitor Cooling Performance
Give the unit 15–20 minutes to cool the room. If it’s not lowering the temperature, revisit your installation steps. Common issues include air leaks, incorrect settings, or a dirty filter.
Troubleshooting Common Issues
Even with careful installation, problems can arise. Here’s how to fix the most common issues.
Hose Keeps Popping Off
This usually means the connection isn’t secure. Reattach the hose, use a tighter clamp, or wrap the joint with duct tape. Ensure the adapter is fully inserted and locked.
Air Leaking from Connections
Check all joints—unit, hose, and window bracket. Seal gaps with weatherstripping or foam tape. A leaky system reduces efficiency and can cause the unit to overwork.
Unit Not Cooling Effectively
First, check the filter—clean or replace it if dirty. Next, ensure the hose isn’t kinked or blocked. Finally, verify that the exhaust air is venting outside, not recirculating.
Water Leaking from the Unit
Some models have a built-in condensate tank that needs emptying. If your unit leaks, check the drain plug or hose. Also, ensure the unit is level—tilting can cause water to spill.
Hose Melting or Warping
This is rare but can happen if the hose is too close to heat sources or exposed to direct sunlight. Reposition the unit or use a heat-resistant hose cover.
Maintenance Tips for Long-Term Performance
To keep your LG portable air conditioner running smoothly, regular maintenance is key.
Clean the Hose Monthly
Dust and debris can build up inside the hose, reducing airflow. Disconnect it monthly and wipe the interior with a damp cloth. Let it dry completely before reattaching.
Inspect for Damage
Check the hose and connections every few months for cracks, holes, or wear. Replace damaged parts promptly.
Clean the Air Filter
A dirty filter restricts airflow and reduces cooling. Remove and clean the filter every 2–4 weeks, depending on usage. Most LG filters are washable—rinse with water and let dry.
Store Properly Off-Season
When not in use, coil the hose loosely and store it in a dry, cool place. Avoid folding or crushing it, as this can cause permanent kinks.
Schedule Professional Service
Once a year, consider having your unit inspected by a certified technician. They can check refrigerant levels, clean internal components, and ensure everything is in working order.
Conclusion
Attaching the hose to your LG portable air conditioner might seem like a small step, but it’s one of the most important. A properly installed hose ensures efficient cooling, prevents overheating, and extends the life of your unit. By following this guide—choosing the right location, installing the window kit, securing the hose, and performing regular maintenance—you’ll enjoy reliable, energy-efficient cooling all season long.
Don’t rush the process. Take your time, double-check each connection, and test the system thoroughly. If you encounter issues, refer back to the troubleshooting section or contact LG support. With a little care and attention, your portable AC will keep you cool and comfortable for years to come.
Remember: a well-vented unit is a happy unit. So grab your tools, follow these steps, and enjoy the refreshing breeze!

