
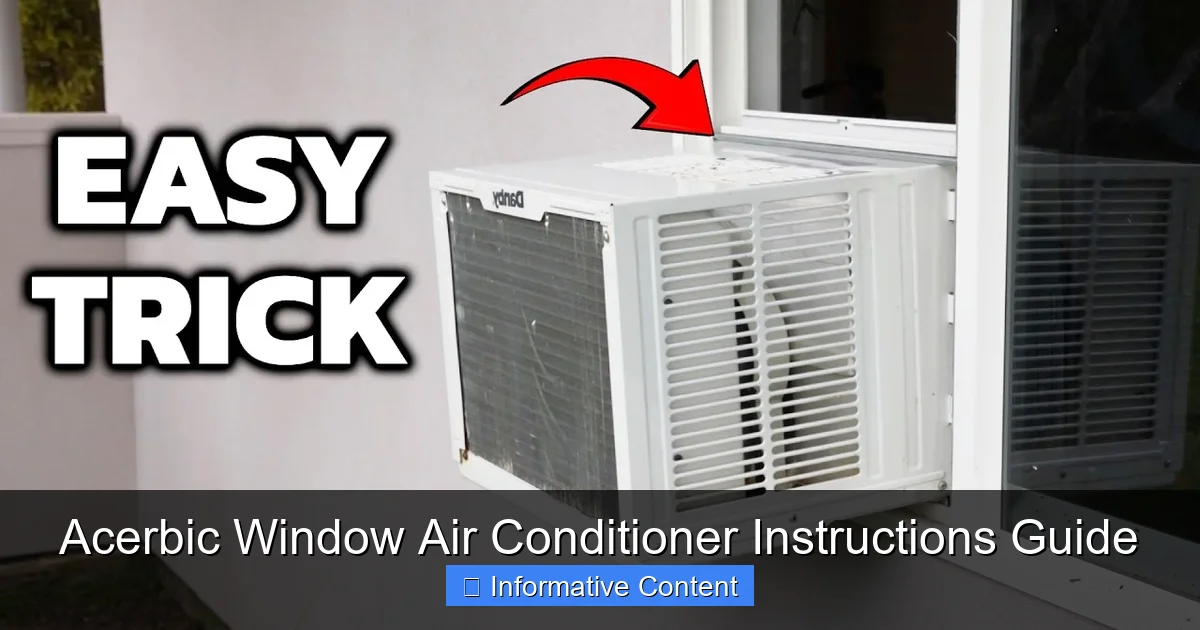
Featured image for acerbic window air conditioner instructions
Image source: i.ytimg.com
Master your Acerbic window air conditioner with clear, step-by-step instructions designed for quick setup, optimal performance, and long-term efficiency. From secure window installation to intuitive control settings, this guide ensures you beat the heat safely and effectively—no guesswork required.
Key Takeaways
- Read the manual first: Always consult the manufacturer’s guide before installation or use.
- Ensure proper window fit: Measure your window to confirm the unit fits securely and safely.
- Seal gaps effectively: Use included weatherstripping to prevent air leaks and improve efficiency.
- Level the unit correctly: Adjust support brackets to maintain a slight downward tilt for drainage.
- Clean filters monthly: Remove and clean filters regularly to maintain airflow and performance.
- Turn off before maintenance: Always unplug the unit before cleaning or servicing any components.
📑 Table of Contents
Acerbic Window Air Conditioner Instructions Guide
So, you’ve just brought home a brand-new window air conditioner—maybe it’s your first time installing one, or maybe you’re upgrading from an older model. Either way, you’re probably staring at the box, the instruction manual, and a pile of parts, wondering, “Where do I even start?” Trust me, I’ve been there. The first time I installed a window AC unit, I spent an entire Saturday wrestling with brackets, sealing gaps with duct tape (not recommended!), and nearly dropping the thing out the window. Spoiler alert: it didn’t go well.
But here’s the good news: installing and using an acerbic window air conditioner doesn’t have to be a stressful ordeal. Whether you’re dealing with the crisp chill of a well-maintained unit or navigating the quirks of a slightly older model, having clear, step-by-step instructions can make all the difference. In this guide, I’ll walk you through everything you need to know—from unboxing and installation to daily use, maintenance, and troubleshooting. Think of this as your friendly neighbor who’s done it all (and made all the mistakes so you don’t have to).
Understanding Your Acerbic Window Air Conditioner
Before you even think about lifting that unit into your window, it’s important to understand what you’re working with. The term “acerbic” might sound a bit unusual when paired with “window air conditioner,” but in this context, it’s likely a brand or model name—perhaps a playful nod to the sharp, refreshing coolness the unit delivers. Regardless of the branding, most window AC units operate on similar principles, and understanding the basics will help you get the most out of your investment.
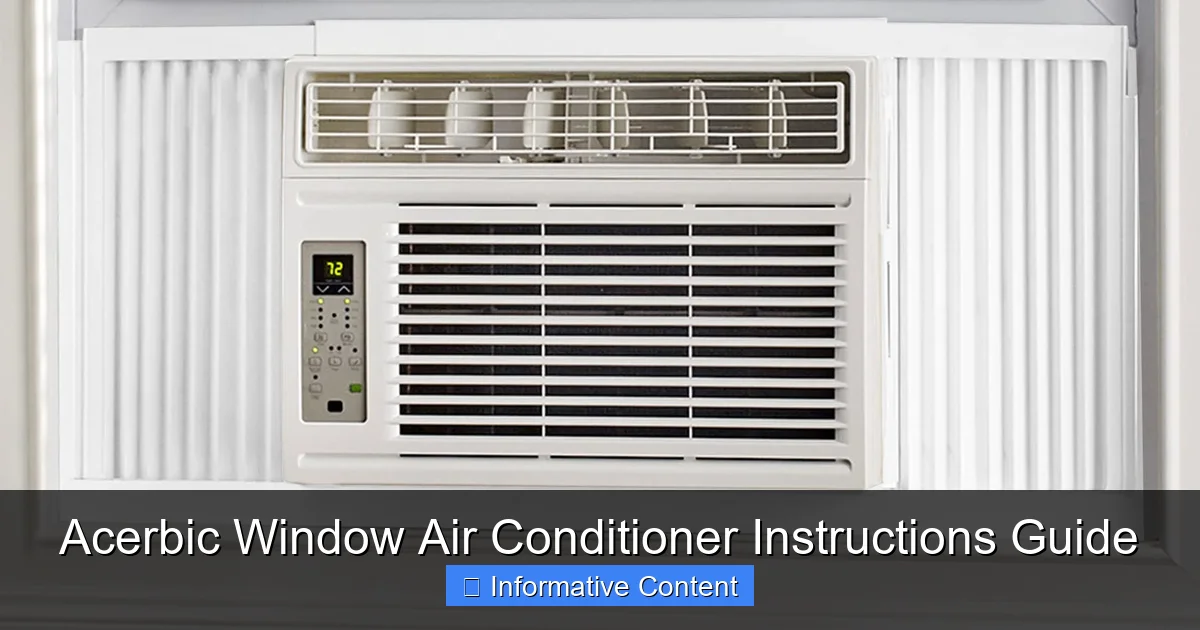
Visual guide about acerbic window air conditioner instructions
Image source: m.media-amazon.com
What Is a Window Air Conditioner?
A window air conditioner is a self-contained cooling system designed to fit into a standard window frame. It pulls in warm air from the room, cools it using a refrigerant cycle, and expels the heat outside through the back of the unit. These units are ideal for cooling single rooms or small apartments and are generally more affordable and energy-efficient than central air systems.
Key Components of Your Acerbic Unit
Every window AC unit—including the acerbic window air conditioner—comes with several essential parts. Familiarizing yourself with these will make installation and troubleshooting much easier:
- Compressor: The heart of the system, responsible for circulating refrigerant.
- Evaporator and Condenser Coils: These transfer heat between the indoor and outdoor air.
- Fan: Blows air over the coils to distribute cool air into the room.
- Thermostat: Allows you to set and maintain your desired temperature.
- Air Filter: Traps dust, pollen, and other particles to keep the air clean.
- Window Mounting Kit: Includes brackets, side panels, and seals to secure the unit in place.
Why Choose a Window AC Unit?
Window units like the acerbic window air conditioner offer several advantages:
- Cost-Effective: Typically cheaper to purchase and install than central air or ductless mini-splits.
- Energy Efficient: Modern models often come with ENERGY STAR ratings, meaning they use less electricity.
- Easy to Install: Most can be set up in under an hour with basic tools.
- Portable: You can move them from room to room (though not recommended once installed).
That said, they’re not perfect. Window units can be noisy, may block natural light, and require seasonal removal in colder climates. But for many homeowners and renters, the benefits far outweigh the drawbacks—especially when you follow the right acerbic window air conditioner instructions.
Pre-Installation Preparation
You wouldn’t build a house without checking the foundation, right? The same logic applies to installing your window AC. Taking the time to prepare properly can save you hours of frustration—and potentially prevent damage to your window, wall, or the unit itself.
Check Your Window Compatibility
Not all windows are created equal. Before you buy or install your acerbic window air conditioner, make sure your window can support it. Here’s what to look for:
- Window Type: Double-hung, single-hung, and sliding windows are ideal. Casement windows may require special brackets.
- Window Size: Measure the width and height of the opening. Most window AC units require a minimum width of 23–26 inches and a height of 14–18 inches.
- Structural Strength: Ensure the window frame and sill can support the weight of the unit (typically 50–80 pounds).
Gather the Right Tools and Materials
You don’t need a full toolbox, but having the essentials on hand will make the process smoother. Here’s a quick checklist:
- Measuring tape
- Level
- Screwdriver (Phillips and flathead)
- Drill (optional, for securing brackets)
- Foam weather stripping or sealant
- Support brackets (if not included)
- Helper (seriously—window AC units are heavy!)
Read the Manual (Yes, Really!)
I know, I know—reading the manual isn’t the most exciting part of the process. But the acerbic window air conditioner instructions are packed with model-specific details that can prevent common mistakes. For example, some units require a specific tilt angle for proper drainage, while others have unique bracket configurations. Skipping this step is like trying to assemble IKEA furniture without the diagram—possible, but painful.
Plan for Safety and Accessibility
Safety should always come first. Make sure:
- The window is easily accessible from both inside and outside (if possible).
- There’s a nearby electrical outlet—preferably on a dedicated circuit to avoid overloading.
- You have a clear path to carry the unit without tripping or straining your back.
- Children and pets are kept away during installation.
Pro tip: If you live in an apartment or shared building, check with your landlord or property manager before making any modifications to windows or walls.
Step-by-Step Installation Guide
Now for the main event: installing your acerbic window air conditioner. Don’t worry—I’ll walk you through it like we’re standing right there together, tools in hand.
Step 1: Prepare the Window
Start by opening the window and removing any screens or obstacles. Clean the sill and frame to ensure a tight seal. If your window has a storm window, you may need to remove it temporarily or install a special bracket system.
Step 2: Install the Support Bracket (If Needed)
Some units come with an L-shaped support bracket that attaches to the windowsill. If yours does:
- Position the bracket so it extends slightly beyond the sill.
- Use a level to ensure it’s even.
- Secure it with screws (drill pilot holes first to avoid splitting the wood).
If your model doesn’t include a bracket, you can purchase one separately or use wooden blocks for support—just make sure they’re sturdy and level.
Step 3: Attach the Side Panels
Most window AC units come with extendable side panels that fill the gap between the unit and the window frame. Slide these into place on both sides of the unit before lifting it into the window. This helps prevent air leaks and improves efficiency.
Step 4: Lift and Position the Unit
This is the tricky part—so take your time. With a helper, carefully lift the unit and slide it into the window opening. The back of the unit should extend slightly outside, while the front sits level inside the room.
- Make sure the unit is centered and level.
- Lower the window sash until it rests on top of the AC unit.
- Secure the unit to the window frame using the provided screws or brackets.
Never install a window AC unit without securing it properly. A falling unit can cause serious injury or property damage.
Step 5: Seal the Gaps
Even small gaps around the unit can let in hot air and reduce cooling efficiency. Use foam weather stripping or silicone caulk to seal any openings between the unit and the window frame. Pay special attention to the top and sides.
Step 6: Plug It In and Test
Once everything is secure, plug the unit into a grounded outlet. Turn it on and set the thermostat to a cool temperature. Listen for unusual noises and check for proper airflow. If the unit doesn’t start, double-check the power connection and circuit breaker.
Congratulations—you’ve successfully installed your acerbic window air conditioner! Now it’s time to enjoy that sweet, cool air.
Operating Your Acerbic Window Air Conditioner
Installation is just the beginning. To get the most out of your unit, you’ll want to understand how to operate it efficiently and safely.
Understanding the Control Panel
Most acerbic window air conditioners come with a simple control panel featuring:
- Power Button: Turns the unit on and off.
- Mode Selector: Choose between Cool, Fan, Dry, or Heat (if equipped).
- Temperature Control: Adjust the desired temperature (usually in 1-degree increments).
- Fan Speed: Set to Low, Medium, or High depending on your comfort needs.
- Timer: Schedule the unit to turn on or off at specific times.
Some models also include remote controls or smartphone apps for added convenience. If yours does, pair the remote according to the acerbic window air conditioner instructions to avoid connectivity issues.
Setting the Right Temperature
For optimal comfort and energy savings, set your thermostat between 72°F and 78°F. Every degree lower can increase energy consumption by up to 8%. Use a fan in conjunction with the AC to circulate cool air and reduce the load on the unit.
Using the Fan and Dry Modes
The Fan mode circulates air without cooling—great for mild days or improving air circulation. The Dry mode reduces humidity without significantly lowering the temperature, which is helpful in damp climates.
Energy-Saving Tips
Want to keep your electricity bill in check? Try these tips:
- Close curtains or blinds during the day to block sunlight.
- Seal windows and doors to prevent cool air from escaping.
- Use the timer to turn off the unit when you’re not home.
- Clean the air filter monthly to maintain efficiency.
By following these simple practices, you can enjoy a cool, comfortable room without breaking the bank.
Maintenance and Troubleshooting
Like any appliance, your acerbic window air conditioner needs regular care to perform at its best. A little maintenance goes a long way in preventing breakdowns and extending the life of your unit.
Monthly Maintenance Tasks
Set a reminder on your phone to perform these quick checks every month:
- Clean the Air Filter: Remove the filter, vacuum it, or wash it with mild soap and water. Let it dry completely before reinstalling.
- Check for Obstructions: Make sure the outdoor vents aren’t blocked by leaves, dirt, or debris.
- Inspect the Seal: Look for gaps around the unit and reapply weather stripping if needed.
Seasonal Deep Cleaning
At the start and end of each cooling season, give your unit a thorough cleaning:
- Unplug the unit and remove it from the window (if possible).
- Wipe down the exterior with a damp cloth.
- Use a soft brush or vacuum to clean the evaporator and condenser coils.
- Check the drain hole for clogs and clear it with a pipe cleaner if necessary.
Common Problems and Fixes
Even with proper care, issues can arise. Here are a few common problems and how to address them:
- Unit Won’t Turn On: Check the power cord, outlet, and circuit breaker. Ensure the thermostat is set correctly.
- Not Cooling Enough: Clean the filter and coils. Make sure the unit is the right size for the room.
- Water Leaking Inside: Check the drain hole and tilt angle. The unit should slope slightly backward for proper drainage.
- Unusual Noises: Rattling may indicate loose parts; grinding could signal a motor issue. Turn off the unit and consult a technician.
If you’re unsure about any repair, it’s always best to contact a professional. Attempting complex fixes without experience can void your warranty or cause further damage.
Performance Comparison: Acerbic vs. Other Brands
When shopping for a window air conditioner, it’s natural to compare models. Below is a quick comparison of the acerbic window air conditioner with two popular competitors, based on key performance metrics.
| Feature | Acerbic Model X | Brand A CoolBreeze 6000 | Brand B ArcticFlow Pro |
|---|---|---|---|
| Cooling Capacity (BTUs) | 8,000 | 8,000 | 10,000 |
| Energy Efficiency Ratio (EER) | 12.1 | 11.8 | 12.5 |
| Noise Level (dB) | 52 | 55 | 50 |
| Remote Control | Yes | Yes | Yes |
| Wi-Fi/App Control | No | Yes | Yes |
| Warranty | 2 years | 1 year | 3 years |
| Price (Approx.) | $249 | $279 | $329 |
As you can see, the acerbic window air conditioner holds its own in terms of efficiency and value. While it lacks smart features, it offers solid performance at a competitive price—perfect for those who prioritize function over frills.
Conclusion
Installing and using an acerbic window air conditioner doesn’t have to be a daunting task. With the right preparation, clear instructions, and a bit of patience, you can enjoy cool, comfortable air all summer long. From understanding your unit’s components to mastering the installation process and maintaining it properly, this guide has covered everything you need to know.
Remember, the key to success is attention to detail. Follow the acerbic window air conditioner instructions carefully, don’t skip the safety steps, and don’t hesitate to ask for help when needed. And once your unit is up and running, take pride in a job well done—you’ve just saved yourself a service call and gained valuable DIY experience.
So go ahead, crank up that cool air, and enjoy the refreshing breeze. Your home deserves it.
Frequently Asked Questions
How do I install my Acerbic window air conditioner properly?
Follow the Acerbic window air conditioner instructions to secure the unit in your window frame, ensuring the side panels extend fully for insulation. Always tilt the unit slightly backward (about 5 degrees) for proper drainage and stability.
Why is my Acerbic AC not cooling effectively?
Check if the air filter is clogged or if the thermostat is set correctly. Also, verify that the exhaust hose or window seal isn’t leaking hot air back into the room.
Can I use the Acerbic window air conditioner in a sliding window?
Yes, but you’ll need a sliding window adapter kit (sold separately) to ensure a snug fit. The Acerbic window air conditioner instructions include guidelines for non-standard installations.
How often should I clean the filter in my Acerbic AC?
Clean the reusable filter every 2–4 weeks during peak usage. Rinse it gently with water and let it dry fully before reinserting to maintain airflow and efficiency.
What does the “E3” error code mean on my Acerbic unit?
The “E3” code indicates a drainage issue—check if the drain plug is loose or if the unit’s tilt is incorrect. Refer to the troubleshooting section of your manual for steps.
Is it safe to leave my Acerbic window AC running overnight?
Yes, the unit has built-in safety features like auto-shutoff and overload protection. Just ensure the area around the AC is clear of obstructions for optimal airflow.

