AC Compressor Tries to Start But Won't
If you're facing issues with your AC compressor not starting up, it can be frustrating and uncomfortable, especially during hot summer days. In this article, we will discuss some common reasons why your AC compressor may try to start but won't, and what steps you can take to troubleshoot and potentially fix the problem.
Possible Causes
Faulty Motor: One of the most common reasons for an AC compressor not starting is a faulty motor. The motor can either have mechanical or electrical issues. If the motor is damaged or worn out, it may struggle to start, resulting in a humming noise but no actual functioning of the compressor.
Blown Fuse or Tripped Circuit Breaker: Another possible cause is a blown fuse or a tripped circuit breaker. Check the unit and your electrical panel to ensure that the fuse or breaker associated with your AC system is not damaged or tripped.
Dirty Air Filters: Dirty or clogged air filters can also prevent the AC compressor from starting up. Make sure to clean or replace your air filters regularly to maintain proper airflow and avoid potential issues with your compressor.
In practice, a humming compressor often points to a failed start capacitor rather than a bad motor, so always test the capacitor first. Dirty filters restrict airflow, causing the evaporator coil to freeze and the compressor to overheat on startup; keeping up with routine filter changes is the simplest preventive step. For more on this, see our guide on ac compressor tries to start but wont 2.

Credit: m.youtube.com – YouTube thumbnail illustrating a compressor that hums but won’t start
https://www.youtube.com/watch?v=GOXgdnRB840
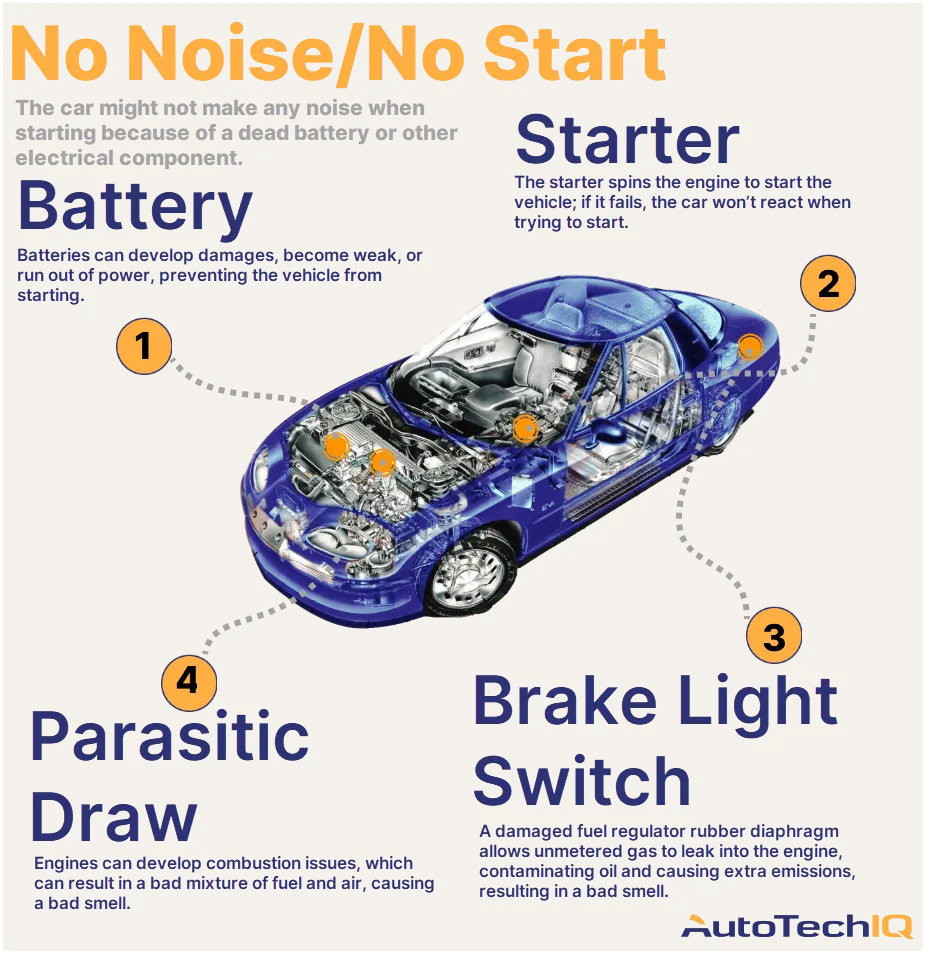
Credit: www.autotechiq.com – Generic diagram of a compressor that receives power but does not engage
Troubleshooting Steps
Check Incoming AC Voltage: Start by checking the AC voltage coming into your compressor. Use a multimeter to measure the voltage and ensure that it is within the acceptable range specified by the manufacturer.
Capacitor Check: Next, check the capacitor. Discharge the capacitor before testing it with a digital multimeter. If the capacitor is faulty, it may need to be replaced.
Wiring Inspection: Inspect the wiring of your AC system to ensure that there are no loose connections or damaged wires. Faulty wiring can prevent the compressor from starting up correctly.
Contactor Examination: Examine the contactor, which is responsible for initiating the compressor's operation. If the contactor is broken or malfunctioning, it may need to be replaced.
Test the System: Once you've completed the necessary repairs or replacements, test your AC system to see if the compressor starts up and runs smoothly.
Safety Precautions Before You Begin
- Turn off power at the disconnect box and the breaker panel before opening any electrical compartment.
- Discharge the capacitor with an insulated screwdriver across its terminals (or a 20 kΩ, 5 W resistor) to avoid a painful shock.
- Wear safety glasses and insulated gloves; refrigerant lines can be under pressure even when the system is off.
Tools You’ll Need
- Digital multimeter (capable of capacitance and microfarad measurement)
- Insulated screwdrivers and nut drivers
- Capacitor discharge tool or 20 kΩ 5 W resistor
- Flashlight and a small mirror for tight contactor inspection
- Manufacturer’s wiring diagram (usually on the inside of the access panel)
Detailed Capacitor Testing Procedure
- After discharging, remove the capacitor leads and note their positions (HERM, FAN, C).
- Set the multimeter to the capacitance (μF) range.
- Place probes on C and HERM (for the compressor section) and compare the reading to the label’s rated μF ± 6 %.
- Repeat for C and FAN (condenser fan section).
- A reading outside tolerance or “OL” means the capacitor must be replaced with an exact microfarad and voltage match.
Contactor Testing Steps
- With power off, visually inspect the contactor for pitted or welded contacts.
- Pull the control wires (usually 24 V) and measure coil resistance; a healthy coil reads 10–20 Ω.
- Re‑energize the system briefly (thermostat calling for cooling) and verify 24 V across the coil; if voltage is present but the contacts don’t pull in, replace the contactor.
When to Call a Professional HVAC Technician
- You measure correct voltage and a good capacitor, but the compressor still only hums — this often indicates locked‑rotor or internal mechanical failure.
- Refrigerant pressures are abnormal (requires EPA‑certified gauges and handling).
- Wiring damage extends beyond the control box into the compressor terminal block.
- The system is under warranty; DIY repairs may void coverage.
Preventive Maintenance to Avoid Compressor Start Issues
- Replace or clean air filters every 1–3 months during cooling season.
- Keep the condenser coil free of debris; gentle rinsing with a garden hose (power off) once a year maintains heat transfer.
- Schedule an annual professional tune‑up that includes capacitor health check, contactor inspection, and refrigerant charge verification. The U.S. Department of Energy recommends seasonal HVAC maintenance to preserve efficiency and extend compressor life.
Cost Estimates for Common Repairs (2026 U.S. averages)
| Component | Typical Part Cost | Typical Labor Cost | Total Range |
|---|---|---|---|
| Start/run capacitor | $15–$40 | $75–$150 | $90–$190 |
| Contactor | $20–$50 | $75–$150 | $95–$200 |
| Compressor (including refrigerant) | $600–$1,500 | $400–$800 | $1,000–$2,300 |
| Control board / thermostat | $80–$250 | $75–$150 | $155–$400 |
Prices vary by region, brand, and system size; always get a written estimate before authorizing work.
Symptom Comparison Table
| Symptom | Most Likely Cause | Quick Test |
|---|---|---|
| Hum, no start, capacitor bulged/leaking | Failed start capacitor | Capacitance meter reads “OL” or >10 % off spec |
| Click, then nothing | Contactor coil open or contacts welded | 24 V at coil but no continuity across power contacts |
| Hum, then breaker trips | Locked‑rotor compressor or shorted windings | Megohmmeter test (pro only) |
| Intermittent start | Loose wiring or failing control board | Wiggle test on low‑voltage connections |
Frequently Asked Questions Of Ac Compressor Tries To Start But Won't: Troubleshooting Guide
Why Is My Ac Compressor Humming But Not Starting?
The AC compressor may be humming but not starting due to potential capacitor issues, motor problems, or electrical malfunctions. Dirty air filters, broken thermostat, or a damaged compressor could also be causing the issue. It's advisable to have a professional inspect the unit to pinpoint and resolve the problem.
Why Does My Ac Compressor Click But Not Turn On?
When your AC compressor clicks but doesn't turn on, it may be due to a malfunctioning thermostat, failing control board, or broken contactor. Check these components for issues. For more on this, see our guide on ac compressor trying to start but wont.
Why Does My Ac Compressor Fail To Start?
The AC compressor may fail to start due to a blown fuse, tripped circuit breaker, broken thermostat, or dirty air filters.
Why Does My Ac Compressor Take Several Tries To Start?
The AC compressor may struggle to start due to a failing capacitor, motor issues, or internal wear and tear. Ensure proper voltage, check the capacitor and wiring, and have the compressor examined for mechanical issues. Consulting a professional for a thorough assessment is advisable. For more on this, see our guide on ac compressor running but no pressure change.
Additional Frequently Asked Questions
Can a bad thermostat cause the compressor to hum but not start?
Yes. If the thermostat sends a call for cooling but the 24 V control circuit is intermittent, the contactor may chatter, causing a hum without full engagement. Verify 24 V at the contactor coil with a multimeter while the thermostat calls.
How do I know if my compressor is locked up versus a bad capacitor?
A locked compressor will draw locked‑rotor amperage (LRA) instantly and trip the breaker within seconds. A bad capacitor typically allows the compressor to hum for several seconds before the overload protector opens. An ammeter clamp on the compressor lead distinguishes the two.
Is it safe to replace a capacitor myself?
If you follow proper discharge procedures and match the microfarad/voltage rating exactly, it is a common DIY repair. However, mis‑wiring can damage the compressor or fan motor. When in doubt, hire a licensed technician.
What maintenance extends compressor life the most?
Consistent airflow (clean filters, clean condenser coil) and keeping the refrigerant charge correct are the top factors. Low charge causes overheating; high charge causes liquid slugging. Both shorten compressor lifespan dramatically.
Conclusion
When your AC compressor tries to start but won't, it can be due to various factors such as a faulty motor, blown fuse, dirty air filters, or wiring issues. By following the troubleshooting steps mentioned above, you can identify and potentially fix the problem. However, if you're unsure or uncomfortable working with electrical components, it's always a good idea to seek professional help from an HVAC technician.
Schedule a professional inspection today to avoid a complete breakdown and keep your home cool all summer.