
Taking apart your LG portable air conditioner might sound intimidating, but with the right tools and guidance, it’s totally doable. This guide walks you through every step—from safety prep to reassembly—so you can clean, repair, or maintain your unit like a pro.
Key Takeaways
- Safety first: Always unplug the unit and let it cool before starting any disassembly.
- Use the right tools: A Phillips screwdriver, socket wrench, and needle-nose pliers are essential for most LG portable AC models.
- Document your steps: Take photos or label parts as you go to make reassembly easier.
- Know your model: LG portable ACs vary slightly by year and series—check your user manual or model number first.
- Clean while you’re in there: Disassembly is the perfect time to clean filters, coils, and internal components.
- Don’t force anything: If a part won’t budge, double-check for hidden screws or clips before applying pressure.
- When in doubt, consult a pro: If you’re unsure about electrical components, call an HVAC technician.
Introduction: Why Take Apart Your LG Portable Air Conditioner?
So, you’ve got an LG portable air conditioner that’s acting up—maybe it’s not cooling like it used to, making weird noises, or just needs a deep clean. Before you call a repair service or consider replacing it, know this: many common issues can be fixed at home. And the first step? Taking the unit apart.
In 2026, LG continues to make some of the most reliable portable air conditioners on the market. Models like the LG LP1419IVSM, LP0821WSR, and newer smart-enabled units are built for performance and longevity. But like any appliance, they need maintenance. Dust builds up, filters clog, and internal parts wear out over time.
Taking apart your LG portable AC might sound like a daunting task—especially if you’ve never opened up an appliance before. But with patience, the right tools, and this guide, you’ll be able to safely disassemble, inspect, clean, and reassemble your unit like a pro.
In this comprehensive how-to guide, we’ll walk you through every step of the process. You’ll learn how to safely remove the outer casing, access internal components like the evaporator coil and compressor, clean hard-to-reach areas, and put everything back together without missing a screw. Whether you’re troubleshooting a problem or just doing routine maintenance, this guide has you covered.
By the end, you’ll not only have a cleaner, more efficient air conditioner—you’ll also save money on service calls and gain valuable DIY skills. Let’s get started.
What You’ll Need: Tools and Preparation
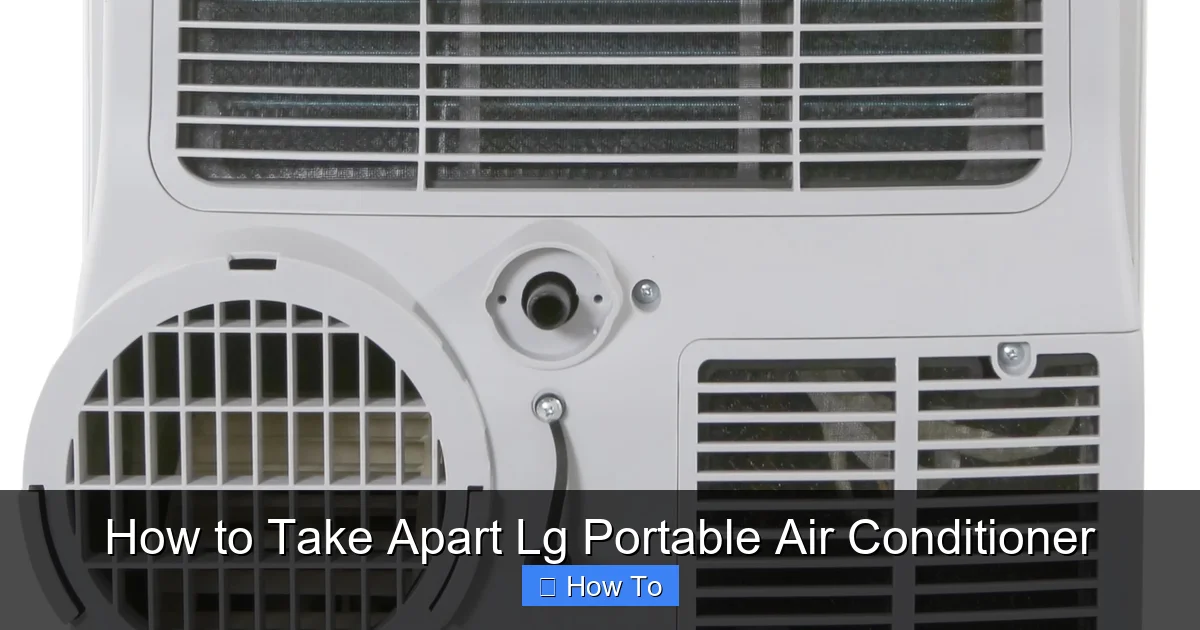
Visual guide about How to Take Apart Lg Portable Air Conditioner
Image source: appliancesonline.com.au
Before you even think about unscrewing the first panel, make sure you’re prepared. Rushing into disassembly without the right tools or mindset can lead to frustration—or worse, damage to your unit.
Gather Your Tools
Here’s a checklist of what you’ll need:
- Phillips-head screwdriver: Most LG portable ACs use Phillips screws. A #2 size is usually sufficient.
- Socket wrench or nut driver: Some models have nuts securing the exhaust hose or internal brackets.
- Needle-nose pliers: Useful for gripping small clips or wires.
- Flashlight or headlamp: Internal spaces can be dark—good lighting helps you see what you’re doing.
- Work gloves: Protect your hands from sharp edges or dust.
- Clean cloths and compressed air: For cleaning components as you go.
- Ziplock bags or labeled containers: To store screws and small parts so you don’t lose them.
- Smartphone or camera: Take photos at each step to help with reassembly.
Safety First: Precautions Before You Begin
Safety can’t be overstated. Portable air conditioners contain electrical components, refrigerant lines, and moving parts—all of which can be hazardous if mishandled.
- Unplug the unit: Always disconnect the AC from the power outlet before starting. Don’t just turn it off—unplug it completely.
- Let it cool down: If the AC has been running, give it at least 30 minutes to cool. Hot components can burn you, and warm refrigerant lines are under pressure.
- Work in a clean, dry area: Avoid damp or dusty environments. Water and electronics don’t mix.
- Wear safety glasses: Dust or debris can fly when removing panels.
- Don’t attempt to open the refrigerant system: Only certified HVAC technicians should handle refrigerant. If you suspect a leak, call a pro.
Identify Your Model
LG releases new portable AC models every year, and while the basic design is similar, details can vary. Check the label on the back or bottom of your unit for the model number (e.g., LP1419IVSM, LP0821WSR, or LP1217WSR). You can also find this info in the user manual or on the LG website.
Knowing your model helps you:
- Find the correct service manual (if available)
- Understand specific disassembly steps
- Order replacement parts if needed
If you’ve lost your manual, visit LG’s official support page and search by model number. Many manuals are available as free PDF downloads.
Step 1: Remove the Front Panel and Air Filter
The first step in taking apart your LG portable air conditioner is accessing the interior. Most models have a front panel that houses the air filter and control panel.
Locate the Front Panel
On most LG portable ACs, the front panel is the large plastic cover on the front of the unit. It usually has a grille for air intake and may include digital controls or a display.
Remove the Air Filter
Before removing the panel, take out the air filter:
- Gently pull the filter out from the front grille. It’s usually held in place by clips or a simple slide-in design.
- Inspect the filter. If it’s clogged with dust or pet hair, clean it with warm water and mild soap. Let it dry completely before reinstalling.
- Set the filter aside in a safe place.
Unscrew the Front Panel
Now, locate the screws holding the front panel in place. These are typically found:
- Along the top edge of the panel
- On the sides, near the corners
- Sometimes hidden behind the filter cover
Use your Phillips screwdriver to remove all visible screws. Place them in a labeled container so you don’t lose them.
Detach the Panel
Once the screws are out, gently pull the front panel away from the unit. Be careful—there may be wires connected to the control panel or display.
If you feel resistance, don’t force it. Look for:
- Small plastic clips along the edges
- Wires connected to buttons or LEDs
- A ribbon cable linking the display to the main board
Use your fingers or a plastic prying tool (like a guitar pick or old credit card) to release any clips. If there are wires, carefully disconnect them by pressing the release tab on the connector—don’t pull the wires themselves.
Set the front panel aside, preferably on a soft surface to avoid scratching.
Step 2: Remove the Top and Side Panels
With the front panel off, you’ll have better access to the top and side covers. These panels protect the internal components and are usually held in place by screws and clips.
Remove the Top Panel
The top panel often houses the exhaust hose connection and may have vents for airflow.
- Look for screws along the front and rear edges of the top panel.
- Remove all screws using your Phillips screwdriver.
- Gently lift the panel upward. It may be held by clips along the sides.
- If it doesn’t come off easily, check for hidden screws near the exhaust hose port.
Set the top panel aside.
Remove the Side Panels
Most LG portable ACs have two side panels—left and right. These are usually symmetrical and held in place by screws and plastic clips.
- Start with the side that gives you the best access to internal components (often the right side).
- Remove all visible screws along the edges.
- Use your fingers or a plastic tool to gently release the clips. Start from the top and work your way down.
- Pull the panel away from the unit slowly.
Repeat for the other side if needed.
Tip: Take Photos as You Go
This is a great time to snap a few photos of the internal layout. You’ll thank yourself later when it’s time to put everything back together.
Step 3: Access the Internal Components
Now that the outer panels are off, you’ll see the internal workings of your LG portable air conditioner. This is where the magic happens—and where most maintenance occurs.
Identify Key Components
Familiarize yourself with the main parts:
- Evaporator coil: Where warm air is cooled. Often covered in dust.
- Condenser coil: Releases heat to the outside air.
- Compressor: The heart of the AC—pumps refrigerant. Don’t touch unless you’re qualified.
- Fan motor and blades: Circulates air through the unit.
- Control board: Manages power, settings, and sensors.
- Water collection tray: Collects condensation. May need emptying or cleaning.
Remove the Evaporator Coil Cover (If Applicable)
Some LG models have a plastic cover over the evaporator coil. This protects the delicate fins but traps dust.
- Look for screws or clips holding the cover in place.
- Remove them and lift the cover off.
- Use compressed air or a soft brush to clean the coil fins. Be gentle—bent fins reduce efficiency.
Inspect the Fan Assembly
The fan pulls air through the evaporator and condenser coils. Over time, dust and debris can build up on the blades.
- Spin the fan blades by hand to check for obstructions.
- If the fan is stiff or noisy, it may need cleaning or lubrication.
- Use a cloth to wipe the blades clean. Avoid getting water near the motor.
Check the Water Tray and Drain
Portable ACs produce condensation, which collects in a tray. If the tray is cracked or clogged, water can leak or cause mold.
- Locate the tray—usually at the bottom of the unit.
- Remove any screws or clips holding it in place.
- Empty and clean the tray with soapy water.
- Check the drain hole for clogs. Use a pipe cleaner or compressed air to clear it.
Step 4: Disconnect Wires and Remove the Control Board (If Needed)
If you’re troubleshooting an electrical issue—like a non-responsive display or faulty sensor—you may need to access the control board.
Locate the Control Board
The control board is typically mounted near the front of the unit, behind where the display was. It’s a small circuit board with multiple wire connectors.
Disconnect Wires Carefully
- Take a photo of the board and wire connections before disconnecting anything.
- Use needle-nose pliers to gently pull each connector straight out. Don’t yank—press the release tab if there is one.
- Label each wire with tape or a marker if you’re unsure.
Remove the Board
Once all wires are disconnected:
- Remove any screws holding the board in place.
- Lift the board out carefully.
- Inspect for burn marks, swollen capacitors, or loose solder joints.
If you find damage, you may need to replace the board. Check LG’s parts website or contact customer support.
Step 5: Clean and Maintain Internal Parts
Now that everything is exposed, it’s the perfect time to give your AC a deep clean.
Clean the Coils
Dirty coils reduce efficiency and can cause the unit to overheat.
- Use a soft brush or vacuum with a brush attachment to remove loose dust.
- Spray coil cleaner (available at hardware stores) on the evaporator and condenser coils.
- Let it sit for 10–15 minutes, then rinse with water (if the unit is designed for it—check your manual).
- Allow coils to dry completely before reassembly.
Clean the Fan and Motor Housing
- Wipe the fan blades and motor housing with a damp cloth.
- Use compressed air to blow out dust from tight spaces.
- Do not spray water directly on the motor.
Lubricate Moving Parts (If Applicable)
Some older models have fan motors that benefit from lubrication.
- Check your manual to see if your motor has oil ports.
- If yes, add a drop of electric motor oil to each port.
- Do not over-lubricate.
Step 6: Reassemble Your LG Portable Air Conditioner
Once everything is clean and inspected, it’s time to put your AC back together. This is where those photos and labeled screws come in handy.
Reinstall the Control Board
- Place the board back in its original position.
- Secure it with screws.
- Reconnect all wires, matching them to your photos or labels.
Replace the Water Tray and Coil Cover
- Slide the water tray back into place and secure it.
- Reattach the evaporator coil cover with screws or clips.
Reattach the Side and Top Panels
- Start with the side panels. Align the clips and press them into place.
- Secure with screws.
- Replace the top panel, ensuring the exhaust hose port aligns correctly.
- Tighten all screws.
Reconnect the Front Panel
- Reconnect any wires to the control panel or display.
- Align the front panel with the unit.
- Press it into place, ensuring all clips snap in.
- Replace and tighten all screws.
Reinstall the Air Filter
Slide the clean, dry filter back into the front grille. Make sure it’s seated properly.
Troubleshooting Common Issues During Reassembly
Even with careful disassembly, things can go wrong. Here’s how to handle common problems.
The Unit Won’t Turn On After Reassembly
- Double-check that all wires are reconnected, especially to the control board.
- Ensure the power cord is fully plugged in.
- Check the circuit breaker—sometimes disassembly trips a breaker.
Strange Noises When Running
- Make sure the fan blades aren’t hitting anything.
- Check that all panels are securely fastened—loose parts can vibrate.
- Ensure the unit is level—uneven placement can cause noise.
Water Leaking
- Verify the water tray is properly seated and not cracked.
- Check that the drain hole is clear.
- Ensure the unit is level—tilting can cause water to spill.
Reduced Cooling Performance
- Confirm the air filter is clean and properly installed.
- Check that the evaporator and condenser coils are clean.
- Make sure the exhaust hose is not kinked or blocked.
When to Call a Professional
While many issues can be resolved with DIY disassembly, some problems require expert help.
Call a certified HVAC technician if:
- You suspect a refrigerant leak (hissing sounds, oily residue).
- The compressor is making loud knocking noises.
- You find burnt wires or a damaged control board and aren’t comfortable replacing it.
- The unit still doesn’t work after reassembly and troubleshooting.
Remember: tampering with refrigerant systems is illegal without certification. Always prioritize safety.
Conclusion: You’ve Got This!
Taking apart your LG portable air conditioner might have seemed overwhelming at first, but now you know it’s entirely manageable with the right approach. From safely removing panels to cleaning internal components and reassembling everything, you’ve gained valuable skills that can extend the life of your unit and save you money.
Regular maintenance—like cleaning filters and coils—can prevent many common issues before they start. And if something does go wrong, you now have the confidence to investigate and fix it yourself.
In 2026, smart features and energy-efficient designs make LG portable ACs more advanced than ever. But the basics of care and maintenance remain the same: keep it clean, keep it level, and don’t ignore strange sounds or smells.
So go ahead—give your LG portable air conditioner the attention it deserves. Whether you’re doing a quick filter change or a full deep clean, you’re now equipped to handle it like a pro.
Stay cool, stay safe, and enjoy the satisfaction of a job well done.

