
Installing an LG portable air conditioner 8000 BTU is simple with the right tools and guidance. This guide walks you through unboxing, window venting, power setup, and troubleshooting to ensure efficient cooling from day one.
Key Takeaways
- Unbox and inspect all parts carefully: Ensure the unit, window kit, exhaust hose, and accessories are present and undamaged before starting installation.
- Choose the right location: Place the AC near a window and power outlet, away from direct sunlight and heat sources for maximum efficiency.
- Properly install the window kit: A secure window seal prevents hot air from re-entering and maintains cooling performance.
- Connect the exhaust hose correctly: Attach it securely to both the unit and window adapter to avoid leaks and overheating.
- Use a dedicated power circuit: Avoid power strips and extension cords to prevent electrical issues and ensure safe operation.
- Test the unit after setup: Run a quick cooling cycle to confirm proper function and check for unusual noises or leaks.
- Maintain regularly for longevity: Clean filters monthly and inspect hoses seasonally to keep your LG portable AC running smoothly.
How to Install LG Portable Air Conditioner 8000 BTU: A Complete Step-by-Step Guide
Summer heat can be relentless, but staying cool doesn’t have to be complicated. If you’ve recently purchased an LG portable air conditioner 8000 BTU, you’re on your way to enjoying powerful, energy-efficient cooling in any room. These compact units are perfect for bedrooms, home offices, or small living spaces—offering flexibility without the need for permanent installation.
In this comprehensive guide, we’ll walk you through every step of installing your LG portable air conditioner 8000 BTU. From unboxing and choosing the best location to setting up the window venting system and troubleshooting common issues, you’ll learn how to get your AC up and running safely and efficiently. Whether you’re a DIY beginner or just want to make sure you’re doing it right, this guide has you covered.
By the end, you’ll not only have a cool, comfortable space but also the confidence that your unit is installed correctly for optimal performance and longevity. Let’s get started!
What You’ll Need Before Installation
Before you begin, it’s important to gather all the tools and materials you’ll need. Most LG portable air conditioners come with everything required for basic installation, but having a few extras on hand can make the process smoother.
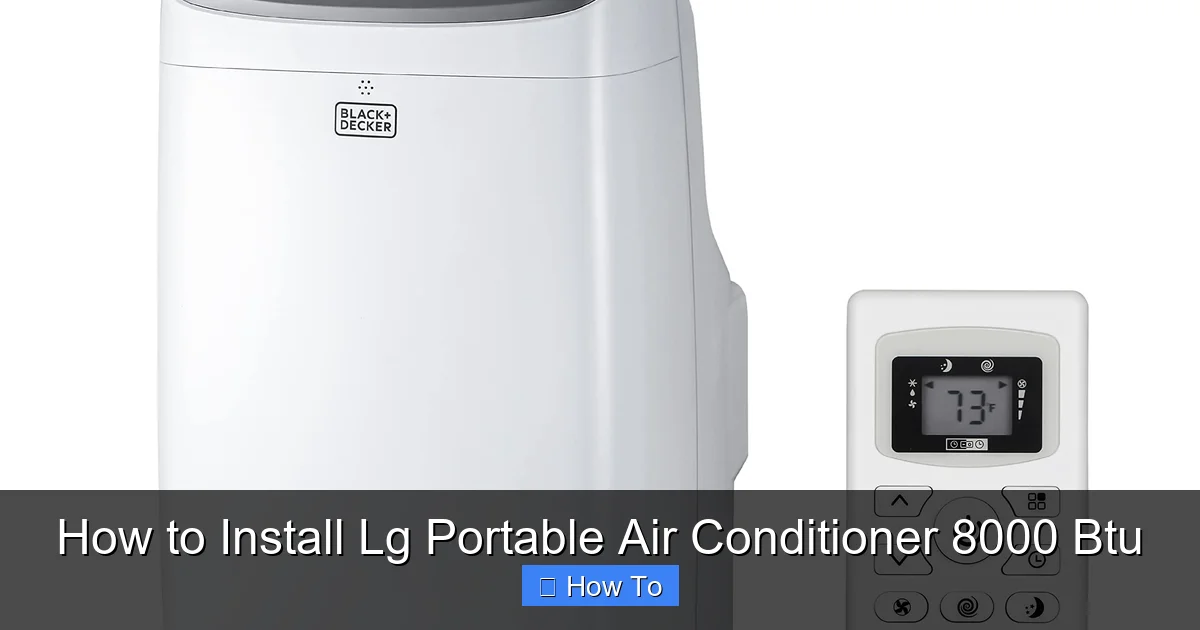
Visual guide about How to Install Lg Portable Air Conditioner 8000 Btu
Image source: images-na.ssl-images-amazon.com
Included Components
- LG portable air conditioner unit (8000 BTU)
- Exhaust hose (usually 5.9 feet long)
- Window venting kit (includes adjustable window bracket, foam seals, and hose adapter)
- Remote control with batteries
- User manual and installation guide
- Drain hose (for manual drainage models)
Additional Tools You May Need
- Measuring tape
- Screwdriver (Phillips or flathead, depending on your window type)
- Scissors or utility knife (for trimming foam seals)
- Pencil or marker (for marking measurements)
- Level (optional, to ensure the window bracket is straight)
- Duct tape or weather stripping (optional, for extra sealing)
Safety Precautions
Always unplug the unit before handling any components. Make sure the installation area is dry and free of water or electrical hazards. Never operate the AC without the exhaust hose properly connected—this can cause the unit to overheat or shut down.
Step 1: Unbox and Inspect Your LG Portable Air Conditioner
The first step is to carefully unbox your new LG portable air conditioner. Lay out all components on a clean, flat surface and compare them to the list in the user manual. This ensures nothing is missing or damaged during shipping.
Check for Damage
Inspect the unit for any visible dents, scratches, or loose parts. Pay special attention to the exhaust hose and window kit—these are critical for proper ventilation. If you notice any damage, contact LG customer support immediately before proceeding.
Remove Protective Materials
Many LG portable ACs come with protective plastic wraps, foam inserts, or tape to secure parts during shipping. Remove all of these carefully. Don’t forget to check inside the air intake and exhaust ports—sometimes small pieces of foam can get stuck.
Locate the User Manual
Keep the user manual handy throughout the installation process. It contains model-specific instructions, safety warnings, and troubleshooting tips that may not be covered in this guide.
Step 2: Choose the Best Location for Your Unit
Where you place your LG portable air conditioner 8000 BTU can significantly impact its performance. A poor location can lead to inefficient cooling, increased energy use, and even damage to the unit.
Proximity to a Window
The most important factor is proximity to a window. The exhaust hose needs to vent hot air outside, so the unit should be placed within 5–6 feet of a window. Sliding windows (horizontal or vertical) work best, but hinged windows can also be used with the right adapter.
Access to Power
Ensure there’s a grounded electrical outlet nearby. Avoid using extension cords or power strips, as they can overheat and pose a fire risk. If you must use an extension cord, choose a heavy-duty, 14-gauge or lower cord rated for at least 15 amps.
Avoid Heat Sources and Sunlight
Keep the unit away from direct sunlight, ovens, heaters, or electronics that generate heat. These can interfere with the thermostat and cause the AC to work harder than necessary.
Allow for Airflow
Leave at least 12–18 inches of clearance on all sides of the unit, especially around the air intake and exhaust. Blocking airflow reduces efficiency and can trigger overheating protection.
Level and Stable Surface
Place the AC on a flat, level surface. Avoid carpets or uneven flooring that could cause the unit to tilt. Some models have built-in leveling feet—adjust them if needed.
Step 3: Prepare the Window for Venting
The window venting system is the heart of your portable AC’s operation. It allows hot air to escape while preventing outside air from sneaking back in. Proper installation here is crucial.
Measure Your Window Opening
Use a measuring tape to determine the width or height of your window opening, depending on whether it’s a horizontal or vertical slider. Most LG window kits are adjustable from about 20 to 48 inches, but check your model’s specifications.
Assemble the Window Bracket
Take the adjustable window bracket from the kit and extend it to fit your window size. Most brackets have a sliding mechanism with locking screws. Tighten the screws to secure the length.
Install Foam Seals
Attach the included foam seals to the edges of the window bracket. These create an airtight seal when the window is closed. Trim excess foam with scissors if needed. For extra insulation, you can add weather stripping or duct tape along the edges.
Secure the Bracket in the Window
Open your window and place the bracket inside the frame. Close the window firmly onto the bracket, ensuring it’s snug and secure. The foam should compress slightly to form a tight seal. If the window doesn’t close completely, adjust the bracket length or add more foam.
Test the Seal
Gently tug on the bracket to make sure it’s stable. Look for gaps around the edges—these can let hot air back in. If you see light coming through, add more sealing material.
Step 4: Connect the Exhaust Hose
The exhaust hose carries hot air from the AC unit to the window vent. A loose or kinked hose can reduce efficiency and cause the unit to overheat.
Attach the Hose to the Unit
Locate the exhaust port on the back of your LG portable air conditioner. It’s usually a round opening with a twist-lock or clamp mechanism. Insert one end of the exhaust hose into the port and twist or tighten the connector until it’s secure. You should hear a click or feel it lock in place.
Connect the Other End to the Window Adapter
Take the other end of the hose and attach it to the window bracket’s hose adapter. Again, twist or clamp it securely. Make sure the connection is tight—loose fittings can cause air leaks.
Minimize Hose Length and Bends
Keep the hose as short and straight as possible. Avoid sharp bends or kinks, which restrict airflow. If the hose is too long, don’t coil it—this traps heat. Instead, reposition the unit closer to the window or trim the hose (only if the manufacturer allows it).
Secure the Hose (Optional)
Use zip ties or adhesive clips to secure the hose to the wall or floor. This prevents it from slipping out of place and reduces tripping hazards.
Step 5: Set Up Power and Electrical Connections
Your LG portable air conditioner 8000 BTU requires a dedicated 120V outlet. Proper electrical setup ensures safe and reliable operation.
Use a Dedicated Circuit
Plug the unit directly into a wall outlet. Avoid sharing the circuit with high-wattage appliances like microwaves, space heaters, or hair dryers. These can cause voltage drops or tripped breakers.
Check the Power Cord
Inspect the power cord for any damage. Make sure it’s not frayed, kinked, or pinched. Never run the cord under rugs or furniture—this can cause overheating.
Grounding and Safety
Ensure the outlet is properly grounded. If you’re unsure, use a circuit tester or consult an electrician. Never modify the plug or use adapters that remove the grounding pin.
Step 6: Power On and Test the Unit
Now that everything is connected, it’s time to test your LG portable air conditioner.
Turn On the Unit
Press the power button on the unit or use the remote control. The display should light up, and you should hear the fan start. Wait a few minutes for the compressor to engage—this is normal.
Set the Mode and Temperature
Use the remote or control panel to set the mode to “Cool” and adjust the temperature to a comfortable level (e.g., 72°F). The unit should begin blowing cool air within 5–10 minutes.
Listen for Unusual Noises
While the unit runs, listen for loud rattling, grinding, or squealing sounds. These could indicate loose parts or a blocked fan. If you hear anything unusual, turn off the unit and check connections.
Check for Air Leaks
Feel around the exhaust hose and window seal for warm air escaping. If you detect leaks, tighten connections or add more sealing material.
Monitor Drainage (If Applicable)
Some LG 8000 BTU models are self-evaporating and don’t require manual drainage. Others may need occasional water removal. Check the user manual for your model’s drainage requirements. If water collects in the tank, empty it promptly.
Troubleshooting Common Installation Issues
Even with careful installation, you might encounter a few hiccups. Here’s how to solve the most common problems.
Unit Won’t Turn On
- Check that the power cord is securely plugged in.
- Ensure the outlet has power—test it with another device.
- Verify the remote control batteries are installed correctly.
- Look for a reset button on the unit and press it if available.
Not Cooling Effectively
- Make sure the exhaust hose is properly connected and not kinked.
- Check that the window seal is airtight.
- Clean or replace the air filter if it’s dirty.
- Ensure the room isn’t too large for an 8000 BTU unit (ideal for rooms up to 300 sq ft).
Water Leaking from the Unit
- Confirm the unit is level—tilting can cause water to spill.
- Check if the drain hose is clogged or disconnected.
- Empty the internal water tank if your model has one.
- Reduce humidity by using a dehumidifier or running the AC during cooler hours.
Exhaust Hose Keeps Coming Loose
- Reattach the hose and ensure the twist-lock is fully engaged.
- Use duct tape or a hose clamp for extra security.
- Reposition the unit closer to the window to reduce hose tension.
Unit Shuts Off Unexpectedly
- This may be due to overheating—check for blocked airflow or a dirty filter.
- Ensure the unit isn’t on a shared circuit with other high-power devices.
- Allow the unit to cool down before restarting.
Maintenance Tips for Long-Term Performance
To keep your LG portable air conditioner 8000 BTU running efficiently, regular maintenance is key.
Clean the Air Filter Monthly
The air filter traps dust and allergens. A clogged filter reduces airflow and forces the unit to work harder. Remove the filter, rinse it with warm water, and let it dry completely before reinstalling.
Inspect the Exhaust Hose Seasonally
Check the hose for cracks, kinks, or blockages. Replace it if damaged. Clean the interior with a soft brush or vacuum attachment.
Wipe Down the Exterior
Use a damp cloth to clean the unit’s surface. Avoid harsh chemicals that could damage the plastic.
Store Properly During Off-Seasons
If you won’t use the AC for several months, clean it thoroughly, drain all water, and store it in a dry, cool place. Cover it to prevent dust buildup.
Conclusion
Installing your LG portable air conditioner 8000 BTU doesn’t have to be stressful. With the right preparation, a clear plan, and attention to detail, you can have cool, comfortable air flowing in no time. From choosing the perfect spot to securing the window kit and testing the system, each step plays a vital role in ensuring optimal performance.
Remember, proper installation not only improves cooling efficiency but also extends the life of your unit. By following this guide and performing regular maintenance, you’ll enjoy reliable comfort for many summers to come. Stay cool, stay safe, and enjoy the refreshing breeze from your new LG portable air conditioner!

