
Keeping your LG standing air conditioner clean is essential for optimal performance, energy efficiency, and indoor air quality. This guide walks you through a complete cleaning process—from safety prep to reassembly—so your unit runs smoothly and lasts longer.
Key Takeaways
- Turn off power before cleaning: Always unplug the unit or switch off the circuit breaker to prevent electrical shock.
- Clean or replace filters monthly: Dirty filters reduce airflow and strain the system, increasing energy use.
- Use mild cleaning solutions: Harsh chemicals can damage components; stick to water and mild detergent.
- Inspect coils and fins regularly: Dust and debris on evaporator and condenser coils reduce cooling efficiency.
- Check drainage and remove blockages: A clogged drain line causes leaks and humidity buildup.
- Clean the exterior and remote control: Wipe down surfaces to prevent dust buildup and maintain hygiene.
- Schedule professional maintenance annually: Even with regular cleaning, a technician should inspect refrigerant levels and internal parts yearly.
How to Clean LG Standing Air Conditioner: A Complete Step-by-Step Guide
Your LG standing air conditioner is a hardworking appliance that keeps your home cool and comfortable during hot months. But like any machine, it needs regular maintenance to perform at its best. Over time, dust, dirt, and moisture can build up inside and outside the unit, reducing efficiency, increasing energy bills, and even affecting your indoor air quality. The good news? Cleaning your LG standing air conditioner is simpler than you might think—and doing it regularly can extend the life of your unit significantly.
In this comprehensive guide, you’ll learn exactly how to clean your LG standing air conditioner safely and thoroughly. We’ll cover everything from basic filter cleaning to deep-cleaning internal components like coils and fans. Whether you’re a first-time cleaner or just looking to refine your routine, this step-by-step walkthrough will help you keep your AC running smoothly, quietly, and efficiently. Plus, we’ll share practical tips, troubleshooting advice, and answers to common questions so you can maintain your unit like a pro.
Why Cleaning Your LG Standing Air Conditioner Matters
Before diving into the cleaning process, it’s important to understand why regular maintenance is so crucial. A dirty air conditioner doesn’t just look unappealing—it can actually harm your health and your wallet.
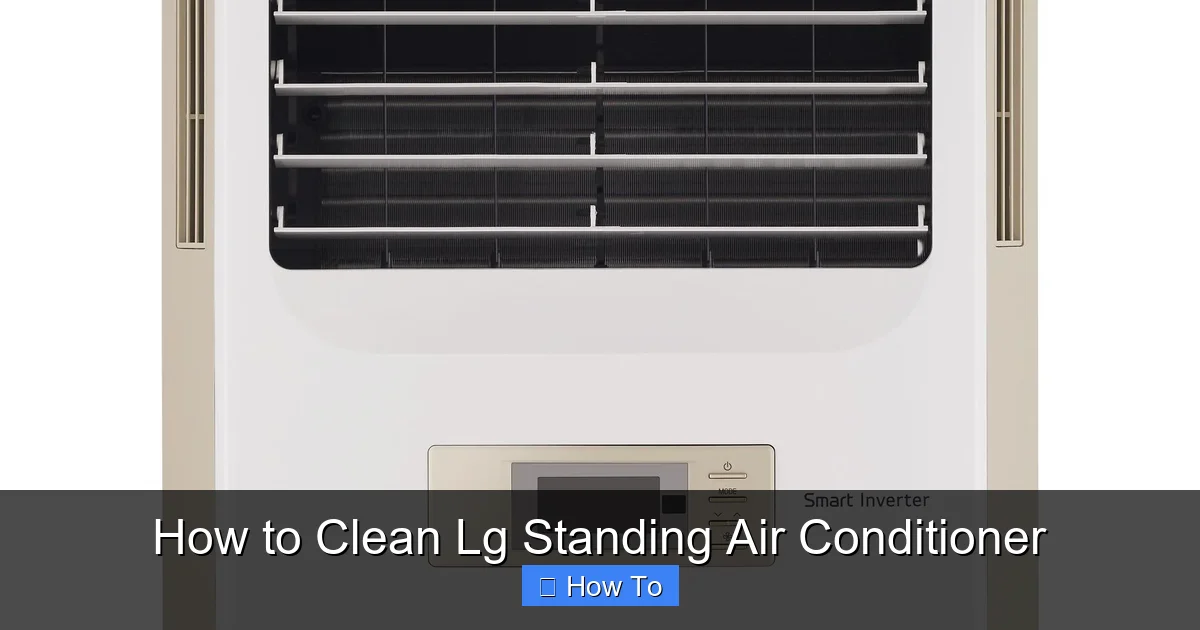
Visual guide about How to Clean Lg Standing Air Conditioner
Image source: sieuthimaylanh.com
First, dirty filters and coils restrict airflow. When air can’t move freely through the system, the compressor has to work harder to cool your room. This leads to higher energy consumption and increased electricity bills. In fact, the U.S. Department of Energy estimates that a clogged filter can increase energy use by up to 15%.
Second, moisture and dust inside the unit create the perfect environment for mold, mildew, and bacteria to grow. When the AC runs, it can circulate these contaminants throughout your home, triggering allergies, asthma, or other respiratory issues—especially in children and the elderly.
Third, neglecting maintenance can lead to costly repairs or even premature replacement. Components like the fan motor, evaporator coil, and drain line are sensitive to dirt and blockages. Cleaning them regularly prevents wear and tear and helps your LG standing air conditioner last 10–15 years or more.
Finally, a clean unit simply works better. You’ll notice faster cooling, quieter operation, and more consistent temperatures. So, whether you’re preparing for summer or just doing routine upkeep, cleaning your LG standing air conditioner is a smart, simple way to protect your investment and your comfort.
What You’ll Need to Clean Your LG Standing Air Conditioner
Before you begin, gather all the necessary tools and supplies. Having everything ready will make the process faster and safer. Here’s a checklist of what you’ll need:
- Soft cloths or microfiber towels – For wiping surfaces without scratching.
- Mild dish soap or all-purpose cleaner – Avoid bleach or ammonia-based products.
- Vacuum cleaner with brush attachment – For removing loose dust and debris.
- Soft-bristle brush (like a toothbrush) – For scrubbing tight spaces and fins.
- Garden hose (optional, for outdoor units) – Only if your model has an outdoor condenser.
- Spray bottle with water – For misting cleaning solutions.
- Fin comb (optional but helpful) – To straighten bent aluminum fins on coils.
- Rubber gloves – To protect your hands from dust and cleaning agents.
- Screwdriver (if needed) – Some models require removing screws to access panels.
- Replacement air filters (if needed) – Check your model’s filter type and have spares on hand.
Most of these items are household staples, so you likely already have them. If not, they’re inexpensive and widely available at hardware stores or online. Once you’ve gathered your supplies, you’re ready to begin.
Step 1: Turn Off the Power
Safety always comes first. Before touching any part of your LG standing air conditioner, you must disconnect it from the power source. This prevents accidental startup and reduces the risk of electric shock.
Unplug the Unit
Locate the power cord and unplug it from the wall outlet. If your unit is hardwired or connected to a dedicated circuit, turn off the corresponding breaker in your electrical panel. Use a voltage tester to confirm the power is off if you’re unsure.
Wait Before Cleaning
After disconnecting power, wait at least 10–15 minutes before starting. This allows any residual electricity in the capacitors to dissipate, adding an extra layer of safety.
Pro Tip: Place a note on the outlet or breaker switch to remind others not to turn the power back on while you’re working.
Step 2: Remove and Clean the Air Filters
The air filters are the first line of defense against dust and allergens. LG standing air conditioners typically have one or two washable mesh filters located behind the front panel. Cleaning them monthly is essential for good airflow and air quality.
Locate the Filter Panel
Look for the front grille or panel on your unit. On most LG models, it’s a large plastic cover at the top or front. Gently pull it outward or lift it up—some models have clips or tabs that release easily.
Remove the Filters
Once the panel is open, you’ll see the air filter(s). Slide them out carefully. Note their orientation so you can reinstall them the same way.
Rinse the Filters
Take the filters to a sink or bathtub and rinse them under lukewarm water. Use your hands or a soft brush to remove dust and debris. For stubborn grime, mix a few drops of mild dish soap with water and gently scrub. Avoid using hot water, as it can warp the filter material.
Dry Thoroughly
Shake off excess water and let the filters air-dry completely—this usually takes 1–2 hours. Never reinstall a damp filter, as moisture can promote mold growth.
Reinstall the Filters
Once dry, slide the filters back into place and close the front panel securely.
Pro Tip: Mark your calendar to clean the filters every 4–6 weeks during heavy use. If you have pets or allergies, consider cleaning them more often.
Step 3: Clean the Evaporator and Condenser Coils
The evaporator and condenser coils are critical for heat exchange. When they’re coated in dust and dirt, your AC has to work harder to cool your room. Cleaning them improves efficiency and prevents overheating.
Access the Coils
On most LG standing air conditioners, the evaporator coil is located behind the front panel, near the filters. The condenser coil may be inside the unit or, in some models, part of an outdoor unit. Refer to your user manual for specific access points.
Vacuum Loose Debris
Use the brush attachment on your vacuum to gently remove dust from the coil fins. Work in the direction of the fins to avoid bending them.
Apply Coil Cleaner (Optional)
For a deeper clean, use a commercial coil cleaner spray (available at hardware stores). Spray it evenly over the coils and let it sit for 5–10 minutes. The foam will lift dirt and grime. Rinse with water if recommended by the product instructions.
Straighten Bent Fins
Use a fin comb to gently straighten any bent aluminum fins. This improves airflow and prevents future blockages.
Pro Tip: Never use a pressure washer on indoor coils—it can damage delicate fins. Stick to low-pressure rinsing or vacuuming.
Step 4: Clean the Fan Blades and Motor Housing
The fan circulates air through the unit. Over time, dust builds up on the blades and inside the motor housing, reducing efficiency and causing noise.
Remove the Fan Cover
Depending on your model, you may need to remove screws or clips to access the fan. Consult your user manual for guidance.
Wipe the Blades
Use a damp cloth or soft brush to clean the fan blades. Be gentle—bent blades can cause imbalance and vibration.
Vacuum the Motor Area
Use the vacuum’s brush attachment to remove dust from the motor housing and surrounding areas. Avoid spraying water near electrical components.
Pro Tip: If the fan motor is sealed, do not attempt to open it. Only clean accessible parts.
Step 5: Clean the Drain Line and Pan
A clogged drain line is a common cause of water leaks and humidity problems. Cleaning it prevents mold and ensures proper drainage.
Locate the Drain Pan
The drain pan is usually at the bottom of the unit, beneath the evaporator coil. You may need to remove a bottom panel to access it.
Remove Standing Water
Use a sponge or towel to soak up any water in the pan.
Flush the Drain Line
Locate the drain outlet (often on the back or side of the unit). Use a wet/dry vacuum to suck out debris, or flush it with a mixture of water and vinegar to dissolve algae and mold.
Pro Tip: Pour a cup of vinegar down the drain line monthly to prevent clogs.
Step 6: Wipe Down the Exterior and Remote Control
Don’t forget the outside! Dust and fingerprints on the cabinet and remote can affect appearance and hygiene.
Clean the Cabinet
Wipe the exterior with a damp cloth and mild cleaner. Avoid abrasive pads that can scratch the surface.
Sanitize the Remote
Use a disinfecting wipe or cloth with rubbing alcohol to clean the remote control. Pay attention to buttons and crevices.
Troubleshooting Common Issues After Cleaning
After cleaning, your AC may behave differently. Here’s how to handle common problems:
- Unit won’t turn on: Check that the power is restored and the filters are properly installed.
- Water leaking: Ensure the drain line is clear and the pan is level.
- Weak airflow: Recheck filter placement and coil cleanliness.
- Unusual noises: Make sure fan blades are secure and not hitting other parts.
When to Call a Professional
While regular cleaning is DIY-friendly, some tasks require a certified technician. Schedule professional maintenance annually to check refrigerant levels, inspect electrical connections, and perform deep diagnostics.
Conclusion
Cleaning your LG standing air conditioner doesn’t have to be complicated. With the right tools and a little time, you can keep your unit running efficiently, quietly, and safely. Regular maintenance not only saves money on energy bills but also improves air quality and extends the life of your appliance. Follow this guide every few months, and your AC will thank you with cool, clean air all season long.

