
Cleaning the inside of your LG window air conditioner is essential for maintaining performance, energy efficiency, and healthy air quality. This guide walks you through a safe, thorough cleaning process using simple tools and household supplies.
Key Takeaways
- Turn off and unplug the unit before cleaning to prevent electrical hazards and ensure safety.
- Remove and clean the front panel and air filter regularly—this is the first line of defense against dust and allergens.
- Use a soft brush and mild detergent to gently clean the evaporator and condenser coils without damaging delicate fins.
- Clear the drain hole and pan to prevent water buildup, mold growth, and unpleasant odors.
- Inspect the fan blades and motor housing for debris and clean them carefully to maintain smooth operation.
- Reassemble carefully and test the unit after cleaning to ensure everything works properly.
- Clean every 1–3 months during heavy use seasons to keep your LG window AC running efficiently.
How to Clean Inside LG Window Air Conditioner
Keeping your LG window air conditioner clean isn’t just about appearances—it’s about performance, efficiency, and your health. Over time, dust, pollen, pet dander, and moisture can build up inside the unit, leading to reduced airflow, higher energy bills, and even mold growth. A dirty AC can also circulate allergens and unpleasant odors throughout your room.
In this comprehensive guide, you’ll learn how to safely and effectively clean the inside of your LG window air conditioner. Whether you’re a first-time cleaner or just looking for a refresher, we’ll walk you through every step—from unplugging the unit to reassembling it—so you can enjoy cooler, cleaner air all season long.
We’ll cover everything you need: the right tools, safety precautions, detailed cleaning steps for each internal component, and tips to maintain your AC between cleanings. By the end, you’ll have a spotless, efficient air conditioner that keeps your home comfortable and your energy costs low.
Let’s get started!
Why Cleaning Your LG Window Air Conditioner Matters
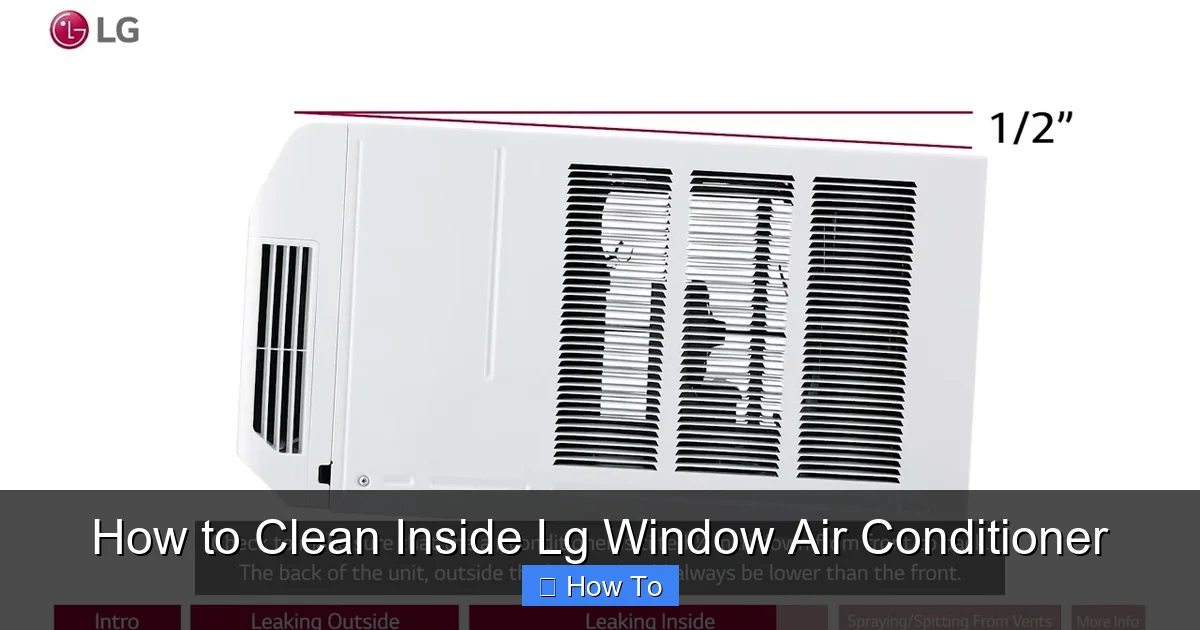
Visual guide about How to Clean Inside Lg Window Air Conditioner
Image source: i.ytimg.com
Before diving into the cleaning process, it’s important to understand why this maintenance task is so crucial. LG window air conditioners are designed to cool your space efficiently, but like any appliance, they need regular care to perform at their best.
When dust and debris accumulate inside the unit, they can clog the air filter, block airflow, and coat the evaporator and condenser coils. Dirty coils can’t transfer heat effectively, which means your AC has to work harder to cool the room. This leads to increased energy consumption and higher electricity bills.
Additionally, moisture that collects in the drain pan or around the coils can create a breeding ground for mold, mildew, and bacteria. When the fan blows air through these contaminated areas, it can spread spores and odors into your living space—triggering allergies, asthma, or respiratory issues.
Regular cleaning also extends the lifespan of your unit. Components like the fan motor and compressor are under less strain when the system is clean, reducing the risk of breakdowns and costly repairs.
Finally, a clean air conditioner simply works better. You’ll notice stronger airflow, faster cooling, and a fresher-smelling room. So, whether you use your LG window AC daily or just during heatwaves, cleaning it inside and out is a smart investment in comfort and health.
Tools and Supplies You’ll Need
Before you begin, gather all the necessary tools and cleaning supplies. Having everything ready will make the process smoother and safer.
Here’s what you’ll need:
- Screwdriver (Phillips or flathead, depending on your model) – To remove screws securing the front panel and access panels.
- Soft-bristle brush or old toothbrush – For gently scrubbing coils, fan blades, and hard-to-reach areas.
- Vacuum cleaner with brush attachment – To remove loose dust and debris from the interior.
- Mild dish soap or coil cleaner – For cleaning coils and plastic parts. Avoid harsh chemicals that can damage components.
- Spray bottle with water – To apply cleaning solution evenly.
- Microfiber cloths or soft rags – For wiping down surfaces without scratching.
- Garden hose (optional, for outdoor rinsing) – Only if you can safely remove the unit or access the back from outside.
- Rubber gloves and safety goggles – To protect your hands and eyes from dust and cleaning agents.
- Bucket or container – For soaking the air filter or collecting dirty water.
- Fin comb (optional but helpful) – To straighten bent coil fins and improve airflow.
Most of these items are common household supplies. If you don’t have a coil cleaner, a mixture of mild dish soap and warm water works well for most cleaning tasks. Avoid using bleach, ammonia, or abrasive cleaners, as they can damage plastic parts or corrode metal components.
Safety First: Preparing to Clean
Safety is the most important part of cleaning your LG window air conditioner. These units are electrical appliances, and water and electricity don’t mix. Follow these steps to protect yourself and your equipment.
Turn Off and Unplug the Unit
Before doing anything else, make sure the air conditioner is completely powered off. Turn it off using the remote or control panel, then unplug it from the wall outlet. This prevents any risk of electric shock while you’re working inside the unit.
If your AC is hardwired or plugged into a hard-to-reach outlet, consider turning off the circuit breaker that supplies power to the unit. This adds an extra layer of safety.
Allow the Unit to Cool Down
If the AC has been running recently, give it at least 30 minutes to cool down. Hot components can cause burns, and warm refrigerant lines may be under pressure.
Work in a Well-Ventilated Area
Cleaning can stir up dust and cleaning fumes. If possible, open a window or door to ensure good airflow. This is especially important if you’re using a commercial coil cleaner with strong odors.
Wear Protective Gear
Put on rubber gloves to protect your hands from dirt, cleaning solutions, and sharp edges. Safety goggles will shield your eyes from dust and debris, especially when vacuuming or spraying.
Secure the Unit
Window air conditioners can be heavy and awkward to handle. Make sure the unit is securely installed in the window and won’t shift or fall while you’re working. If you need to remove it for cleaning (not always necessary), have a helper assist you to avoid injury.
Once you’ve taken these precautions, you’re ready to begin the cleaning process.
Step 1: Remove the Front Panel and Air Filter
The first step in cleaning the inside of your LG window air conditioner is accessing the internal components. Start by removing the front panel and air filter—these are the parts that collect the most dust and are easiest to clean.
Locate the Front Panel
Most LG window AC units have a front grille or panel that snaps or screws into place. Look for tabs along the top or sides, or check for small screws near the edges. Refer to your user manual if you’re unsure.
Remove the Panel
Gently press the release tabs or unscrew the fasteners, then carefully lift the panel away from the unit. Some models may have a hinge, so the panel swings open rather than detaching completely. Set the panel aside in a safe place where it won’t get damaged.
Take Out the Air Filter
Behind the front panel, you’ll see the air filter—usually a flat, rectangular mesh or foam screen. Slide it out by lifting the tabs or pulling it gently from its slot. Most LG filters are reusable and designed to be cleaned, not replaced.
Clean the Air Filter
Rinse the filter under lukewarm water to remove loose dust. For stubborn grime, soak it in a mixture of warm water and mild dish soap for 10–15 minutes. Use a soft brush to gently scrub both sides, then rinse thoroughly.
Let the filter air dry completely before reinstalling. Never put a wet filter back into the unit—it can promote mold growth and reduce efficiency.
Clean the Front Panel
While the filter dries, wipe down the front panel with a damp microfiber cloth. Remove any dust, fingerprints, or sticky residue. Avoid soaking the panel, especially if it has electronic controls or labels that could be damaged by water.
This simple step can make a big difference in airflow and appearance. A clean filter and panel allow air to flow freely, reducing strain on the fan and compressor.
Step 2: Vacuum the Interior
With the front panel and filter removed, you now have access to the inner workings of your LG window air conditioner. The next step is to remove loose dust and debris using a vacuum cleaner.
Use the Brush Attachment
Attach the brush nozzle to your vacuum cleaner. This prevents scratching delicate components and helps dislodge dust from tight spaces.
Vacuum the Evaporator Coils
The evaporator coils are located behind the air filter and are responsible for absorbing heat from the room air. Over time, they collect a thick layer of dust that insulates the coils and reduces efficiency.
Gently run the vacuum over the surface of the coils, moving in the direction of the fins. Avoid pressing too hard—coil fins are thin and easily bent.
Clean the Fan Blades and Motor Housing
Locate the fan assembly, usually near the back of the unit. Use the vacuum to remove dust from the fan blades, motor housing, and surrounding areas. Be careful not to spin the fan blades too fast, as this can damage the motor.
Vacuum the Drain Pan and Base
The drain pan collects condensation and can harbor mold or algae. Vacuum out any standing water, sludge, or debris. Pay special attention to the corners and the drain hole.
Check for Obstructions
While vacuuming, look for any foreign objects—like leaves, paper, or insects—that may have gotten inside. Remove them carefully to prevent blockages.
Vacuuming removes the bulk of the dirt, making the next cleaning steps more effective. It’s a quick and safe way to start deep cleaning your AC.
Step 3: Clean the Evaporator and Condenser Coils
The evaporator and condenser coils are the heart of your air conditioner’s cooling system. Keeping them clean is essential for efficient heat transfer and energy savings.
Identify the Coils
The evaporator coil is inside the unit, behind the air filter. The condenser coil is on the outside portion of the unit, facing the exterior of your home. Both can collect dust, dirt, and grime.
Apply Coil Cleaner
Spray a commercial coil cleaner or a mild soap solution onto the coils. Let it sit for 5–10 minutes to break down stubborn dirt. Avoid oversaturating the area—too much liquid can drip into the motor or electrical components.
Scrub Gently
Use a soft-bristle brush or toothbrush to gently scrub the coil fins. Work in the direction of the fins to avoid bending them. Focus on heavily soiled areas, but be thorough.
Rinse (If Safe)
If you can access the back of the unit from outside, use a garden hose on a low setting to rinse the condenser coil. Never use high-pressure water, as it can damage the fins.
For the indoor evaporator coil, avoid rinsing unless you’re certain water won’t drip into sensitive areas. Instead, wipe with a damp cloth after cleaning.
Straighten Bent Fins
Use a fin comb to gently straighten any bent or crushed fins. This improves airflow and restores efficiency. Fin combs are inexpensive and available at hardware stores.
Clean coils can improve cooling performance by up to 10% and reduce energy use. This step is worth the effort.
Step 4: Clean the Drain Pan and Drain Hole
The drain pan collects condensation from the cooling process. If it’s clogged or dirty, water can back up, causing leaks, odors, or mold growth.
Locate the Drain Pan
The drain pan is usually at the bottom of the unit, beneath the evaporator coil. You may need to remove an access panel or tilt the unit slightly to see it.
Remove Sludge and Debris
Use a cloth or sponge to wipe out any standing water, sludge, or algae. For tough buildup, scrub with a mixture of water and vinegar or mild detergent.
Clear the Drain Hole
The drain hole allows water to exit the pan and drip outside. It can become clogged with dirt, mold, or mineral deposits.
Use a pipe cleaner, small brush, or compressed air to clear the hole. Flush it with water to ensure it flows freely.
Disinfect the Pan
To prevent mold, wipe the pan with a solution of water and white vinegar (1:1 ratio). This natural disinfectant kills bacteria and deodorizes the area.
A clean drain system prevents water damage and keeps your AC smelling fresh.
Step 5: Clean the Fan Blades and Motor Housing
The fan circulates air through the unit and into your room. Dust buildup on the blades can unbalance the fan, cause noise, and reduce airflow.
Access the Fan Assembly
You may need to remove an additional panel or cover to reach the fan. Refer to your user manual for model-specific instructions.
Wipe the Blades
Use a damp cloth to wipe each fan blade. For stubborn grime, use a soft brush with soapy water. Avoid getting water near the motor.
Clean the Motor Housing
Wipe the exterior of the motor housing with a dry or slightly damp cloth. Do not spray water directly on the motor.
Check for Obstructions
Make sure nothing is blocking the fan’s rotation. Spin the blades gently by hand to ensure they move freely.
A clean fan runs more quietly and efficiently, improving overall performance.
Step 6: Reassemble and Test the Unit
Once all components are clean and dry, it’s time to put your LG window air conditioner back together.
Reinstall the Air Filter
Place the dry air filter back into its slot, making sure it’s seated properly.
Replace the Front Panel
Snap or screw the front panel back into place. Ensure all tabs or screws are secure.
Plug In and Test
Plug the unit back in and turn it on. Set it to a low cooling setting and listen for unusual noises. Check that air is flowing strongly and that there are no leaks or odors.
If everything works normally, your cleaning is complete!
Troubleshooting Common Issues
Even after cleaning, you might encounter problems. Here are some common issues and solutions:
- Unit won’t turn on: Check that it’s plugged in and the circuit breaker hasn’t tripped. Ensure the filter is properly installed.
- Weak airflow: This could mean the filter is still dirty, the coils are clogged, or the fan is obstructed. Recheck all components.
- Water leaking inside: The drain hole may still be clogged, or the unit isn’t level. Clear the drain and adjust the installation.
- Strange noises: Loose parts, bent fins, or debris in the fan can cause rattling or grinding. Turn off the unit and inspect.
- Unpleasant odor: Mold or bacteria may still be present. Clean the drain pan again and consider using an antibacterial spray.
If problems persist, consult your user manual or contact LG customer support.
Maintenance Tips for Long-Term Performance
To keep your LG window air conditioner running smoothly, follow these maintenance tips:
- Clean the filter monthly during peak usage seasons.
- Inspect the unit every 1–3 months for dust buildup.
- Keep the area around the unit clean—sweep leaves and debris from the exterior.
- Use a cover in winter to protect the outdoor portion from snow and dirt.
- Schedule professional servicing every 2–3 years for deep maintenance.
Regular care prevents major issues and keeps your AC efficient for years.
Conclusion
Cleaning the inside of your LG window air conditioner may seem like a daunting task, but it’s simpler than you think—and incredibly rewarding. By following this step-by-step guide, you’ve removed dust, improved airflow, prevented mold, and extended the life of your unit.
A clean air conditioner doesn’t just cool better—it saves energy, reduces allergens, and keeps your home healthier. With just a few tools and a little time, you can maintain peak performance all season long.
Make cleaning a regular part of your home maintenance routine. Your LG window AC will thank you with reliable, efficient cooling for years to come.

