
Keeping your LG air conditioner window unit’s filter clean is essential for optimal performance, energy efficiency, and better air quality. This guide walks you through the entire process—from turning off the unit to reassembling it—so you can maintain your AC like a pro.
Key Takeaways
- Turn off and unplug the unit: Always ensure safety by disconnecting power before cleaning to avoid electrical hazards.
- Locate the filter correctly: Most LG window AC units have a front-accessible filter behind the front panel or grille.
- Use mild soap and water: Avoid harsh chemicals; gentle cleaning preserves the filter and prevents damage.
- Dry the filter completely: Never reinstall a damp filter, as it can promote mold and reduce efficiency.
- Clean every 2–4 weeks: Regular maintenance prevents clogs, improves airflow, and extends the life of your unit.
- Check for damage: Inspect the filter for tears or wear and replace if necessary to maintain performance.
- Improve air quality and efficiency: A clean filter reduces allergens, dust, and strain on the motor, lowering energy bills.
How to Clean Filter on LG Air Conditioner Window Unit
Your LG air conditioner window unit works hard to keep your home cool and comfortable, especially during hot summer months. But like any appliance, it needs regular maintenance to perform at its best. One of the simplest yet most impactful tasks you can do is cleaning the air filter. A dirty filter restricts airflow, makes your AC work harder, increases energy bills, and can even lead to poor indoor air quality. In this comprehensive guide, we’ll walk you through how to clean the filter on an LG air conditioner window unit—step by step, safely, and effectively.
Whether you’re a first-time AC owner or just need a refresher, this guide is designed for everyone. We’ll cover everything from safety precautions and tools you’ll need to troubleshooting common issues. By the end, you’ll know exactly how to keep your LG window AC running smoothly, efficiently, and cleanly all season long.
Why Cleaning the Filter Matters
Before diving into the steps, it’s important to understand why cleaning the filter is so crucial. The air filter in your LG window air conditioner captures dust, pollen, pet dander, and other airborne particles. Over time, these build up and clog the filter. When that happens, your AC has to work harder to pull air through, which can lead to:
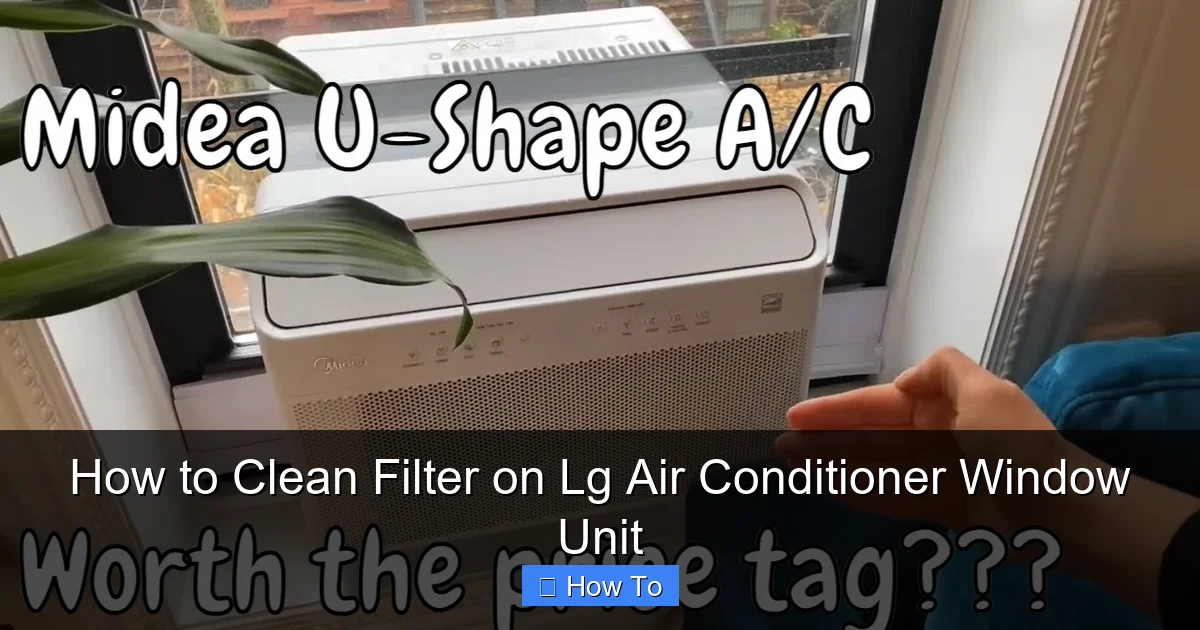
Visual guide about How to Clean Filter on Lg Air Conditioner Window Unit
Image source: i.ytimg.com
- Reduced cooling efficiency
- Higher electricity bills
- Overheating of the unit
- Poor indoor air quality
- Increased wear and tear on internal components
According to the U.S. Department of Energy, a dirty air filter can increase energy consumption by up to 15%. That’s a significant jump in your utility bill—especially during peak summer months. Plus, a clogged filter can cause ice buildup on the evaporator coils, leading to potential damage and costly repairs.
On the flip side, a clean filter ensures:
- Better airflow and cooling performance
- Improved energy efficiency
- Cleaner, healthier air in your home
- Longer lifespan for your AC unit
For most households, cleaning the filter every 2 to 4 weeks is ideal—especially if you have pets, allergies, or live in a dusty area. If you use your AC heavily, you may need to clean it even more frequently.
Tools and Materials You’ll Need
Thankfully, cleaning the filter on your LG window air conditioner doesn’t require special tools or expensive supplies. Here’s a simple list of what you’ll need:
- A soft brush or vacuum cleaner with a brush attachment
- Mild dish soap or a gentle cleaning solution
- A clean bucket or sink
- Warm water
- A clean, dry towel or cloth
- Gloves (optional, but recommended for hygiene)
You may also want to have a replacement filter on hand if your current one is damaged or worn out. LG filters are widely available online or at appliance stores, and they’re relatively inexpensive—usually under $20.
Step-by-Step Guide to Cleaning the Filter
Now that you understand the importance and have your supplies ready, let’s get into the actual process. Follow these steps carefully to safely and effectively clean the filter on your LG air conditioner window unit.
Step 1: Turn Off and Unplug the Unit
Safety first! Before you do anything, make sure your air conditioner is completely turned off and unplugged from the power source. This is critical to prevent electrical shock or accidental startup while you’re working on the unit.
Even if the AC appears to be off, it’s best to unplug it from the wall outlet. If your unit is hardwired, turn off the circuit breaker that controls it. This extra precaution ensures there’s no risk of electric current flowing through the system.
Once the unit is safely disconnected, give it a few minutes to cool down if it’s been running recently. This prevents burns from hot surfaces and makes handling the filter more comfortable.
Step 2: Locate the Air Filter
Most LG window air conditioners have a front-accessible filter that’s easy to reach. The filter is typically located behind the front grille or panel of the unit. Here’s how to find it:
- Look for a plastic grille or cover on the front of the AC unit.
- Some models have a small latch or tab on the top or side of the grille that you can press or slide to release it.
- On other models, the grille may simply lift up or pull forward gently.
Once you’ve removed the grille, you should see the air filter—usually a flat, rectangular panel made of mesh or pleated material. It may be white, gray, or light blue in color, depending on the model.
If you’re unsure where the filter is located, consult your owner’s manual. LG provides detailed diagrams and instructions for each model. You can usually download a digital copy from the LG website if you’ve misplaced the physical manual.
Step 3: Remove the Filter
With the grille off, carefully slide or lift the filter out of its slot. Most LG filters are designed to be removed easily—no tools required. Here’s how to do it safely:
- Grip the filter by the edges or the built-in handle (if present).
- Pull it straight out—don’t force it, as this could damage the frame or the unit.
- If the filter seems stuck, check for clips or tabs that may need to be released first.
Once removed, inspect the filter for visible dirt, dust, or debris. If it’s heavily soiled, you’ll likely see a thick layer of grime. This is normal, especially if it’s been a few weeks since the last cleaning.
Step 4: Vacuum Loose Debris
Before washing, it’s a good idea to remove as much loose dirt as possible. Use a vacuum cleaner with a soft brush attachment to gently suction off dust and debris from both sides of the filter.
Be careful not to press too hard—you don’t want to damage the delicate mesh. Focus on the surface where the dirt is most visible. This step helps reduce the amount of gunk that will go into your sink or bucket during washing.
If you don’t have a vacuum, you can also tap the filter gently over a trash can to dislodge loose particles. Just be sure to do this outside or over a surface you can easily clean.
Step 5: Wash the Filter
Now it’s time to give the filter a proper wash. Follow these steps for best results:
- Fill a sink or bucket with warm water—hot water can warp the filter, so avoid extremes.
- Add a small amount of mild dish soap (about a teaspoon is plenty).
- Submerge the filter completely and let it soak for 10–15 minutes. This helps loosen embedded dirt.
- Gently agitate the filter with your hands or a soft brush to remove stubborn grime.
- Rinse thoroughly with clean water until all soap residue is gone.
Avoid using harsh chemicals, bleach, or abrasive scrubbers. These can degrade the filter material and reduce its effectiveness. Stick to gentle, non-toxic cleaners for the best outcome.
If your filter is particularly dirty, you may need to repeat the soaking and rinsing process. But don’t overdo it—excessive washing can wear out the filter faster.
Step 6: Dry the Filter Completely
This step is crucial. Never reinstall a wet or damp filter. Moisture can lead to mold growth, unpleasant odors, and reduced efficiency. Here’s how to dry it properly:
- Shake off excess water gently.
- Place the filter on a clean towel in a well-ventilated area, away from direct sunlight or heat sources.
- Allow it to air dry completely—this usually takes 1–2 hours, depending on humidity.
- You can speed up the process by placing it near a fan, but avoid using a hair dryer or heater.
Patience is key here. Even a slightly damp filter can cause problems when reinstalled. Make sure it’s 100% dry before moving to the next step.
Step 7: Reinstall the Filter
Once the filter is dry, it’s time to put everything back together. Follow these steps:
- Slide the filter back into its original slot, making sure it’s oriented correctly (most filters have a directional arrow or label).
- Ensure it fits snugly and lies flat—don’t force it or bend the frame.
- Replace the front grille or panel, securing any latches or clips.
- Double-check that everything is firmly in place.
Incorrect installation can cause air leaks or reduce efficiency, so take your time. If the grille doesn’t close properly, recheck the filter alignment.
Step 8: Plug In and Test the Unit
With the filter reinstalled, you’re ready to power up your AC. Plug the unit back into the wall outlet (or turn the circuit breaker back on), and turn it on.
Listen for normal operation—smooth airflow, quiet fan, and cool air coming out. If you notice unusual noises, reduced airflow, or no cooling, there may be an issue with the installation or another component.
Run the unit for about 15–20 minutes and monitor its performance. A clean filter should result in better airflow and faster cooling.
Tips for Maintaining Your LG Air Conditioner Filter
Cleaning the filter is just one part of AC maintenance. Here are some additional tips to keep your LG window unit in top shape:
- Set a cleaning reminder: Use your phone calendar or a sticky note to remind yourself to clean the filter every 2–4 weeks.
- Check the filter monthly: Even if it doesn’t look dirty, inspect it regularly—especially during heavy use.
- Replace when necessary: Most filters last 6–12 months. If it’s torn, warped, or no longer traps dust effectively, replace it.
- Keep the area around the unit clean: Dust and debris near the AC can get sucked in, so vacuum or sweep the surrounding area regularly.
- Schedule professional maintenance: Once a year, have a technician inspect your unit for refrigerant levels, coil cleaning, and electrical components.
By staying proactive, you’ll extend the life of your AC, save money on energy bills, and enjoy cleaner, cooler air all summer long.
Troubleshooting Common Issues
Even with proper cleaning, you might encounter some issues. Here’s how to handle common problems:
Filter Won’t Come Out
If the filter is stuck, don’t force it. Check for hidden clips, screws, or tabs that may be holding it in place. Refer to your owner’s manual for model-specific instructions. Sometimes, the grille needs to be removed at a certain angle.
Filter Is Damaged or Torn
A damaged filter won’t trap particles effectively. If you notice tears, holes, or warping, replace it immediately. Continuing to use a broken filter can allow dust to enter the unit and damage internal components.
Unit Still Not Cooling Well After Cleaning
If your AC still isn’t cooling properly, the issue may not be the filter. Check for:
- Blocked vents or obstructions in front of the unit
- Dirty evaporator or condenser coils
- Low refrigerant levels
- Thermostat settings or sensor issues
In these cases, professional servicing may be needed.
Unusual Odors After Cleaning
If your AC emits a musty or moldy smell after cleaning, the filter may not have dried completely, or mold may have grown inside the unit. Turn off the AC, remove the filter again, and ensure it’s fully dry. You may also need to clean the interior coils or ducts.
When to Replace the Filter
While cleaning extends the life of your filter, it won’t last forever. Most LG air conditioner filters should be replaced every 6 to 12 months, depending on usage and environment.
Signs it’s time to replace the filter include:
- Visible damage (tears, holes, warping)
- Filter remains dirty after cleaning
- Reduced airflow despite cleaning
- Increased dust or allergens in the room
Replacing the filter is a small investment that pays off in performance and air quality. Always use a genuine LG filter or a compatible high-quality alternative.
Conclusion
Cleaning the filter on your LG air conditioner window unit is a simple but powerful way to maintain performance, save energy, and improve your home’s air quality. By following this guide, you’ve learned how to safely remove, clean, dry, and reinstall the filter—along with tips for ongoing maintenance.
Remember: a clean filter means a happier AC, lower bills, and fresher air. Make it a habit, and your unit will thank you with reliable cooling for years to come. Stay cool, stay clean, and enjoy the comfort of a well-maintained air conditioner.

