
Keeping your LG air conditioner’s air filter clean is essential for optimal performance, energy efficiency, and healthy indoor air. This guide walks you through the simple process of removing, cleaning, and reinstalling your LG AC filter—no tools required. Regular maintenance can extend your unit’s lifespan and reduce repair costs.
Key Takeaways
- Clean filters improve airflow and cooling efficiency: A dirty filter restricts airflow, forcing your LG AC to work harder and consume more energy.
- Cleaning is quick and tool-free: Most LG air conditioners have easily accessible filters that can be removed and cleaned in under 15 minutes.
- Frequency matters: Clean your filter every 2–4 weeks during heavy use seasons (summer and winter) to maintain peak performance.
- Use mild soap and water only: Avoid harsh chemicals or high-pressure water, which can damage the delicate filter mesh.
- Dry completely before reinstalling: Installing a damp filter can lead to mold growth and reduced air quality.
- Check for damage during cleaning: Replace the filter if you notice tears, warping, or excessive wear.
- Regular cleaning extends AC lifespan: Preventing dust buildup reduces strain on internal components like the evaporator coil and fan motor.
Why Cleaning Your LG Air Conditioner Filter Matters
Your LG air conditioner does more than just cool your home—it also helps purify the air you breathe. The air filter plays a crucial role in this process by trapping dust, pollen, pet dander, and other airborne particles. Over time, however, this filter becomes clogged with debris, reducing its effectiveness and putting extra strain on your AC system.
When the filter is dirty, your LG unit has to work harder to pull air through it. This leads to higher energy bills, reduced cooling performance, and increased wear and tear on internal components. In extreme cases, a severely clogged filter can cause the evaporator coil to freeze, leading to costly repairs.
Cleaning your air filter regularly is one of the simplest and most effective ways to maintain your LG air conditioner. It’s a task that takes just minutes but delivers big benefits: better air quality, lower energy consumption, and a longer-lasting appliance.
In this guide, you’ll learn exactly how to clean the air filter on your LG air conditioner—whether it’s a window unit, split system, or portable model. We’ll walk you through each step with clear instructions, helpful tips, and troubleshooting advice to ensure you get it right every time.
What You’ll Need
Before you begin, gather these basic supplies. Most are likely already in your home:
- A soft-bristled brush or vacuum cleaner with a brush attachment
- Mild dish soap or a gentle household cleaner
- A clean sink, basin, or bucket filled with lukewarm water
- A clean, dry towel or cloth
- Gloves (optional, but recommended if you have sensitive skin)
- A replacement filter (if your current one is damaged or worn out)
You won’t need any special tools—LG designs its air conditioners with user-friendly maintenance in mind. The entire cleaning process can be completed without screws, wrenches, or technical know-how.
Step 1: Turn Off and Unplug Your LG Air Conditioner
Safety always comes first. Before touching any part of your air conditioner, make sure it’s completely powered down.
For Window and Portable Units
Locate the power button on the unit or remote control and turn it off. Then, unplug the AC from the wall outlet. This prevents accidental startup while you’re working and protects you from electrical hazards.
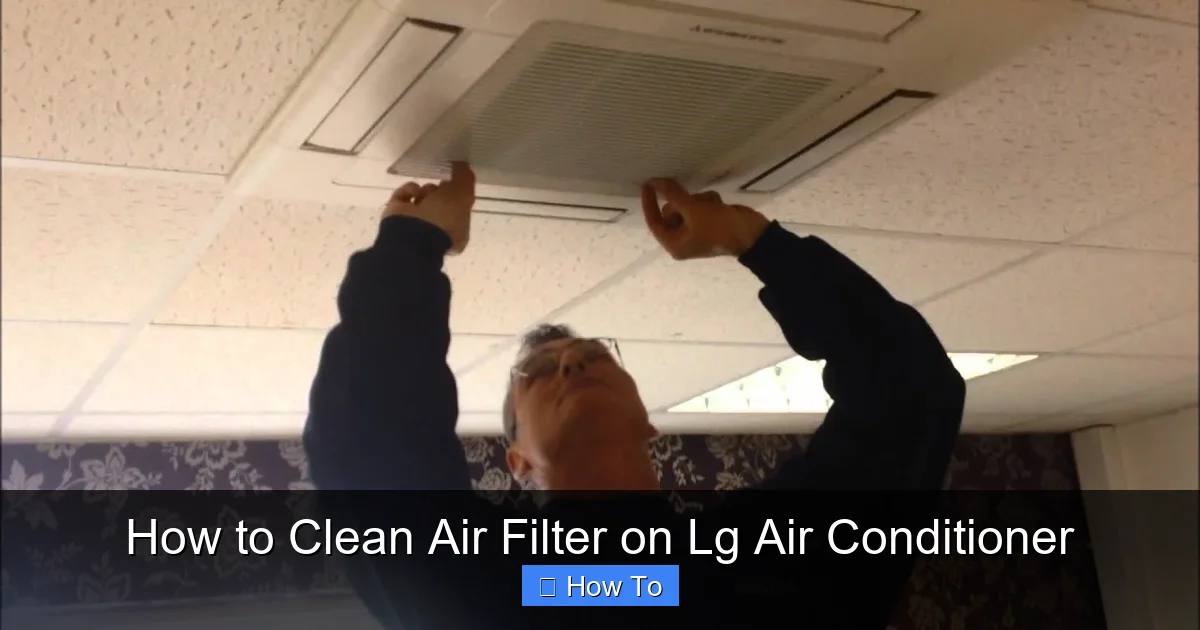
Visual guide about How to Clean Air Filter on Lg Air Conditioner
Image source: i.ytimg.com
For Split System Units
Turn off the unit using the remote control. Next, go to your home’s electrical panel and switch off the circuit breaker that powers the indoor unit. If you’re unsure which breaker controls your AC, turn off the main breaker for the room or area where the unit is installed. Always double-check that the unit is off by trying to turn it on with the remote.
Pro Tip: Even if your LG AC has a “Filter Reset” or “Clean Filter” indicator light, always unplug the unit before cleaning. These lights are helpful reminders, but they don’t guarantee the unit is safe to handle.
Step 2: Locate the Air Filter
The air filter is typically located behind the front panel of your LG air conditioner. The exact placement varies slightly depending on the model, but the process is similar across most units.
Window and Portable Units
Look for a front grille or panel on the front of the unit. On most LG window and portable ACs, this panel is held in place by clips or a simple latch. Gently pull the bottom edge of the panel outward to release it. The filter will be right behind it, usually in a removable cassette or frame.
Split System (Wall-Mounted) Units
Stand in front of the indoor unit and look for a horizontal or vertical front panel. On many LG split systems, the panel opens downward or swings open like a door. Some models have a small handle or indentation to help you grip it. Once opened, you’ll see the filter mounted in a plastic frame at the top or center of the unit.
Note: If you’re having trouble finding the filter, consult your user manual. LG provides model-specific diagrams that show exactly where the filter is located. You can download a copy from the LG support website if you no longer have the physical manual.
Step 3: Remove the Air Filter
Once you’ve accessed the filter compartment, it’s time to take the filter out.
For Cassette-Style Filters
These are common in window and portable units. The filter slides into a plastic frame. Gently grasp the filter by its edges or handle and pull it straight out. Avoid bending or twisting it, as this can damage the mesh.
For Frame-Mounted Filters
In split systems, the filter is often held in place by a plastic frame that lifts out. Look for small tabs or levers on the sides of the frame. Press or lift these to release the filter. Some models have a single-piece filter, while others have two separate filters (a pre-filter and a main filter). Remove both if present.
Pro Tip: Take a photo of the filter before removing it. This helps you remember how it was positioned, especially if you have multiple filters or a complex frame setup.
Step 4: Inspect the Filter
Before cleaning, take a close look at the filter. This is a good opportunity to assess its condition.
- Light dust or hair: The filter is still in good shape and just needs a routine cleaning.
- Heavy buildup or dark grime: The filter is overdue for cleaning and may need more thorough washing.
- Tears, holes, or warping: The filter is damaged and should be replaced. Continuing to use a damaged filter reduces efficiency and can allow debris to enter the unit.
If you notice any damage, order a replacement filter that matches your LG model number. Using the wrong filter can cause poor airflow and potential damage to your AC.
Step 5: Clean the Air Filter
Now it’s time to clean the filter. The goal is to remove dust and debris without damaging the delicate mesh.
Step 5.1: Vacuum Loose Debris
Use a vacuum cleaner with a soft brush attachment to gently remove surface dust and hair. Hold the filter at an angle and vacuum both sides. This step removes the bulk of the debris and makes washing more effective.
Step 5.2: Wash with Mild Soap and Water
Fill a sink or basin with lukewarm water and add a few drops of mild dish soap. Submerge the filter and let it soak for 5–10 minutes. This helps loosen embedded dirt.
After soaking, gently agitate the filter in the water. Use your hands or a soft-bristled brush to lightly scrub both sides. Avoid using sponges, steel wool, or abrasive cleaners—these can tear the filter material.
Step 5.3: Rinse Thoroughly
Rinse the filter under cool, running water until all soap residue is gone. Hold it up to the light to check for any remaining suds or dirt. Soap left on the filter can attract more dust and reduce airflow.
Pro Tip: Never use hot water. High temperatures can warp or melt the plastic frame or filter mesh. Similarly, avoid high-pressure hoses or sprayers—they can force water into the unit or damage the filter.
Step 6: Dry the Filter Completely
Drying is just as important as cleaning. A damp filter can promote mold and mildew growth, which defeats the purpose of cleaning.
Step 6.1: Shake Off Excess Water
Gently shake the filter to remove as much water as possible. Hold it by the edges and tap it lightly against the side of the sink.
Step 6.2: Air Dry in a Well-Ventilated Area
Place the filter on a clean towel in a shaded, well-ventilated area. Avoid direct sunlight or heat sources like radiators, which can warp the plastic. Let it dry for at least 2–4 hours, or until completely dry to the touch.
Important: Never reinstall a wet or damp filter. Even a small amount of moisture can lead to mold, odors, and reduced efficiency.
Step 7: Reinstall the Filter
Once the filter is dry, it’s time to put it back.
Step 7.1: Check the Filter Direction
Most LG filters have an arrow or label indicating the correct airflow direction. Make sure the arrow points toward the unit (into the air intake) when reinstalling. Installing it backward can restrict airflow and reduce performance.
Step 7.2: Slide or Snap the Filter Back In
Carefully insert the filter into its frame or slot. For cassette-style filters, slide it in smoothly until it clicks into place. For frame-mounted filters, align the tabs and press firmly until secure.
Step 7.3: Close the Front Panel
Once the filter is in place, close the front panel or grille. Make sure it’s fully seated and latched. A loose panel can cause air leaks or allow dust to bypass the filter.
Step 8: Reset the Filter Indicator (If Applicable)
Many LG air conditioners have a filter reset button or indicator light that reminds you when it’s time to clean the filter.
How to Reset the Filter Light
After cleaning and reinstalling the filter, press and hold the “Filter” or “Clean Filter” button on the remote control or unit for 3–5 seconds. The indicator light should turn off or reset to green, signaling that the filter has been serviced.
Note: If your model doesn’t have a filter indicator, create a cleaning schedule. Mark your calendar or set a phone reminder to clean the filter every 2–4 weeks during peak usage seasons.
How Often Should You Clean the Filter?
The frequency of cleaning depends on several factors:
- Usage: If you run your AC daily, clean the filter every 2 weeks.
- Environment: Homes with pets, smokers, or high pollen counts may need weekly cleaning.
- Season: Clean more often in summer and winter when the AC is used heavily.
- Indoor air quality: If you notice dust buildup, odors, or reduced airflow, clean the filter immediately.
As a general rule, check the filter every two weeks and clean it as needed. Regular maintenance prevents problems before they start.
Troubleshooting Common Issues
Even with proper care, you might encounter a few hiccups. Here’s how to handle common problems:
Filter Won’t Come Out
If the filter is stuck, don’t force it. Check for hidden clips, screws, or latches. Some LG models have a small release button near the filter slot. Consult your user manual for model-specific instructions.
Filter Doesn’t Fit After Cleaning
This usually happens if the filter warped during drying. Ensure it dried flat and wasn’t exposed to heat. If it’s still misshapen, it may be damaged and need replacement.
AC Still Not Cooling Well After Cleaning
A clean filter helps, but other issues could be at play. Check if the outdoor unit is blocked, the refrigerant is low, or the thermostat is set correctly. If problems persist, contact an LG-certified technician.
Filter Light Won’t Reset
Try unplugging the unit for 5 minutes, then plug it back in and reset the filter light. If the light stays on, the sensor may be faulty. Contact LG support for assistance.
Tips for Maintaining Your LG Air Conditioner
Cleaning the filter is just one part of AC maintenance. Follow these tips to keep your LG unit running smoothly:
- Clean the exterior vents: Use a damp cloth to wipe down the front grille and vents every few weeks.
- Keep the area around the unit clear: Ensure at least 2 feet of space around window and split units for proper airflow.
- Schedule professional maintenance: Have a technician inspect your AC once a year to check refrigerant levels, coils, and electrical connections.
- Use a programmable thermostat: This helps reduce runtime and extends the life of your unit.
- Replace filters as needed: Even with regular cleaning, filters wear out over time. Replace them every 6–12 months, or sooner if damaged.
Conclusion
Cleaning the air filter on your LG air conditioner is a simple task that makes a big difference. By following this guide, you’ll improve your AC’s efficiency, lower your energy bills, and enjoy cleaner, healthier air in your home.
Remember: safety first—always unplug the unit before cleaning. Remove the filter gently, clean it with mild soap and water, dry it completely, and reinstall it correctly. Reset the filter indicator if your model has one, and clean the filter every 2–4 weeks during heavy use.
With regular maintenance, your LG air conditioner will keep you cool and comfortable for years to come. Don’t wait for problems to arise—make filter cleaning a habit, and your AC will thank you.

