
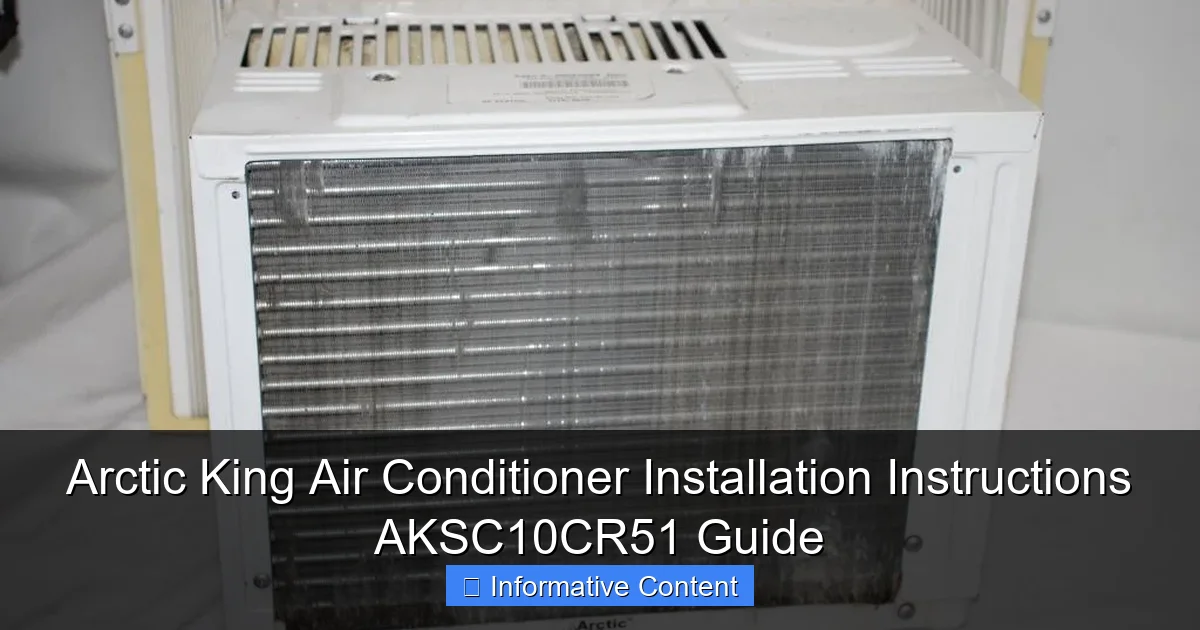
Featured image for arctic king air conditioner installation instructions aksc10cr51
Image source: content.propertyroom.com
Master your Arctic King AKSC10CR51 air conditioner installation with ease using the official guide designed for safe, efficient setup. This step-by-step manual ensures optimal performance and energy savings by clearly outlining electrical requirements, mounting procedures, and refrigerant line connections—critical for both DIYers and technicians. Avoid costly mistakes and ensure warranty compliance by following these precise, manufacturer-approved instructions.
Key Takeaways
- Read the manual first: Always review the full AKSC10CR51 installation guide before starting.
- Ensure proper window fit: Confirm your window dimensions support the unit’s size and mounting requirements.
- Use included hardware: Install with all provided brackets, screws, and seals for stability and efficiency.
- Seal gaps completely: Prevent air leaks by tightly securing the accordion panels and weatherstripping.
- Level the unit correctly: Slight downward tilt (1/4 inch) ensures proper drainage and prevents water damage.
- Plug into dedicated outlet: Avoid extension cords to reduce fire risk and ensure full power delivery.
- Test before finalizing: Run the AC briefly to confirm operation before completing installation steps.
📑 Table of Contents
- Why Proper Installation Matters for Your Arctic King AKSC10CR51
- What’s in the Box? Pre-Installation Checklist for the AKSC10CR51
- Step-by-Step Installation: Mounting the Arctic King AKSC10CR51
- Electrical Setup and Safety Precautions
- Optimizing Performance and Efficiency
- Troubleshooting Common Installation Issues
- Data Table: Arctic King AKSC10CR51 Specifications at a Glance
- Final Thoughts: A Cool, Confident Installation
Why Proper Installation Matters for Your Arctic King AKSC10CR51
Installing a new air conditioner can feel like a rite of passage when summer heat starts creeping in. You’ve probably been there—sweating through the night, fiddling with fans that do little more than stir hot air. That’s when you realize it’s time to take control. The Arctic King air conditioner installation instructions AKSC10CR51 are designed to help you do just that: take control with a reliable, energy-efficient window unit that cools your space without breaking the bank. I remember my own first installation—excited to set it up, but slightly nervous about missing a step. After all, a poorly installed AC doesn’t just underperform; it can leak, rattle, or even damage your window frame. That’s why I’m here to walk you through the process, step by step, with real-world tips and a few lessons learned the hard way.
Whether you’re a DIY rookie or a seasoned handyman, the Arctic King AKSC10CR51 is built with user-friendly installation in mind. But even the simplest units need proper setup to work safely and efficiently. This guide covers everything from unboxing and prep to sealing, testing, and troubleshooting. Think of it as your friendly neighbor helping you avoid rookie mistakes—like forgetting to remove the shipping brackets (yes, that happened to me) or skipping the insulation tape and ending up with a drafty, noisy unit. By the end, you’ll not only have a cool room but also the confidence that your unit is installed correctly and ready to handle the summer heat.
What’s in the Box? Pre-Installation Checklist for the AKSC10CR51
Unboxing and Inventory Check
Before you even think about mounting your Arctic King AKSC10CR51, take a deep breath and do a full unboxing. I can’t tell you how many times I’ve been so eager to get the AC running that I skipped this step—only to realize I was missing a critical part halfway through. Open the box carefully. The unit is usually wrapped in protective foam and plastic. Inside, you should find:
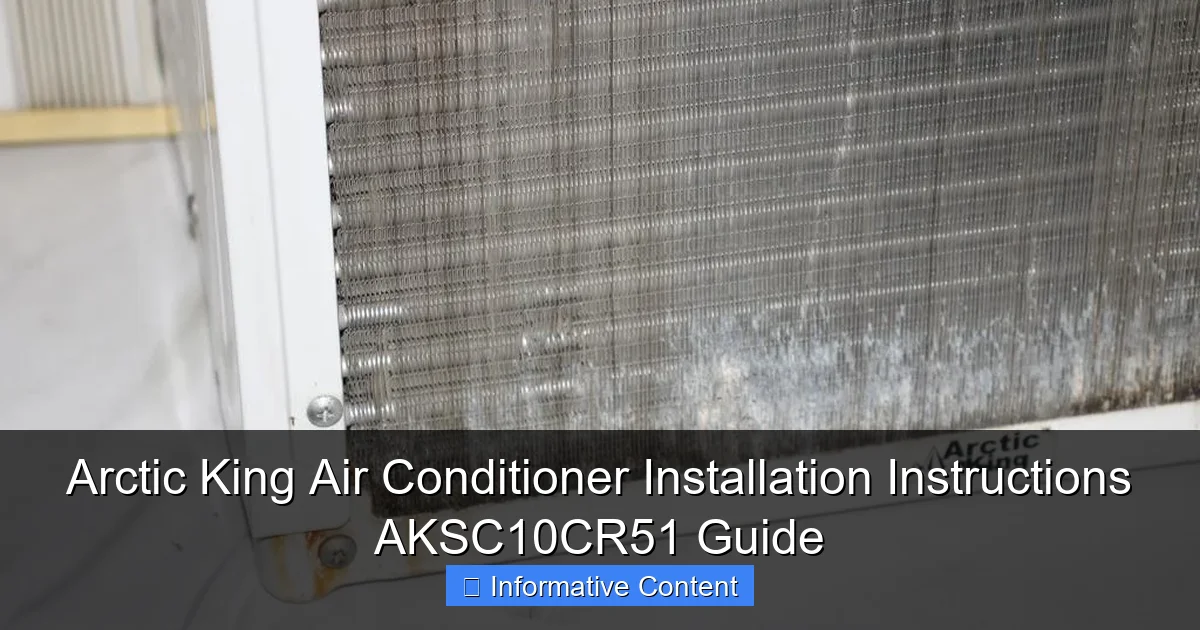
Visual guide about arctic king air conditioner installation instructions aksc10cr51
Image source: content.propertyroom.com
- The Arctic King AKSC10CR51 unit itself
- Top mounting rail (pre-attached in most cases)
- Side curtain panels (left and right)
- Window sill bracket
- Adjustable side rails (for window width)
- Foam insulation strips
- Installation screws and washers
- Remote control (with batteries)
- User manual (keep this handy!)
Check each item against the packing list in the manual. If anything’s missing, contact the retailer or Arctic King support immediately. Trust me, waiting a few days for a missing bracket is better than a half-installed AC that won’t stay in place.
Tools and Materials You’ll Need
You don’t need a full toolbox, but having the right tools makes a huge difference. Here’s what I recommend having ready:
- Phillips screwdriver (manual or electric)
- Measuring tape
- Scissors or utility knife
- Level (a small bubble level works great)
- Pencil (for marking screw holes)
- Drill with 3/32” drill bit (optional, for pilot holes)
- Extra foam tape or weatherstripping (just in case)
Pro tip: I always keep a small tray nearby to hold screws and small parts. Nothing’s worse than losing a washer behind the couch mid-installation. Also, wear gloves—the edges of the side curtains can be sharp, and the metal brackets aren’t exactly finger-friendly.
Window Compatibility and Safety Checks
The AKSC10CR51 is designed for double-hung or sliding windows. Before installing, confirm your window meets these requirements:
- Window opening width: 23.5 to 36 inches
- Window sill depth: At least 3 inches (to support the bracket)
- Window must open and close smoothly
- No obstructions like locks, screens, or window guards that can’t be removed
Safety first: Make sure the electrical outlet you plan to use is grounded and on a dedicated circuit if possible. Avoid extension cords—they can overheat and cause fire hazards. Also, check that the outlet is within 6 feet of the window to use the included power cord without strain.
Step-by-Step Installation: Mounting the Arctic King AKSC10CR51
Step 1: Prepare the Window and Sill
Start by cleaning the window sill and frame. Remove dust, old insulation, or debris. A clean surface helps the unit sit securely and prevents gaps. Open the window and extend the lower sash fully. If your window has a screen, remove it—it can block airflow and make installation awkward.
Now, place the window sill bracket on the sill, aligning it with the center of the window. The bracket has a lip that hooks over the sill’s edge. Make sure it’s level. If your sill is uneven (common in older homes), use small wooden shims or extra foam tape to level it. I once skipped this and ended up with a wobbly unit that rattled every time the compressor kicked on. Not ideal.
Step 2: Attach the Top Mounting Rail (If Not Pre-Attached)
Most AKSC10CR51 units come with the top rail already screwed in. If not, align it with the top of the AC’s chassis and secure it with the provided screws. This rail is crucial—it supports the top of the unit and connects to the window sash. Use your level to ensure it’s straight. A crooked rail can cause misalignment later.
Step 3: Install the Side Curtain Panels
Slide the left and right side panels into the grooves on the AC’s sides. They should click in place. These panels expand to fill the space between the unit and window frame. Extend them to match your window’s width. For wider gaps, you can add the included foam strips to the outer edges for a snug fit.
Tip: Don’t fully extend the panels yet. You’ll adjust them later once the unit is in place. I’ve made the mistake of over-extending them early, which made fitting the unit into the window a real puzzle.
Step 4: Position the AC Unit
Now comes the heavy lifting. With a helper (or using a sturdy table as a temporary support), lift the AC and slide it onto the sill bracket. The bottom of the unit should rest securely on the bracket’s lip. Slide it back until the top rail contacts the window sash.
Close the window slowly, pressing the top rail down onto the sash. The rail should fit snugly. If there’s a gap, adjust the side panels or add foam tape. Never force the window down—this can crack the glass or damage the frame.
Step 5: Secure the Unit
Once the unit is in place, secure it with the provided screws:
- Use the two long screws through the top rail into the window sash
- Use the shorter screws to attach the side panels to the window frame (pilot holes help)
- Secure the bottom of the side panels to the sill bracket
Don’t overtighten—snug is enough. Overtightening can warp the panels or damage the window frame. I once cracked a plastic panel by cranking down too hard. Lesson learned.
Step 6: Insulate and Seal All Gaps
This step is often overlooked but makes a huge difference. Use the included foam tape to seal:
- Gaps between the side panels and window frame
- Top of the unit where the top rail meets the window sash
- Bottom edges of the side panels
For extra sealing, I use high-quality weatherstripping tape from the hardware store. A tight seal keeps hot air out, cold air in, and reduces noise. Plus, it improves efficiency—your AC won’t have to work as hard.
Electrical Setup and Safety Precautions
Choosing the Right Outlet
The AKSC10CR51 runs on 115V and draws about 10.5 amps. Plug it into a grounded 3-prong outlet. Avoid power strips or extension cords unless they’re heavy-duty (14-gauge wire or thicker) and rated for at least 15 amps. I learned this the hard way when my unit tripped the breaker using a cheap extension cord. Not fun in 95°F heat.
If your outlet is far, consider hiring an electrician to install a new one nearby. It’s safer and ensures optimal performance. Also, make sure the outlet is on a dedicated circuit if possible—other appliances on the same circuit can cause voltage drops and overheating.
Grounding and Circuit Protection
Check that your home’s circuit breaker panel is properly grounded. The AKSC10CR51 has built-in surge protection, but grounding adds an extra layer of safety. If you’re unsure, use a circuit tester (available at hardware stores) to verify the outlet is wired correctly.
Pro tip: Plug the AC into a GFCI (Ground Fault Circuit Interrupter) outlet if available. These shut off power if they detect a ground fault, reducing shock risk—especially important in humid environments.
First Power-On and System Check
Before turning it on, double-check:
- All screws are tight
- No gaps in insulation
- Power cord isn’t pinched or strained
- Remote control batteries are installed
Plug it in and press the power button. The unit should start with a quiet hum. Listen for odd noises—grinding, rattling, or buzzing. If you hear anything unusual, unplug immediately and check for loose parts.
Let it run for 10 minutes. The air should feel cold, and condensation should form on the coils (normal). If it’s not cooling, check the air filter (clean if dusty) and ensure the temperature is set below the room temp. I once forgot to remove the filter’s plastic wrap—took me 20 minutes to figure out why it wasn’t cooling!
Optimizing Performance and Efficiency
Airflow and Ventilation Tips
For best performance, keep the area around the unit clear. Don’t place furniture, curtains, or plants within 2 feet. Blocked airflow reduces efficiency and strains the compressor.
Use the remote to set the fan speed. On high, it cools faster but is noisier. On low, it’s quieter and more efficient for maintaining temperature. I usually start on high to cool the room, then switch to low or auto.
Using the Thermostat and Modes
The AKSC10CR51 has several modes:
- Cool: Standard cooling (most used)
- Fan: Circulates air without cooling
- Dehumidify: Reduces humidity (great for muggy days)
- Energy Saver: Cycles fan and compressor to save power
Set the thermostat to 72–75°F for comfort and efficiency. Each degree below 72°F increases energy use by 6–8%. I keep mine at 74°F—cool enough to sleep, but not so cold I need a blanket.
Cleaning and Maintenance Schedule
Regular maintenance keeps your AC running smoothly:
- Monthly: Clean or replace the air filter (just pull it out and rinse with water)
- Every 3 months: Wipe down the exterior and check for dust buildup on vents
- Before/After season: Inspect insulation, screws, and seals; clean the condenser coils (if accessible)
Neglecting the filter is a common mistake. A dirty filter restricts airflow, making the unit work harder and reducing lifespan. I set a phone reminder to clean mine every month.
Troubleshooting Common Installation Issues
Unit Won’t Stay in Place
If the AC wobbles or slides, check:
- Sill bracket is securely hooked over the sill
- Top rail is screwed into the window sash
- Side panels are extended and sealed
For extra stability, add L-brackets to the side panels and screw them into the window frame. I did this in my old apartment with loose windows, and it made a world of difference.
Leaks or Dripping Water
Condensation is normal, but water inside your room isn’t. Causes include:
- Improper tilt (unit should tilt slightly backward)
- Clogged drain holes (clean with a pipe cleaner)
- Damaged or missing foam seals
To fix tilt, loosen the sill bracket screws and adjust the unit’s angle. The back should be 0.5–1 inch lower than the front. This allows condensation to drain outside.
Excessive Noise or Vibration
Some noise is normal, but loud rattling or buzzing isn’t. Check:
- All screws are tight
- Unit isn’t touching the window frame (can cause vibration)
- Side panels aren’t loose or cracked
Place a rubber pad under the unit to reduce vibration. I use a piece of old yoga mat—cheap and effective.
Data Table: Arctic King AKSC10CR51 Specifications at a Glance
| Feature | Specification |
|---|---|
| Cooling Capacity | 10,000 BTU |
| Voltage | 115V |
| Amperage | 10.5A |
| Energy Efficiency Ratio (EER) | 11.0 |
| Window Width Range | 23.5″ – 36″ |
| Dimensions (W x H x D) | 19.5″ x 14.5″ x 21.5″ |
| Weight | 58 lbs |
| Refrigerant | R32 (eco-friendly) |
| Modes | Cool, Fan, Dehumidify, Energy Saver |
| Warranty | 1 year limited |
Final Thoughts: A Cool, Confident Installation
Installing your Arctic King air conditioner installation instructions AKSC10CR51 might seem daunting at first, but with the right prep and attention to detail, it’s totally doable. I’ve walked through every step—from unboxing to sealing and testing—because I know how frustrating it can be when something doesn’t work as expected. The key is patience. Take your time, double-check each step, and don’t rush. A properly installed AC doesn’t just cool your space; it runs quietly, efficiently, and lasts longer.
Remember, the Arctic King AKSC10CR51 is a solid mid-range unit that delivers great value. It’s not perfect—the side panels can be a bit flimsy, and the remote isn’t backlit—but for the price, it’s hard to beat. And with proper installation, you’ll avoid common pitfalls like leaks, noise, and poor airflow. Whether you’re cooling a bedroom, home office, or small apartment, this guide arms you with the knowledge to do it right. So grab your tools, take a deep breath, and enjoy the cool breeze of a job well done. Summer heat doesn’t stand a chance.
Frequently Asked Questions
How do I install the Arctic King AKSC10CR51 air conditioner?
Follow the step-by-step Arctic King air conditioner installation instructions AKSC10CR51 included in the manual. Ensure the unit is level, secure the mounting bracket, connect the exhaust hose, and seal gaps around the window panel for optimal efficiency.
What tools do I need for Arctic King AKSC10CR51 installation?
Basic tools like a drill, screwdriver, tape measure, and level are required. The kit includes mounting hardware, but you may need additional insulation strips or foam to seal the window opening.
Can I install the Arctic King AKSC10CR51 without professional help?
Yes, this unit is designed for DIY installation using the provided Arctic King air conditioner installation instructions AKSC10CR51. However, if you’re unsure about electrical connections or window modifications, consult a professional.
Where should I place the exhaust hose during installation?
The exhaust hose must be vented outdoors through a window or sliding door. Ensure it slopes downward slightly to prevent condensation from flowing back into the unit.
Why is my Arctic King AKSC10CR51 leaking water after installation?
Leaks often occur due to improper leveling or a clogged drain. Double-check the unit’s tilt (slightly backward) and ensure the drain plug is secure per the installation guide.
How do I secure the window panel for the Arctic King AKSC10CR51?
Use the included adjustable window panel and foam seals to close gaps. Tighten the locking screws firmly to prevent air leaks and ensure the panel doesn’t shift during operation.