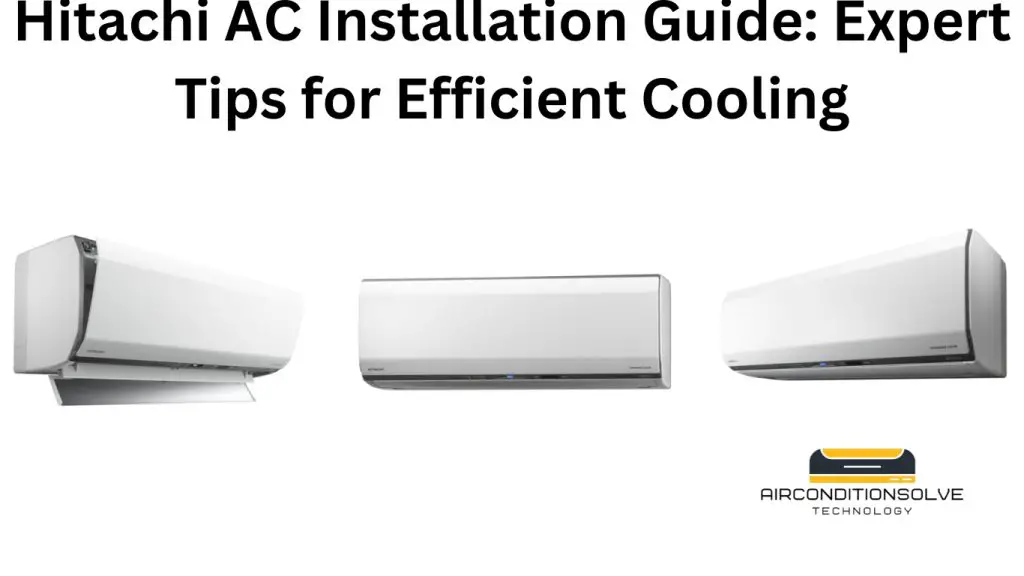
The AC Outdoor Unit Installation Guide consists of concise, accurate instructions for installing the outdoor unit of an air conditioning system. The guide provides step-by-step directions to ensure proper installation and functionality of the unit.
Installing the outdoor unit of an air conditioning system is a crucial step in the overall installation process. It requires careful attention to detail and adherence to specific guidelines to ensure optimal performance. By following the Ac Outdoor Unit Installation Guide, you can ensure that your outdoor unit is installed correctly, maximizing its efficiency and longevity.
Proper installation of the outdoor unit involves tasks such as selecting an appropriate location, securing the unit, connecting refrigerant lines, and wiring the electrical components. Each step is outlined in the installation guide, along with clear instructions and diagrams to facilitate the process. Following these guidelines will ensure a successful and seamless installation of your air conditioning system’s outdoor unit.
Understanding The AC Outdoor Unit Installation Process
When it comes to installing an air conditioning system, the placement and installation of the outdoor unit are just as important as the indoor unit. The outdoor unit houses key components that are vital for the proper functioning of your AC system. In this blog post, we will provide an in-depth guide to understanding the AC outdoor unit installation process, including the key components, the importance of proper installation for AC performance and longevity, and expert tips for a successful installation.
Key Components Of The Outdoor Unit Installation
The outdoor unit of your AC system consists of several key components that play a crucial role in its operation. These components include:
- Compressor: The compressor is the heart of the air conditioning system. It is responsible for pressurizing and circulating the refrigerant, which is essential for the cooling process.
- Condenser coil: The condenser coil is responsible for releasing heat from the refrigerant to the outdoor air. It works in conjunction with the compressor to cool down the refrigerant and convert it from a hot, high-pressure gas to a cooler, liquid state.
- Fan: The fan in the outdoor unit helps to dissipate the heat released by the condenser coil. It pulls air from the surroundings, allowing the condenser coil to transfer heat effectively.
- Refrigerant lines: These are the copper tubes that connect the indoor and outdoor units. They transport the refrigerant between the two units, ensuring a continuous flow of cool air.
These components work together to ensure efficient cooling and optimal performance of your AC system. It is important to understand their roles and how they fit into the outdoor unit installation process.
Importance Of Proper Installation For AC Performance And Longevity
Proper installation of the outdoor unit is crucial for the performance and longevity of your AC system. A poorly installed outdoor unit can lead to various issues, including reduced cooling efficiency, increased energy consumption, and frequent breakdowns.
Here are some reasons why proper installation is essential:
- Optimal airflow: A well-installed outdoor unit ensures proper airflow, allowing the system to cool your home efficiently. If the unit is obstructed or improperly positioned, it can restrict airflow, leading to reduced cooling capacity and increased energy consumption.
- Avoiding refrigerant leaks: Improper installation can result in refrigerant leaks, which not only affects the cooling performance but also harms the environment. Refrigerant leaks can lead to system inefficiency, ice buildup, and ultimately damage the compressor.
- Preventing compressor failure: The compressor is a costly and vital component of an AC system. Poor installation can cause stress on the compressor, leading to premature failure and the need for costly repairs or replacement.
- Ensuring warranty coverage: Many AC manufacturers require professional installation to maintain warranty coverage. Improper installation can void your warranty, leaving you responsible for any future repairs or replacements.
By investing in a proper outdoor unit installation, you can ensure the optimal performance and longevity of your AC system, saving you time and money in the long run.
Expert Tips For A Successful Installation
Here are some expert tips to ensure a successful outdoor unit installation:
- Choose the right location: Select a location that is well-ventilated, away from direct sunlight, and free from obstacles that can obstruct airflow.
- Provide proper ground support: Ensure that the outdoor unit is placed on a stable and level surface. This will prevent vibrations, reduce noise, and minimize the risk of damages.
- Follow manufacturer instructions: Always refer to the manufacturer’s installation instructions and guidelines to ensure that the installation is done correctly.
- Hire a professional: It is highly recommended to hire a professional technician who is experienced in AC installations. They have the knowledge and expertise to handle the installation process safely and efficiently.
By following these expert tips, you can maximize the performance and lifespan of your AC system, ensuring a comfortable and cool indoor environment for years to come.
Preparing For AC Outdoor Unit Installation
Getting ready for AC outdoor unit installation? Follow this easy-to-understand guide for a smooth and hassle-free process. Ensure your unit is correctly installed with these essential steps.
Assessing The Installation Area
Before you begin installing your AC outdoor unit, it’s important to assess the area where it will be placed. Take note of the available space, ensuring that there is enough room for the unit to fit comfortably. Measure the dimensions of the unit and compare them to the dimensions of the area. This step is crucial to ensure a proper fit and prevent any hindrances to the installation process.
Clearing The Space And Ensuring Proper Ventilation
Once you have assessed the installation area, the next step is to clear the space and ensure proper ventilation. Remove any obstacles or debris that may hinder the installation process or block the airflow around the unit. Remember, proper ventilation is essential for the efficient functioning of the AC outdoor unit. Check for any potential obstructions such as trees or walls that may restrict the airflow and make necessary adjustments