
Featured image for insignia air conditioner instructions
Image source: device.report
Master your Insignia air conditioner in minutes with our clear, step-by-step setup guide designed for hassle-free installation and optimal performance. From unboxing to first use, follow simple instructions to ensure efficient cooling and avoid common setup mistakes—no technical expertise needed.
Key Takeaways
- Read the manual first: Always review the Insignia AC instructions before setup to avoid errors.
- Ensure proper power supply: Verify voltage and outlet compatibility to prevent damage.
- Clean filters regularly: Maintain airflow and efficiency by cleaning filters monthly.
- Use timer settings: Save energy by scheduling on/off times via the remote or panel.
- Check error codes: Refer to the manual for quick troubleshooting of displayed alerts.
- Secure window installation: Follow mounting steps carefully to avoid leaks or instability.
📑 Table of Contents
Why Your Insignia Air Conditioner Deserves a Proper Setup
It’s the middle of July, and the sun is beating down like a relentless drum. You’ve just unboxed your new Insignia air conditioner, excited to finally escape the heat. But as you stare at the manual, the diagrams, and the mounting hardware, a familiar feeling creeps in—overwhelm. Sound familiar? I’ve been there. I remember sweating bullets in my apartment while trying to figure out why the unit wouldn’t cool properly, only to realize I’d skipped a tiny but critical step in the setup. That’s when I learned: proper setup isn’t just a suggestion—it’s the key to comfort, efficiency, and longevity.
Insignia air conditioners are known for their affordability, reliability, and sleek design. Whether you’ve got a window unit, a portable model, or a mini-split system, the right setup can make the difference between a cool sanctuary and a noisy, inefficient box in the corner. In this guide, we’ll walk through Insignia air conditioner instructions step by step, focusing on practical, easy-to-follow advice. No jargon, no fluff—just real talk from someone who’s been through the struggle. By the end, you’ll feel confident tackling the setup yourself, saving money, and avoiding common pitfalls.
Getting Started: Unboxing and Initial Checks
What’s in the Box?
Before you even think about installation, take a few minutes to inventory your Insignia air conditioner kit. Here’s what you should find (though it may vary slightly by model):
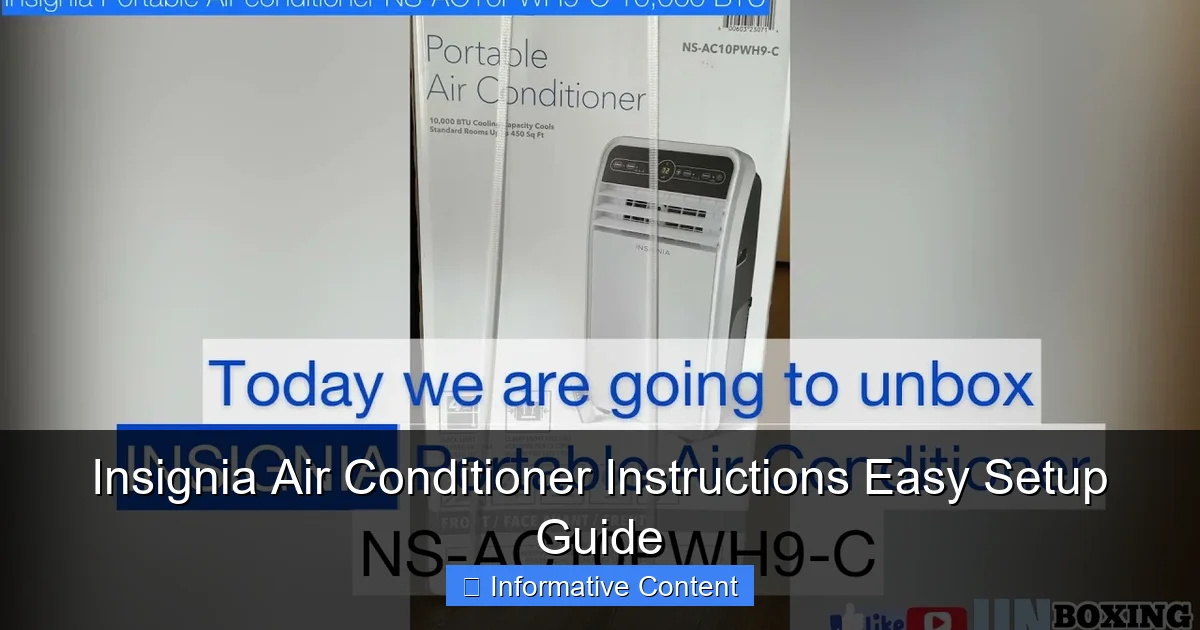
Visual guide about insignia air conditioner instructions
Image source: i.ytimg.com
- The air conditioner unit itself
- Window mounting brackets and side panels (for window units)
- Drain hose (for portable models)
- Remote control and batteries
- User manual (yes, keep this handy!)
- Weather stripping or foam insulation
- Mounting screws and washers
Pro tip: Lay everything out on a clean surface. I once spent 20 minutes hunting for a missing bracket—only to find it tucked inside the foam padding. Save yourself the frustration!
Inspect for Damage
It’s easy to get excited and skip this step, but trust me: always inspect the unit. Look for:
- Dents or scratches on the exterior
- Leaks or moisture inside the packaging
- Loose parts rattling around
If anything looks off, contact the retailer or Insignia support before installation. I once received a unit with a bent condenser coil—returning it early saved me from a costly repair down the road.
Choose the Right Location
Where you place your air conditioner matters more than you think. For window units:
- Pick a sturdy window that can support the unit’s weight (check the manual for exact specs).
- Ensure at least 12 inches of clearance on all sides for airflow.
- Avoid direct sunlight if possible—it reduces efficiency.
For portable ACs: Place near a window with an accessible drain and power outlet. I learned this the hard way when my unit tripped the breaker because the cord was stretched too far.
Step-by-Step Installation: Window Units
Mounting the Brackets
Window units are the most common Insignia models, and they’re surprisingly straightforward to install. Here’s how:
- Open the window fully and remove the screen if needed.
- Attach the mounting brackets to the window sill using the provided screws. Most models have adjustable brackets—tighten them so they’re snug but not warping the sill.
- Check the level with a small bubble level. Even a slight tilt can cause drainage issues.
Example: My 8,000 BTU Insignia unit had a metal bracket that slid into place. I used a rubber mallet to gently tap it down—no need to force it. If your window sill is uneven, use shims (included in some kits) to level the bracket.
Securing the Air Conditioner
Now, carefully lift the unit into the window. This is where teamwork helps—ask a friend to assist if the unit is heavy. Once in place:
- Lower the window onto the top of the unit. Most models have a locking mechanism—engage it.
- Attach the side panels to fill gaps. These often slide into tracks on the unit and window frame.
- Seal gaps with foam strips to prevent hot air from sneaking in. I use the included foam but add extra weather stripping for older windows.
Tip: Don’t overtighten the window lock—it can crack the frame. A gentle snug fit is enough.
Electrical Safety First
Before plugging in the unit:
- Use a dedicated outlet if possible. Insignia units draw significant power—sharing an outlet with a microwave or TV can trip the breaker.
- Check the voltage (usually 115V for standard models). Match it to your outlet.
- Never use an extension cord unless it’s heavy-duty (14-gauge or thicker). I learned this after my cheap extension cord melted!
When in doubt, consult an electrician. Better safe than sorry.
Setting Up Portable Air Conditioners
Drainage Setup: The Secret to No Leaks
Portable ACs are great for renters, but drainage is their Achilles’ heel. Here’s how to avoid puddles:
- Attach the drain hose to the back of the unit. Most Insignia models have a gravity-drain setup—position the hose to slope downward.
- Use a drip tray under the hose’s end if draining into a bucket. I use a plastic plant saucer—it’s cheap and effective.
- For continuous drainage, some models support a hose to a floor drain. Check your manual for the “condensate pump” option.
Pro tip: In humid climates, portable ACs can produce a lot of water. I set up a 5-gallon bucket with a float switch—when it fills, it alerts me via a smart plug.
Exhaust Hose Installation
The exhaust hose vents hot air outside. To install:
- Extend the hose fully (don’t coil it up).
- Attach one end to the unit and the other to a window vent kit.
- Seal gaps with foam to prevent hot air from leaking back in.
Example: My Insignia portable AC came with a universal window vent kit. I cut a piece of cardboard to fit my sliding window, then secured the vent with duct tape. It’s not pretty, but it works!
Power and Initial Test
Plug in the unit and:
- Press the power button—listen for the fan and compressor.
- Check for vibrations—if the unit shakes, reposition it or add rubber pads.
- Test the remote control—replace batteries if unresponsive.
Note: Some portable models have a “dry” mode to reduce humidity. Use it if you notice condensation on windows or walls.
Understanding Controls and Settings
Mastering the Control Panel
Insignia air conditioners have intuitive controls, but a few features trip people up. Let’s decode them:
- Power: Turns the unit on/off. Hold for 3 seconds to reset.
- Mode: Cycles between Cool, Fan, Dry, and Heat (if applicable).
- Fan Speed: Low, Medium, High. Use High for quick cooling, Low for quiet operation.
- Timer: Sets auto-on or auto-off. I use this to cool my room before bed.
- Sleep Mode: Gradually adjusts temperature to save energy. Ideal for nighttime.
Example: On my Insignia model, the “Eco” mode reduces power consumption by cycling the compressor. It’s great for mild days but won’t cool as fast as “Cool” mode.
Using the Remote Control
The remote is your best friend. Key tips:
- Point it directly at the unit—the sensor is usually on the front.
- Replace batteries yearly—weak batteries cause lag.
- Store it in a magnetic holder on the unit to avoid losing it.
Bonus: Some remotes have a “Follow Me” sensor—it adjusts the temperature based on your location. Handy if you’re moving around the room!
Temperature and Humidity Tips
For optimal comfort:
- Set the thermostat to 72–78°F (22–26°C). Every degree lower increases energy use by 6–8%.
- Use a hygrometer to monitor humidity. Aim for 40–60%. High humidity feels sticky; low humidity causes dry skin.
- Close curtains during the day to block heat. I use thermal curtains—they make a noticeable difference.
Maintenance and Troubleshooting
Regular Cleaning Schedule
Dirty filters and coils reduce efficiency. Here’s a monthly maintenance routine:
- Wash the air filter with mild soap and water. Let it dry completely before reinstalling.
- Wipe the condenser coils with a damp cloth. Avoid bending the fins.
- Clear debris from the exhaust and intake vents.
Example: My Insignia unit has a “Filter Alert” light that turns on after 240 hours of use. I mark my calendar to clean it every 4 weeks.
Common Issues and Fixes
Even with perfect setup, problems happen. Here’s what to check:
| Issue | Possible Cause | Solution |
|---|---|---|
| Unit won’t turn on | Power outlet issue, tripped breaker | Test outlet with another device; reset breaker |
| Not cooling | Dirty filter, low refrigerant, poor airflow | Clean filter; check for blockages; call technician for refrigerant |
| Leaking water | Clogged drain, tilted unit | Clear drain hose; reposition unit |
| Strange noises | Loose parts, debris in fan | Tighten screws; clean fan blades |
Seasonal Storage Tips
If you’re not using the AC in winter:
- Drain all water from portable units to prevent mold.
- Cover the unit with a breathable fabric cover.
- Store in a dry place—basements are ideal.
Pro tip: Take a photo of your setup before disassembling. It’ll help when reinstalling next summer!
Energy Efficiency and Long-Term Care
Smart Usage to Save Money
Your Insignia AC can be energy-efficient with a few habits:
- Use programmable timers to run the unit only when needed.
- Seal gaps around the unit with foam or tape. I use foam sealant for window units.
- Pair with a ceiling fan—it circulates cool air, letting you set the AC higher.
Example: I programmed my Insignia unit to turn off at 6 AM and on at 4 PM. It keeps my apartment cool without running all day.
When to Call a Professional
Some issues require expert help:
- Refrigerant leaks (hissing sounds, reduced cooling).
- Electrical problems (sparking, burning smells).
- Compressor failure (unit runs but doesn’t cool).
Tip: Insignia offers a 1-year warranty. Save your receipt and register your product online for faster support.
Extending Your Unit’s Lifespan
With care, your Insignia AC can last 8–12 years. Key tips:
- Clean filters monthly in peak season.
- Inspect seals and gaskets annually for wear.
- Keep the unit level—tilting stresses internal components.
Setting up your Insignia air conditioner doesn’t have to be stressful. By following these Insignia air conditioner instructions—from unboxing to troubleshooting—you’ll enjoy cool air all summer without the hassle. Remember: a little patience during setup saves you from headaches later. Now, grab a cold drink, kick back, and let your AC do the work. You’ve earned it!
Frequently Asked Questions
How do I set up my Insignia air conditioner for the first time?
Follow the Insignia air conditioner instructions included in the manual: secure the unit in the window, connect the exhaust hose (if portable), and plug it into a grounded outlet. Ensure the window panel is sealed to prevent hot air leaks.
Why is my Insignia AC not cooling properly?
Check if the air filter is clean, the temperature setting is correct, and the exhaust hose (for portable units) isn’t blocked. Refer to your Insignia air conditioner instructions for troubleshooting steps like resetting the unit or checking error codes.
How do I clean the filter on my Insignia air conditioner?
Turn off and unplug the unit, then locate the filter panel (usually at the back or side). Remove the filter, rinse it with lukewarm water, and let it dry completely before reinserting. Cleaning monthly improves efficiency and airflow.
Can I use my Insignia AC without the window kit?
For portable models, the exhaust hose must vent hot air outdoors, so a window kit or sliding door adapter is required. Window units, however, are designed to fit directly into the window frame per the instructions.
What do the error codes on my Insignia AC mean?
Common codes (like E1 or E2) indicate issues like sensor problems or drainage errors. Consult the Insignia air conditioner instructions manual for a full list of codes and solutions, or contact customer support.
How do I program the timer or remote control for my Insignia AC?
Press the “Timer” or “Mode” button on the remote or unit to set on/off times. For detailed steps, refer to the “Timer” section in your Insignia air conditioner instructions, ensuring the remote is pointed at the sensor.

