
Troubleshooting a Carrier air conditioner doesn’t have to be intimidating. This guide walks you through diagnosing and fixing common problems like poor cooling, strange noises, or system failures—all using simple tools and clear steps. Whether you’re dealing with a residential unit or a commercial Carrier HVAC system, you’ll find practical solutions to get your comfort back quickly and safely.
Quick Answers to Common Questions
Tip/Question?
Answer: Always wear safety glasses and gloves when opening your Carrier AC unit. Even routine inspections involve sharp edges and moving parts.
Tip/Question?
Answer: Set your thermostat to 78°F (26°C) in summer to balance comfort and efficiency. Every degree below 78 adds significant energy costs.
Tip/Question?
Answer: Keep a log of unusual sounds or performance changes. Over time, patterns emerge that help pinpoint recurring issues.
Tip/Question?
Answer: Don’t ignore rising electricity bills. They’re often the first sign your Carrier AC is losing efficiency due to dirty coils or low refrigerant.
Tip/Question?
Answer: If your unit is more than 10 years old, consider upgrading. Modern Carrier models use inverter technology that cuts energy use by up to 40%.
How to Troubleshoot Carrier Air Conditioner: A Complete Step-by-Step Guide
If your Carrier air conditioner isn’t cooling properly—or worse, has stopped working altogether—you’re not alone. Carrier is one of the most trusted names in heating, ventilation, and air conditioning systems, known for reliability and innovation. But even top-tier units can develop issues over time. The good news? Many common problems have simple fixes that don’t require calling a technician right away.
In this comprehensive guide, we’ll walk you through everything you need to know about troubleshooting your Carrier air conditioner. From identifying warning signs to performing basic diagnostics and maintenance, you’ll gain the confidence to handle routine issues on your own. We’ll also explain when it’s time to bring in the pros—because some jobs are best left to experts.
Whether you own a split-system Carrier AC, a ductless mini-split, or a central Carrier HVAC unit, this guide applies to all models. So grab your flashlight, keep your safety gloves handy, and let’s get started!
Step 1: Confirm the Problem Before You Begin
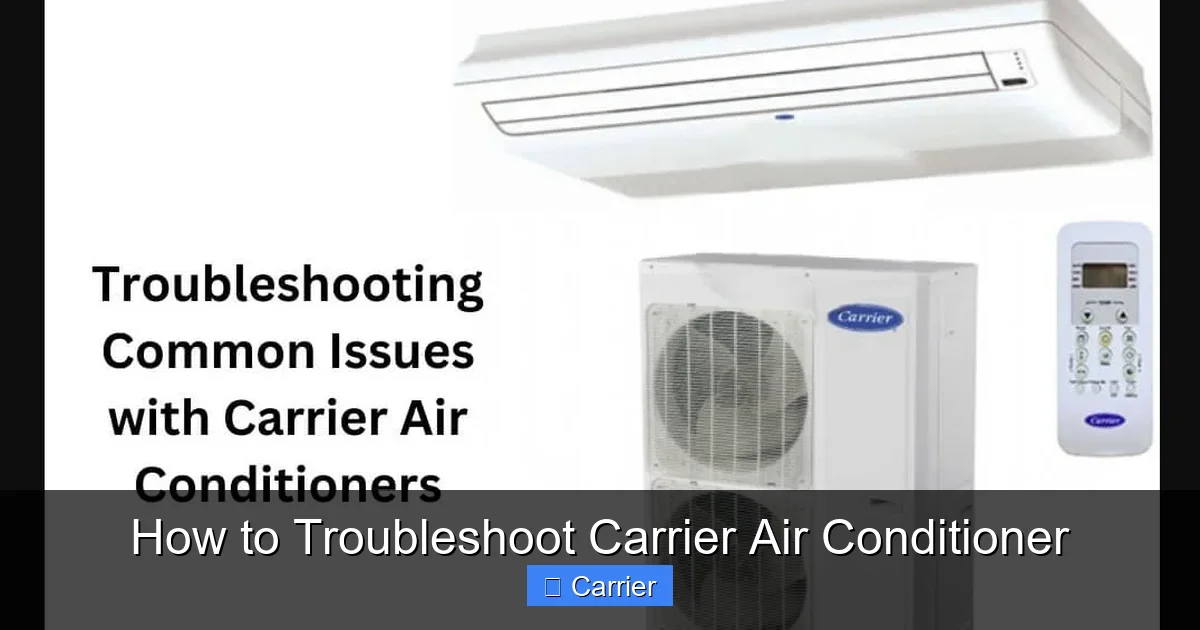
Before diving into repairs, take a moment to clearly define what’s wrong. Is your Carrier air conditioner blowing warm air? Making loud noises? Leaking water? Or has it completely shut down?
Visual guide about How to Troubleshoot Carrier Air Conditioner
Image source: smartacsolutions.com
Common symptoms include:
- The thermostat says it’s cool, but the room stays hot.
- You hear rattling, hissing, or grinding sounds from the outdoor unit.
- Water pooling around the indoor unit or dripping inside your home.
- The unit cycles on and off rapidly (short cycling).
- The blower fan isn’t running at all.
Write down these details—they’ll help you track progress and assist a technician later if needed.
Gather Basic Tools and Safety Gear
Even minor troubleshooting requires a few essentials:
- Flashlight
- Screwdrivers (Phillips and flathead)
- Multimeter (for electrical checks)
- Gloves and safety glasses
- Bucket and sponge (for cleaning)
- Vacuum with soft brush attachment
Always turn off power to the unit at the circuit breaker before inspecting internal components. For added safety, label the breaker so no one accidentally restores power while you’re working.
Step 2: Check Power Supply and Electrical Connections
A Carrier air conditioner won’t run without electricity. Start here—many “malfunctions” are actually power-related issues.
Visual guide about How to Troubleshoot Carrier Air Conditioner
Image source: pic3.zhimg.com
Verify Circuit Breaker Status
Go to your home’s main electrical panel and locate the breaker labeled for the AC unit. It should read something like “HVAC” or show a voltage rating (e.g., 240V). If the switch is in the middle position or flipped to “OFF,” reset it by turning it fully OFF, then back ON.
Listen for a click—that means the relay has re-engaged. Wait 5–10 minutes to see if the unit starts up. If the breaker immediately trips again, there’s likely an electrical fault inside the AC that requires professional diagnosis.
Inspect Wiring and Terminals
After confirming the breaker is stable, open the indoor unit’s access panel. Look for loose wires, burnt marks, or corroded terminals near the control board. Tighten any visibly loose connections using a screwdriver, but avoid forcing anything—if wires look damaged, call a technician.
Note: Never touch live wires with wet hands or bare skin. If you’re unsure about wiring, skip ahead to Step 7 (When to Call a Professional).
Step 3: Examine the Thermostat Settings
Your Carrier air conditioner relies entirely on accurate thermostat input. Misconfigured settings are a frequent culprit behind poor performance.
Check Temperature and Mode Settings
Ensure the thermostat is set to “COOL” mode and the desired temperature is lower than the current room temp. Some smart thermostats (like those compatible with Carrier’s Infinity series) may have delayed responses—give it 10–15 minutes after activation.
Test Manual Override
If your thermostat has a “Hold” or “Manual” function, try switching to it temporarily. This bypasses scheduling conflicts and confirms whether the issue lies with programming or hardware.
Calibrate or Replace the Thermostat
Over time, thermostats drift out of calibration. Most modern Carrier-compatible models allow you to adjust offsets in settings. Refer to your manual for instructions—typically, you’d press “Menu” > “Settings” > “Temperature Offset” and fine-tune by ±2°F.
If the display is blank, flickering, or unresponsive, the thermostat itself may be faulty. Replacement is inexpensive ($30–$100), but installation varies by model.
Step 4: Clean or Replace the Air Filter
This is the #1 maintenance task for any Carrier air conditioner. A clogged filter restricts airflow, forcing the compressor to work harder and reducing cooling capacity.
Locate and Remove the Filter
Most Carrier units have filters behind a front grille or inside a return-air vent. Slide it out carefully—note its orientation so you can reinstall correctly.
Inspect and Clean
If the filter looks only slightly dirty, rinse it under lukewarm water with mild soap. Let it dry completely (24+ hours) before reinstalling. Never install a damp filter—it breeds mold and reduces efficiency.
For reusable electrostatic filters, wipe with a damp cloth. Avoid vacuuming unless the filter is HEPA-grade.
Replace When Necessary
Disposable filters should be replaced every 1–3 months depending on usage and pet presence. Look for signs of warping, tears, or excessive dust accumulation.
Pro tip: Keep spare filters on hand—especially during allergy season or if you have pets.
Step 5: Inspect Evaporator and Condenser Coils
Dirty coils are another major cause of inefficient cooling. The evaporator coil (inside) absorbs heat; the condenser coil (outside) releases it.
Clean Indoor Evaporator Coils
Turn off power first. Remove the access panel and gently vacuum debris from the coil fins using a soft brush attachment. Then spray a coil cleaner (follow bottle directions) and rinse lightly with water. Never use high-pressure washers—they bend delicate fins.
Clean Outdoor Condenser Coils
Clear vegetation, leaves, and dirt from around the outdoor unit. Use a fin comb to straighten any bent aluminum fins. Blow compressed air or rinse with low-pressure water—but never direct it at the fan motor or electrical contacts.
Dirty coils increase energy use by up to 30% and shorten compressor life.
Step 6: Assess Airflow and Ductwork
Restricted airflow makes even perfectly functioning Carrier ACs feel ineffective.
Check Vents and Registers
Ensure all supply vents are open and unobstructed by furniture, curtains, or rugs. Close unused registers to balance pressure.
Examine Ductwork (If Applicable)
In central systems, inspect ducts for leaks, kinks, or disconnected sections—common in older homes. Seal gaps with mastic tape (not duct tape) and ensure flexible ducts aren’t flattened.
Verify Blower Fan Operation
If the indoor blower isn’t spinning, check the capacitor (near the fan motor). A swollen or leaking capacitor often indicates failure. Test continuity with a multimeter if comfortable—otherwise, replace it.
Step 7: Investigate Refrigerant Issues
Low refrigerant levels usually result from leaks, not evaporation. Symptoms include ice buildup on indoor coils, reduced cooling, and hissing sounds.
Look for Ice Formation
Peel back insulation near the indoor unit. Frost or thick ice on copper lines suggests low refrigerant. Turn off the AC and let it thaw naturally—never chip ice with tools.
Do NOT Add Refrigerant Yourself
Only certified technicians can safely recharge refrigerant. Improper handling damages the environment and voids warranties. Plus, adding refrigerant without fixing the leak is temporary and costly.
Step 8: Diagnose Strange Noises
Every Carrier AC makes some noise, but certain sounds signal trouble.
Rattling or Shaking
Often caused by loose panels, screws, or mounting brackets. Tighten hardware and ensure the unit sits level.
Grinding or Scraping
Indicates worn bearings in the blower motor or fan blade rubbing against guards. Stop the unit immediately—continued operation destroys the motor.
Hissing or Bubbling
Suggests a refrigerant leak. See Step 7 for next steps.
Buzzing Near Electrical Components
Could mean loose wiring, failing capacitor, or malfunctioning contactor. Turn off power and inspect connections.
Step 9: Monitor Drain Line Functionality
The condensate drain line removes excess moisture. A clogged line causes water leaks and high humidity.
Locate the Drain Line
It runs from the indoor unit to a floor drain or outside. Trace it visually and feel for blockages.
Clear Blockages
Flush the line with a mixture of water and vinegar or use a wet/dry vacuum to suction out sludge. Install an inline mesh screen to prevent future clogs.
Check for Mold or Algae
Greenish residue means biological growth. Scrub with bleach solution (1 cup bleach per gallon of water) and rinse thoroughly.
Step 10: Review System Cycles and Timing
Normal Carrier units cycle based on temperature differentials. Abnormal patterns reveal deeper issues.
Short Cycling
If the AC turns on/off every 5–10 minutes, possible causes include:
- Dirty filter (Step 4)
- Frozen evaporator coil (Step 7)
- Faulty thermostat (Step 3)
- Undersized unit struggling to reach target temp
Long Run Times
Extended runtime (>2 hours) may indicate:
- High ambient temperatures outside
- Extremely hot indoor conditions
- Refrigerant shortage
- Clogged condenser coils (Step 5)
Track runtime over a week. Consistent long cycles warrant investigation.
Troubleshooting Common Carrier Error Codes
Many Carrier units display diagnostic codes via LED lights or digital screens. Here are a few common ones:
- E1/E2: Communication error between indoor and outdoor units. Check wiring connections.
- P0: Internal microprocessor fault. Try resetting power; if persistent, replace control board.
- L0/L1: Sensor malfunction (temperature or pressure). May require recalibration or sensor replacement.
- H3: Compressor overcurrent protection triggered. Often due to electrical issues or failed compressor.
Consult your owner’s manual for full code definitions—codes vary by model year and series.
When to Call a Professional Technician
While DIY troubleshooting saves money, some situations demand expert help:
- Repeated breaker trips
- Refrigerant handling or recharging
- Compressor replacement
- Major electrical rewiring
- Unexplained energy spikes
- Age over 10 years with recurring issues
Certified Carrier technicians have factory training, specialized tools, and access to parts databases. Plus, many offer service contracts for ongoing peace of mind.
Preventative Maintenance Tips for Long-Term Reliability
Regular care keeps your Carrier air conditioner running smoothly for decades:
- Change filters monthly during peak use
- Schedule biannual professional tune-ups
- Keep outdoor unit clear of debris
- Install programmable thermostats
- Seal attic/duct leaks promptly
- Monitor utility bills for sudden increases
Simple habits like closing blinds during peak sun hours also reduce strain on your system.
Conclusion
Troubleshooting your Carrier air conditioner empowers you to solve everyday problems quickly and safely. By methodically checking power, airflow, filters, and controls, you eliminate the most common causes of poor performance. Remember: when in doubt, consult your manual or reach out to a certified technician—prevention is always better than expensive repairs.
With this guide, you now have the knowledge to diagnose, maintain, and protect your investment. Your home will stay cool, quiet, and efficient—no matter the season.

