
Finding and accessing the drain pan on a Carrier air conditioner is essential for preventing leaks, mold growth, and system damage. This guide walks you through identifying your unit type, locating the pan, and performing routine maintenance with confidence. Whether you’re troubleshooting clogs or inspecting for corrosion, understanding the drain system helps keep your HVAC running efficiently.
If you’ve ever noticed puddles around your Carrier air conditioning unit or heard gurgling sounds from inside your walls, chances are you’re dealing with an issue related to the drain pan. While not always visible, this small but critical component plays a vital role in your HVAC system’s performance. The drain pan sits beneath the evaporator coil inside your indoor unit (usually in the furnace or air handler), catching condensation that forms when warm, humid air passes over cold coils.
Understanding how to locate and inspect your Carrier air conditioner’s drain pan isn’t just useful for fixing leaks—it’s also key to preventing mold, bacteria buildup, and potential structural damage caused by repeated water exposure. In this comprehensive guide, we’ll walk you through every step of finding, accessing, and maintaining your drain pan—whether you own a central split-system Carrier, a wall-mounted window unit, or even a ductless mini-split model.
No matter your experience level with HVAC systems, this article uses simple language, clear visuals, and practical advice to make the process approachable. By the end, you’ll know exactly where to look, what tools you need, and how to safely perform basic checks without calling a technician every time.
Quick Answers to Common Questions
Can I clean the drain pan without turning off power?
No—always disconnect power at the breaker before touching internal components. Even switched-off systems retain enough voltage to cause injury.
What if my drain pan is cracked?
Replace it promptly. Cracks allow water to bypass the pan and leak into walls or ceilings. Contact a Carrier-certified technician for compatible replacement parts.
How often should I check the drain line?
At least once every 3 months during peak cooling months. Monthly checks are ideal if you live in a humid climate or have pets that shed hair.
Is it normal for the drain pan to have a little standing water?
A thin film of water may remain due to surface tension, but standing water indicates a blockage or poor drainage slope. Flush the line if more than a few ounces accumulate.
Do all Carrier units have the same drain pan design?
Not exactly. Older models use metal pans; newer ones often feature polymer trays. Always verify your specific model number when ordering replacements.
Why the Drain Pan Matters in Your Carrier Air Conditioner
Before diving into how to access it, let’s clarify why the drain pan exists in the first place. During normal operation, your air conditioner removes heat and humidity from indoor air. As moist air flows over the cold evaporator coils, moisture condenses into droplets. These droplets collect in the drain pan and flow into a PVC drain line, which carries the water outside or into a condensate pump.
Without a properly functioning drain pan and associated drainage system:
– Water may leak onto floors or ceilings
– Mold and mildew grow in damp areas near ducts
– Electrical components risk short-circuiting
– System efficiency drops due to restricted airflow
Carrier—like other reputable brands—designs its systems with safety and longevity in mind. However, even high-quality pans can develop issues over time due to mineral deposits, algae growth, physical damage, or poor installation alignment.
Step 1: Identify Your Carrier Air Conditioner Type

Visual guide about How to Get to a Carrier Air Conditioners Drain Pan
Image source: devgox.com
The first step in locating your drain pan is knowing what kind of Carrier unit you have. Different configurations mean different access points and methods.
Central Split-System Units (Most Common)
These include a condenser unit outside connected to an indoor air handler or furnace. The drain pan is typically housed inside the indoor cabinet, often near the blower fan. Models like the Carrier 50RB9 or Performance Series 16 SEER fall into this category.
Window or Portable Air Conditioners
Smaller, self-contained units sit directly on windowsills or floors. Their drain pans are usually visible behind removable front panels or side covers. Look for a rubber hose extending from the back—that’s your drain line exiting the room.
Ductless Mini-Splits (Multi-Zone Systems)
Indoor heads mounted on walls contain their own evaporator coils and micro-drain pans. Access requires unscrewing the decorative front cover using a flathead screwdriver.
Knowing your exact model number (found on a sticker inside the unit or on the exterior casing) helps confirm specifications and part compatibility if replacement becomes necessary.
Step 2: Gather Your Tools and Prepare the Area
Visual guide about How to Get to a Carrier Air Conditioners Drain Pan
Image source: cycookery.com
Before opening any panel, prioritize safety and preparation:
– Turn off power: Locate your home’s circuit breaker box and shut off the breaker labeled “HVAC” or “Air Conditioner.” Confirm the unit won’t restart by briefly flipping another nearby switch.
– Clear workspace: Lay down towels or a bucket beneath the area you’ll be working under—condensation may drip once panels come off.
– Light source: Use a flashlight or headlamp to illuminate dark corners behind panels.
– Basic toolkit: Phillips and flathead screwdrivers, needle-nose pliers, and zip ties may be needed later.
Never attempt to work on live electrical components. Even if your system appears off, residual charge could pose a shock risk.
Step 3: Access the Indoor Unit (For Central Systems)
For most residential Carrier central AC units, the drain pan resides inside the air handler cabinet. Follow these steps:
Locate the Access Panel
Common locations include:
– Front grille (remove screws along the bottom edge)
– Side panel (secured by four bolts near the floor)
– Top cover (hinged or latched)
Refer to your owner’s manual if unsure—some newer models feature quick-release clips instead of traditional screws.
Remove the Panel Carefully
Use the appropriate screwdriver to loosen fasteners. Set aside hardware in a labeled container so reassembly goes smoothly. Keep the panel upright to avoid cracking delicate plastic clips.
Once open, you should see the evaporator coil assembly suspended above the drain pan.
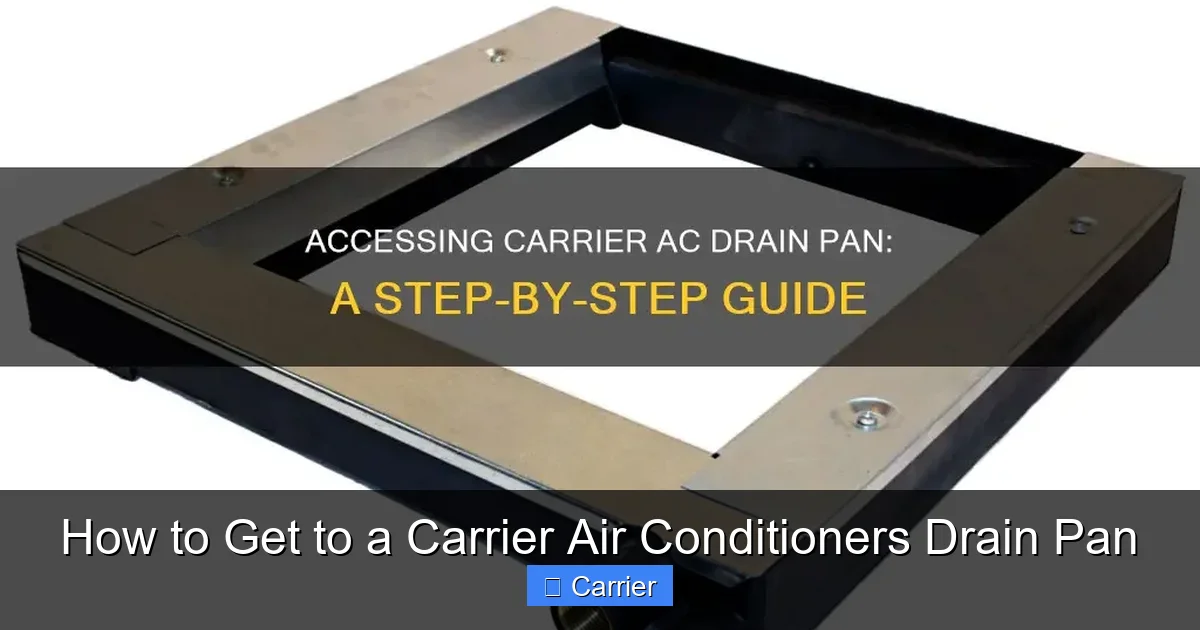
Step 4: Find the Drain Pan Beneath the Evaporator Coil
After removing the access panel, shine your light downward toward the center of the cabinet. You’ll likely spot:
– A shallow tray made of galvanized steel, ABS plastic, or composite material
– A slight slope guiding water toward the outlet
– A rubber or plastic drain tube extending horizontally or vertically to exit the house
In some Carrier models, the pan is molded directly into the cabinet bottom. Others use a removable tray designed for easy cleaning.
Note: If your system includes a secondary drain pan (common in commercial setups), it’ll sit below the primary one—look for two layers of trays stacked vertically.
Step 5: Inspect and Clean the Drain Pan and Line
Now that you’ve located the pan, perform these checks:
Visual Inspection
– Look for cracks, rust spots, or warping
– Check if the pan slopes correctly toward the outlet
– Ensure no foreign objects (insect nests, dirt clumps) block the opening
Clever Drain Line Test
Unplug the drain line from the pan outlet. Hold it up to your ear and gently pour a cup of water into the line while listening for gurgling or resistance. If water doesn’t flow freely, the line is likely clogged.
Alternatively, use a shop vacuum to suck out debris from the pan itself—but avoid inserting anything sharp that might puncture the pan.
Flush the System
Pour distilled white vinegar diluted 1:1 with water into the drain pan. Let it sit for 15 minutes, then flush with clean water. Vinegar combats algae and mineral buildup common in stagnant water.
Troubleshooting Common Drain Pan Issues
Even with proper care, problems arise. Here’s how to diagnose them:
Water Leaks Despite Full Pan
Possible causes:
– Overfilled pan due to oversized drain line diameter
– Improperly sealed joints causing overflow
– Frozen evaporator coil restricting drainage
Solution: Verify drain line size matches manufacturer specs. Install a float switch alarm if not already present.
Strange Odors Coming from Vents
Likely sign of bacterial growth in the drain pan. Clean thoroughly with enzymatic cleaner (available at HVAC supply stores).
Unit Shuts Off Unexpectedly
Some Carrier systems have safety switches that cut power if water reaches certain levels. Check for tripped switches or disconnected wires near the pan.
When to Call a Professional
While basic inspections and cleanings are DIY-friendly, consider hiring an HVAC technician if:
– The drain pan shows extensive corrosion requiring full replacement
– You suspect refrigerant leaks affecting condensation patterns
– Multiple components (blower motor, control board) need simultaneous servicing
Licensed pros have specialized tools to test airflow, measure superheat/subcooling, and ensure code compliance during repairs.
Preventative Maintenance Tips
Keep future headaches at bay with these habits:
– Replace filters monthly during heavy cooling seasons
– Schedule annual professional tune-ups (Carrier recommends this for optimal warranty coverage)
– Install UV lights inside ducts to inhibit microbial growth in drain pathways
– Elevate outdoor condenser units slightly to reduce ground-level moisture seepage
Conclusion: Master Your Carrier’s Drain System
Knowing how to get to a Carrier air conditioner’s drain pan empowers you to protect your home from water damage, maintain indoor air quality, and extend your system’s lifespan. Whether you’re clearing a simple clog or replacing a worn-out tray, taking the time to understand your unit’s inner workings saves money and stress.
Remember: safety comes first, tools make life easier, and regular attention prevents major failures. Armed with this guide, you’re ready to confidently tackle drain pan maintenance across all Carrier product lines—from compact window models to powerful whole-home systems.
With consistent care, your Carrier air conditioner will deliver reliable comfort season after season.

