Finding fault codes for your Carrier 24ANB7 air conditioner helps you pinpoint system problems fast. This guide walks you through accessing the unit’s diagnostic menu, interpreting error messages, and taking next steps—whether you’re a DIYer or working with a technician. With simple tools and clear instructions, you’ll save time and avoid costly misdiagnoses.
Quick Answers to Common Questions
Tip/Question?
Answer: Yes! Most Carrier 24ANB7 models let you view fault codes through the thermostat menu. Press and hold “Menu” for 5 seconds, then select “Diagnostics” to see active errors like E1 or F3.
Tip/Question?
Answer: Always turn off the main breaker before opening the indoor unit. Capacitors can store dangerous charges even when the AC appears off.
Tip/Question?
Answer: Write down the exact code and when it occurred. Include room temperature and whether the AC was in cooling or heating mode—this helps technicians diagnose faster.
Tip/Question?
Answer: Code “E3” usually means high pressure. Check your air filter first—a clogged filter restricts airflow and spikes pressure. Replace it if dirty.
Tip/Question?
Answer: If LEDs flash “1-2-3”, the code is E12. Refer to your Carrier service manual for full code definitions—online PDFs are often available via the manufacturer’s support site.
How to Find Fault Codes for Carrier 24ANB7 Air Conditioner: A Complete Guide
If your Carrier 24ANB7 air conditioning unit isn’t cooling properly—or it’s making strange noises, running continuously, or shutting off unexpectedly—it could be signaling an internal problem through fault codes. These diagnostic messages are stored in your system’s memory and can tell you exactly what’s wrong without guesswork.
This comprehensive guide will walk you step by step through how to find, read, and act on those fault codes. Whether you’re troubleshooting yourself or preparing information for a technician, understanding these codes empowers you to make smarter decisions about maintenance, repairs, and safety.
What You’ll Learn in This Guide
- Where to locate the control panel and thermostat interface on your Carrier 24ANB7
- The exact button sequence to access diagnostic mode and view active fault codes
- Common fault codes and what they typically indicate
- How to interpret flashing lights or alphanumeric displays
- Safety precautions when working near electrical components
- Steps to reset the system after resolving the issue
Let’s get started!
Step 1: Locate the Thermostat and Control Panel
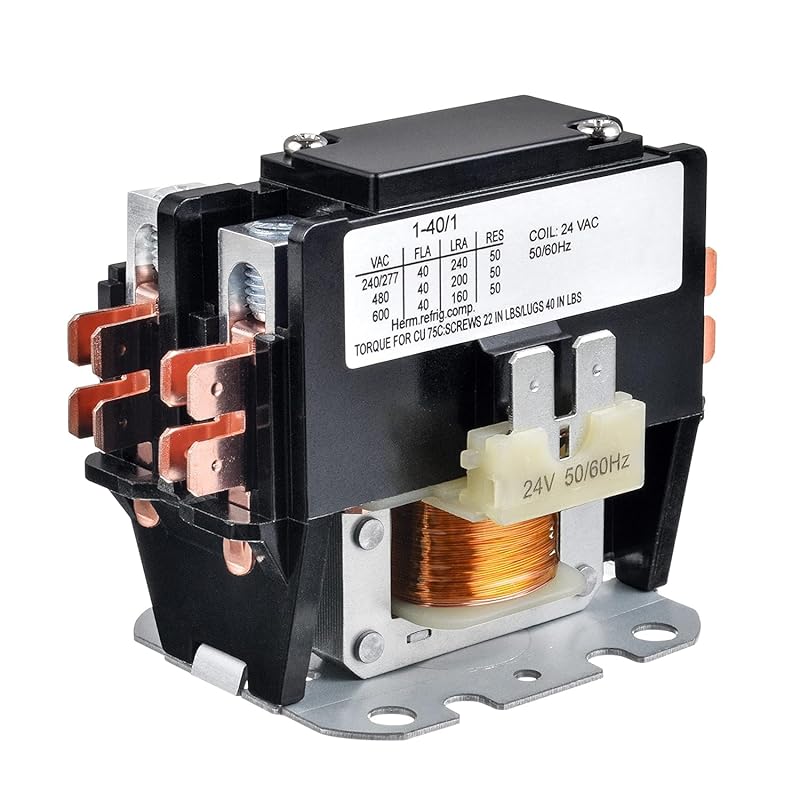
Your Carrier 24ANB7 uses a wall-mounted thermostat or a built-in control board inside the indoor unit to manage operations. Before accessing fault codes, identify where these components are located.

Visual guide about How to Find Fault Codes for Carrier 24anb7 Air Conditioner
Image source: xiaoruboke.com
Indoor Unit (Condenser/Evaporator Combo)
For most residential Carrier 24ANB7 models, the main control board is housed inside the indoor blower assembly—usually behind a front access panel. This panel is often labeled “Control Board” or has screws marked with a service icon.
Wall-Mounted Thermostat
Many newer installations use a digital thermostat (like the Carrier Comfort® app-connected models). If yours does, the fault code access begins at the thermostat display.
Pro Tip: Check your user manual for your exact model number—the process may vary slightly between 2018–2023 releases.
Step 2: Power Down the System Safely
Before touching any wires or entering diagnostic modes, always shut off power to prevent accidental shocks or damage.

Visual guide about How to Find Fault Codes for Carrier 24anb7 Air Conditioner
Image source: absoluteblack.cc
How to Turn Off Power
- Go to your home’s main electrical panel.
- Locate the breaker labeled “HVAC,” “Air Conditioner,” or “Unit 1/Unit 2.”
- Flip the switch to the OFF position.
- Wait at least 60 seconds before proceeding.
Even if the AC seems off, residual power might still be present in capacitors. Taking this precaution ensures your safety during inspection.
Step 3: Access Diagnostic Mode via the Thermostat
Most Carrier 24ANB7 systems allow you to view fault codes directly from the thermostat without opening the unit.
Button Sequence for Digital Thermostats
- Press and hold the “Menu” button for 5 seconds.
- Navigate to “Service” or “Diagnostics” using arrow keys.
- Select “View Error Log” or “Fault Codes”.
- The screen will display recent error codes (e.g., E1, F3, P0).
If your thermostat doesn’t have a menu system (older mechanical models), skip ahead to Step 4.
Step 4: Enter Service Mode via Control Board (No Thermostat Access)
Not all Carrier 24ANB7 units support thermostat-based diagnostics. In those cases, you’ll need to access the service mode through the indoor unit’s control board.
Opening the Indoor Unit
- Remove the front grille by unscrewing visible fasteners or pressing release tabs.
- Unscrew the control board cover (typically 4–6 screws).
- Gently lift the board out to expose terminals and status LEDs.
⚠️ Caution: Avoid touching metal contacts unless necessary—static electricity can damage sensitive electronics.
Triggering Diagnostic Display
- Locate two test points labeled “TEST” or “SVC.”
- Use a small screwdriver or paperclip to briefly short these points together for 2–3 seconds.
- A sequence of flashing LEDs will appear—this indicates the system is in service mode.
- Watch the LED pattern: each blink represents a digit in the fault code (e.g., 2 flashes = “2”).
Example: If LEDs flash as “1 – 3 – 0”, the active fault code is **E13** (refer to your service manual for full mapping).
Step 5: Interpret Common Fault Codes
Once you’ve retrieved the code, match it to the list below. Note that exact meanings can vary slightly by firmware version—always cross-check with your manual.
| Code | Description | Likely Cause |
|---|---|---|
| E1 | Outdoor temperature sensor failure | Sensor disconnected or faulty |
| E3 | High-pressure switch tripped | Clogged filter, low airflow, or refrigerant leak |
| F0 | Communication error between indoor/outdoor units | Loose wiring, failed PCB, or power surge |
| P0 | Refrigerant pressure abnormal | Overcharge, undercharge, or blockage |
| U4 | Indoor fan speed mismatch | Blower motor issue or wiring fault |
| H9 | Heat pump defrost malfunction | Dirty coils, faulty defrost sensor |
💡 Note: Some codes appear only during specific operating modes (cooling vs. heating). Record the ambient conditions when the code appeared.
Step 6: Reset the System After Repair
Clearing fault codes confirms whether your fix resolved the root cause—and prevents false alarms during future diagnostics.
How to Clear Codes
- Return power to the system.
- Wait 30–60 seconds for initialization.
- Press and hold the “Reset” button (if present) for 5 seconds.
- Alternatively, remove the thermostat battery (for wireless models) or cycle the main breaker three times rapidly.
If codes reappear within 24 hours, schedule professional inspection—the underlying issue likely wasn’t fully addressed.
Troubleshooting Tips When Codes Won’t Appear
Sometimes the system refuses to show codes even after following steps correctly. Here’s what to check:
- Dead thermostat battery: Replace CR2032 batteries immediately.
- Firmware glitch: Power cycle the entire system (breaker off > 5 mins > back on).
- Corroded terminals: Clean contact points with rubbing alcohol and a toothbrush.
- Expired memory chip: Rare but possible—requires factory reset or tech visit.
When to Call a Professional
While basic code reading is safe for homeowners, certain situations demand expert help:
- You smell burning near the unit
- There’s ice buildup on copper lines
- Refrigerant-related codes (P0, P1) persist after inspection
- The compressor won’t start despite normal voltage
- Multiple unrelated codes appear simultaneously
Carrier-certified technicians have specialized tools (manifold gauges, amp probes) to diagnose deeper electrical or mechanical faults that aren’t visible from code alone.
Preventive Maintenance to Avoid Future Codes
Regular upkeep reduces the chance of triggering diagnostic alerts:
- Replace air filters every 90 days
- Clean condenser coils annually
- Inspect ductwork for leaks or blockages
- Schedule biannual professional tune-ups
- Keep vegetation cleared from outdoor unit
A well-maintained Carrier 24ANB7 runs efficiently and rarely needs emergency diagnostics.
Conclusion: Empower Yourself with Knowledge
Knowing how to find fault codes for your Carrier 24ANB7 air conditioner puts real diagnostic power in your hands. By following this guide—from locating controls to interpreting LED patterns—you eliminate much of the guesswork behind HVAC troubleshooting. Remember: codes are friendly messages from your system, not threats. Treat them with respect, act promptly, and don’t hesitate to seek help when needed.
With this knowledge, you’re ready to tackle common AC issues confidently and keep your home comfortable year-round.