
Featured image for conia air conditioner remote instructions
Image source: remotecontrolwarehouse.com.au
Master your Conia air conditioner in minutes with this simple, step-by-step remote setup guide. From pairing the remote to customizing temperature and fan settings, this easy-to-follow instructions ensure quick, hassle-free control of your cooling system. Whether you’re replacing a lost remote or setting up a new unit, get precise, reliable operation with confidence—no technical skills required.
Key Takeaways
- Power on/off easily: Press the ON/OFF button to control your AC instantly.
- Set temperature precisely: Use +/- buttons to adjust cooling to your comfort.
- Switch modes effortlessly: Tap MODE to toggle between cool, heat, or fan settings.
- Optimize airflow direction: Press SWING to adjust louvers for even air distribution.
- Enable sleep mode: Activate SLEEP for energy-efficient cooling at night.
- Reset for troubleshooting: Hold RESET to resolve minor remote control issues.
📑 Table of Contents
Conia Air Conditioner Remote Instructions Easy Setup Guide
So, you just unboxed your brand-new Conia air conditioner, and everything looks sleek and modern—until you pick up the remote. Suddenly, you’re staring at a small plastic device covered in buttons, symbols, and what looks like hieroglyphics from a sci-fi movie. Don’t worry—you’re not alone. I remember the first time I tried to figure out my Conia AC remote. I stood in my living room, remote in one hand, manual in the other, muttering, “Why isn’t there just a ‘make it cold’ button?”
Truth is, most of us expect plug-and-play simplicity when it comes to home appliances. But air conditioner remotes, especially for brands like Conia, come with a range of features designed to give you maximum control over your comfort. The good news? Once you understand how it works, the Conia air conditioner remote becomes your best friend—helping you cool your space efficiently, save energy, and even sleep better at night. In this guide, I’ll walk you through everything you need to know about your Conia AC remote, from basic setup to advanced features, troubleshooting, and pro tips. No technical jargon, no fluff—just clear, practical advice to get you up and running in minutes.
Understanding Your Conia Air Conditioner Remote
Before we dive into setup, let’s get familiar with the remote itself. The Conia air conditioner remote is designed to be intuitive, but it packs a lot of functionality into a compact design. Most models—whether you have a window unit, split system, or portable AC—come with a similar remote layout. Knowing what each button does will save you time and frustration down the road.
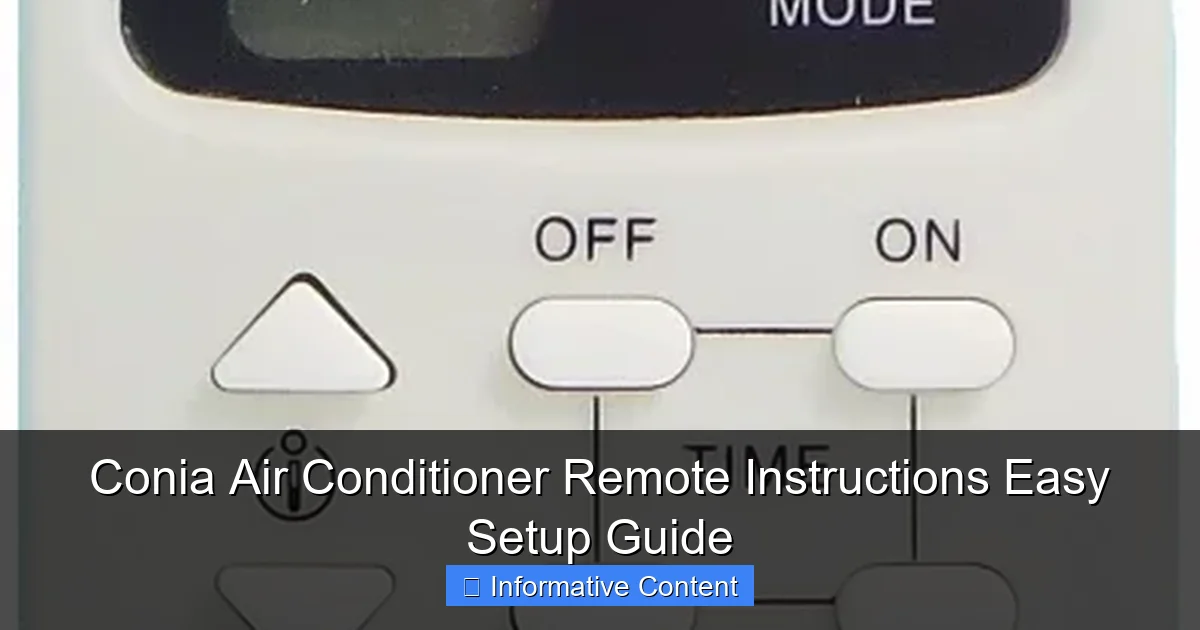
Visual guide about conia air conditioner remote instructions
Image source: remotecontrolwarehouse.com.au
Key Buttons and Their Functions
Here’s a quick breakdown of the most common buttons you’ll find on your Conia remote:
- Power Button: This is your main on/off switch. A single press turns the AC on or off. Some models have a light indicator that glows when the unit is active.
- Mode Button: Cycles through different operating modes—Cool, Heat, Fan, Dry, and Auto. Tap it repeatedly to switch between modes. For example, in summer, you’ll likely use Cool mode, while Dry mode helps reduce humidity without overcooling.
- Temperature Up/Down Arrows: Adjust your desired temperature. Most Conia units allow settings between 60°F and 86°F (16°C to 30°C). The display shows your current setting.
- Fan Speed Button: Controls airflow intensity. Options usually include Low, Medium, High, and Auto. Auto adjusts fan speed based on room temperature.
- Timer Button: Lets you schedule when the AC turns on or off. Perfect for cooling your room before you get home or shutting it off after you fall asleep.
- Sleep Mode: Gradually adjusts temperature over time to match your body’s natural sleep cycle, saving energy and improving comfort.
- Swing/Louver Button: Adjusts the direction of airflow. Use this to distribute cool air evenly across the room.
- Turbo/Quick Cool: Boosts cooling power for rapid temperature drop. Great for hot summer afternoons.
Remote Display Features
The small LCD screen on your Conia remote isn’t just for show. It gives you real-time feedback on your settings. You’ll typically see:
- Current temperature setting
- Selected mode (Cool, Heat, etc.)
- Fan speed level
- Timer countdown (if active)
- Signal indicator (shows when the remote is communicating with the unit)
One thing I love about Conia remotes is the backlight. If you’re adjusting settings in the dark, a quick press of any button lights up the display for a few seconds—super handy when you’re half-asleep and just want to turn the AC down a degree.
Remote Compatibility and Range
Most Conia air conditioners use infrared (IR) remotes, which means they need a clear line of sight to the unit’s receiver (usually located on the front panel). The typical effective range is about 20 to 25 feet. If your remote isn’t working, check for obstructions—like furniture, curtains, or even a pet sitting in front of the AC.
Also, make sure the remote batteries are fresh. Weak batteries can reduce signal strength. I once spent 15 minutes troubleshooting why my remote wasn’t working—only to realize the batteries were nearly dead. A simple swap fixed everything.
Step-by-Step Setup for Your Conia AC Remote
Setting up your Conia air conditioner remote is easier than you think. Whether you’re installing a new unit or replacing an old remote, these steps will get you connected in no time.
Initial Pairing Process
Most Conia remotes come pre-paired with the AC unit, so you can start using them right out of the box. But if your remote isn’t responding, here’s how to pair it:
- Turn on the air conditioner using the power button on the unit itself (not the remote).
- Press and hold the Power button on the remote for 3–5 seconds.
- Watch the AC unit’s display or indicator light. It should blink or change color, signaling it’s receiving the signal.
- Once paired, test the remote by adjusting the temperature or changing the mode.
If the remote still doesn’t work, try resetting both the remote and the AC unit. Turn off the AC at the wall outlet, wait 30 seconds, then plug it back in. Repeat the pairing steps above.
Battery Installation and Maintenance
Your Conia remote typically uses two AAA batteries. Here’s how to install them correctly:
- Slide open the battery compartment on the back of the remote.
- Insert the batteries, matching the + and – symbols.
- Close the compartment securely.
Pro tip: Use high-quality alkaline batteries for longer life. I’ve found that cheap batteries drain faster, especially if you use the remote frequently. Also, remove the batteries if you won’t be using the AC for an extended period—this prevents leakage and corrosion.
Setting the Correct Mode and Temperature
Once your remote is working, it’s time to customize your comfort. Start by selecting the right mode:
- Cool Mode: Use this during hot weather. Set your desired temperature—usually between 72°F and 78°F for optimal comfort and efficiency.
- Heat Mode: Available on heat pump models. Great for chilly mornings or winter months.
- Fan Mode: Circulates air without cooling or heating. Useful for ventilation.
- Dry Mode: Reduces humidity. Ideal for damp or rainy days.
- Auto Mode: The AC automatically selects the best mode based on room temperature.
For temperature, I recommend starting at 74°F and adjusting based on how you feel. Every degree lower can increase energy use by 3–5%, so finding the sweet spot saves money and keeps you comfortable.
Using the Timer Function
The timer is one of the most useful features on your Conia remote. Here’s how to use it:
- Press the Timer button. The display will show “ON” or “OFF” with a time setting.
- Use the up/down arrows to set the number of hours (usually 1–24).
- Press Timer again to confirm.
For example, if you want the AC to turn on at 6 PM, set the timer to “ON” with a 2-hour delay if it’s currently 4 PM. Or, set it to turn off after 8 hours so it doesn’t run all night.
I use the timer every night. I set it to turn off after 3 hours—just long enough to cool down and fall asleep, but not so long that it wastes energy.
Advanced Features and Smart Tips
Once you’ve mastered the basics, it’s time to explore the advanced features that make your Conia AC even more efficient and user-friendly.
Sleep Mode for Energy Savings
Sleep Mode is a game-changer. When activated, it gradually increases the temperature by 1–2°F over the first hour, then maintains that level. This mimics your body’s natural drop in temperature during sleep, so you stay comfortable without overcooling.
To activate Sleep Mode:
- Press the Sleep button (usually labeled with a moon icon).
- The remote display will show “Sleep” and the temperature will adjust automatically.
I use Sleep Mode every night. Not only does it help me sleep better, but my energy bill is noticeably lower. Over a summer, that can add up to significant savings.
Turbo Mode for Rapid Cooling
On scorching days, waiting for your room to cool down can feel like forever. That’s where Turbo Mode comes in. It runs the compressor and fan at maximum speed for quick cooling.
To use Turbo Mode:
- Press the Turbo or Quick Cool button.
- The AC will blast cold air for about 30 minutes, then return to normal operation.
Just remember: Turbo Mode uses more energy, so use it sparingly. I only turn it on when I’ve been outside in the heat and need instant relief.
Swing and Airflow Control
Proper airflow makes a huge difference in comfort. The Swing button adjusts the louvers (the slats on the front of the AC) to direct air up, down, or side to side.
Try these settings:
- Upward: Directs cool air toward the ceiling, creating a gentle downdraft.
- Downward: Blows air directly into the room—great for quick cooling.
- Auto Swing: The louvers move automatically for even distribution.
I keep mine on Auto Swing during the day and switch to downward at night so the cool air doesn’t blow directly on me while I sleep.
Energy-Saving Tips
Your Conia remote isn’t just for comfort—it’s a tool for efficiency. Here are some smart ways to save energy:
- Set the temperature to 78°F when you’re home and 85°F when you’re away.
- Use Fan Mode instead of Cool Mode when the temperature is mild.
- Close curtains or blinds during the day to block heat from the sun.
- Use the timer to avoid running the AC unnecessarily.
- Regularly clean the air filter (every 2–4 weeks) to maintain airflow and efficiency.
According to the U.S. Department of Energy, proper AC use can reduce cooling costs by up to 15%. That’s real money back in your pocket.
Troubleshooting Common Remote Issues
Even the best remotes can act up. Here’s how to fix the most common problems with your Conia AC remote.
Remote Not Responding
If your remote isn’t working, try these steps:
- Check the batteries. Replace them if they’re weak or dead.
- Ensure the remote is pointed at the AC unit’s receiver.
- Remove any obstructions between the remote and the unit.
- Reset the remote by removing the batteries for 1 minute, then reinserting them.
- Make sure the AC unit is powered on and not in a locked or child-safe mode.
I once had a remote that stopped working after a power outage. A simple battery reset fixed it instantly.
Incorrect Temperature Reading
Sometimes the remote shows a temperature that doesn’t match the room. This could be due to:
- The remote’s sensor being blocked or covered.
- The remote being placed near a heat source (like a lamp or window).
- A faulty sensor (rare, but possible).
Solution: Move the remote to a central location, away from direct sunlight or heat. If the issue persists, contact Conia support.
Buttons Sticking or Unresponsive
Over time, dust and debris can get under the buttons. To clean your remote:
- Turn it off and remove the batteries.
- Use a cotton swab dipped in rubbing alcohol to gently clean around the buttons.
- Let it dry completely before reinserting the batteries.
Avoid using water or harsh chemicals—they can damage the internal components.
Remote Lost or Damaged
If you’ve lost your remote or it’s broken, don’t panic. You have options:
- Check if your Conia model is compatible with a universal remote. Many work with standard AC codes.
- Contact Conia customer service for a replacement remote. Have your model number ready.
- Use the manual controls on the AC unit itself (usually a small panel with basic buttons).
I once lost my remote during a move. I used the manual controls for a week until I found a compatible universal remote online. It worked perfectly.
Conia Remote Features Comparison Table
Not all Conia air conditioners come with the exact same remote. Below is a comparison of common features across different models. This can help you understand what your remote can do—and whether an upgrade might be worth it.
| Feature | Basic Model Remote | Mid-Range Model Remote | Premium Model Remote |
|---|---|---|---|
| Power Button | ✔️ | ✔️ | ✔️ |
| Mode Selection | Cool, Fan, Dry | Cool, Heat, Fan, Dry, Auto | Cool, Heat, Fan, Dry, Auto, Eco |
| Temperature Range | 64°F – 86°F | 60°F – 86°F | 60°F – 86°F |
| Fan Speed Control | Low, High | Low, Medium, High, Auto | Low, Medium, High, Auto, Turbo |
| Timer Function | 1–8 hours | 1–24 hours | 1–24 hours |
| Sleep Mode | ❌ | ✔️ | ✔️ |
| Turbo Mode | ❌ | ✔️ | ✔️ |
| Swing Control | Manual | Auto Swing | Auto Swing + Direction Lock |
| Backlit Display | ❌ | ✔️ | ✔️ |
| Eco Mode | ❌ | ❌ | ✔️ |
This table shows that even basic Conia remotes offer solid functionality, while premium models add energy-saving and convenience features. If you’re considering an upgrade, look for Sleep Mode, Turbo, and Eco features—they make a real difference in daily use.
Final Thoughts and Pro Tips
Mastering your Conia air conditioner remote doesn’t have to be complicated. With a little practice, you’ll be adjusting temperatures, setting timers, and optimizing airflow like a pro. The key is to start simple—get comfortable with the basics, then gradually explore advanced features.
Here are my top pro tips to get the most out of your remote:
- Keep it clean: Dust and grime can affect button responsiveness. Wipe it down monthly.
- Store it safely: Use a remote holder or drawer to avoid misplacing it.
- Use Sleep Mode nightly: It’s comfortable, energy-efficient, and helps you sleep better.
- Don’t overcool: Every degree below 78°F increases energy use. Find your comfort zone.
- Check the filter regularly: A dirty filter makes your AC work harder and reduces remote effectiveness.
Remember, your Conia remote is more than just a gadget—it’s your control center for comfort and efficiency. Whether you’re cooling a small bedroom or a large living room, the right settings can make all the difference.
And if you ever get stuck? Don’t hesitate to consult the user manual or reach out to Conia’s customer support. They’re usually helpful and responsive. I’ve called them a few times with questions, and they’ve always walked me through the solution step by step.
So go ahead—grab that remote, press a few buttons, and enjoy the cool, comfortable air. Your Conia air conditioner is ready to keep you comfortable all season long. And now, so are you.
Frequently Asked Questions
How do I set up my Conia air conditioner remote for the first time?
To set up your Conia air conditioner remote, insert the batteries, ensure the remote is pointed at the unit, and press the power button. The default mode is typically auto, and the display should light up once synced.
Why is my Conia air conditioner remote not responding?
Check if the batteries are properly inserted and have sufficient charge. Also, ensure there’s no obstruction between the remote and the AC sensor, and try resetting the remote by removing the batteries for 30 seconds.
How do I adjust the temperature using the Conia air conditioner remote instructions?
Press the up/down arrow buttons on the remote to set your desired temperature. The current temperature will display on the screen, and the unit will adjust automatically based on the selected mode.
Can I switch between modes (cool, heat, fan) with the Conia remote?
Yes, press the “Mode” button on your Conia air conditioner remote to cycle through cool, heat, fan, dry, and auto modes. Each mode is indicated by an icon on the remote’s display.
How do I activate the sleep or timer function on my Conia remote?
Press the “Sleep” or “Timer” button on the remote to enable energy-saving sleep mode or set an on/off schedule. Refer to your model’s Conia air conditioner remote instructions for specific timer duration options.
What do the error codes on my Conia remote mean?
Error codes (e.g., E1, F1) indicate system issues like sensor failures or refrigerant leaks. Consult your user manual for a full list of codes or contact Conia support for troubleshooting assistance.

