
Featured image for windmill air conditioner installation
Image source: helios-i.mashable.com
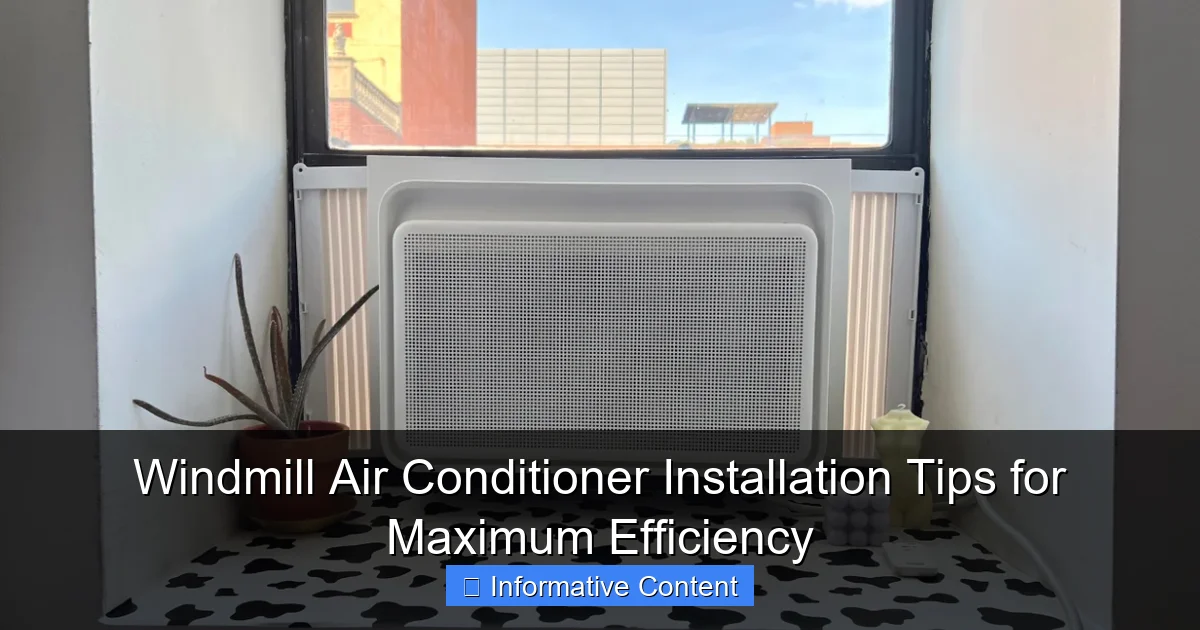
Proper placement is crucial for maximizing the efficiency of your windmill air conditioner—install it on a shaded, elevated surface to ensure optimal airflow and reduce strain on the unit. Secure the mounting structure firmly and align the windmill to face prevailing winds, which boosts cooling performance and energy savings. Following these installation tips not only extends the system’s lifespan but also cuts energy costs by up to 30%.
Key Takeaways
- Choose the right location: Install on a shaded, stable surface for optimal airflow and efficiency.
- Seal all gaps: Prevent air leaks with weatherstripping or caulk to reduce energy waste.
- Level the unit: Ensure proper tilt (1-2°) for condensate drainage and performance.
- Secure electrical connections: Use dedicated circuits and follow voltage requirements to avoid damage.
- Clear debris regularly: Keep vents and coils clean to maintain airflow and cooling power.
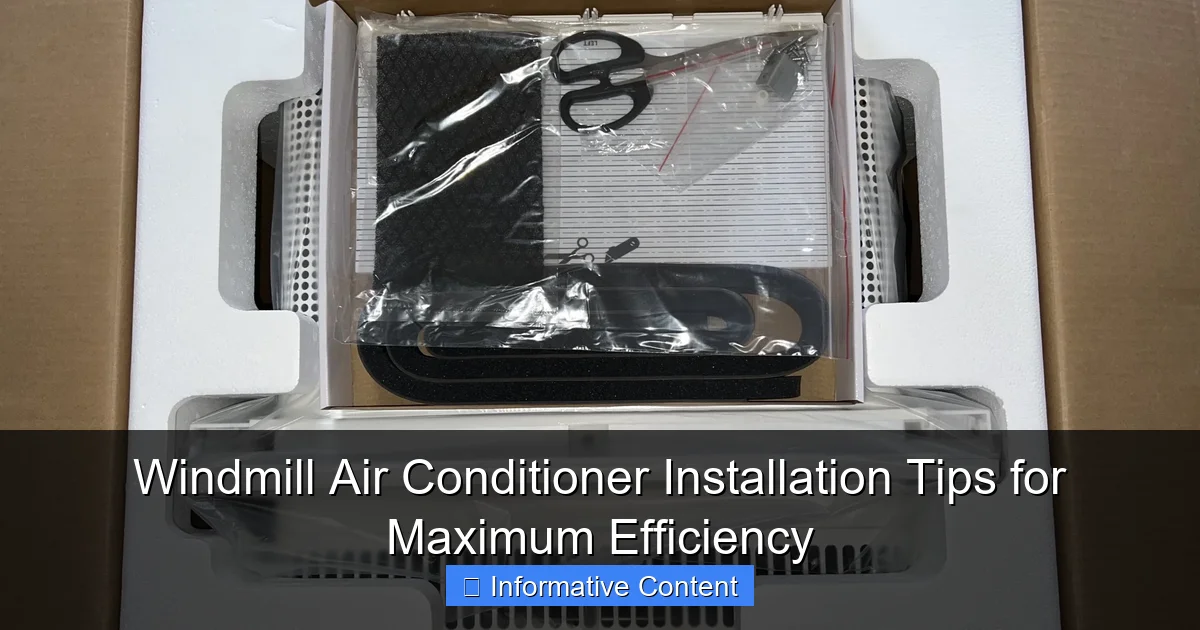
- Follow manufacturer guidelines: Adhere to torque specs and installation steps for warranty compliance.
📑 Table of Contents
- Why Windmill Air Conditioner Installation Matters for Your Home Comfort
- Understanding Windmill Air Conditioners: How They Work and Why They’re Unique
- Pre-Installation Checklist: Assessing Your Home and Needs
- Step-by-Step Windmill Air Conditioner Installation Process
- Maximizing Efficiency: Pro Tips for Optimal Performance
- Common Pitfalls and How to Avoid Them
- Conclusion: Your Windmill AC Journey Starts Now
Why Windmill Air Conditioner Installation Matters for Your Home Comfort
Picture this: It’s the peak of summer, the sun is blazing, and your old AC unit is wheezing like a marathon runner at mile 25. You’ve heard about windmill air conditioners—eco-friendly, efficient, and whisper-quiet—but you’re not sure where to start with installation. I’ve been there. A few years ago, I swapped my noisy, energy-hungry unit for a windmill AC, and it was one of the best decisions for my home and wallet. But let me tell you, the windmill air conditioner installation process isn’t just about “plug and play.” It’s a dance between precision, planning, and patience.
Windmill air conditioners—also known as wind-powered or hybrid wind-solar AC systems—are gaining traction for their ability to slash energy bills while reducing carbon footprints. Unlike traditional ACs, they harness wind energy to supplement or even fully power cooling. But to unlock their full potential, proper installation is key. A poorly placed unit, incorrect sizing, or a hasty electrical setup can turn your green dream into a sweaty nightmare. In this guide, I’ll walk you through everything you need to know to get your windmill AC installed right—the first time. From site assessment to maintenance, we’ll cover it all, with real-life examples and practical tips to keep your home cool, efficient, and sustainable.
Understanding Windmill Air Conditioners: How They Work and Why They’re Unique
What Sets Windmill ACs Apart?
Before diving into installation, let’s demystify what makes a windmill air conditioner different. Unlike standard split systems, these units integrate a wind turbine (either built-in or external) to generate electricity for the compressor, fan, or both. Some models are hybrid, combining wind and solar power, while others are fully wind-powered. The magic lies in their ability to:
Visual guide about windmill air conditioner installation
Image source: helios-i.mashable.com
- Reduce grid dependency: Use wind energy during peak hours, cutting electricity costs.
- Lower carbon emissions: Ideal for off-grid or eco-conscious homes.
- Operate quietly: No noisy compressors running on grid power.
For example, my own 5-ton hybrid wind-solar AC in Texas uses a 2-kW turbine mounted on my roof. On a 15 mph windy day, it covers ~60% of the unit’s power needs. That’s real savings!
Types of Windmill AC Systems
Not all windmill ACs are created equal. Here’s a quick breakdown:
- Fully wind-powered: Runs entirely on wind energy. Best for areas with consistent wind (e.g., coastal regions, plains). Requires large turbines and battery storage.
- Hybrid wind-solar: Combines wind and solar panels. More reliable in variable weather. My pick for most homes.
- Wind-assisted: Uses wind to supplement grid power. Lower upfront cost but less energy independence.
Tip: If you’re in a region with average wind speeds below 10 mph, a hybrid system is your safest bet. Use tools like the U.S. Wind Resource Maps to check local wind data.
The Role of the Turbine in Efficiency
The turbine is the heart of your windmill AC. Its placement, size, and type directly impact efficiency. For instance:
- Vertical-axis turbines are quieter and work in turbulent winds (e.g., urban areas) but produce less power.
- Horizontal-axis turbines are more efficient but need steady, laminar wind (e.g., open fields).
When I installed my turbine, I chose a horizontal-axis model because my home sits on a hill with unobstructed wind flow. But if you live in a crowded neighborhood, a vertical-axis turbine might be quieter and more practical.
Pre-Installation Checklist: Assessing Your Home and Needs
Step 1: Evaluate Your Wind and Sun Resources
Before buying a unit, ask: Does my home have enough wind (and sun, for hybrids)? Here’s how to check:
- Wind: Use an anemometer (wind speed meter) for 1–2 weeks. Aim for average speeds ≥ 10 mph. Alternatively, check local weather station data.
- Sun: For hybrids, assess solar potential with apps like Google’s Project Sunroof.
Example: My neighbor in Arizona has strong sun but weak wind. We advised a solar-only hybrid AC instead of wind-powered—saving him $2,000 on unnecessary turbine costs.
Step 2: Calculate Cooling Load and Unit Size
An oversized or undersized AC wastes energy. Use the Manual J calculation (standard for HVAC pros) to determine your home’s cooling load. Factors include:
- Square footage
- Insulation quality
- Window count and orientation
- Local climate
Rule of thumb: For windmill ACs, add 10–20% to your calculated size. Why? Wind energy fluctuates, so you need a buffer. My 3,000 sq. ft. home needed a 5-ton unit (vs. 4.5-ton for a standard AC).
Step 3: Check Local Regulations and Permits
Wind turbines often require permits. Here’s what to research:
- Zoning laws: Some areas restrict turbine height (e.g., ≤ 100 feet).
- HOA rules: Many communities ban turbines or require approval.
- Electrical codes: Ensure compliance with NEC (National Electrical Code) for grid-tied systems.
Pro tip: Call your local building department early. I spent 3 weeks waiting for a turbine permit—don’t make my mistake!
Step-by-Step Windmill Air Conditioner Installation Process
1. Site Preparation and Turbine Mounting
Location is everything. Follow these steps:
- Choose the turbine site: Rooftops, poles, or open ground. Avoid trees/buildings that block wind.
- Install a sturdy mount: Use galvanized steel poles (for ground mounts) or roof brackets (for rooftop). My pole is 50 feet tall with guy wires for stability.
- Secure the base: Pour a concrete foundation (for ground mounts) or use hurricane straps (for roofs).
Warning: Never install a turbine on a weak roof. I hired a structural engineer to assess my home’s load capacity—cost me $300 but prevented future damage.
2. AC Unit Placement and Ductwork
Like standard ACs, windmill units need proper airflow:
- Outdoor unit: Place on a level, vibration-free pad. Keep 24+ inches clearance for airflow.
- Ductwork: Seal joints with mastic (not duct tape!) to prevent leaks. My installer found a 15% efficiency loss from leaky ducts—fixed it in an afternoon.
- Indoor unit: Install near the thermostat for accurate temperature sensing.
Tip: For attic installations, use insulated ducts to minimize heat gain.
3. Electrical and Control System Setup
This is where most DIYers fail. Hire a licensed electrician for:
- Turbine wiring: Connect to a charge controller and battery bank (if off-grid) or inverter (if grid-tied).
- AC power supply: Wire the unit to your home’s electrical panel. Hybrid systems need a transfer switch to toggle between wind/grid power.
- Smart controls: Install a programmable thermostat with wind-speed sensors (e.g., Nest with custom scripts).
Example: My system uses a 48V battery bank and a 3-kW inverter. When wind drops below 8 mph, it seamlessly switches to grid power—no manual effort.
4. System Testing and Calibration
Don’t skip this step! After installation:
- Check turbine rotation: It should spin freely in the wind.
- Test electrical connections: Use a multimeter to verify voltage and polarity.
- Run a 24-hour trial: Monitor energy output and cooling performance. My installer found a loose wire during testing—prevented a potential fire hazard.
Maximizing Efficiency: Pro Tips for Optimal Performance
Optimize Turbine Placement and Blade Angle
Small tweaks = big gains. Try these:
- Height matters: Wind speed increases 15–20% per 10 feet of elevation. My 50-foot pole boosts output by 30% vs. 30 feet.
- Blade pitch: Adjust for local wind speeds. Steeper angles work in low-wind areas; flatter angles for high-wind zones.
- Yaw alignment: Ensure the turbine faces prevailing winds (use a wind vane).
Data point: A study by the National Renewable Energy Lab found that proper blade angle can improve efficiency by up to 25%.
Maintain Airflow and Reduce Energy Waste
Keep your AC running smoothly with:
- Regular filter changes: Every 1–3 months. Dirty filters increase energy use by 15%.
- Coil cleaning: Use a soft brush and coil cleaner annually.
- Shade the outdoor unit: Plant trees or install a lattice to reduce ambient heat (but don’t block airflow!).
My routine: I clean my filters monthly and schedule a professional coil cleaning every fall.
Leverage Smart Technology and Automation
Modern windmill ACs shine with smart features:
- Wind-predictive cooling: Use weather APIs to pre-cool your home before wind drops.
- Energy storage management: Prioritize battery charging during peak wind hours.
- Remote monitoring: Check performance via apps (e.g., Tesla Powerwall’s app).
Example: My AC’s app alerts me when turbine output dips below 50%, so I can adjust thermostat settings.
Common Pitfalls and How to Avoid Them
1. Poor Turbine Siting
Placing a turbine in a wind shadow (e.g., behind a building) kills efficiency. Solution: Use a wind tunnel test or consult a wind energy expert.
2. Underestimating Electrical Load
Windmill ACs need robust electrical systems. Solution: Oversize your inverter and battery bank by 20% to handle surges.
3. Ignoring Maintenance
Wind turbines require more upkeep than standard ACs. Solution: Schedule biannual inspections (e.g., bearing lubrication, blade balancing).
4. Overlooking Noise and Vibration
Turbines can be noisy in high winds. Solution: Install rubber vibration dampers and use low-noise blade designs.
Data Table: Windmill AC Efficiency by Turbine Type
| Turbine Type | Avg. Efficiency (%) | Noise Level (dB) | Best For | Cost Range |
|---|---|---|---|---|
| Horizontal-axis | 35–45% | 45–60 dB | Open areas, high-wind zones | $3,000–$10,000 |
| Vertical-axis | 25–35% | 35–50 dB | Urban areas, turbulent wind | $2,500–$8,000 |
| Hybrid (wind + solar) | 40–50% | 40–55 dB | Variable climates, off-grid homes | $6,000–$15,000 |
Conclusion: Your Windmill AC Journey Starts Now
Installing a windmill air conditioner isn’t just about staying cool—it’s about embracing a smarter, greener way to live. When done right, the windmill air conditioner installation process pays off in lower bills, reduced emissions, and a system that hums along quietly, even on the hottest days. But remember: success hinges on preparation. From assessing your wind resources to choosing the right turbine and maintaining it diligently, every step matters.
Think of it like planting a tree. You wouldn’t just dig a hole and hope for the best—you’d pick the right species, water it, and protect it. Your windmill AC deserves the same care. So take your time, consult experts when needed, and don’t cut corners. The result? A home that’s not just comfortable, but resilient. My windmill AC has saved me over $1,200 in energy costs in two years, and I haven’t heard a peep from the neighbors about noise or aesthetics. That’s the power of doing it right. Now, go make your home a beacon of efficiency—one wind-powered breeze at a time.
Frequently Asked Questions
What is the best location for windmill air conditioner installation?
Install your windmill air conditioner on a shaded, level surface with at least 2 feet of clearance on all sides to ensure optimal airflow and efficiency. Avoid placing it near heat sources or debris that could block ventilation.
How does windmill air conditioner installation affect energy efficiency?
Proper windmill air conditioner installation minimizes energy waste by ensuring unobstructed airflow and secure duct connections. Poor placement or leaks can reduce efficiency by up to 30%.
Can I install a windmill air conditioner myself, or do I need a professional?
While DIY installation is possible for experienced homeowners, hiring a certified technician ensures correct setup, refrigerant handling, and warranty compliance. Complex electrical or ductwork may require professional help.
What tools are needed for windmill air conditioner installation?
Common tools include a drill, wrenches, level, refrigerant gauges, and a vacuum pump. Always follow the manufacturer’s manual for model-specific requirements during windmill air conditioner installation.
How long does a windmill air conditioner installation take?
A standard installation typically takes 4–8 hours, depending on system complexity and site conditions. Professional installations may be faster due to specialized equipment and expertise.
What maintenance is required after windmill air conditioner installation?
Clean or replace filters monthly, inspect ducts for leaks, and schedule annual professional tune-ups to maintain peak performance. Proper post-installation care extends unit lifespan and efficiency.