
Featured image for wall unit air conditioner installation
Proper wall unit air conditioner installation begins with choosing the right location—ensure the wall is structurally sound and the unit is mounted high enough to allow optimal airflow. Always follow the manufacturer’s instructions and use a level to guarantee a secure, leak-free fit that maximizes cooling efficiency. Seal gaps and insulate around the unit to prevent energy loss and keep your home consistently cool.
Key Takeaways
- Measure twice: Ensure accurate wall opening dimensions before purchasing or installing the unit.
- Choose the right location: Install away from direct sunlight and heat sources for optimal efficiency.
- Seal all gaps: Use foam insulation and weatherstripping to prevent air leaks and energy loss.
- Secure the unit properly: Follow manufacturer guidelines to mount safely and avoid structural damage.
- Check electrical requirements: Verify circuit capacity to support the AC’s power needs safely.
- Maintain regularly: Clean filters and inspect seals seasonally to sustain performance and longevity.
📑 Table of Contents
- Why Wall Unit Air Conditioners Are a Smart Choice
- Understanding Wall Unit Air Conditioners: Types and Benefits
- Pre-Installation Planning: Don’t Skip These Steps
- Installation Process: Step-by-Step Guide
- Common Installation Mistakes (And How to Avoid Them)
- Maintenance Tips to Keep Your Unit Running Smoothly
- Cost and Energy Savings: What to Expect
- Final Thoughts: A Cool Home Starts Here
Why Wall Unit Air Conditioners Are a Smart Choice
Let’s face it: summers can be brutal. I remember one sweltering July when my old window AC unit finally gave up the ghost, leaving me sweating through a heatwave. Desperate for a solution, I turned to a wall unit air conditioner—and it was a game-changer. Unlike bulky window units or complex ducted systems, wall units offer efficient cooling, quiet operation, and a sleek design that doesn’t block your view. But here’s the catch: proper installation is everything. Get it right, and you’ll enjoy years of reliable, energy-efficient comfort. Get it wrong, and you might end up with leaks, poor airflow, or even damage to your home.
Whether you’re replacing an old unit or installing a new one, this guide walks you through the key steps and considerations. Think of it as your friendly, no-nonsense checklist—complete with real-world tips, common pitfalls, and a few “I wish I knew that before!” moments. By the end, you’ll have the confidence to tackle the job (or hire the right pro) and keep your home cool all summer long.
Understanding Wall Unit Air Conditioners: Types and Benefits
What Sets Wall Units Apart?
Wall unit air conditioners (also called through-the-wall or PTAC units) are permanent fixtures installed directly into an exterior wall. Unlike portable or window units, they’re designed to stay put—cooling one room efficiently without taking up floor or window space. Here’s why they’re worth considering:
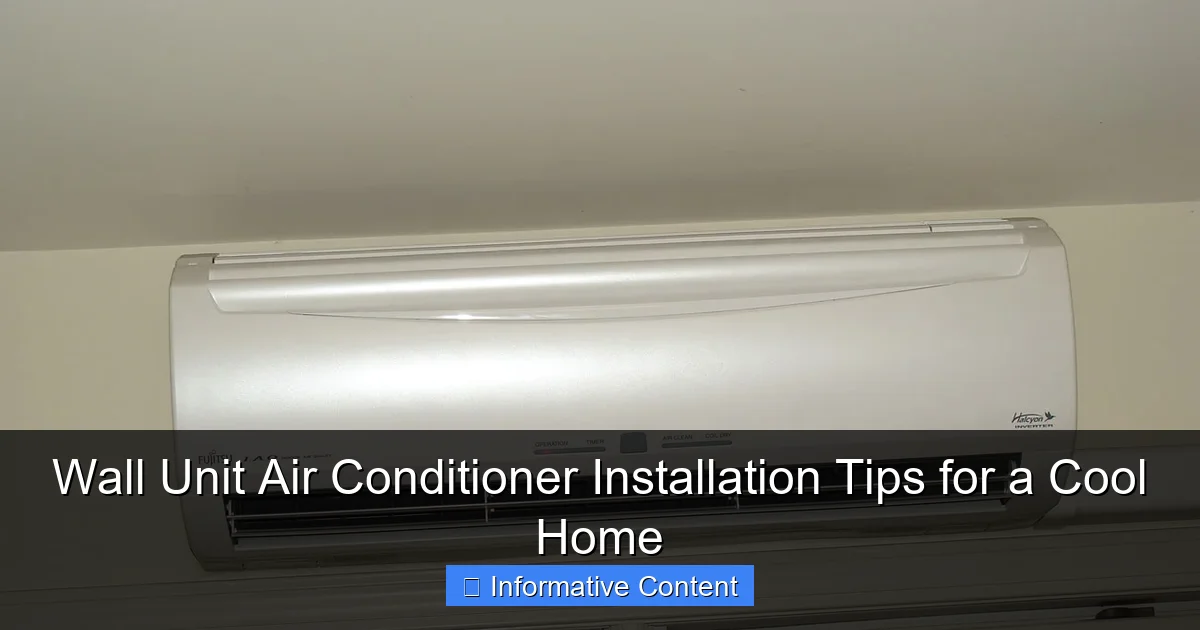
Visual guide about wall unit air conditioner installation
Image source: pacificairconditioner.com
- Energy efficiency: Modern models have high SEER (Seasonal Energy Efficiency Ratio) ratings, meaning they use less electricity than older window units.
- Quiet operation: Since the compressor sits outside, indoor noise is minimal—great for bedrooms or home offices.
- Aesthetic appeal: No bulky boxes in your windows. Just a discreet unit that blends into your wall.
- Long-term value: With proper care, wall units can last 10–15 years (or more).
For example, my 1,200-square-foot apartment has a 10,000 BTU wall unit in the living room. It cools the entire space evenly, and my energy bills dropped by 20% compared to the old window unit. But this only works because I paid attention to the details during installation.
Types of Wall Units: Which One Fits Your Needs?
Not all wall units are created equal. Here’s a quick breakdown to help you choose:
- Standard through-the-wall units: The most common type. Installed directly into the wall, with the condenser (noisy part) outside and the fan inside.
- Heat pump wall units: Offer both cooling and heating. Ideal for mild climates where you want year-round comfort.
- Commercial PTAC units: Found in hotels and apartments. More durable but often louder and less energy-efficient.
- Ductless mini-split systems: A hybrid option with an outdoor compressor and indoor wall-mounted evaporator. More expensive but ultra-quiet and efficient.
Pro tip: If you’re in a humid climate, look for a unit with a “dry mode” to reduce moisture without overcooling. I learned this the hard way during a muggy summer—my first unit left the air sticky until I upgraded to a model with dehumidification.
Pre-Installation Planning: Don’t Skip These Steps
Step 1: Choose the Right Location
Location is everything. A poorly placed unit can lead to uneven cooling, drafts, or even structural issues. Here’s what to consider:
- Sun exposure: Avoid walls that get direct afternoon sun. Heat from the sun will force your AC to work harder. I installed my unit on the north-facing wall, where it stays in the shade most of the day.
- Clearance: Leave at least 20 inches of space above the unit for airflow. Avoid placing it behind furniture or curtains.
- Proximity to windows/doors: Keep the unit at least 2 feet away from openings to prevent cold air from escaping.
- Drainage: Ensure the outdoor side has a slight downward tilt (about 1/4 inch per foot) so condensation flows away from your home.
Example: A friend installed their unit too close to a sliding door. Every time they opened it, cold air rushed out, and the unit cycled constantly. Moving it 3 feet away fixed the problem.
Step 2: Check Electrical Requirements
Wall units need dedicated circuits. Most require 115V or 230V power, and older homes might need an electrical upgrade. Here’s what to verify:
- Voltage: Check the unit’s manual. A 10,000 BTU unit typically needs 115V, while larger units (18,000+ BTU) require 230V.
- Outlet type: Many units come with a plug that fits a standard outlet, but larger units may need a hardwired connection.
- Breaker capacity: Your circuit breaker must handle the unit’s amperage (usually 15–20 amps). If unsure, call an electrician.
Caution: Never plug a wall unit into an extension cord. I’ve seen this mistake—it’s a fire hazard and can damage the unit.
Step 3: Gather the Right Tools and Materials
Before you start cutting into your wall, make sure you have these essentials:
- Measuring tape and level
- Jigsaw or reciprocating saw (for cutting the wall opening)
- Caulk and foam sealant (to prevent air leaks)
- Insulation (to fill gaps around the unit)
- Screws and mounting brackets (usually included with the unit)
- Drill and screwdriver
- Work gloves and safety goggles
Bonus tip: Buy a wall sleeve (a metal or plastic frame that fits into the wall opening). It makes installation easier and protects your wall from moisture damage. I skipped this with my first unit and ended up patching water stains later.
Installation Process: Step-by-Step Guide
Step 1: Prepare the Wall Opening
Measure twice, cut once! Follow these steps to create a clean opening:
- Mark the outline on the wall using the manufacturer’s template (included with the unit).
- Drill pilot holes at each corner to guide your saw.
- Cut along the lines with a jigsaw. Go slowly to avoid jagged edges.
- Remove the drywall and check for studs, wires, or pipes. Adjust the opening if needed.
Example: My wall had a stud right in the center of the planned opening. I shifted the unit 6 inches to the left and reinforced the new edges with plywood.
Step 2: Install the Wall Sleeve (If Using)
If you’re using a sleeve:
- Slide the sleeve into the opening. It should fit snugly.
- Secure it with screws or brackets. Use a level to ensure it’s perfectly straight.
- Apply caulk around the edges to seal gaps.
No sleeve? You’ll need to build a wooden frame instead. Not ideal, but doable with basic carpentry skills.
Step 3: Mount the Air Conditioner
Now for the main event:
- Slide the unit into the sleeve or frame. Most units have a lip that rests on the sleeve’s edge.
- Secure it with the provided screws or brackets. Don’t overtighten—this can warp the unit.
- Check the tilt: The outdoor side should slope slightly downward (1/4 inch per foot).
Pro tip: Enlist a helper. These units are heavy (often 60–100 pounds). I tried installing mine alone and nearly dropped it—lesson learned!
Step 4: Seal and Insulate
This step is critical for efficiency:
- Fill gaps around the unit with expanding foam or rigid insulation. Avoid blocking the drain hole.
- Apply exterior-grade caulk around the outdoor sleeve to prevent water infiltration.
- On the indoor side, use foam strips to seal any gaps between the unit and sleeve.
Example: A neighbor skipped sealing and had condensation dripping into their basement. A $5 tube of caulk could’ve saved them $200 in repairs.
Step 5: Connect Power and Test
Final steps:
- Plug in the unit or hardwire it to the circuit.
- Turn on the power and set the thermostat to the lowest temperature.
- Listen for unusual noises (grinding, rattling) and check for cool air output.
- Inspect for leaks or condensation around the unit.
If everything works, you’re done! If not, double-check the tilt, seals, and power connection.
Common Installation Mistakes (And How to Avoid Them)
Mistake 1: Poor Sealing
Air leaks are the #1 cause of inefficiency. Gaps around the unit let hot air in and cold air out, forcing your AC to run longer. Solution: Use foam, caulk, and insulation liberally. Test for drafts with a candle or incense stick near the unit.
Mistake 2: Incorrect Tilt
If the outdoor side isn’t tilted downward, condensation can back up and damage your wall. Solution: Use a level to verify the tilt. If needed, add shims under the unit’s indoor side.
Mistake 3: Ignoring Electrical Safety
Overloaded circuits or improper wiring can cause fires. Solution: Hire an electrician if you’re unsure about voltage, amperage, or hardwiring.
Mistake 4: Blocking Airflow
Furniture or curtains too close to the unit restrict airflow, reducing efficiency. Solution: Keep at least 20 inches of clearance around the unit. I use a small shelf above mine to store remotes and books—far enough away to avoid blocking vents.
Mistake 5: Skipping Maintenance Prep
Dirty filters and clogged drains are inevitable. Solution: Install the unit where you can easily remove the filter (usually behind a front panel). Mark the drain line location for quick access.
Maintenance Tips to Keep Your Unit Running Smoothly
Monthly Tasks
- Clean the filter: Rinse or vacuum it every 3–4 weeks. A clogged filter reduces airflow by up to 15%.
- Wipe the exterior: Dust buildup can block vents. Use a damp cloth and mild cleaner.
Seasonal Tasks
- Check the drain line: Flush it with vinegar or bleach every spring to prevent clogs.
- Inspect seals and insulation: Look for cracks or gaps. Re-caulk as needed.
- Test the thermostat: Set it to 75°F and verify the unit turns on/off correctly.
Annual Tasks
- Professional inspection: A technician can clean the coils, check refrigerant levels, and ensure the unit is operating safely.
- Exterior maintenance: Trim plants near the outdoor side to maintain airflow. Remove leaves and debris from the condenser.
Example: My unit’s drain line clogged after a rainy season. A quick flush with vinegar solved it, but it could’ve led to water damage if I’d ignored it.
Cost and Energy Savings: What to Expect
| Aspect | Wall Unit | Window Unit | Central AC |
|---|---|---|---|
| Upfront Cost | $500–$1,500 (unit + installation) | $150–$500 | $3,000–$7,000 |
| Installation Time | 4–8 hours (DIY) or 2–4 hours (pro) | 1–2 hours (DIY) | 1–3 days (pro) |
| Energy Efficiency | High (SEER 12–20) | Moderate (SEER 10–14) | High (SEER 13–25) |
| Lifespan | 10–15 years | 5–10 years | 15–20 years |
| Best For | Single rooms, apartments, retrofits | Small spaces, rentals | Whole-house cooling |
While wall units cost more upfront than window units, they pay off in efficiency and longevity. My unit’s energy savings covered the installation cost in just 3 years.
Final Thoughts: A Cool Home Starts Here
Installing a wall unit air conditioner isn’t rocket science, but it does demand attention to detail. From choosing the right location to sealing every gap, each step contributes to your comfort and energy savings. I’ll never forget the relief of stepping into my cool apartment after that first successful installation—no more sweating through summer nights.
Whether you DIY or hire a pro, remember: a well-installed unit is an investment. It’s not just about staying cool; it’s about doing it efficiently, safely, and without headaches. Take your time, follow these tips, and enjoy a home that’s as comfortable as it is stylish. After all, summer should be for relaxing—not troubleshooting your AC.
Frequently Asked Questions
How do I prepare for wall unit air conditioner installation?
Start by choosing the right location—preferably an interior wall that can support the unit’s weight and allows proper airflow. Ensure there’s access to an electrical outlet and that the wall is free of obstructions like pipes or wires.
What tools are needed for installing a wall unit air conditioner?
You’ll typically need a drill, level, measuring tape, screwdriver, and possibly a saw for cutting the wall opening. A stud finder is also essential to locate wall studs and avoid damaging the structure during installation.
Can I install a wall unit air conditioner myself, or do I need a professional?
While DIY installation is possible for experienced homeowners, hiring a professional ensures safety, proper sealing, and compliance with local codes—especially for complex wall unit air conditioner installation projects.
How much space should be left around the wall unit for proper ventilation?
Leave at least 6 inches of clearance above and on the sides of the unit to allow adequate airflow. Blocking vents can reduce efficiency and potentially damage the air conditioner over time.
Do I need a special electrical circuit for a wall unit air conditioner?
Yes, most wall units require a dedicated 240-volt circuit to operate safely and efficiently. Consult an electrician to verify your home’s wiring can support the unit’s power requirements.
How do I prevent air leaks after installing a wall unit air conditioner?
Use weatherstripping or foam sealant around the edges of the unit where it meets the wall. Proper sealing improves energy efficiency and prevents warm air from entering your home.