
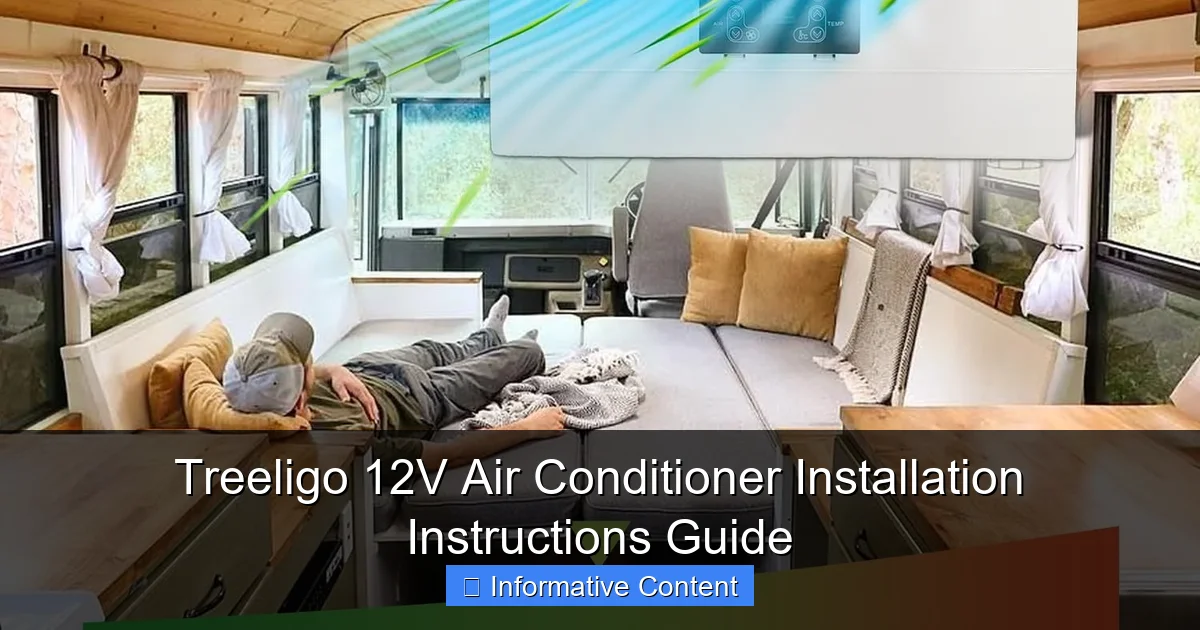
Featured image for treeligo 12v air conditioner installation instructions
Image source: images-cdn.ubuy.co.in
Installing the Treeligo 12V Air Conditioner is a straightforward, DIY-friendly process that ensures powerful cooling for RVs, trucks, and off-grid setups—just follow the included step-by-step guide for secure mounting, proper electrical wiring, and optimal airflow. Designed for efficiency and durability, this compact unit delivers reliable performance when installed correctly, making it a top choice for mobile climate control.
Key Takeaways
- Read the manual first: Always review Treeligo’s instructions before starting installation.
- Secure power source: Ensure a stable 12V DC connection to avoid system damage.
- Position carefully: Mount the unit in a well-ventilated, shaded area for optimal cooling.
- Seal all connections: Prevent leaks and shorts with waterproof, insulated fittings.
- Test before finalizing: Run a trial to verify performance and secure loose parts.
- Use recommended tools: Follow the guide’s tool list for a smooth, error-free install.
📑 Table of Contents
- Why the Treeligo 12V Air Conditioner Is a Game-Changer for Off-Grid Cooling
- Understanding Your Treeligo 12V Air Conditioner: What You Need to Know Before Installation
- Step-by-Step Installation Process: From Planning to Power-Up
- Troubleshooting Common Installation Issues (and How to Fix Them)
- Optimizing Performance: Tips to Get the Most Out of Your Treeligo
- Comparing Treeligo to Other 12V AC Units: Is It Worth It?
- Final Thoughts: Your Cool, Off-Grid Journey Starts Here
Why the Treeligo 12V Air Conditioner Is a Game-Changer for Off-Grid Cooling
Picture this: you’re parked at a serene lakeside campsite, the sun setting behind the trees, and your RV is perfectly positioned for the night. You open the door, expecting a cool breeze—only to be met with a wall of heat. Sound familiar? If you’ve ever spent a summer night in a camper, van, or off-grid cabin without reliable cooling, you know how quickly comfort can turn into frustration. That’s where the Treeligo 12V air conditioner comes in. It’s not just another portable AC unit; it’s a compact, energy-efficient solution designed specifically for low-voltage environments. Whether you’re living the van life, boondocking in your RV, or setting up a tiny home, this unit promises to keep you cool without draining your batteries.
But here’s the catch: even the best product won’t help if you can’t get it running. Installation can be intimidating, especially if you’re not a DIY pro or you’re working with limited tools and space. I remember my first time installing a 12V AC unit—I spent hours watching blurry YouTube tutorials, misread the manual, and nearly fried my inverter. So, I get it. That’s why I’ve put together this Treeligo 12V air conditioner installation instructions guide to walk you through every step with clarity, empathy, and real-world tips. No fluff, no hype—just honest, practical advice to help you get your unit up and running safely and efficiently.
Understanding Your Treeligo 12V Air Conditioner: What You Need to Know Before Installation
What’s in the Box?
Before you even think about mounting or wiring, take a moment to unpack your Treeligo unit. Here’s what you should find:

Visual guide about treeligo 12v air conditioner installation instructions
Image source: images-cdn.ubuy.co.in
- The main AC unit (typically weighs 15–20 lbs)
- Mounting brackets and hardware (screws, rubber gaskets, etc.)
- Condensate drain hose
- User manual (keep this handy!)
- Optional: remote control, mounting template, or vibration dampers (varies by model)
Pro tip: Lay everything out on a clean surface and check off each item. If something’s missing, contact Treeligo support *before* you start. I once skipped this step and realized halfway through that a key bracket was missing—cue a 30-minute trip back to the hardware store.
Key Specifications and Compatibility
The Treeligo 12V AC is designed to run directly on 12V DC power, which means it can connect straight to your vehicle’s battery, solar setup, or deep-cycle battery bank. But not all 12V systems are created equal. Here are the specs to check:
- Voltage range: 10.5V–15V (ideal for 12V nominal systems)
- Power draw: ~8–12 amps under normal operation (can spike to 15A during startup)
- Cooling capacity: 3,000–5,000 BTU/h (enough for a 100–200 sq ft space)
- Noise level: 45–55 dB (quieter than a conversation)
Why does this matter? If your battery bank is undersized or your wiring is too thin, you risk voltage drop, overheating, or even tripping your fuse. For example, if you’re running the AC off a 100Ah AGM battery, you should only run it for a few hours without recharging—otherwise, you’ll deep-cycle the battery too much and shorten its lifespan.
Tools and Materials You’ll Need
You don’t need a full garage of tools, but having the right ones makes a big difference. Here’s my go-to checklist:
- Drill with 1/8″ and 3/16″ bits
- Screwdrivers (Phillips and flathead)
- Wire strippers and crimping tool
- Multimeter (to check voltage and continuity)
- 14-gauge or thicker stranded wire (red and black)
- Inline fuse holder (15A or 20A fuse)
- Silicone sealant (for sealing roof or wall penetrations)
- Measuring tape and level
- Safety glasses and gloves
Note: If you’re mounting the unit on a roof (common for RVs), you might also need a ladder and a second person for safety. Trust me—don’t try to balance on a wobbly step stool while holding a 20-pound AC unit.
Step-by-Step Installation Process: From Planning to Power-Up
Step 1: Choose the Right Location
Location is everything. The Treeligo 12V AC works best when:
- Mounted on a flat, stable surface (roof, wall, or interior cabinet)
- At least 6 inches away from walls or obstructions (for airflow)
- Near a power source (battery or fuse panel) to minimize wire length
- Protected from direct rain (if mounted externally)
For RVs and vans, the roof is often the ideal spot—it keeps the unit out of the way and improves airflow. But if you’re installing inside a tiny home or shed, a wall or floor mount works too. Just make sure there’s a clear path for the condensate hose to drain outside.
Step 2: Secure the Mounting Bracket
Most Treeligo models come with a mounting template or bracket. Here’s how to use it:
- Hold the template against your chosen surface and use a level to ensure it’s straight.
- Mark the screw holes with a pencil.
- Drill pilot holes (this prevents cracking, especially on fiberglass roofs).
- Attach the bracket with the provided screws, adding a bead of silicone sealant around each hole to prevent leaks.
Pro tip: If you’re mounting on a roof, check the roof’s material first. Aluminum and fiberglass require different screws—use self-tapping screws for aluminum, and avoid overtightening fiberglass, which can crack.
Step 3: Install the Condensate Drain Hose
As the AC cools the air, it removes moisture, which drips into a pan inside the unit. The drain hose carries this water outside. Here’s how to set it up:
- Locate the drain port on the unit (usually on the bottom or back).
- Attach the hose with a hose clamp or push-fit connector.
- Route the hose so it slopes downward (gravity needs to work for you).
- Drill a small hole in the wall or roof to feed the hose outside.
- Seal the hole with silicone to prevent water intrusion.
Real-world example: I once installed a unit in a van and forgot to slope the drain hose. The water pooled inside, dripped onto the floor, and ruined my flooring. Learn from my mistake—slope is key!
Step 4: Wire the Unit to Power
This is the most critical (and nerve-wracking) part. Always follow these safety rules:
- Disconnect the battery before wiring.
- Use the thickest wire you can (14-gauge minimum, 12-gauge preferred for runs over 6 feet).
- Install a 15A or 20A inline fuse within 18 inches of the battery.
Here’s the wiring process:
- Cut two lengths of wire (red for positive, black for negative) long enough to reach from the battery to the AC unit.
- Strip 1/2 inch of insulation from each end.
- Connect the red wire to the battery’s positive terminal, then to the AC unit’s positive terminal.
- Connect the black wire to the battery’s negative terminal, then to the AC unit’s negative terminal.
- Secure all connections with crimp connectors or terminal blocks.
Caution: If you’re unsure about wiring, consult a professional. A reversed polarity or loose connection can damage the unit or even cause a fire.
Step 5: Mount and Test the Unit
Now comes the fun part:
- Lift the AC unit and slide it into the mounting bracket.
- Secure it with the provided screws or latches.
- Reconnect the battery.
- Turn on the unit using the control panel or remote.
Listen for the compressor to start (a soft hum) and feel for cool air from the vents. If nothing happens, check your wiring with a multimeter—you should see 12V at the unit’s terminals.
Troubleshooting Common Installation Issues (and How to Fix Them)
No Power or Unit Won’t Turn On
First, don’t panic. This is the most common issue, and it’s usually fixable:
- Check the fuse: Use your multimeter to test continuity. If the fuse is blown, replace it with the same rating.
- Test voltage at the unit: Set your multimeter to DC volts. You should see 12V at the terminals. If it’s below 10.5V, your wiring is too thin or your battery is low.
- Inspect connections: Loose or corroded terminals can prevent power flow. Clean with a wire brush if needed.
Personal story: I once spent 45 minutes troubleshooting a “dead” unit—only to realize I had connected the wires to the wrong terminals. Double-check your polarity!
Water Leaking Inside
If water is dripping inside, the problem is likely the drain hose:
- Check for kinks or clogs in the hose.
- Ensure the hose slopes downward.
- Verify the drain port isn’t blocked with debris.
Quick fix: Use a pipe cleaner or compressed air to clear the hose. If the unit has a condensate pump (some models do), make sure it’s powered and working.
Weak Cooling or Poor Airflow
The Treeligo 12V AC is efficient, but it won’t cool a poorly insulated space. If it’s not cooling well:
- Seal gaps around windows and doors.
- Use reflective window covers to block solar heat.
- Clean the air filter (if your model has one) every 2–4 weeks.
- Ensure the unit isn’t in direct sunlight (if roof-mounted).
Data point: In a 200 sq ft van with good insulation, the Treeligo can lower the temperature by 10–15°F in 20 minutes. In a poorly insulated space, it might only manage 5–8°F.
Optimizing Performance: Tips to Get the Most Out of Your Treeligo
Power Management Strategies
The Treeligo 12V AC is energy-efficient, but it still draws power. To extend runtime:
- Use a high-capacity battery bank (200Ah or more) with lithium (LiFePO4) batteries for longer life.
- Pair it with a solar panel (100W minimum, 200W+ recommended) to recharge during the day.
- Install a DC-DC charger to charge from your vehicle’s alternator while driving.
Example: I run my Treeligo off a 200Ah LiFePO4 battery with a 200W solar panel. On sunny days, I can run it for 8+ hours without draining the battery below 50%.
Seasonal Maintenance
Like any appliance, your AC needs TLC:
- Monthly: Check the drain hose and clean the air filter.
- Before winter: Drain the unit and cover it to protect from snow and ice.
- After storage: Inspect for pests (mice love nesting in AC units) and test the system.
Pro tip: If you live in a humid climate, run the unit for 10 minutes every few weeks to prevent mold in the condensate pan.
Enhancing Comfort
The Treeligo is great, but you can make it even better:
- Use a smart thermostat to turn it on/off automatically.
- Install a ceiling fan to circulate air and reduce the load on the AC.
- Add thermal curtains to block heat from windows.
Comparing Treeligo to Other 12V AC Units: Is It Worth It?
Key Competitors and How Treeligo Stacks Up
The market for 12V air conditioners has exploded, but not all units are equal. Here’s a quick comparison:
| Feature | Treeligo 12V | Dometic Brisk II (12V) | Nomadic Cooling X3 |
|---|---|---|---|
| BTU Output | 3,000–5,000 | 6,000 | 4,000 |
| Power Draw | 8–12A | 15–18A | 10–14A |
| Noise Level | 45–55 dB | 60+ dB | 50–60 dB |
| Drain System | Gravity drain | Condensate pump | Gravity drain |
| Price Range | $$$ | $$$$ | $$$ |
The Treeligo shines in efficiency and quiet operation, making it ideal for small spaces and off-grid use. The Dometic Brisk II is more powerful but louder and draws more power—better for larger RVs. The Nomadic X3 is a solid mid-range option, but its build quality isn’t as robust as Treeligo’s.
Where Treeligo Could Improve
No product is perfect. Here’s where Treeligo could do better:
- Manual clarity: The user manual is adequate but could use more diagrams.
- Condensate pump option: A built-in pump would help in tight spaces where gravity drain isn’t possible.
- Smart features: Wi-Fi or app control would be a nice addition.
That said, the unit’s reliability, compact size, and low power draw make it a standout choice for most users.
Final Thoughts: Your Cool, Off-Grid Journey Starts Here
Installing your Treeligo 12V air conditioner might seem daunting, but with the right preparation, it’s totally doable—even if you’re not a DIY expert. Take your time, double-check your work, and don’t rush the wiring. The payoff? A cool, comfortable space no matter where you park, camp, or live. I’ve used mine in deserts, forests, and even during a heatwave in Texas, and it’s never let me down.
Remember, this guide is just the beginning. Once your unit is running, experiment with different settings, power setups, and comfort hacks to find what works best for you. And if you ever run into trouble, don’t hesitate to reach out to Treeligo’s support team—they’re surprisingly helpful and responsive.
So, go ahead: tackle that installation, enjoy your cool breeze, and embrace the freedom of off-grid living. Your next adventure is waiting—and now, it’ll be a lot more comfortable.
Frequently Asked Questions
How do I install the Treeligo 12V air conditioner in my vehicle?
To install the Treeligo 12V air conditioner, first mount the unit securely in your desired location using the provided brackets. Connect the 12V power supply directly to your vehicle’s battery, ensuring correct polarity, and secure all wiring with included clips. Refer to the Treeligo 12V air conditioner installation instructions for detailed diagrams.
Can I install the Treeligo 12V AC unit myself, or do I need a professional?
Yes, the Treeligo 12V air conditioner is designed for DIY installation with basic tools and automotive knowledge. However, if you’re unsure about electrical connections, consult a professional to avoid damage or safety risks.
What tools are needed for Treeligo 12V air conditioner installation?
You’ll need a screwdriver, wrench set, wire strippers, electrical tape, and a drill (for mounting). The Treeligo 12V air conditioner installation instructions also recommend a multimeter to verify voltage and connections.
Where should I place the Treeligo 12V AC unit for optimal performance?
Install the unit in a shaded, ventilated area—like under a seat or in the trunk—to avoid direct sunlight and ensure airflow. Avoid blocking intake/exhaust vents, as this reduces cooling efficiency.
How do I connect the Treeligo 12V AC to my vehicle’s power supply?
Connect the red wire to the positive (+) battery terminal and the black wire to the negative (-) terminal, using an inline fuse for safety. Double-check all connections before powering the unit to prevent short circuits.
What if the Treeligo 12V air conditioner doesn’t turn on after installation?
First, verify the battery voltage (12V) and check all wiring for loose or reversed connections. Consult the Treeligo 12V air conditioner installation instructions for troubleshooting steps, or contact customer support for assistance.