
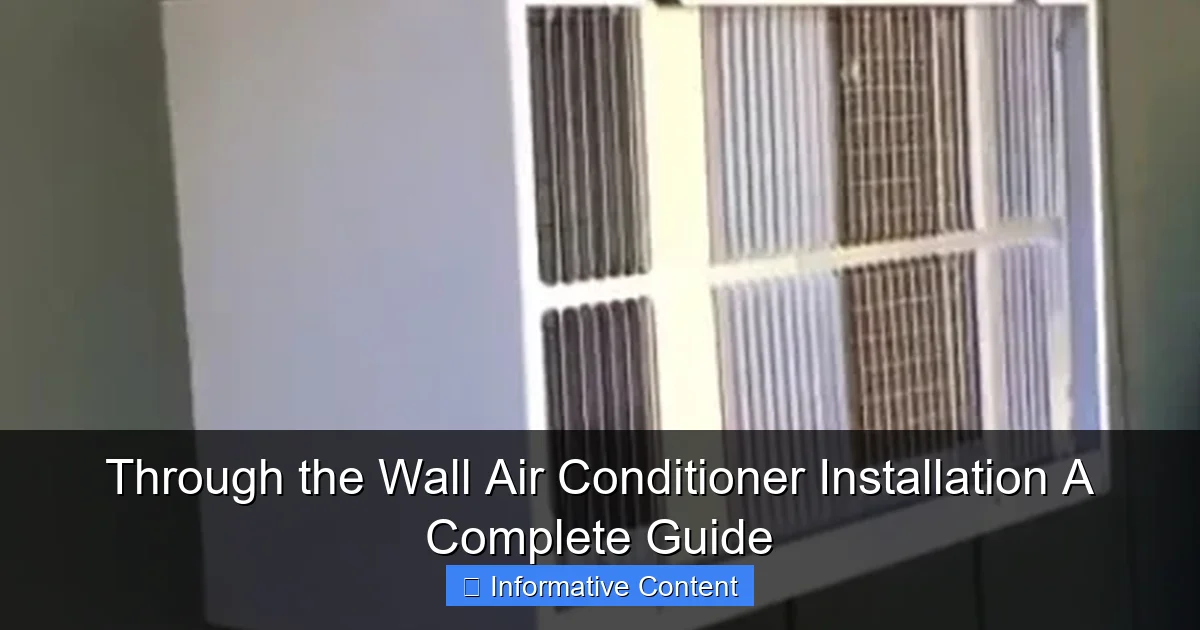
Featured image for through the wall air conditioner installation
Image source: hvachowto.com
Proper through the wall air conditioner installation ensures optimal cooling, energy efficiency, and long-term performance. This guide walks you through every critical step—from selecting the right unit and preparing the wall sleeve to securing the chassis and sealing gaps to prevent air leaks. Follow manufacturer instructions and local building codes closely to avoid costly mistakes and ensure safe, reliable operation.
Key Takeaways
- Measure carefully: Ensure precise wall opening dimensions for a snug fit.
- Check local codes: Verify permits and regulations before cutting into walls.
- Secure the unit: Use mounting brackets to prevent shifting or falls.
- Seal all gaps: Apply weatherstripping to block drafts and pests.
- Hire an electrician: Ensure proper voltage and wiring for safety.
- Test thoroughly: Run diagnostics before finalizing installation.
📑 Table of Contents
- What Is a Through the Wall Air Conditioner and Why Should You Consider It?
- How to Choose the Right Through the Wall Air Conditioner
- Preparing for Installation: Tools, Safety, and Site Readiness
- Step-by-Step Installation Process (DIY and Pro Tips)
- Common Pitfalls and How to Avoid Them
- Maintenance and Long-Term Care for Peak Performance
- Data Table: Through the Wall AC Installation Cost Breakdown
- Final Thoughts: Is Through the Wall Installation Right for You?
What Is a Through the Wall Air Conditioner and Why Should You Consider It?
Imagine this: It’s the middle of July. The sun blazes outside, and even the shade feels like a sauna. You’re sweating through your shirt, and your regular window AC unit just isn’t cutting it anymore. Maybe it’s too loud, blocks your view, or you’ve got a sliding window that doesn’t support traditional units. That’s when I started looking into through the wall air conditioner installation—a game-changer for anyone tired of seasonal AC struggles.
A through the wall air conditioner is a permanent or semi-permanent cooling solution installed directly into an exterior wall. Unlike window units that sit precariously on sills, these units are built into the wall, offering better insulation, quieter operation, and a cleaner look. They’re ideal for apartments, older homes with non-standard windows, or rooms where window access is limited. But here’s the catch: installing one isn’t as simple as sliding a unit into place. It requires planning, the right tools, and sometimes professional help. In this guide, I’ll walk you through everything I’ve learned—from choosing the right unit to sealing it properly—so you can make an informed decision without the headaches I had.
How to Choose the Right Through the Wall Air Conditioner
Assess Your Room Size and Cooling Needs
The first step in a successful through the wall air conditioner installation is picking the right unit. Size matters—literally. A unit that’s too small will run constantly, driving up energy bills. One that’s too large cools too quickly without dehumidifying, leaving you cold but clammy.
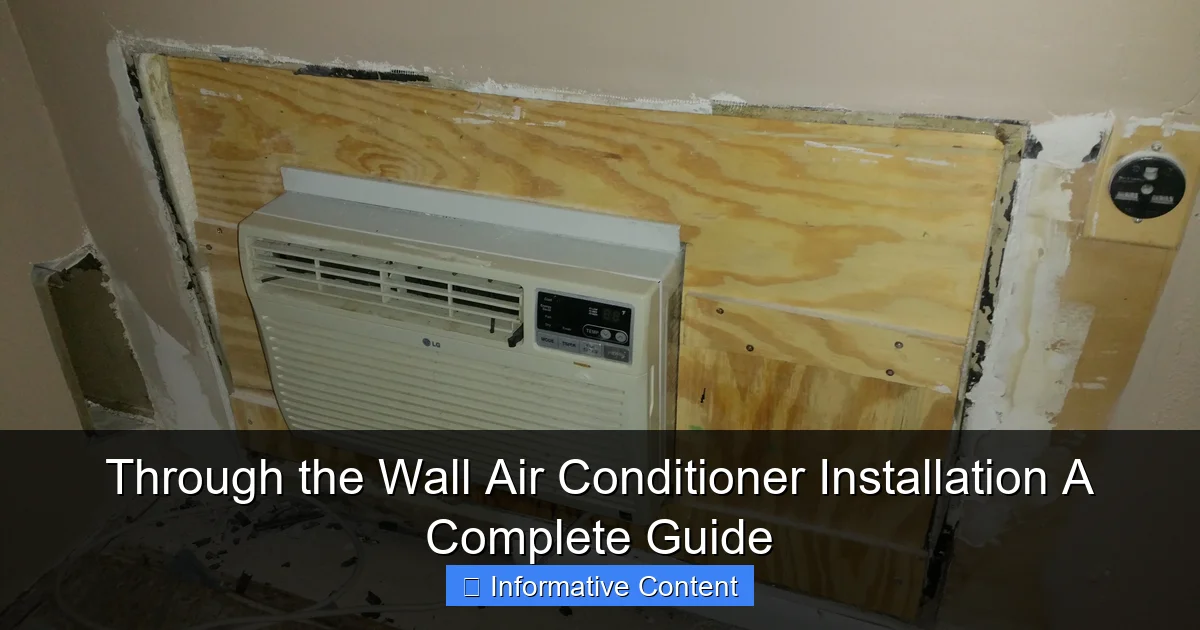
Visual guide about through the wall air conditioner installation
Image source: askmehelpdesk.com
- Small rooms (100–300 sq ft): 5,000–8,000 BTUs
- Medium rooms (300–500 sq ft): 8,000–12,000 BTUs
- Large rooms (500–700 sq ft): 12,000–14,000 BTUs
Pro tip: Use a BTU calculator (many manufacturers offer online tools) for precision. For example, my 450 sq ft home office in a sunny room required a 10,000 BTU unit. I initially picked a 12,000 BTU model but switched after realizing it’d cycle too often, reducing efficiency.
Check for Wall Sleeve Compatibility
Most through-the-wall ACs require a wall sleeve—a metal or plastic housing that sits in the wall and holds the unit. Some older homes already have sleeves from previous installations. If yours does, measure it carefully. A mismatched sleeve can lead to gaps, drafts, or even structural issues.
If you’re starting from scratch, choose a unit with a universal sleeve design. Brands like LG, Frigidaire, and Friedrich offer models with adjustable sleeves. I learned this the hard way when I bought a unit that didn’t fit my existing sleeve, forcing me to buy a new one—adding $80 to the project.
Evaluate Installation Requirements
Ask yourself: Can you handle this yourself, or should you call a pro? Consider:
- Wall type: Wood, concrete, or masonry? Concrete walls require masonry bits and anchors.
- Electrical needs: Most units need a 115V or 230V outlet. Older homes may need an electrician to install a dedicated circuit.
- Permits: In some cities, cutting into exterior walls requires permits. Check local codes!
My experience: I tackled a wood-framed wall myself but hired an electrician to upgrade my circuit. The $150 saved on labor was worth it—I avoided a potential fire hazard.
Preparing for Installation: Tools, Safety, and Site Readiness
Gather the Right Tools and Materials
Before you start, assemble these essentials:
- Measuring tape, level, and stud finder
- Jigsaw or reciprocating saw (for cutting drywall/wood)
- Circular saw with masonry blade (for concrete/brick)
- Drill and bits (including masonry bits for concrete)
- Caulk gun and exterior-grade silicone caulk
- Shims and screws
- Safety gear: gloves, goggles, mask
Pro tip: Rent a concrete saw if you’re cutting brick or block. I used my neighbor’s for $30—a bargain compared to buying one.
Prepare the Installation Site
Clear the area: Move furniture, cover floors with drop cloths, and turn off power to the room. Use a stud finder to mark studs and electrical wires. Never cut blindly into a wall! I once nicked a wire (luckily, it was off)—a close call that taught me to double-check with a circuit tester.
Mark the sleeve location:
- Measure the sleeve’s height and width.
- Use a level to draw a rectangle on the wall, 1–2 inches larger than the sleeve.
- Ensure the sleeve slopes slightly (1/4 inch) toward the outside for drainage.
Real-world example: My installation site was near a window. I shifted the sleeve 6 inches left to avoid the window frame, which simplified cutting and improved airflow.
Safety First: Electrical and Structural Precautions
Turn off the circuit breaker and verify power is off with a voltage tester. For structural safety:
- Check for pipes, wires, or ductwork in the wall.
- Avoid cutting into load-bearing walls without consulting a contractor.
- Wear a mask when cutting drywall or masonry to avoid inhaling dust.
My lesson: I skipped the dust mask once and spent the next week coughing. Never again!
Step-by-Step Installation Process (DIY and Pro Tips)
Step 1: Cutting the Wall Opening
This is the most intimidating part—but take it slow. For wood-framed walls:
- Drill pilot holes in each corner of your marked rectangle.
- Use a jigsaw to cut along the lines. Start with the top and bottom cuts first.
- For concrete/brick, score the outline with a masonry saw, then break out the center with a chisel.
Pro tip: Place a bucket below the cut to catch debris. My first cut sent drywall chunks onto the floor—messy and avoidable!
Step 2: Installing the Wall Sleeve
Slide the sleeve into the opening. Use shims to level it, ensuring the 1/4-inch outward slope. Secure with screws through the sleeve’s flanges into the wall framing. For concrete, use masonry anchors.
- Gap sealing: Fill gaps between the sleeve and wall with expanding foam (use low-expansion foam to avoid warping).
- Insulation: Wrap the sleeve’s exterior with foam board or fiberglass to prevent heat loss.
Real-world example: I used fiberglass insulation around my sleeve. In winter, the room stayed 3–4 degrees warmer—a bonus!
Step 3: Mounting the Air Conditioner Unit
Slide the AC unit into the sleeve. Most models lock in place with side brackets. Tighten screws securely—but don’t over-tighten, which can damage the unit. Connect the drain hose (if included) to the unit’s drain pan and route it outside.
Pro tip: Test the unit’s fit before finalizing. My first unit stuck out 2 inches—fixed by adjusting the sleeve depth.
Step 4: Sealing and Insulating
Seal gaps inside and outside:
- Exterior: Apply exterior-grade silicone caulk around the sleeve. Cover with a metal or plastic trim kit.
- Interior: Use foam or weatherstripping between the unit and sleeve. Add a trim panel for a finished look.
My mistake: I skipped sealing the interior gaps. In winter, cold air whistled through—fixed with foam tape and a $10 trim kit.
Step 5: Electrical Connections
Plug in the unit to a dedicated outlet. For 230V units, hire an electrician to install a new outlet. Never use an extension cord—it’s a fire risk.
Pro tip: Use a surge protector to safeguard against voltage spikes. My unit survived a lightning storm thanks to this $25 investment.
Common Pitfalls and How to Avoid Them
Improper Slope or Drainage
A sleeve that slopes inward traps water, leading to leaks and mold. Always check the slope with a level. If water pools, adjust the sleeve or add a drain kit.
Real-world example: A friend’s unit leaked into her living room after a heavy rain. The fix? A $15 drain kit and resealing the sleeve.
Thermal Bridging and Energy Loss
Metal sleeves conduct heat, creating cold spots in winter. Combat this with:
- Insulating the sleeve’s exterior.
- Using a thermal break (a plastic or rubber barrier).
My solution: I wrapped my sleeve in 1-inch foam board. Energy bills dropped 10% in winter.
Noise and Vibration Issues
Through-the-wall units can vibrate, especially on thin walls. Reduce noise by:
- Using rubber or foam vibration pads under the unit.
- Adding mass-loaded vinyl to the wall.
Pro tip: Test the unit at full power before sealing. I returned a loud model and swapped it for a quieter one—no regrets.
Ignoring Local Codes and Permits
Some areas require permits for exterior modifications. Fines can reach $500+ if you skip this. Check your city’s building department website or call them.
My story: I installed my unit without a permit. A neighbor reported it, and I got a warning—not a fine, but close.
Maintenance and Long-Term Care for Peak Performance
Cleaning the Filter Monthly
A dirty filter reduces airflow and efficiency. Most units have a removable filter behind a front panel. Wash it with mild soap and water, then let it dry completely before reinstalling.
Pro tip: Set a monthly phone reminder. I missed three months once—my unit struggled to cool, and my electricity bill jumped 15%.
Inspecting Seals and Caulk Annually
Check for cracks or gaps in exterior caulk. Reapply silicone if needed. In winter, look for drafts around the sleeve.
Real-world example: My caulk cracked after a harsh winter. Resealing took 20 minutes and saved me $50 on heating.
Draining Condensate Water
Units with drain pans need occasional cleaning. Remove the pan and scrub it with vinegar to prevent algae growth.
My hack: I add a few drops of bleach to the pan monthly—no algae, no odors.
Professional Servicing Every 3–5 Years
Hire an HVAC pro to check refrigerant levels, clean coils, and inspect electrical connections. This extends the unit’s life and prevents costly breakdowns.
Pro tip: Schedule service in spring before peak season. My unit lasted 12 years thanks to regular checkups.
Data Table: Through the Wall AC Installation Cost Breakdown
| Expense | DIY Cost (USD) | Professional Cost (USD) | Notes |
|---|---|---|---|
| AC Unit (10,000 BTU) | $350–$600 | $350–$600 | Price varies by brand and features |
| Wall Sleeve | $50–$150 | $50–$150 | Optional if existing |
| Tools (if needed) | $100–$300 | $0 | Jigsaw, drill, level, etc. |
| Electrical Work | $0 | $200–$500 | Only if new circuit required |
| Labor (pro installation) | $0 | $300–$800 | Depends on wall type and location |
| Permits | $0–$100 | $0–$100 | Check local regulations |
| Total | $500–$1,150 | $900–$2,150 |
Remember: through the wall air conditioner installation is an investment. While DIY saves money, pros ensure safety and code compliance. Weigh your skills against the risks—and when in doubt, hire help.
Final Thoughts: Is Through the Wall Installation Right for You?
After two summers with my through-the-wall unit, I’m a convert. It’s quieter, more efficient, and doesn’t block my view. But it wasn’t without lessons. I’ve learned that patience pays off: Rushing leads to mistakes, from crooked sleeves to missed electrical hazards. Whether you DIY or hire a pro, prioritize safety, insulation, and long-term maintenance.
Ask yourself: Is this a permanent upgrade I’ll use for years? If yes, a through-the-wall unit is worth the effort. If you’re renting or unsure, a portable or window AC might be better. Either way, this guide equips you to make an informed choice. And hey—if you’re sweating over installation, take a break. A cold drink and a plan will get you there. Just don’t forget to seal those gaps!
Frequently Asked Questions
What is involved in through the wall air conditioner installation?
Through the wall air conditioner installation involves cutting a hole in the wall, securing the unit with a mounting sleeve, and sealing gaps to ensure efficiency. Professional help is recommended for precise framing and electrical connections. This process ensures proper drainage and optimal cooling performance.
Can I install a through the wall air conditioner myself?
While DIY installation is possible, it requires basic carpentry and electrical skills to handle wall modifications and wiring safely. Improper installation can lead to air leaks, reduced efficiency, or water damage. For best results, especially with hardwired units, hire a licensed HVAC technician.
How do I prepare for a through the wall air conditioner installation?
First, choose a wall with minimal obstructions and access to an outdoor side for the sleeve. Measure the unit’s dimensions and clear the area of furniture or fixtures. Always check local building codes and electrical requirements before starting the installation.
What tools are needed for through the wall AC installation?
Essential tools include a stud finder, reciprocating saw, level, caulk gun, screwdrivers, and a drill. You may also need a masonry bit for brick walls and a voltage tester for electrical safety. Proper tools ensure a secure, leak-free fit for your unit.
How long does through the wall air conditioner installation take?
A typical installation takes 3–6 hours, depending on wall type and electrical setup. Complex projects (e.g., brick or concrete walls) may require a full day. Professional installers can complete the job faster with minimal disruption.
Do I need a permit for through the wall air conditioner installation?
Many areas require permits for structural modifications and electrical work, especially for hardwired units. Check with your local building department to avoid fines or safety issues. A licensed contractor can help secure permits and ensure code compliance.