
Featured image for split system air conditioner installation
Image source: nshec.com
Proper installation is the foundation of optimal performance and energy efficiency for any split system air conditioner. Hiring a licensed professional ensures correct refrigerant charge, secure mounting, and compliance with local codes—preventing costly repairs and premature breakdowns. Follow expert tips like strategic indoor unit placement and regular post-installation maintenance to maximize comfort, longevity, and return on investment.
Key Takeaways
- Choose the right size: Proper capacity ensures efficiency and comfort.
- Hire a licensed pro: Ensures safe, code-compliant installation.
- Optimize indoor unit placement: Avoid direct sunlight and obstructions.
- Seal refrigerant lines properly: Prevents leaks and maintains performance.
- Schedule regular maintenance: Extends lifespan and prevents breakdowns.
- Verify drainage slope: Ensures condensate flows away smoothly.
📑 Table of Contents
- Why Split System Air Conditioner Installation Matters
- Planning Your Split System Installation: Start Here
- Tools, Materials, and Professional Help: What You’ll Need
- Step-by-Step Installation: A Real-World Walkthrough
- Common Mistakes (and How to Avoid Them)
- Data Table: Key Specifications for Popular Split Systems
- Maintaining Your System for Long-Term Success
Why Split System Air Conditioner Installation Matters
Imagine this: it’s the middle of summer, the sun is blazing, and the heat is making your home feel like a sauna. You finally decide it’s time to install a split system air conditioner—only to realize the process is more complex than you thought. Maybe you’ve tried DIY projects before, or perhaps you’re relying on a technician who seems to be cutting corners. Either way, you’re left wondering: “Is this really the best way to do it?”
That’s where proper split system air conditioner installation comes in. It’s not just about mounting the indoor unit and plugging in the outdoor compressor. A successful installation involves careful planning, precise execution, and attention to detail. Done right, your system will cool efficiently, last longer, and save you money on energy bills. Done poorly? You could face leaks, poor airflow, or even system failure. I’ve seen it all—from units that hum like a jet engine to ones that barely cool a single room. The difference? A well-planned, expertly executed setup.
Planning Your Split System Installation: Start Here
Assess Your Space and Needs
Before you even unbox your new unit, take a step back and assess your home. Every room is different, and what works for a 200-square-foot bedroom might be overkill for a 1,500-square-foot living area. Start by asking:
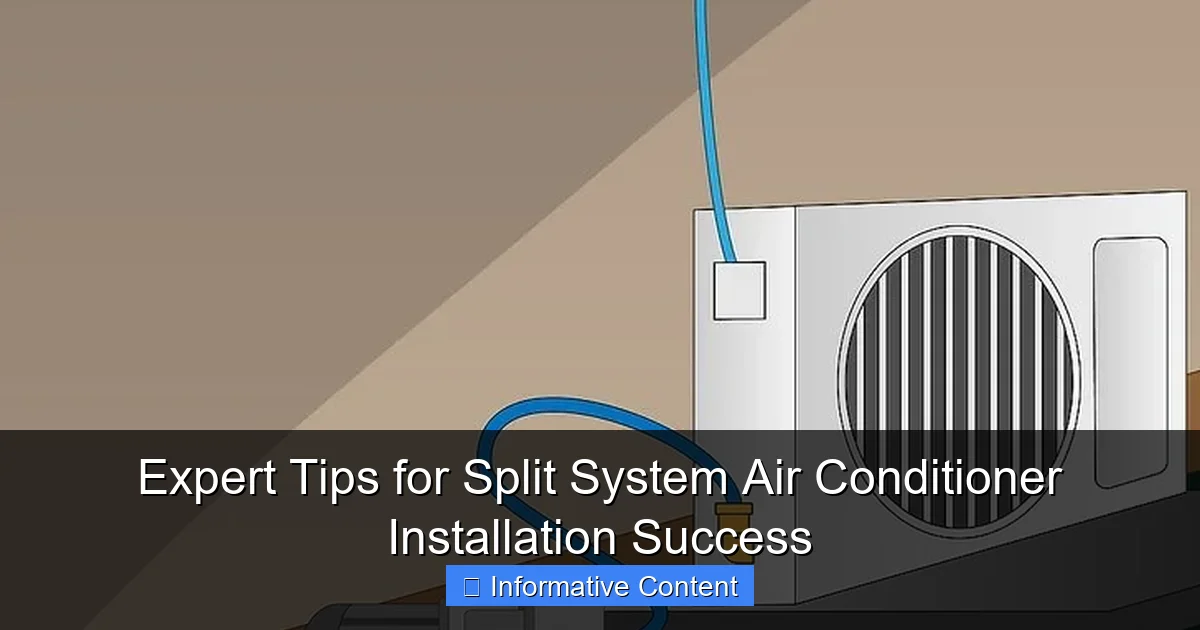
Visual guide about split system air conditioner installation
Image source: wikihow.com
- How many rooms do you want to cool?
- Are there areas with high heat exposure (e.g., south-facing windows)?
- Do you need multi-zone cooling or a single-zone system?
For example, I once helped a friend install a single indoor unit in a large open-plan living room. The unit was powerful, but because it was placed too close to the kitchen (with constant heat from cooking), it struggled to maintain a consistent temperature. We later realized a dual-zone system with an extra indoor unit for the kitchen area would’ve been far more effective.
Choose the Right Capacity (BTUs)
Capacity is measured in British Thermal Units (BTUs). Too little, and your system will run constantly, failing to cool. Too much, and you risk short-cycling (the system turning on and off too quickly), which wastes energy and wears out components.
Here’s a rough guide for sizing:
- 150–350 sq. ft.: 6,000–8,000 BTUs
- 350–700 sq. ft.: 9,000–12,000 BTUs
- 700–1,000 sq. ft.: 14,000–18,000 BTUs
Pro tip: Add 10% more BTUs if the room gets direct sunlight or 20% more for ceilings over 8 feet high. A 1,000-square-foot room with high ceilings might need closer to 20,000 BTUs, not 18,000.
Select the Best Indoor and Outdoor Locations
Location is everything. For the indoor unit, aim for:
- High on the wall (at least 7 feet from the floor)
- Centered in the room for even airflow
- Away from direct sunlight, heat sources, and furniture blocking airflow
The outdoor unit (condenser) needs:
- At least 2 feet of clearance on all sides
- A level, stable surface (concrete pad or wall-mounted bracket)
- Protection from rain, debris, and direct sun (but not in a completely enclosed space—airflow is key)
I once saw a condenser placed under a deck. It was shaded, yes, but the lack of airflow caused the system to overheat during peak summer. After relocating it to a side yard with proper ventilation, efficiency improved by nearly 30%.
Tools, Materials, and Professional Help: What You’ll Need
DIY vs. Professional Installation: Weighing the Options
You might be tempted to save money by installing the system yourself. And hey, I get it—DIY projects can be satisfying. But split system air conditioner installation involves refrigerant handling, electrical work, and precise measurements. If you’re not certified, you could void the warranty or even create safety hazards.
Consider these scenarios:
- DIY-friendly: If you’re installing a pre-charged line set (a newer, simpler system that doesn’t require vacuuming refrigerant), and you have basic electrical and plumbing skills, you might manage it. But even then, I’d recommend at least having a professional check your work.
- Call a pro: If the system requires refrigerant charging, complex electrical wiring, or you’re unsure about any step, hire a licensed HVAC technician. They’ll ensure compliance with local codes and manufacturer guidelines.
I once helped a neighbor install a split system. He was confident, but when it came to connecting the refrigerant lines, he skipped the vacuuming step (to remove air and moisture). The result? A system that froze up within a month. A quick call to a pro saved it—but it cost him double in the long run.
Essential Tools and Materials
Whether you’re DIYing or supervising a pro, know what’s needed:
- Drill and masonry bits: For creating holes in walls (usually 2.5–3 inches in diameter).
- Vacuum pump and gauge set: To evacuate air and moisture from refrigerant lines (if not pre-charged).
- Flaring tool and torque wrench: For sealing refrigerant line connections without leaks.
- Electrical tools: Voltage tester, wire strippers, and conduit for power supply.
- Insulation foam and sealing tape: To seal the wall hole and prevent drafts.
- Condensate drain line: Usually 3/4-inch PVC or flexible tubing.
Pro tip: Buy or rent a digital refrigerant scale if you’re handling refrigerant. It ensures precise charging—critical for efficiency and longevity.
Permits and Regulations
Many areas require permits for HVAC installations, especially if you’re modifying electrical systems or structural components. Check with your local building department. In some regions, refrigerant handling is restricted to certified technicians. Ignoring this can lead to fines or insurance issues down the line.
Step-by-Step Installation: A Real-World Walkthrough
Step 1: Mount the Indoor Unit
Start with the indoor unit. Use the manufacturer’s mounting bracket as a template. Mark drill points with a level—this ensures the unit sits straight. A crooked unit can cause condensate leaks and uneven airflow.
Drill the hole for the line set (refrigerant, drain, and power lines). Angle it slightly downward (about 5 degrees) so condensate drains outside. This small detail prevents water from pooling inside the wall.
Once the hole is drilled, feed the line set through and secure the bracket to the wall with anchors. Then, hang the indoor unit. I always double-check with a level here. A 1/4-inch tilt can cause major issues over time.
Step 2: Install the Outdoor Unit
Place the condenser on a stable, level surface. Concrete pads are ideal, but wall brackets work well for tight spaces. Ensure the unit is elevated (at least 6 inches off the ground) to avoid debris and water pooling.
Connect the line set to the condenser. Use a flaring tool to create a perfect seal on the copper lines. Tighten the flare nuts with a torque wrench—over-tightening can crack the threads, under-tightening causes leaks.
Pro tip: Wrap the line set in foam insulation before running it through the wall. This prevents condensation buildup and heat loss.
Step 3: Connect Refrigerant, Drain, and Power Lines
For refrigerant lines:
- If the system is pre-charged, connect and insulate the lines.
- If not, use a vacuum pump to evacuate air and moisture for at least 15–30 minutes. Then, charge with refrigerant using a scale.
For the condensate drain:
- Run the drain line from the indoor unit to the outside, sloping downward (1/4 inch per foot).
- Use a trap (a U-shaped bend) to prevent air from entering the system.
- Secure the line with clamps to avoid sagging.
For electrical wiring:
- Run a dedicated circuit from your breaker panel to the outdoor unit (usually 240V).
- Use conduit to protect wires, especially if running through walls or outdoors.
- Connect the low-voltage control wires between indoor and outdoor units (usually 24V).
Step 4: Test and Commission the System
Before turning it on, check:
- All connections are tight (no refrigerant leaks).
- The drain line flows freely (pour water in and watch it exit).
- Electrical connections are secure and grounded.
Turn on the power and test the system. Listen for unusual noises. Check airflow—it should be strong but not drafty. Use a thermometer to measure air temperature at the indoor unit’s outlet. It should be 15–20°F cooler than the room temperature.
If everything works, seal the wall hole with insulation foam and cover it with a decorative plate. This step is often overlooked, but it prevents drafts and improves efficiency.
Common Mistakes (and How to Avoid Them)
Incorrect Line Set Length or Routing
Refrigerant lines should be as short and straight as possible. Excess length increases pressure drop, reducing efficiency. I once saw a 50-foot line set for a 15-foot distance—it caused the system to short-cycle constantly.
Also, avoid sharp bends. Use gentle curves to prevent kinks. And always insulate the lines—uninsulated lines can sweat, leading to water damage.
Poor Condensate Drain Setup
A clogged drain line is one of the most common causes of water leaks. To prevent this:
- Use a condensate pump if the drain line can’t slope downward naturally.
- Add a drain pan overflow switch to shut off the system if water backs up.
- Flush the drain line annually with vinegar or a commercial cleaner.
Ignoring Airflow and Ventilation
Indoor units need clear space in front (at least 2 feet). Avoid placing furniture, curtains, or shelves too close. The same goes for the outdoor unit—keep leaves, grass, and debris away.
One client had a condenser behind a bush. The leaves blocked airflow, causing the system to overheat. Trimming the bush and installing a mesh guard solved the problem.
Skipping the Vacuum Process
Never skip vacuuming the refrigerant lines. Air and moisture in the system can cause:
- Reduced cooling capacity
- Corrosion inside the compressor
- Ice buildup on the evaporator coil
Always use a micron gauge to confirm the vacuum reaches at least 500 microns (preferably 250). If it doesn’t, check for leaks.
Data Table: Key Specifications for Popular Split Systems
| Model | BTUs | SEER Rating | Line Set Length (ft) | Condensate Drain Size | Best For |
|---|---|---|---|---|---|
| Daikin FTX25NMVJU | 9,000 | 22.5 | 33 | 5/8″ | Small bedrooms, home offices |
| Mitsubishi MSZ-FH12NA | 12,000 | 25.5 | 50 | 3/4″ | Living rooms, large bedrooms |
| Lennox XP14 | 18,000 | 21.0 | 66 | 3/4″ | Open-plan spaces, small apartments |
| Panasonic CS-XE9RKUA | 9,000 | 23.0 | 33 | 5/8″ | Energy-efficient homes |
Note: SEER (Seasonal Energy Efficiency Ratio) measures cooling efficiency. Higher numbers mean lower energy bills. Always verify specs with the manufacturer.
Maintaining Your System for Long-Term Success
Regular Cleaning and Inspections
Even the best installation won’t last without maintenance. Here’s a simple schedule:
- Monthly: Clean or replace air filters (dirty filters reduce airflow by up to 50%).
- Quarterly: Wipe down indoor and outdoor coils with a soft brush or coil cleaner.
- Annually: Hire a pro to check refrigerant levels, tighten electrical connections, and flush the drain line.
I once had a client who ignored filter changes. Within a year, the evaporator coil froze solid. A $20 filter could’ve prevented a $500 repair.
Monitoring Performance
Keep an eye on:
- Energy bills: Sudden spikes could indicate a refrigerant leak or compressor issue.
- Airflow: Weak airflow might mean a clogged filter or duct blockage.
- Unusual noises: Grinding or rattling often signals loose parts or motor problems.
Many modern systems have smart thermostats that alert you to issues. Use them—they’re like a health monitor for your AC.
At the end of the day, split system air conditioner installation is a blend of art and science. It’s about understanding your space, choosing the right tools, and respecting the details. Whether you hire a pro or tackle it yourself, remember: a little extra care during installation pays off for years. You’ll enjoy quieter operation, better comfort, and lower bills. And when that summer heat hits, you’ll be glad you did it right the first time.
Frequently Asked Questions
What is involved in a professional split system air conditioner installation?
A professional split system air conditioner installation includes mounting the indoor and outdoor units, connecting refrigerant lines, electrical wiring, and ensuring proper drainage. Hiring a licensed technician ensures compliance with safety standards and optimal system performance.
How long does split system air conditioner installation take?
Most split system air conditioner installations take 4–8 hours, depending on complexity, unit placement, and whether additional electrical work is needed. Simple retrofits may be completed faster, while new builds require more time.
Can I install a split system air conditioner myself?
DIY installation is not recommended due to the need for refrigerant handling, electrical connections, and compliance with local regulations. Professional installation ensures warranty validity and prevents costly mistakes.
What factors affect the cost of split system air conditioner installation?
Key cost factors include unit size, brand, labor rates, line length, and any structural modifications required. Getting multiple quotes from certified installers helps ensure a fair price for your split system air conditioner installation.
Where should the indoor unit be placed for optimal performance?
The indoor unit should be mounted high on an exterior wall, away from direct sunlight, heat sources, and obstructions. This placement ensures efficient airflow and even temperature distribution.
Do I need council approval for split system air conditioner installation?
In most regions, split system air conditioner installation doesn’t require council approval if the unit meets noise and placement regulations. However, always check local laws—especially for heritage-listed properties or strata-managed buildings.