
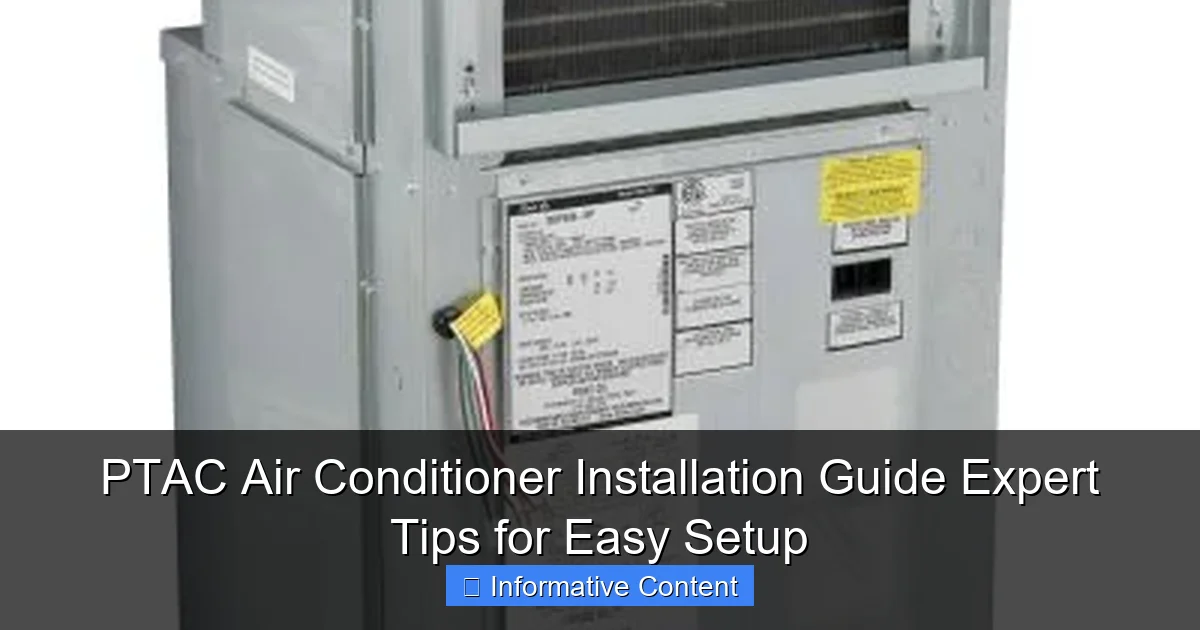
Featured image for ptac air conditioner installation
Image source: airconditionercanada.com
Proper PTAC air conditioner installation starts with choosing the right unit size and ensuring your wall sleeve is structurally sound and level. Follow manufacturer guidelines closely and always disconnect power before wiring to avoid hazards and ensure peak performance. Avoid common pitfalls like poor sealing or incorrect voltage—attention to detail saves time, money, and future repair headaches.
Key Takeaways
- Measure carefully: Ensure correct unit size for your room dimensions before installation.
- Check electrical specs: Verify voltage and amperage to avoid power issues.
- Seal the gap: Use weather stripping to prevent air leaks and improve efficiency.
- Secure mounting: Anchor the unit firmly to support its weight and reduce vibration.
- Test post-install: Run a full cycle to confirm cooling and heating functionality.
- Follow local codes: Comply with building and electrical regulations for safety and legality.
📑 Table of Contents
- Why PTAC Units Are a Smart Choice for Your Space
- Understanding PTAC Air Conditioners: What You Need to Know Before Installing
- Pre-Installation Planning: Assess Your Space and Needs
- Tools, Materials, and Safety: What You’ll Need for PTAC Air Conditioner Installation
- Step-by-Step PTAC Air Conditioner Installation Process
- Common Pitfalls and How to Avoid Them
- Final Thoughts: Making Your PTAC Installation a Success
Why PTAC Units Are a Smart Choice for Your Space
Picture this: You’re staying in a hotel room, and the air conditioning just feels… right. It’s quiet, efficient, and keeps the room at a perfect temperature without any complicated controls or bulky units. Chances are, you’re experiencing the magic of a PTAC air conditioner—a Packaged Terminal Air Conditioner. These units are a staple in hotels, apartments, and even some homes, and for good reason. They’re compact, self-contained, and designed to cool (and sometimes heat) individual rooms or zones with minimal fuss.
If you’re considering installing a PTAC unit in your space, you’re making a smart move. Whether you’re a property manager looking to upgrade your building’s climate control or a homeowner wanting to cool a sunroom or basement, PTACs offer a flexible, cost-effective solution. But here’s the thing: proper PTAC air conditioner installation is key to getting the most out of your unit. A poorly installed PTAC can lead to inefficiency, noise, leaks, and even costly repairs down the line. That’s why I’m here to walk you through everything you need to know—from choosing the right unit to sealing the deal with a professional finish.
Understanding PTAC Air Conditioners: What You Need to Know Before Installing
What Exactly Is a PTAC?
A PTAC, or Packaged Terminal Air Conditioner, is a self-contained heating and cooling unit designed to be installed through an exterior wall. Unlike central HVAC systems, PTACs are installed per room or zone, allowing for individual temperature control. This makes them ideal for multi-tenant buildings, hotels, senior living facilities, and even residential applications like guest rooms or home offices.
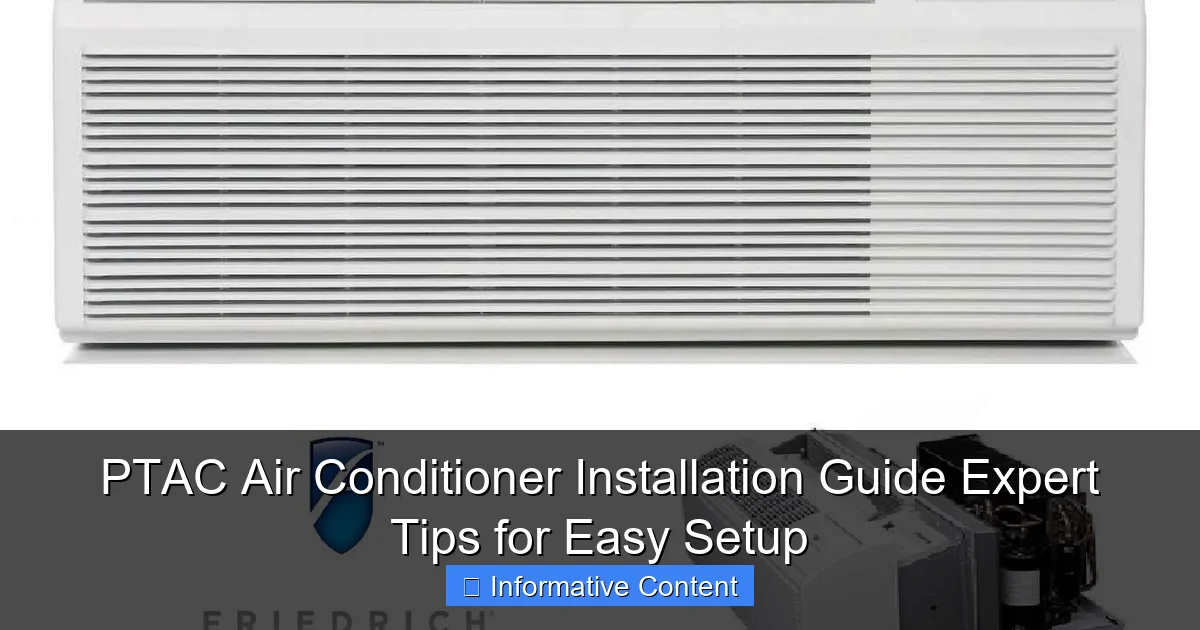
Visual guide about ptac air conditioner installation
Image source: ptacairconditionerrepair.com
PTAC units come in two main types:
- Cooling-only units: These provide air conditioning and sometimes electric heat.
- Heat pump units: These offer both heating and cooling, often with a backup electric heater for colder climates.
Most PTACs are 24 inches wide and 15 inches high, with a depth that extends from the interior wall to the exterior. They’re designed to fit into a wall sleeve (more on that later), which provides structural support and weather sealing.
Why Install a PTAC Instead of Other AC Options?
You might be wondering: Why not just use a mini-split or a window unit? Great question. Here’s how PTACs stack up:
- Zoning flexibility: Each room can be controlled independently—no need to cool the entire house when only one room is occupied.
- No ductwork required: Unlike central AC, PTACs don’t need ducts, which saves on installation and energy losses.
- Through-the-wall design: Unlike window units, PTACs don’t block natural light or window access. They’re also more secure and less prone to theft.
- Hotel-grade durability: Built for 24/7 use in high-traffic environments, PTACs are rugged and long-lasting.
For example, my friend Sarah runs a small bed-and-breakfast and switched from window units to PTACs last summer. She told me, “The difference in guest comfort was immediate. No more complaints about noisy AC or cold drafts. And the energy bills dropped by about 20%!”
Common Applications and Ideal Use Cases
PTAC air conditioner installation isn’t just for hotels. They’re also great for:
- Multi-family housing: Apartments, condos, and senior living facilities benefit from individual climate control.
- Home additions: Sunrooms, garages, or basement suites can be heated and cooled without extending central HVAC.
- Office spaces: Small offices or conference rooms with fluctuating occupancy.
- Renovations: When adding a new room, a PTAC can be a faster, cheaper alternative to ductwork.
One thing to keep in mind: PTACs work best in spaces with exterior walls. If your room is interior (like a basement bedroom with no outside access), a PTAC won’t be an option unless you’re willing to cut through an exterior wall—which brings us to the next section.
Pre-Installation Planning: Assess Your Space and Needs
Step 1: Measure the Room and Determine BTU Needs
Before you buy a PTAC, you need to know how much cooling (and heating) power you need. This is measured in BTUs (British Thermal Units). Too small, and the unit will run constantly. Too large, and you’ll waste energy and money.
Here’s a simple rule of thumb:
- 150–250 sq ft: 7,000 BTU
- 250–350 sq ft: 9,000 BTU
- 350–450 sq ft: 12,000 BTU
- 450–550 sq ft: 14,000 BTU
- 550–700 sq ft: 18,000 BTU
But don’t stop there. Consider these factors:
- Sun exposure: South- or west-facing rooms need more BTUs.
- Insulation: Poorly insulated rooms lose heat in winter and gain it in summer—size up accordingly.
- Ceiling height: Rooms over 8 feet tall need more cooling.
- Occupancy: More people = more body heat = higher BTU needs.
For example, my neighbor Mark installed a 12,000 BTU PTAC in his 400 sq ft home office. But because it’s on the second floor, gets afternoon sun, and has a high ceiling, he upgraded to a 14,000 BTU unit. “Worth every penny,” he said. “It cools the room in half the time.”
Step 2: Check Electrical Requirements
This is crucial: PTAC air conditioner installation requires the right electrical setup. Most PTACs run on 208/230 volts, not the standard 110/120 volts used for outlets. That means you’ll likely need a dedicated circuit with a double-pole breaker.
Here’s what to check:
- Voltage: Confirm the PTAC’s voltage (usually 208V or 230V).
- Amp draw: Most units need 15–30 amps. Check the nameplate or manual.
- Wiring: You’ll need a 2-wire (hot, hot) + ground setup. Neutral wire is not typically required.
- Outlet type: PTACs use a NEMA 6-15, 6-20, or 6-30 plug, depending on amperage.
If your current circuit can’t handle the load, you’ll need an electrician to run a new line. Don’t try this yourself unless you’re licensed. Electrical work is not a DIY project for safety reasons.
Step 3: Inspect the Wall and Sleeve Compatibility
PTACs are installed in a wall sleeve—a metal or plastic frame that sits between the interior and exterior walls. Before buying a unit, check:
- Existing sleeve: If you’re replacing an old PTAC, measure the sleeve (usually 26” x 16” or 27” x 16”).
- Wall thickness: Most sleeves fit walls 5” to 10” thick. If your wall is thicker, you may need an extension.
- Structural integrity: The wall must be able to support the unit (typically 100–150 lbs).
If you don’t have a sleeve, you’ll need to cut an opening in the wall. This is a major job and should be done by a professional, especially in load-bearing walls. Always check with your local building codes before cutting into a wall.
Tools, Materials, and Safety: What You’ll Need for PTAC Air Conditioner Installation
Essential Tools and Equipment
Whether you’re doing it yourself or supervising a contractor, having the right tools makes all the difference. Here’s what you’ll need:
- Drill and hole saw: For cutting the wall opening (if no sleeve exists).
- Reciprocating saw: For trimming wood or metal framing.
- Level: To ensure the sleeve is perfectly horizontal.
- Caulking gun and exterior-grade sealant: For sealing gaps.
- Insulation foam or strips: To fill air gaps around the sleeve.
- Wrench or pliers: For tightening electrical connections.
- Stud finder: To locate studs and avoid cutting through them.
- Safety gear: Gloves, goggles, dust mask, and ear protection.
Pro tip: Rent a core drill if you’re cutting through brick or concrete. It’s faster, cleaner, and reduces dust.
Materials Checklist
Here’s what you’ll need to purchase or confirm availability of:
- PTAC unit: Make sure it matches your BTU, voltage, and sleeve size.
- Wall sleeve: If replacing, ensure it’s the same size. If new, get one rated for your climate (e.g., with insulation).
- Exterior grille: Protects the outdoor coil from debris and weather.
- Interior grille or front panel: Often included with the unit.
- Weatherstripping: For sealing the sleeve to the wall.
- Electrical wire and conduit: If running a new circuit.
- Drain pan or condensate drain kit: Some units include this; others don’t.
Safety First: Avoiding Common Hazards
PTAC air conditioner installation isn’t without risks. Here’s how to stay safe:
- Turn off power: Always shut off the circuit breaker before working on electrical connections.
- Use a spotter: PTACs are heavy. Have someone help lift and position the unit.
- Seal exterior gaps: Unsealed openings can let in water, pests, and cold air.
- Check for gas lines or wiring: Before cutting into a wall, use a stud finder with a wire/metal detection mode.
- Ventilation: When using sealants or foam, work in a well-ventilated area.
My cousin learned this the hard way when he cut into a wall without checking for a gas line. The smell of gas was a real wake-up call. “I’m just glad I stopped before I hit it,” he said. Always double-check!
Step-by-Step PTAC Air Conditioner Installation Process
Step 1: Prepare the Wall Opening
If you’re installing a new sleeve, start by marking the opening. Use the manufacturer’s template or measure the sleeve dimensions. Cut a rectangular hole in the wall using a reciprocating saw or core drill. Be careful not to damage framing, pipes, or wires.
Once the hole is cut, insert the sleeve. Make sure it’s level and secure. Use shims if needed to prevent sagging. The sleeve should extend slightly beyond the interior and exterior walls.
Step 2: Secure the Sleeve and Seal Gaps
Attach the sleeve to the wall framing using screws or brackets (included with most sleeves). Then, seal the gaps:
- On the interior: Use foam strips or spray foam to fill gaps between the sleeve and wall.
- On the exterior: Apply exterior-grade caulk or sealant around the perimeter.
Don’t overdo the foam—too much can warp the sleeve. Use just enough to prevent air leaks.
Step 3: Run Electrical Wiring (If Needed)
If you’re installing a new circuit, run the wire from the electrical panel to the PTAC location. Use conduit for protection. Strip the ends and connect them to the PTAC’s terminal block, matching the colors (black to black, white to white if present, green to ground).
Never connect the PTAC to a standard outlet with an adapter. The voltage and amperage won’t match, and you risk damaging the unit or causing a fire.
Step 4: Install the PTAC Unit
Carefully slide the PTAC into the sleeve from the interior side. It should fit snugly. Some units have locking tabs or brackets to secure them. Tighten the screws to hold the unit in place.
Connect the drain line if your unit has a condensate pump or gravity drain. This prevents water from pooling inside the unit.
Step 5: Attach Grilles and Test the Unit
Snap on the interior front panel or grille. On the outside, install the exterior grille. Make sure it’s secure and allows airflow.
Now, turn on the power and test the unit. Check for:
- Cooling and heating functions
- Fan operation
- No unusual noises or vibrations
- Proper drainage (no leaks)
If everything works, seal the final gaps and enjoy your new PTAC!
Common Pitfalls and How to Avoid Them
Leaky Installations and Poor Sealing
One of the most common issues with PTAC air conditioner installation is air or water leaks. If the sleeve isn’t sealed properly, you’ll get:
- Cold drafts in winter
- Moisture and mold
- Increased energy bills
To avoid this, use high-quality sealants and check for gaps around the sleeve. A simple smoke test (using a lit incense stick) can help detect air leaks.
Incorrect Electrical Setup
Using the wrong voltage or amperage can damage the compressor or cause the unit to trip the breaker. Always double-check the PTAC’s electrical specs and ensure the circuit matches.
If you’re unsure, hire a licensed electrician. It’s a small investment that can save you from costly repairs.
Improper Drainage
Condensation is normal, but if water pools inside the unit or leaks into the room, you’ve got a drainage problem. Make sure:
- The unit is level (tilting slightly toward the outside)
- The drain line is clear and sloped downward
- The condensate pump (if included) is working
Ignoring Maintenance
Even the best PTAC will fail early if not maintained. Clean the filters monthly, inspect the coils annually, and clear debris from the exterior grille.
| Maintenance Task | Frequency | Notes |
|---|---|---|
| Clean or replace air filter | Monthly | Use mild soap and water; let dry completely |
| Inspect exterior grille | Quarterly | Remove leaves, dirt, and debris |
| Check condensate drain | Bi-annually | Flush with water to prevent clogs |
| Inspect electrical connections | Annually | Look for corrosion or loose wires |
| Professional servicing | Every 2–3 years | Includes coil cleaning and refrigerant check |
Final Thoughts: Making Your PTAC Installation a Success
Installing a PTAC air conditioner might seem daunting, but with the right planning, tools, and attention to detail, it’s a manageable project—even for DIYers. The key is to take your time, follow the steps carefully, and never skip safety checks.
Remember, a well-installed PTAC can last 10–15 years or more. It’ll keep your space comfortable, save on energy costs, and give you the flexibility to control temperatures room by room. Whether you’re cooling a hotel room, an apartment, or your own home, the effort pays off in comfort and efficiency.
And if you’re ever in doubt—especially with electrical or structural work—don’t hesitate to call in a pro. A few hundred dollars for expert help can prevent thousands in repairs down the road. At the end of the day, a successful PTAC air conditioner installation is one that’s safe, efficient, and built to last. So go ahead, take the plunge, and enjoy the cool (or warm) air!
Frequently Asked Questions
What is a PTAC air conditioner and how is installation different from regular AC units?
A PTAC (Packaged Terminal Air Conditioner) is a self-contained unit commonly used in hotels and apartments. Unlike split-system ACs, PTAC air conditioner installation requires fitting the unit into a wall sleeve and connecting to both interior and exterior environments, often with an electrical kit.
Can I install a PTAC unit myself, or do I need a professional for PTAC air conditioner installation?
While DIY PTAC air conditioner installation is possible for handy homeowners, hiring a licensed HVAC technician ensures proper electrical wiring, drainage, and compliance with local codes. Improper installation can lead to inefficiency or safety hazards.
What tools and materials do I need for a successful PTAC installation?
You’ll need a level, drill, screwdriver, sealant, electrical wiring tools, and a wall sleeve. Many PTAC units also require a specific electrical disconnect box and a thermostat—check your model’s manual for exact PTAC installation requirements.
How long does a typical PTAC air conditioner installation take?
Most PTAC air conditioner installations take 2–4 hours, depending on wall modifications, electrical work, and whether a new sleeve is needed. Pre-existing sleeves with proper electrical hookups speed up the process.
Do I need a permit for PTAC installation in my area?
Many municipalities require permits for HVAC work, especially when modifying walls or electrical systems. Always check local regulations before starting your PTAC installation to avoid fines or failed inspections.
What are common mistakes to avoid during PTAC installation?
Skipping wall sleeve alignment, improper sealing, or incorrect electrical connections are frequent errors. Always level the unit, seal gaps with weatherproof caulk, and verify voltage requirements to ensure efficient, long-lasting performance.