
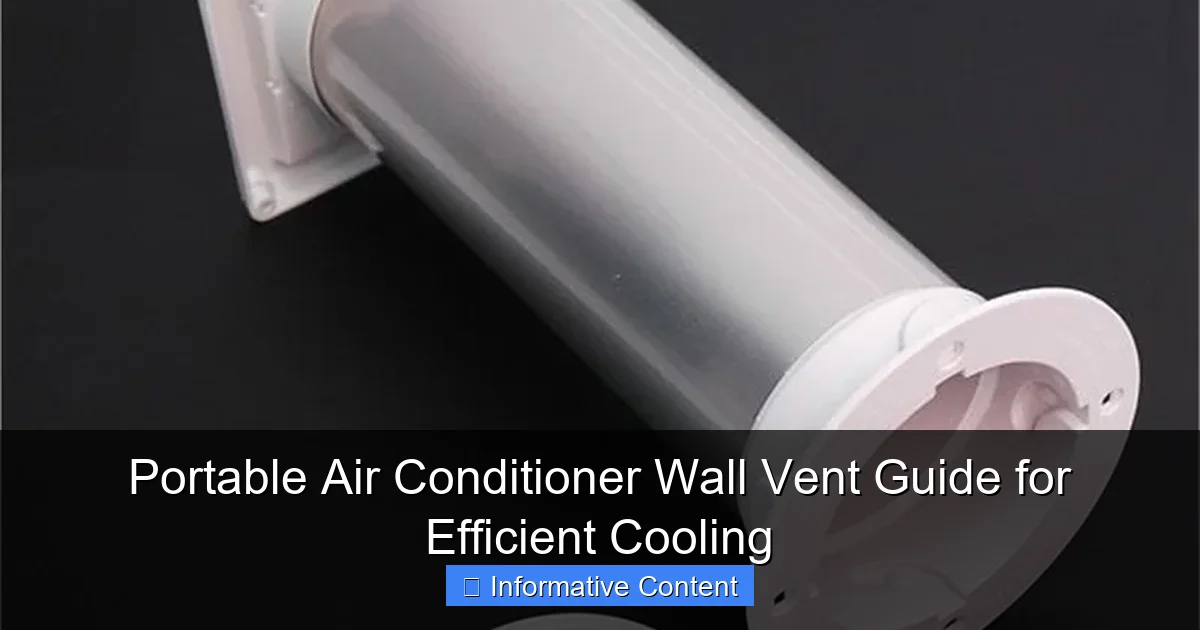
Featured image for portable air conditioner wall vent
Image source: 2ecffd01e1ab3e9383f0-07db7b9624bbdf022e3b5395236d5cf8.ssl.cf4.rackcdn.com
Properly installing a portable air conditioner wall vent is essential for maximizing cooling efficiency and preventing energy loss. By securely venting hot exhaust air outside through a wall-mounted system, you ensure optimal airflow, reduce indoor humidity, and maintain consistent temperatures—key factors in getting the most from your unit. A well-designed wall vent also minimizes heat re-entry, enhancing overall performance and lowering energy costs.
Key Takeaways
- Proper venting prevents hot air recirculation and improves cooling efficiency.
- Seal gaps tightly around the vent to avoid energy loss and moisture buildup.
- Use insulated hoses to minimize heat gain and maximize cooling performance.
- Install the vent at the highest possible wall point for optimal airflow.
- Choose the right size vent kit to match your portable AC’s exhaust diameter.
- Regularly clean the vent and hose to maintain efficiency and indoor air quality.
📑 Table of Contents
- Why a Portable Air Conditioner Wall Vent Matters
- How Portable Air Conditioner Wall Vents Work
- Benefits of Using a Wall Vent Over Window Kits
- Choosing the Right Portable Air Conditioner Wall Vent
- Step-by-Step Guide to Installing a Wall Vent
- Maintenance Tips for Long-Term Efficiency
- Final Thoughts: Is a Wall Vent Worth It?
Why a Portable Air Conditioner Wall Vent Matters
Let’s face it: summers can be brutal. Whether you’re in a small apartment with no central AC, renting a place with strict landlord rules, or just trying to cool a single room without a full HVAC overhaul, portable air conditioners are a lifesaver. But here’s the catch: they’re only as good as their venting system. And that’s where the portable air conditioner wall vent comes in.
I remember my first summer in a tiny Brooklyn studio. I bought a sleek portable AC unit, excited to finally beat the heat. But within a week, I realized it was barely making a dent. The room stayed warm, and the unit kept shutting off. After some research (and a few sweaty nights), I discovered the culprit: poor venting. The hose was just hanging out the window, letting warm air seep back in. That’s when I learned how crucial a proper portable air conditioner wall vent really is.
This guide is for anyone who’s ever struggled with inefficient cooling, high energy bills, or just wants to get the most out of their portable AC. We’ll break down how wall vents work, why they’re better than other options, how to install them, and what to look for when choosing the right one. No fluff, no sales pitch—just real talk from someone who’s been there.
How Portable Air Conditioner Wall Vents Work
At first glance, a portable AC might seem like a simple “plug and play” device. But it’s actually a mini heat pump. It pulls in warm air from the room, cools it, and then exhausts the leftover heat outside. That exhaust process is what makes venting so important.
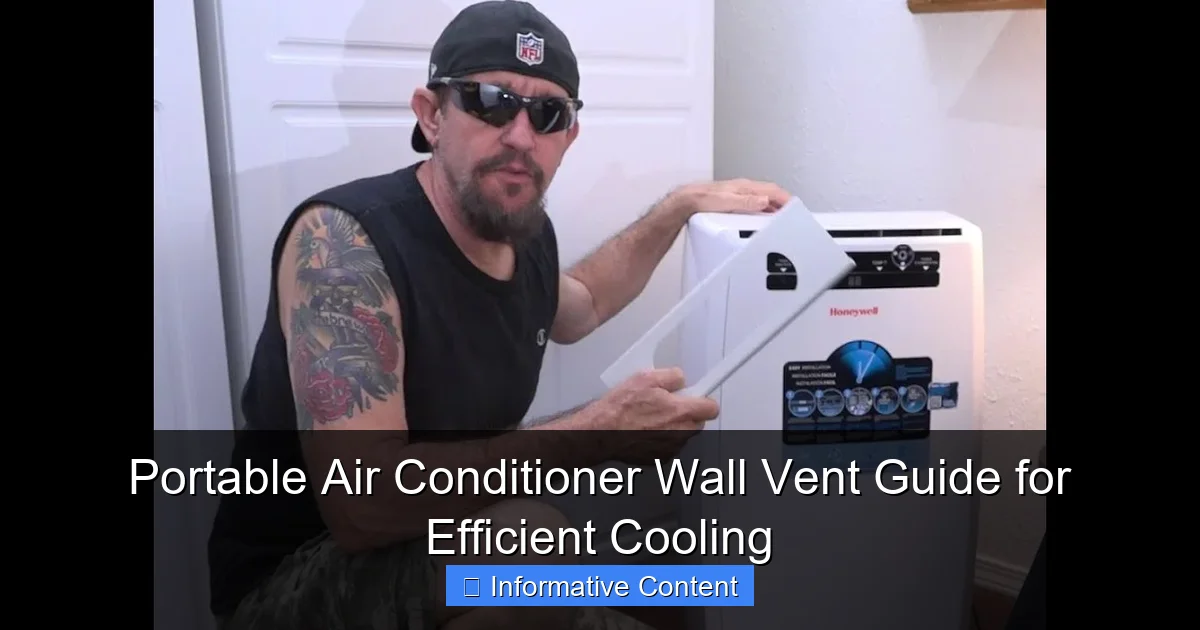
Visual guide about portable air conditioner wall vent
Image source: i.ytimg.com
The Science Behind the Vent
A portable AC has two key components: the intake (which draws in warm indoor air) and the exhaust (which pushes hot air outside). Most units use a single hose, which both pulls in outside air for cooling the condenser and then expels the heated air. This creates a slight negative pressure in the room, which can pull in hot air from outside—especially if the vent isn’t sealed properly.
A portable air conditioner wall vent solves this by creating a sealed, permanent (or semi-permanent) pathway through your wall. Instead of relying on a flimsy window kit that often leaves gaps, the vent connects directly to a hole in the wall. This means:
- Less air leakage: No more warm air sneaking back in around the hose.
- Improved efficiency: The AC doesn’t have to work as hard, saving energy and extending its lifespan.
- Better airflow: The vent design reduces resistance, allowing smoother exhaust.
Single vs. Dual Hose Systems
Not all portable ACs are created equal. Some use a single hose, while others use dual hoses. Here’s the difference:
- Single hose: One hose does double duty—drawing in outside air and exhausting heat. It’s simpler but less efficient, especially in humid climates, because it can pull in warm, moist air.
- Dual hose: One hose brings in fresh outside air to cool the condenser, while the other exhausts the hot air. This reduces negative pressure and improves cooling efficiency.
When pairing with a wall vent, a dual-hose system is ideal. But even single-hose units benefit from a sealed wall vent—it just means you’ll need to ensure the intake side is well-ventilated (like through an open window or another vent).
Pro tip: If you live in a humid area (hello, Florida!), consider a dual-hose unit with a wall vent. It’ll keep your room cooler and reduce moisture buildup.
Benefits of Using a Wall Vent Over Window Kits
You might be thinking, “Why not just use the window kit that came with my portable AC?” Fair question. Window kits are convenient—but they come with trade-offs.
1. Better Sealing and Insulation
Window kits rely on plastic panels or accordion-style inserts that fit into your window frame. But even the best ones leave gaps. Over time, the plastic can warp, crack, or loosen. That means hot air leaks in, and your AC has to work harder to maintain the temperature.
A portable air conditioner wall vent, on the other hand, is designed to be airtight. Most kits include foam gaskets, rubber seals, or silicone caulk to create a tight seal around the vent. This keeps hot air out and cool air in—just like a well-insulated wall.
Real-life example: My friend Sarah installed a wall vent in her home office. Before, her portable AC struggled to keep the room below 78°F. After the vent? She consistently hits 72°F—even on 90°F days.
2. More Aesthetic and Space-Saving
Let’s be honest: window kits are ugly. They block natural light, make windows hard to open, and can look like a temporary fix (because they are). If you’re in a rental or want a cleaner look, a wall vent is a game-changer.
Wall vents are typically low-profile. Many are designed to sit flush with the wall or have a discreet exterior cover. Some even come in neutral colors to blend in. Plus, you free up your window for curtains, blinds, or just enjoying the view.
3. Improved Airflow and Efficiency
Window kits often force the exhaust hose to bend or kink, especially if your AC is far from the window. This restricts airflow and forces the AC to work harder. Over time, this can wear out the compressor.
A wall vent allows for a straight, unobstructed path for the hose. Less resistance means better airflow, lower energy use, and a longer-lasting unit. In fact, some users report up to a 20% improvement in cooling efficiency after switching to a wall vent.
4. Permanent or Semi-Permanent Solution
Window kits are temporary by nature. You install them each summer and remove them in winter. That’s a hassle—and it increases the chance of damage or lost parts.
Wall vents, especially semi-permanent ones, can be left in place year-round. Many have covers or caps to block airflow when not in use. This makes seasonal setup a breeze.
Note: If you’re renting, check with your landlord before cutting a hole in the wall. Some companies offer removable wall vents that don’t require permanent modifications.
Choosing the Right Portable Air Conditioner Wall Vent
Not all wall vents are created equal. The right one depends on your AC model, wall type, and cooling needs. Here’s what to consider:
1. Compatibility with Your AC Unit
First, check your portable AC’s exhaust hose size. Most are 5” or 6” in diameter. Your wall vent must match this size. Some kits come with adapters, but it’s better to buy one that fits natively.
Also, confirm whether your AC uses a single or dual hose. If it’s dual, make sure the wall vent supports two hose connections (or buy a kit with dual ports).
2. Wall Material and Thickness
Are you cutting through drywall, brick, or concrete? Each requires different tools and vent designs:
- Drywall: Easy to cut with a drywall saw or hole cutter. Most standard wall vents work here.
- Brick or concrete: Requires a masonry drill and a vent with a longer sleeve or adjustable collar. Look for “brick wall vent” or “concrete vent” kits.
- Wood or siding: Use a vent with a weatherproof exterior flange to prevent rot or water damage.
Tip: Measure your wall thickness. Some vents are only designed for walls up to 8” thick. If your wall is thicker, look for extendable models.
3. Vent Design and Features
Here are key features to look for:
- Adjustable sleeve: Allows the vent to fit walls of different thicknesses.
- Interior and exterior covers: Prevent drafts, insects, and rain from entering when the AC is off.
- Foam or rubber gaskets: Ensure an airtight seal around the hose.
- Removable interior plate: Makes cleaning and maintenance easier.
- Weatherproof exterior: UV-resistant plastic or metal to prevent fading or cracking.
Example: The “AC Infinity Wall Vent” is popular because it has a dual-hose design, adjustable sleeve, and a removable interior plate. But it’s pricier (around $80–$100). For a budget option, “Housolution” offers a basic single-hose vent for $30–$40.
4. DIY vs. Professional Installation
Most wall vents are DIY-friendly, but it depends on your comfort level. If you’re not handy with power tools, consider hiring a handyman. Here’s a quick cost comparison:
| Option | Cost Range | Time Required | Skill Level |
|---|---|---|---|
| DIY Installation | $30–$100 (vent only) | 2–4 hours | Beginner to intermediate |
| Handyman/HVAC Pro | $150–$300 (labor + vent) | 1–2 hours | None (for you!) |
DIY saves money, but a pro ensures a perfect, leak-free installation—especially on masonry walls.
Step-by-Step Guide to Installing a Wall Vent
Ready to install your portable air conditioner wall vent? Follow these steps for a clean, efficient setup.
1. Gather Your Tools
- Measuring tape
- Pencil
- Jigsaw or hole saw (for drywall)
- Masonry drill and bits (for brick/concrete)
- Level
- Screwdriver or drill
- Utility knife
- Silicone caulk (optional, for extra sealing)
2. Choose the Location
Pick a spot on an exterior wall that’s:
- Close to your AC unit (to minimize hose length)
- Near an electrical outlet (for the AC)
- At least 12” above the floor (to avoid tripping and allow airflow)
- Away from direct sunlight or rain (to protect the exterior cover)
Pro tip: Use a stud finder to avoid cutting through wall studs. Mark the center point with a pencil.
3. Mark and Cut the Hole
Trace the vent’s template (included with most kits) onto the wall. Use a level to ensure it’s straight. Then:
- Drywall: Drill a starter hole, then use a jigsaw or hole saw to cut the opening.
- Brick/concrete: Use a masonry drill to make a pilot hole, then enlarge it with a hole saw.
Caution: Wear safety goggles and a dust mask, especially with masonry.
4. Install the Vent
Slide the vent sleeve into the hole. Adjust the length (if applicable) to fit your wall thickness. Secure the interior plate with screws. Then, attach the exterior flange (if separate) with silicone caulk for a weatherproof seal.
Key step: Check for gaps around the sleeve. Use expanding foam or caulk to seal any leaks.
5. Connect the Hose
Attach your portable AC’s exhaust hose to the vent’s interior port. Most kits use a twist-lock or clamp system. Ensure it’s tight and secure—no wobbling or gaps.
If you have a dual-hose system, connect the intake hose to a nearby window or another vent.
6. Test and Seal
Turn on your AC and let it run for 10–15 minutes. Feel around the vent for drafts or warm air leaks. If you find any, add more foam or caulk.
When not in use, close the interior cover and exterior flap (if included) to prevent energy loss.
Real tip: Take photos during installation. If you ever remove the vent, you’ll know exactly how to patch the hole.
Maintenance Tips for Long-Term Efficiency
A well-installed wall vent can last years, but it needs care. Here’s how to keep it running smoothly.
1. Clean the Vent Regularly
At least once a month (more in dusty areas), remove the interior plate and clean:
- The hose connection point
- Inside the vent sleeve
- The exterior cover
Use a damp cloth or soft brush. Avoid harsh chemicals—they can damage seals.
2. Inspect for Leaks
Every few weeks, check for:
- Drafts around the vent
- Warm air escaping
- Condensation inside the sleeve (a sign of poor sealing)
Re-caulk or add foam as needed. Even small leaks can cut efficiency by 10–15%.
3. Protect the Exterior
Over time, sun and rain can fade or crack the exterior cover. If yours is plastic, consider painting it with UV-resistant spray paint. Or, install a small awning above the vent to shield it.
4. Winter Care
If you leave the vent in year-round:
- Close the interior cover to block cold air
- Use the exterior flap (if included)
- For extreme cold, consider a removable foam plug
If you remove the vent, store it in a dry place. Patch the hole with drywall or a temporary cover.
Bonus tip: Pair your wall vent with a smart thermostat. It’ll optimize cooling schedules, saving energy and money.
Final Thoughts: Is a Wall Vent Worth It?
After years of trial, error, and sweaty nights, I can say this with confidence: a portable air conditioner wall vent is one of the best investments you can make for efficient cooling. It’s not just about comfort—it’s about performance, energy savings, and peace of mind.
Yes, it requires a bit more effort (and maybe a little wall damage). But the payoff is huge. You’ll enjoy:
- Faster, more consistent cooling
- Lower energy bills
- A cleaner, more professional look
- A longer-lasting AC unit
Whether you’re a renter, homeowner, or just someone who hates window kits, a wall vent is a smart move. And with the right model and installation, it’ll serve you well for years.
So, grab your tools, pick a spot, and make this summer the coolest one yet. Your future self will thank you.
Frequently Asked Questions
What is a portable air conditioner wall vent and how does it work?
A portable air conditioner wall vent is an exhaust system that expels hot air from the unit to the outside through a wall-mounted vent. It typically includes a hose and vent kit that connects the AC unit to a wall opening, allowing heat to escape while maintaining indoor cooling efficiency.
Can I install a portable air conditioner wall vent myself?
Yes, many portable air conditioner wall vent kits are designed for DIY installation with basic tools. However, cutting into a wall requires careful measurement and safety precautions—consider professional help if you’re unsure about structural or electrical concerns.
Do all portable air conditioners require a wall vent?
Most portable air conditioners need a vent to expel hot air and humidity, so a wall or window vent is essential for proper function. While some models offer partial recirculation, a dedicated exhaust vent—like a wall vent—ensures optimal cooling performance and prevents overheating.
What are the benefits of using a wall vent instead of a window kit?
A portable air conditioner wall vent provides a permanent, weatherproof solution that doesn’t block windows or require seasonal removal. It also offers better insulation and a cleaner look, especially in homes where window access is limited or unattractive.
How do I choose the right size for a portable air conditioner wall vent?
Match the vent size to your AC unit’s exhaust hose diameter—commonly 5.5 to 6 inches—and ensure the wall opening accommodates the vent flange and insulation. Check your portable air conditioner’s manual for specific venting requirements to ensure compatibility and efficiency.
Will installing a wall vent damage my home’s structure or insulation?
When installed correctly, a wall vent should not compromise your home’s structure or insulation. Use a vent kit with a proper seal and flashing, and consider adding insulation around the opening to maintain energy efficiency and prevent air leaks.