
Featured image for pinguino air conditioner instructions
Image source: applianceteacher.com
Master your Pinguino air conditioner in minutes with our clear, step-by-step setup guide designed for hassle-free installation and optimal performance. From unboxing to cooling, follow simple instructions to ensure energy-efficient operation and long-lasting comfort all season long.
Key Takeaways
- Read the manual first: Always start with the included instructions for model-specific guidance.
- Level placement matters: Ensure the unit sits flat to prevent leaks or inefficiency.
- Seal the window gap: Use foam strips or panels to block hot air from entering.
- Clean filters monthly: Maintain airflow and cooling power with regular filter care.
- Drain excess water: Empty the reservoir if your model isn’t self-evaporating.
- Use a dedicated outlet: Prevents circuit overloads and ensures safe operation.
📑 Table of Contents
- Why Your Pinguino Air Conditioner Deserves a Proper Setup
- Unboxing and Initial Setup: First Impressions Matter
- Step-by-Step Venting Installation: The Key to Cool Air
- Powering On and Basic Operation: From Plug-In to Perfect Temp
- Maintenance and Troubleshooting: Keep Your Pinguino Happy
- Advanced Tips and Pro Hacks: Get the Most Out of Your Pinguino
- Final Thoughts: Your Pinguino, Your Comfort
Why Your Pinguino Air Conditioner Deserves a Proper Setup
Let’s be honest: summer heat can turn even the most patient person into a grumpy mess. I remember one particularly sweltering July day when my old AC finally gave up—midway through a Zoom call, no less. Sweat dripped down my neck, and my dog, usually chill, was sprawled out on the kitchen tile like a melted popsicle. That’s when I decided to upgrade to a portable air conditioner—and the Pinguino model caught my eye. Sleek, energy-efficient, and surprisingly quiet, it promised to be the hero of my hot-weather woes. But when the box arrived, I stared at the instruction manual with the same dread as a pop quiz. “Wait… do I need to vent this thing? How? And why does it feel like assembling IKEA furniture?”
If you’ve ever felt that mix of excitement and confusion after unboxing a new appliance, you’re not alone. The truth is, Pinguino air conditioner instructions are straightforward—*if* you take the time to read them properly. And that’s exactly what this guide is for. Whether you’re a first-time portable AC owner or just need a refresher, we’ll walk through every step of setup, from unboxing to troubleshooting, with zero jargon and a whole lot of practical tips. Think of this as your friendly neighbor’s no-nonsense advice—minus the awkward small talk.
Unboxing and Initial Setup: First Impressions Matter
What’s in the Box? (Spoiler: It’s Not Just the AC)
Before you even plug in your Pinguino, take a moment to inventory everything. Here’s what you’ll typically find:
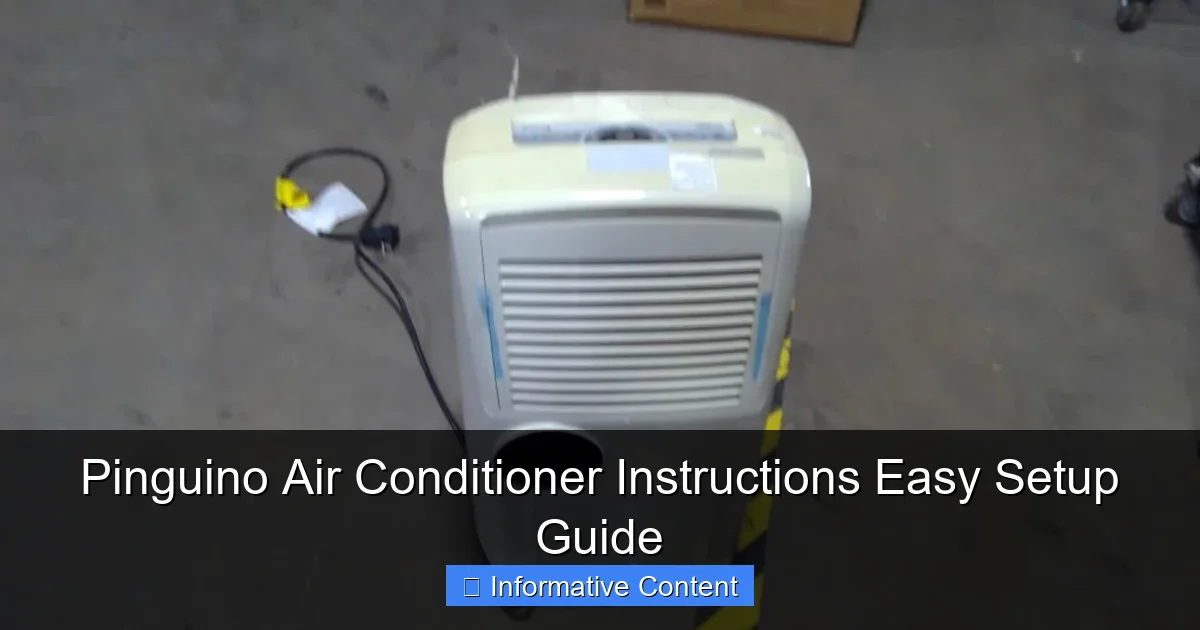
Visual guide about pinguino air conditioner instructions
Image source: content.propertyroom.com
- The air conditioner unit (obviously)
- An exhaust hose (usually 5–6 feet long)
- A window installation kit (plastic panels, brackets, and screws)
- A drain hose (for manual drainage models)
- The user manual (keep this handy!)
- Remote control and batteries (if applicable)
Pro tip: Lay everything out on the floor and double-check against the manual’s parts list. I once missed the drain hose under a crumpled piece of cardboard—rookie mistake. If anything’s missing, contact the retailer *before* you start assembling. Trust me, waiting an extra day for a replacement part beats disassembling everything later.
Choosing the Perfect Spot: Location, Location, Ventilation
Portable ACs need space to breathe—literally. Here’s how to pick the right spot:
- Vent clearance: The exhaust hose should have at least 18 inches of free space behind the unit. No tucking it into a corner!
- Window access: Your window must open wide enough to fit the installation kit. Sliding windows? Great. Casement windows? You might need a custom adapter.
- Power outlet: Use a grounded outlet (no extension cords!). The Pinguino draws a lot of power, and daisy-chaining cords can trip breakers.
- Floor stability: Level ground is key. If your floors are uneven, the unit might vibrate or leak.
Real-world example: I once placed my Pinguino near a bookshelf, only to realize the exhaust hose was kinked by a shelf edge. The unit kept overheating and shutting off. A quick reposition (and a few choice words) fixed it.
Step-by-Step Venting Installation: The Key to Cool Air
Attaching the Exhaust Hose to the Unit
This part feels a bit like connecting a vacuum hose, but it’s simpler. Here’s how:
- Locate the exhaust outlet on the back of the unit. It’s usually a round port with a twist-lock mechanism.
- Align the hose connector with the port and twist clockwise until it clicks. You’ll hear a satisfying “snick” when it’s secure.
- Pull gently to test. If it stays put, you’re good. If it wobbles, reseat it.
Common mistake: Forgetting to remove the protective cap inside the port. I’ve seen people panic when the AC blows warm air—only to realize they’d left the cap on. (Yes, it’s happened to me. No, I won’t tell you how long it took to figure it out.)
Setting Up the Window Kit: No Tools Required (Mostly)
The window kit turns your open window into a sealed vent. Follow these steps:
- Open your window to the width of the kit. Most kits are adjustable, but measure first!
- Slide the plastic panels into the window track. They should fit snugly—no gaps.
- Secure the panels with the included brackets or screws. If you have vinyl windows, use the rubber pads to avoid scratches.
- Attach the exhaust hose to the kit’s vent hole. Twist until locked.
Tip: For sliding windows, place the kit horizontally. For double-hung windows, set it vertically. If your window is oddly shaped, try a universal kit (sold separately) or use foam weather stripping to fill gaps. Pro tip: Tape a piece of cardboard to the kit for extra insulation if your window is drafty.
Why Proper Venting Matters: The Science Behind the Cool
Portable ACs work by pulling hot air from your room, cooling it, and exhausting the leftover heat outside. If the exhaust hose is kinked, blocked, or too long, efficiency plummets. Think of it like a straw: if it’s bent, you can’t sip your drink. Similarly, a poorly vented Pinguino will:
- Blow warm air (because heat isn’t escaping)
- Run constantly (wasting energy)
- Overheat and shut off (annoying!)
Data shows that a well-vented portable AC can cool a 300–400 sq ft room in 20–30 minutes. A poorly vented one? Might take 2+ hours—or never reach your target temp.
Powering On and Basic Operation: From Plug-In to Perfect Temp
Plugging In and Safety Checks
Before hitting “on,” do a quick safety check:
- Is the unit on a dry, flat surface?
- Is the exhaust hose free of kinks?
- Is the window kit sealed? (Test by closing the window fully—no gaps!)
- Is the power cord away from foot traffic? (Tripping over it is a real hazard.)
Now plug it in. Most Pinguino models have a “delay start” feature (5–10 seconds) to protect the compressor. If nothing happens, check the outlet with another device. If it works, the Pinguino’s internal safety switch might be tripped—unplug, wait 5 minutes, then retry.
Using the Control Panel: Buttons, Modes, and Remote
The control panel varies slightly by model, but here’s a universal guide:
- Power: Turns the unit on/off.
- Mode: Cycles between Cool, Fan, Dry (dehumidify), and Heat (if applicable).
- Temp Up/Down: Set your ideal temperature (60°F–86°F range).
- Fan Speed: Choose Low, Medium, High, or Auto (the unit adjusts based on room temp).
- Timer: Schedule on/off times (great for bedtime).
- Sleep Mode: Reduces noise and temp gradually (perfect for nighttime).
Remote control tip: Point it directly at the unit’s sensor (usually on the front). If it stops working, replace the batteries or check for obstructions. I once spent 10 minutes yelling at my remote before realizing my cat had knocked it under the couch.
Setting the Ideal Temperature: Comfort vs. Efficiency
Here’s the golden rule: Set your Pinguino to 75°F–78°F. Why?
- Below 75°F, energy use spikes dramatically (the unit runs nonstop).
- Above 78°F, you’ll sweat through your clothes (not ideal).
- Every degree lower increases energy use by ~6% (EPA data).
Example: My apartment is 85°F at noon. I set the Pinguino to 76°F, and it cools the room in 25 minutes. If I set it to 68°F? It’ll run all day, my electric bill will soar, and I’ll still be uncomfortable. Smart, right?
Maintenance and Troubleshooting: Keep Your Pinguino Happy
Cleaning the Air Filter: A 5-Minute Job That Saves Energy
Dirty filters are the #1 cause of portable AC inefficiency. Here’s how to clean yours:
- Turn off and unplug the unit.
- Locate the filter (usually behind a removable panel on the back or side).
- Pull it out gently. If it’s reusable, rinse under lukewarm water. If it’s disposable, replace it.
- Let it dry completely (2–4 hours) before reinserting.
How often? Every 2–4 weeks in summer, every 2 months in winter. Pro tip: Mark your calendar or set a phone reminder. I once forgot for 3 months—the filter was so clogged, the AC sounded like a jet engine.
Drainage: To Empty or Not to Empty?
Most Pinguino models are self-evaporating (i.e., they recycle condensation to cool the exhaust). But in high humidity, you’ll need to drain manually:
- Check the tank: Look for a “water full” indicator light. If it’s on, it’s time to drain.
- Attach the drain hose: Connect it to the unit’s drain port and place the other end in a bucket or floor drain.
- Open the drain plug: Let gravity do the work. It takes 5–10 minutes.
Tip: In humid climates, drain every 2–3 days. In dry climates, you might only need to drain once a month.
Common Issues and Quick Fixes
Even the best appliances hiccup. Here’s what to try:
- “No cold air”: Check the filter, vent, and exhaust hose. Also, ensure the mode is set to “Cool,” not “Fan.”
- “Unit won’t turn on”: Try a different outlet or reset the internal safety switch (unplug for 5 minutes).
- “Leaking water”: Ensure the unit is level and the drain hose isn’t clogged.
When to call a pro: If the compressor clicks but doesn’t start, or if there’s a burning smell, unplug immediately and contact customer support.
Advanced Tips and Pro Hacks: Get the Most Out of Your Pinguino
Energy-Saving Strategies: Cool Air Without Breaking the Bank
Portable ACs can be energy hogs, but these tricks help:
- Seal gaps: Use weather stripping around windows and doors. Even a 1/4-inch gap can let in hot air.
- Close curtains: Block sunlight during peak heat (10 a.m.–4 p.m.).
- Use ceiling fans: They create a wind-chill effect, letting you set the AC 3–4 degrees higher.
- Turn it off when empty: No need to cool an empty room!
Real-world example: My neighbor runs her Pinguino all day while at work. I use a timer to turn mine on 30 minutes before I get home. Same comfort, half the cost.
Seasonal Storage: Preparing for Winter (or Long Breaks)
If you’re not using the Pinguino for months, store it properly:
- Drain all water from the tank and hose.
- Clean the filter and let it dry.
- Wipe down the exterior with a damp cloth.
- Coil the cord neatly and store everything in the original box.
- Keep in a dry, temperature-controlled place (no garages or attics).
Why? Dust and moisture can damage internal components. I once stored my unit in a damp basement—the next summer, it smelled like mildew. Lesson learned.
When to Consider an Upgrade: Signs Your Pinguino Is Aging
Most portable ACs last 5–7 years. Watch for these red flags:
- Frequent shutdowns (even after cleaning)
- Reduced cooling power (takes 2x longer to cool)
- Loud or unusual noises (grinding, buzzing)
- Leaks that persist after maintenance
If you notice 2+ of these, it might be time to shop for a newer model. Look for ENERGY STAR® certification and higher BTU ratings for better efficiency.
Final Thoughts: Your Pinguino, Your Comfort
Setting up a Pinguino air conditioner isn’t rocket science—but it *is* a process that rewards patience and attention to detail. I’ll never forget the first time I nailed the venting setup. The unit hummed quietly, the room cooled in 20 minutes, and I sat back with a cold drink, smugly thinking, “I’ve got this.” That’s the magic of a well-installed portable AC. It’s not just about beating the heat; it’s about reclaiming your space, your comfort, and your peace of mind.
Remember: Pinguino air conditioner instructions are your friend. Read them. Follow them. And don’t rush. Whether you’re cooling a studio apartment, a home office, or a sunroom, these steps ensure you’ll get the most out of your investment. And if you hit a snag? Don’t panic. Most issues are fixable—with a little troubleshooting, a deep breath, and maybe a snack to keep your energy up. After all, the best appliance in the world can’t replace common sense… or a good sense of humor when things go sideways.
So here’s to cool summers, lower energy bills, and the quiet satisfaction of a job well done. Your Pinguino is ready. Are you?
| Maintenance Task | Frequency | Time Required | Tools Needed |
|---|---|---|---|
| Clean air filter | Every 2–4 weeks | 5–10 minutes | None (reusable) or replacement filter |
| Drain water tank | Every 2–3 days (humid climates) or monthly (dry climates) | 10 minutes | Bucket, drain hose |
| Wipe exterior | Monthly | 5 minutes | Damp cloth, mild soap |
| Inspect vent hose | Monthly | 5 minutes | Flashlight |
| Deep clean (interior) | Annually | 30–60 minutes | Compressed air, soft brush |
Frequently Asked Questions
How do I set up my Pinguino air conditioner for the first time?
To set up your Pinguino air conditioner, unbox the unit, place it near a window or vent for exhaust, and secure the hose using the included kit. Refer to the Pinguino air conditioner instructions manual for detailed steps on powering on and selecting your preferred mode.
Why is my Pinguino portable AC not cooling properly?
Ensure the exhaust hose is properly installed and not kinked, and that doors/windows are sealed to prevent hot air from re-entering. Clean the air filter if it’s clogged—this is a common issue covered in the Pinguino air conditioner instructions.
Can I use the Pinguino air conditioner without a window vent?
While designed for venting through a window, you can use a sliding door or drop ceiling as an alternative. However, always ensure the exhaust hose is securely attached to maintain efficiency and safety.
How often should I clean the Pinguino AC’s water tank?
Clean the water tank every 1–2 weeks to prevent mold and bacteria buildup. Empty it daily if the unit runs continuously, and wash it with mild soap and water as recommended in the guide.
What do the error codes on my Pinguino air conditioner mean?
Error codes (e.g., E1, E2) indicate issues like water tank fullness or sensor problems. Consult the troubleshooting section of your manual or contact customer support for specific solutions.
Does the Pinguino air conditioner come with a remote control?
Most models include a remote with basic functions (power, mode, fan speed). Check your model’s specifications in the Pinguino air conditioner instructions to confirm remote features and battery requirements.