
Your owner manual Carrier air conditioner guide is more than just a booklet—it’s your go-to resource for safe operation, efficient performance, and long-term reliability. From installation basics to advanced troubleshooting, this comprehensive article breaks down every essential detail in simple, actionable steps so you can get the most out of your cooling system.
Key Takeaways
- Read the manual first: Always consult your owner manual Carrier air conditioner before installation or use to ensure safety and proper setup.
- Regular maintenance is key: Cleaning filters, checking refrigerant levels, and inspecting coils extend your unit’s lifespan and boost efficiency.
- Understand error codes: Your Carrier unit displays specific error codes—knowing what they mean helps you fix minor issues fast.
- Optimize thermostat settings: Smart temperature control saves energy and improves comfort without overworking the system.
- Schedule professional servicing: Annual HVAC check-ups prevent breakdowns and maintain warranty coverage.
- Know when to call a pro: Electrical issues, refrigerant leaks, or compressor problems require certified technicians.
- Use genuine parts: Always replace components with Carrier-approved parts to preserve performance and warranty.
📑 Table of Contents
- Why Your Owner Manual Carrier Air Conditioner Matters
- Getting Started: Understanding Your Carrier Air Conditioner Manual
- Installation Basics: What Your Manual Tells You
- Operating Your Carrier Air Conditioner: Tips from the Manual
- Maintenance Made Simple: What the Manual Recommends
- Troubleshooting Common Issues with Your Manual’s Help
- Maximizing Efficiency and Extending Lifespan
- Conclusion
Why Your Owner Manual Carrier Air Conditioner Matters
When your new Carrier air conditioner arrives, it’s tempting to skip the paperwork and jump straight into enjoying cool, refreshing air. But that little booklet—your owner manual Carrier air conditioner—is one of the most important tools you’ll ever get with your unit. Think of it as your personal instruction guide, troubleshooting assistant, and maintenance planner all rolled into one.
This manual isn’t just a formality. It contains model-specific details about installation, operation, safety warnings, and maintenance schedules tailored to your exact unit. Whether you’ve installed a central air system, a ductless mini-split, or a window-style Carrier AC, the manual gives you the precise steps to follow for optimal performance. Ignoring it can lead to inefficient cooling, higher energy bills, premature wear, or even safety hazards.
Carrier, a trusted name in HVAC since 1915, designs its air conditioners with precision and reliability in mind. But even the best technology needs proper care. That’s where your owner manual comes in. It empowers you to understand your system, avoid common mistakes, and keep it running smoothly for years. In this guide, we’ll walk you through everything your manual covers—and more—so you can feel confident managing your Carrier air conditioner like a pro.
Getting Started: Understanding Your Carrier Air Conditioner Manual
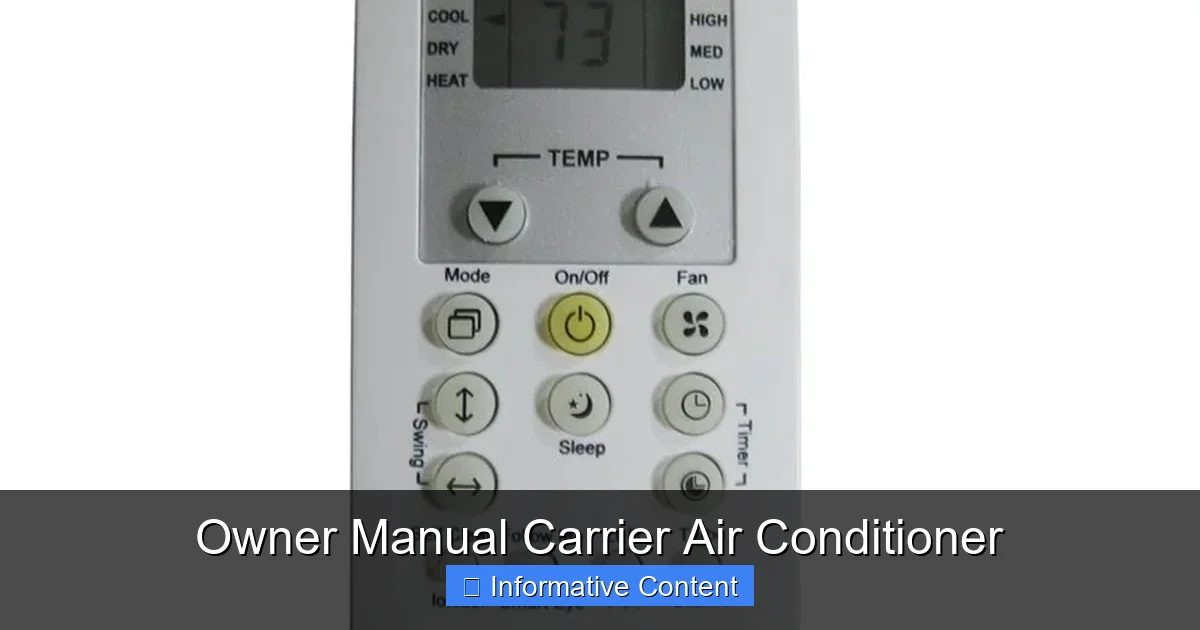
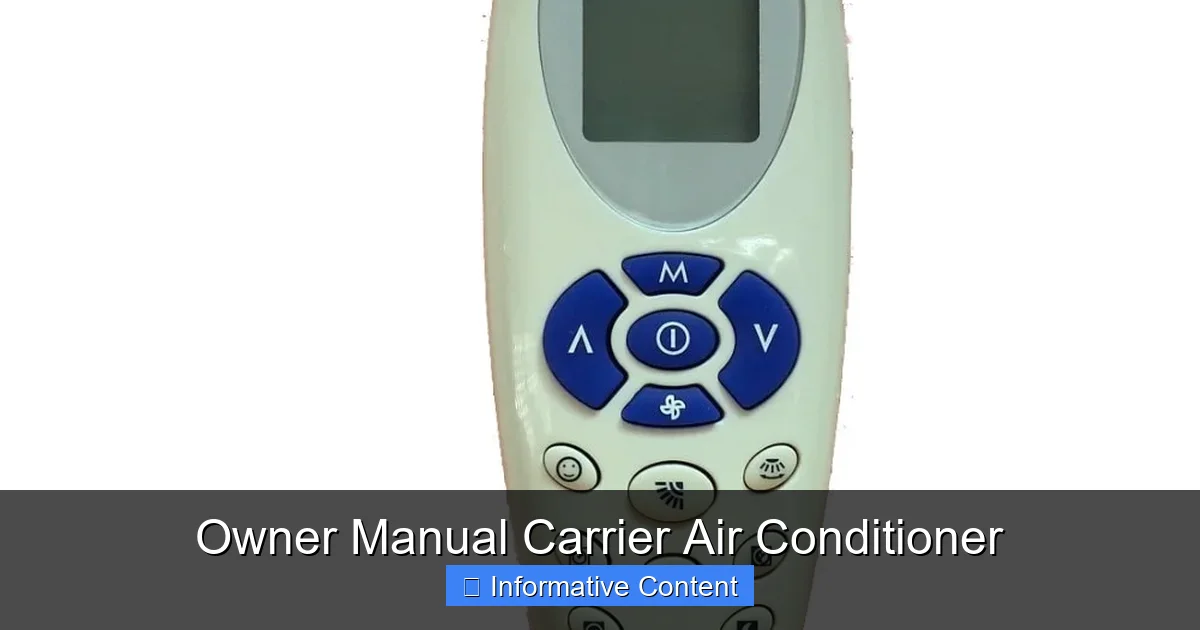
Visual guide about Owner Manual Carrier Air Conditioner
Image source: alquilercastilloshinchables.info
Before you even power on your unit, take time to read through your owner manual Carrier air conditioner. It’s not just a suggestion—it’s a necessity. The manual is organized to guide you from unboxing to daily use, with clear sections on safety, installation, operation, and maintenance.
Start with the safety information. This section outlines critical warnings about electrical connections, refrigerant handling, and proper grounding. For example, your manual will stress never to operate the unit with damaged wiring or without a proper ground connection. These aren’t just recommendations—they’re essential for preventing shocks, fires, or system damage.
Next, look for the model and serial number. These are usually printed on a label inside the access panel or on the side of the outdoor unit. Your manual uses these numbers to identify your specific model’s features, capacity, and compatible accessories. If you ever need to contact Carrier support or order parts, you’ll need this info.
The manual also includes a parts diagram. This visual guide shows every major component—compressor, condenser coil, evaporator, fan motor, and more—labeled clearly. Familiarizing yourself with these parts helps you understand how your system works and makes troubleshooting easier.
Finally, check the warranty section. Your owner manual Carrier air conditioner outlines what’s covered, for how long, and under what conditions. Most Carrier units come with a 5- to 10-year limited warranty on major components, but it often requires professional installation and annual maintenance to stay valid. Keep your manual and proof of purchase in a safe place—you’ll need them if you ever file a claim.
Installation Basics: What Your Manual Tells You
Proper installation is the foundation of a long-lasting, efficient air conditioner. Your owner manual Carrier air conditioner provides detailed instructions to ensure your unit is set up correctly—whether you’re doing it yourself or hiring a contractor.
Pre-Installation Checklist
Before any tools touch the unit, your manual will list a pre-installation checklist. This includes verifying the electrical supply matches the unit’s requirements (usually 208/230V for central systems), ensuring the installation site is level and well-ventilated, and confirming that the refrigerant lines are properly sized and insulated.
For ductless mini-splits, the manual will specify minimum clearance around the indoor and outdoor units—typically 6 to 12 inches—to allow proper airflow. It may also recommend avoiding direct sunlight or heat sources near the outdoor condenser to prevent overheating.
Electrical Connections
One of the most critical parts of installation is wiring. Your manual includes a wiring diagram specific to your model. It shows how to connect the power supply, thermostat, and safety disconnect switch. Never guess the wiring—incorrect connections can damage the compressor or create fire risks.
Most Carrier units require a dedicated circuit breaker. The manual will specify the amperage rating (e.g., 30A or 40A) and recommend using copper wiring of the correct gauge. If you’re not experienced with electrical work, hire a licensed electrician. This isn’t just for safety—it’s often required to maintain your warranty.
Refrigerant Charging
Your Carrier air conditioner comes pre-charged with refrigerant, but during installation, the lines may need to be evacuated and recharged. The manual provides the exact refrigerant type (usually R-410A) and charge amount in pounds. Only certified HVAC technicians should handle refrigerant—it’s regulated by the EPA and requires special equipment.
If your system uses a line set longer than the standard 25 feet, the manual may specify additional refrigerant. Adding too little or too much can reduce efficiency and damage the compressor.
Thermostat Setup
Your manual guides you through connecting and programming the thermostat. Carrier systems often work with programmable or smart thermostats like the Carrier Infinity or Côr models. The manual includes wiring diagrams and setup instructions, including how to calibrate temperature sensors and set up schedules.
For example, if you’re using a smart thermostat, the manual may walk you through Wi-Fi pairing and app setup. It will also explain how to enable energy-saving modes like “Adaptive Recovery,” which learns your schedule and adjusts cooling gradually to reach your desired temperature on time.
Operating Your Carrier Air Conditioner: Tips from the Manual
Once your unit is installed, your owner manual Carrier air conditioner becomes your daily guide to efficient and comfortable cooling. Here’s how to use it to get the best performance.
Setting the Thermostat
The ideal temperature setting depends on your comfort and energy goals. The manual typically recommends starting at 78°F (26°C) when you’re home and raising it to 85°F (29°C) when away. Each degree above 78°F can save up to 6–8% on cooling costs.
Use the thermostat’s fan settings wisely. Set it to “Auto” so the fan only runs when cooling is needed. This reduces energy use and prevents unnecessary wear. If you set it to “On,” the fan runs continuously, which can help with air circulation but uses more electricity.
Using Modes and Features
Your Carrier unit may have multiple operating modes:
– **Cool:** Standard cooling mode.
– **Fan Only:** Circulates air without cooling.
– **Dry:** Reduces humidity without overcooling—great for humid climates.
– **Auto:** The system decides whether to cool or fan based on temperature.
The manual explains how to switch between these modes and when each is most useful. For instance, “Dry” mode is perfect during rainy seasons when the air feels sticky but not hot.
If your system has a “Sleep” mode, the manual will describe how it gradually adjusts the temperature overnight for comfort and energy savings. Some models also have “Eco” or “Energy Saver” modes that limit compressor runtime to reduce power consumption.
Airflow and Ventilation
Proper airflow is essential for efficiency. Your manual will remind you to keep vents and registers unobstructed. Don’t block them with furniture, curtains, or rugs. Closed vents can create pressure imbalances, reducing airflow and straining the system.
If you have a central system, the manual may suggest balancing the airflow by adjusting damper settings in the ductwork. This ensures even cooling throughout your home.
For ductless units, the manual will recommend positioning the indoor head to avoid direct airflow on people or pets. It may also suggest using the swing function to distribute air more evenly.
Maintenance Made Simple: What the Manual Recommends
Regular maintenance is the secret to a long-lasting, efficient Carrier air conditioner. Your owner manual Carrier air conditioner provides a detailed maintenance schedule—follow it closely to avoid costly repairs and keep your warranty valid.
Monthly Tasks
– **Clean or replace air filters:** Dirty filters restrict airflow, making your system work harder. The manual recommends checking filters every month and replacing them every 1–3 months, depending on usage and air quality.
– **Inspect outdoor unit:** Remove leaves, grass, and debris from around the condenser. Keep a 2-foot clearance on all sides.
Seasonal Maintenance
Before each cooling season, perform these checks:
– **Clean evaporator and condenser coils:** Use a soft brush or coil cleaner to remove dirt. Dirty coils reduce heat transfer and efficiency.
– **Check refrigerant lines:** Look for signs of damage or wear. Insulate any exposed lines to prevent energy loss.
– **Lubricate moving parts:** Some models require lubrication of fan motors or bearings. The manual will specify which parts and how often.
Annual Professional Service
Your manual strongly recommends annual servicing by a Carrier-certified technician. During this visit, the technician will:
– Test refrigerant levels and check for leaks
– Inspect electrical connections and tighten if needed
– Measure airflow and system pressure
– Clean the condensate drain line to prevent clogs
– Verify thermostat calibration
This service not only keeps your system running smoothly but also maintains your warranty. Many Carrier warranties require proof of annual maintenance.
DIY Tips from the Manual
The manual may include simple DIY tasks you can safely do yourself:
– Use a garden hose to gently rinse the outdoor condenser coils (turn off power first).
– Pour a cup of bleach down the condensate drain line monthly to prevent mold.
– Check the thermostat batteries and replace them annually.
Never attempt to open the unit’s electrical panel or handle refrigerant—these tasks require certification.
Troubleshooting Common Issues with Your Manual’s Help
Even the best systems can run into problems. Your owner manual Carrier air conditioner includes a troubleshooting section with common issues, causes, and solutions.
Unit Won’t Turn On
– **Check the thermostat:** Is it set to “Cool” and the temperature is below room temperature?
– **Inspect the circuit breaker:** Has it tripped? Reset it and wait 5 minutes.
– **Look for error codes:** Many Carrier units display flashing lights or digital codes. The manual includes a chart to decode them. For example, “E1” might mean a sensor fault, while “F3” could indicate low refrigerant.
Poor Cooling Performance
– **Dirty filters or coils:** Clean or replace them.
– **Blocked vents:** Ensure all supply and return vents are open.
– **Low refrigerant:** This requires a professional. Never add refrigerant yourself.
Strange Noises or Odors
– **Rattling:** Loose panels or debris in the fan. Turn off power and inspect.
– **Hissing:** Could be a refrigerant leak—call a technician immediately.
– **Musty smell:** Likely mold in the drain line or evaporator coil. Clean with a disinfectant.
Water Leaks Indoors
– **Clogged drain line:** Use a wet/dry vacuum or pipe cleaner to clear it.
– **Frozen evaporator coil:** Turn off the unit and let it thaw. Check for airflow issues.
Your manual may also include a “Reset” procedure—turning off the unit for 10 minutes to reset the control board. This often fixes minor glitches.
Maximizing Efficiency and Extending Lifespan
Your owner manual Carrier air conditioner isn’t just about fixing problems—it’s also about helping you get the most value from your investment.
Energy-Saving Tips
– Use a programmable thermostat to adjust temperatures automatically.
– Close blinds and curtains during the day to reduce heat gain.
– Seal windows and doors to prevent cool air from escaping.
– Upgrade to a high-efficiency filter (MERV 8–13) for better air quality without restricting airflow.
Long-Term Care
– Keep the area around the outdoor unit clear year-round.
– Cover the unit in winter (if recommended by the manual) to protect it from snow and debris.
– Replace worn parts promptly—delaying repairs can cause bigger issues.
With proper care, a Carrier air conditioner can last 15–20 years. Your manual is your roadmap to reaching that lifespan.
Conclusion
Your owner manual Carrier air conditioner is more than a booklet—it’s your partner in comfort, efficiency, and peace of mind. From the first installation step to annual maintenance and troubleshooting, this guide empowers you to take control of your cooling system. By following its instructions, you’ll enjoy lower energy bills, fewer repairs, and a longer-lasting unit.
Don’t let it gather dust on a shelf. Keep it handy, refer to it regularly, and share it with anyone who helps maintain your system. Whether you’re a homeowner, renter, or property manager, understanding your Carrier air conditioner through its manual is the smartest move you can make.
Invest a little time now, and your air conditioner will reward you with cool, reliable performance for years to come.
Frequently Asked Questions
Where can I find my Carrier air conditioner model number?
The model number is usually located on a metal label inside the access panel of the outdoor unit or on the side of the indoor air handler. It’s often listed alongside the serial number and manufacturing date.
How often should I replace my air filter?
Check your filter every month and replace it every 1–3 months, depending on usage, pets, and air quality. Your owner manual Carrier air conditioner will provide specific recommendations for your model.
Can I install my Carrier air conditioner myself?
While some ductless units are DIY-friendly, central air systems require professional installation for safety, efficiency, and warranty compliance. Always consult your manual and local codes.
What does it mean if my Carrier unit is making a clicking noise?
A clicking sound during startup or shutdown is usually normal and comes from the relay switching. However, continuous clicking may indicate an electrical issue—refer to your manual’s troubleshooting section or call a technician.
How do I reset my Carrier air conditioner?
Turn off the thermostat, switch off the circuit breaker, wait 10 minutes, then turn everything back on. This resets the control board and often resolves minor glitches. Your manual may include a model-specific reset procedure.
Is annual maintenance really necessary?
Yes. Annual servicing by a certified technician ensures optimal performance, prevents breakdowns, and maintains your warranty. Your owner manual Carrier air conditioner typically requires proof of annual maintenance for warranty claims.