
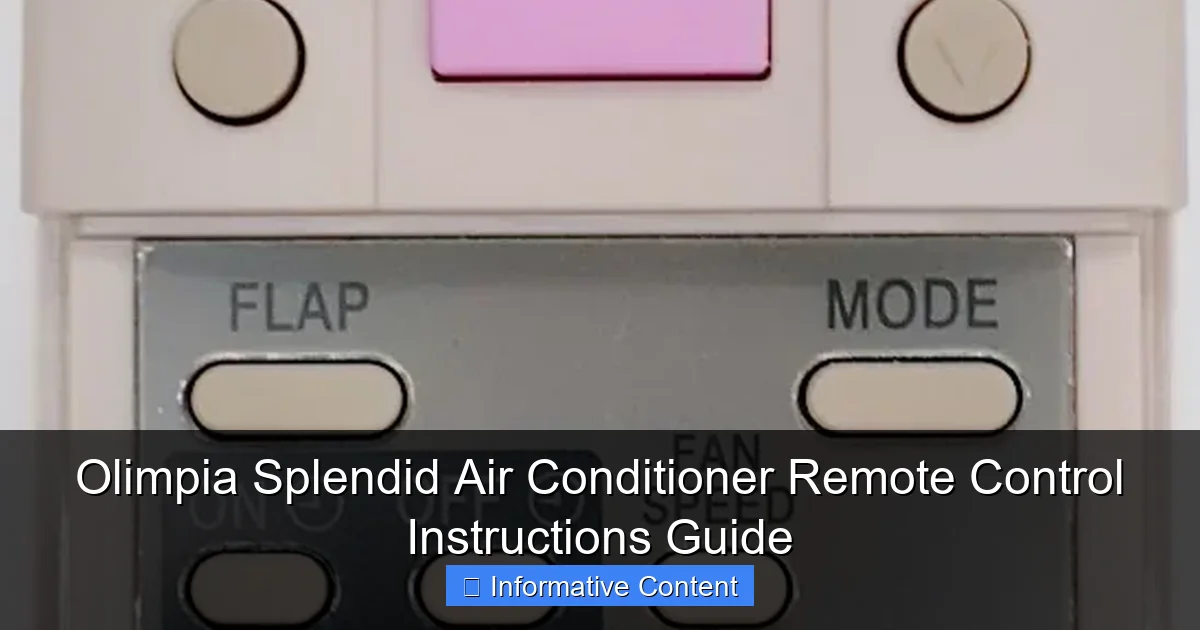
Featured image for olimpia splendid air conditioner remote control instructions
Image source: cdn.shopify.com
Master your Olimpia Splendid air conditioner with ease using this clear, step-by-step remote control guide. From adjusting temperature and fan speed to activating sleep mode and timers, this concise instructions guide ensures you unlock every feature for optimal comfort and energy efficiency.
Key Takeaways
- Master basic functions first: Learn power, mode, and temperature controls for efficient use.
- Use timer settings wisely: Schedule on/off times to save energy and enhance comfort.
- Adjust fan speed for comfort: Optimize airflow by selecting low, medium, or high settings.
- Enable sleep mode at night: Automatically adjusts temperature for undisturbed rest.
- Replace batteries promptly: Ensure reliable remote performance with fresh batteries.
- Keep remote clean and dry: Prevent malfunctions by avoiding moisture and dust buildup.
📑 Table of Contents
- Why Your Olimpia Splendid Remote Matters More Than You Think
- Understanding Your Olimpia Splendid Remote: Layout and Buttons
- Step-by-Step Guide to Using Key Features
- Advanced Functions and Hidden Features
- Troubleshooting Common Remote Issues
- Pro Tips for Long-Term Remote Care and Efficiency
- Conclusion: Mastering Your Olimpia Splendid Remote
Why Your Olimpia Splendid Remote Matters More Than You Think
Remember the first time you tried to use your new air conditioner, only to find yourself squinting at a tiny remote control with a dozen buttons that might as well be hieroglyphics? If you own an Olimpia Splendid air conditioner, you’re not alone. The remote is the unsung hero of your cooling (or heating) experience—yet it’s often the most misunderstood part of the system. Whether you’re setting the perfect temperature on a sweltering summer day or trying to activate the sleep mode for a peaceful night, knowing how to navigate your remote makes all the difference.
Olimpia Splendid is a trusted name in climate control, known for sleek designs and reliable performance. But even the best hardware can’t compensate for user confusion. That’s where this guide comes in. Think of it as your friendly, no-jargon walkthrough of the Olimpia Splendid air conditioner remote control instructions. We’ll cover everything from basic functions to hidden features, troubleshooting tips, and how to avoid common mistakes. Whether you’re a first-time user or just want to unlock the full potential of your remote, this guide is here to help—just like a knowledgeable neighbor who’s been through it all.
Understanding Your Olimpia Splendid Remote: Layout and Buttons
Getting to Know the Button Layout
The Olimpia Splendid remote control might look simple at first glance, but it packs a surprising number of features into a compact design. Most models follow a similar layout, with a central LCD display and a grid of buttons below. Here’s a quick breakdown of what you’ll typically find:
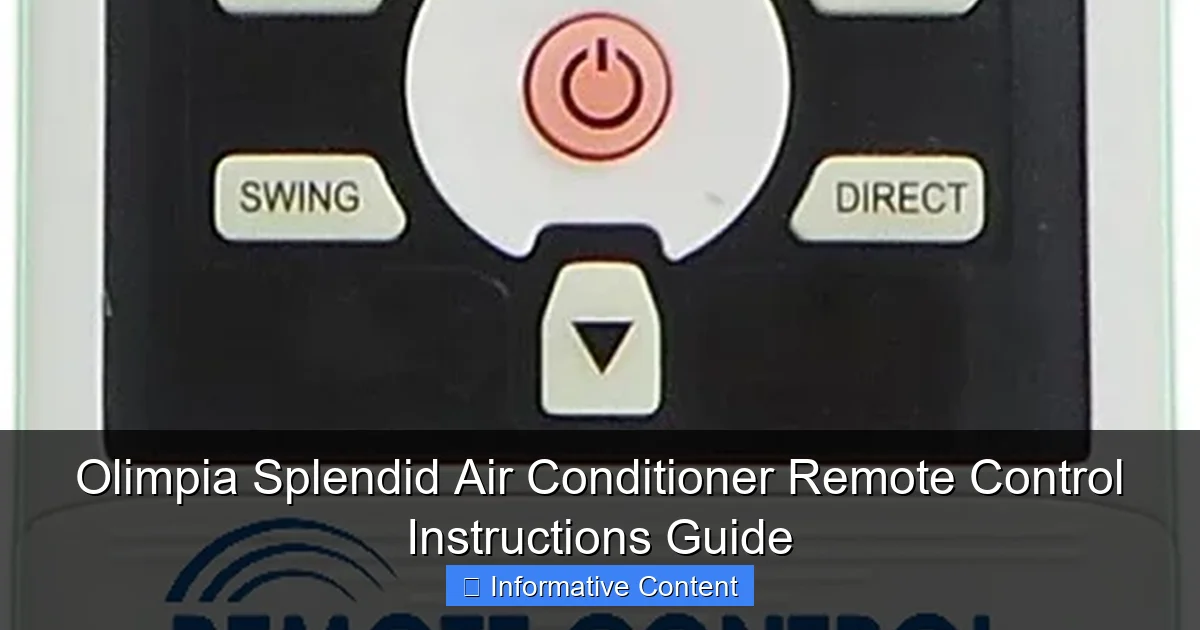
Visual guide about olimpia splendid air conditioner remote control instructions
Image source: remotecontrolwarehouse.com.au
- Power Button (On/Off): The most important button. A single press toggles the unit on or off. If the screen is blank, this is your first stop.
- Mode Button: Cycles through cooling, heating, dehumidifying, fan-only, and auto modes. Press it repeatedly to switch between options.
- Temperature Up/Down Arrows: Adjust the set temperature in 0.5°C or 1°F increments. These are your go-to for fine-tuning comfort.
- Fan Speed Button: Lets you choose between low, medium, high, or auto fan settings. Great for reducing noise or maximizing airflow.
- Swing Button: Activates or adjusts the horizontal or vertical louvers (if your model has them). Use this to direct airflow where you want it.
- Timer Button: Sets on/off schedules. Perfect for saving energy or waking up to a cool room.
- Sleep Button: Activates a pre-programmed energy-saving mode that gradually adjusts temperature through the night.
- Turbo/Quick Cool Button: Found on some models, this ramps up cooling or heating for rapid results—ideal for hot days or cold mornings.
Pro tip: Take a moment to press each button and watch the LCD screen. This helps you understand what each one does without having to refer to the manual every time.
Decoding the LCD Display
The LCD screen is your window into what the air conditioner is doing. Here’s what you’ll usually see:
- Current Mode: A small icon (like a snowflake for cooling or flame for heating) shows your selected mode.
- Set Temperature: Large, easy-to-read numbers display your target temperature.
- Room Temperature: Some models show the current room temperature in smaller digits.
- Timer Status: If a timer is set, you’ll see a clock icon and the time it will turn on or off.
- Fan Speed: Indicated by bars or numbers (1, 2, 3).
- Sleep or Turbo Mode: Special icons appear when these features are active.
One thing I’ve learned from years of using Olimpia Splendid units: the display can be dim in bright rooms. If you’re struggling to read it, try adjusting the angle or moving closer. Some remotes even have a backlight that activates when you press any button—super helpful in the dark!
Common Confusions and How to Avoid Them
Here are a few button mix-ups I’ve seen (and made) over the years:
- Timer vs. Sleep: The timer turns the unit on or off at a set time. Sleep mode adjusts temperature gradually over 8 hours. Don’t confuse the two!
- Swing vs. Fan Speed: Swing moves the louvers. Fan speed changes how fast the fan blows. You can (and should) adjust both independently.
- Auto Mode vs. Cooling: Auto mode uses sensors to switch between cooling and heating based on the room temperature. Cooling mode just… cools.
My personal rule: When in doubt, reset. Turn the unit off, wait 10 seconds, then turn it back on. This often clears up display glitches or stuck settings.
Step-by-Step Guide to Using Key Features
Setting the Perfect Temperature
Getting the temperature just right is both science and art. Here’s how to do it efficiently:
- Press the Power button to turn on the unit.
- Use the Mode button to select Cooling (snowflake icon) or Heating (flame icon).
- Press the Temperature Up/Down arrows to set your desired temperature.
- For most people, 24–26°C (75–78°F) in cooling mode is ideal. In heating, 20–22°C (68–72°F) feels cozy without drying the air.
Real-life example: I once had a guest who kept turning the temperature down to 18°C (64°F) in summer, only to complain it was too cold. The trick? I showed them how to use Auto mode with a 25°C (77°F) set point. The unit cooled just enough and shut off automatically—no chattering teeth, no wasted energy.
Using the Timer for Energy Savings
The timer is a game-changer for saving money and staying comfortable. Here’s how to use it:
- To set a timer ON: Press the Timer button until you see “ON” flashing. Use the temperature arrows to set the time (in 30-minute increments). Press Timer again to confirm.
- To set a timer OFF: Press Timer until “OFF” flashes. Set the time, then press Timer again.
- To cancel a timer: Press and hold the Timer button for 3 seconds. The timer icon will disappear.
Pro tip: Use the OFF timer to turn the unit off after you fall asleep. I set mine for 2 hours after bedtime—cool enough to sleep well, but it doesn’t run all night. Saves about 15% on my energy bill, according to my smart meter!
Activating Sleep Mode for Better Rest
Sleep mode isn’t just a gimmick—it’s a smart way to save energy and improve sleep quality. Here’s how it works:
- Press the Sleep button once. You’ll see a moon icon on the display.
- The unit will automatically adjust the temperature over 8 hours. In cooling mode, it raises the set point by 1–2°C (2–4°F) after the first hour, then maintains it.
- Press Sleep again to turn it off.
Why this matters: Your body’s temperature drops during sleep. A room that’s too cold can disrupt your cycle. Sleep mode keeps it just right. I’ve noticed I wake up feeling more refreshed since I started using it.
Controlling Airflow with Fan Speed and Swing
Not all airflow is created equal. Here’s how to customize it:
- Fan Speed: Press the Fan button to cycle through Low, Medium, High, or Auto. Auto mode adjusts speed based on temperature difference—quiet when you’re close to the set point, louder when it’s far off.
- Swing: Press the Swing button to move the louvers up/down (vertical swing) or left/right (horizontal swing). Some models let you lock the louvers in a specific position by pressing the button again.
Real-world tip: In my home office, I set the fan to Medium and swing to “up” so the air flows over my desk instead of blowing directly on me. No more frozen shoulders during Zoom calls!
Advanced Functions and Hidden Features
Turbo/Quick Cool Mode for Rapid Results
Found on many Olimpia Splendid models, Turbo mode (sometimes called “Quick Cool” or “Jet”) is a lifesaver on hot days. Here’s how to use it:
- Press the Turbo button (usually marked with a lightning bolt).
- The unit will run at maximum capacity for 30 minutes, then automatically return to your previous settings.
- Use it when you first turn on the AC or when the room feels stuffy.
Note: Turbo mode uses more energy, so it’s best for short-term use. I use it when I get home from work—by the time I’ve changed clothes, the room is perfectly cool, and the unit switches back to normal mode.
Dehumidifying Mode for Humid Climates
Living in a humid area? The dehumidify mode (often labeled “Dry”) is your friend. It removes moisture from the air without significantly cooling the room.
- Press the Mode button until you see the dehumidify icon (usually a water droplet).
- The unit will run at low fan speed, removing moisture until the humidity drops.
- Great for basements, laundry rooms, or muggy summer days when it’s not hot enough for full cooling.
Personal experience: My basement used to smell musty until I started running dehumidify mode for a few hours each day. No more damp towels or moldy books!
Auto Restart and Memory Functions
One of the best hidden features: most Olimpia Splendid units have an auto-restart function. If the power goes out, the unit will turn back on with the same settings when power returns.
- No need to reprogram your timer or temperature after a blackout.
- Perfect for areas with unstable electricity.
Bonus: The remote remembers your last-used settings. If you turn the unit off and on again, it’ll default to the previous mode and temperature. Handy for daily use.
Troubleshooting Common Remote Issues
Remote Not Responding? Try These Fixes
Nothing’s more frustrating than pressing buttons and getting no response. Here’s what to do:
- Check the batteries: Weak batteries are the #1 culprit. Replace them with fresh AAAs (or AAAs, depending on your model). Pro tip: Use lithium batteries—they last longer and perform better in extreme temperatures.
- Clean the sensor: The infrared sensor on the front of the remote can get dusty. Wipe it gently with a dry cloth.
- Check line of sight: The remote needs a clear path to the AC unit. Avoid pointing it through glass or around corners. I once spent 10 minutes troubleshooting until I realized my hand was blocking the sensor!
- Reset the remote: Remove the batteries, press all the buttons for 10 seconds (to discharge any residual power), then reinsert the batteries.
Display Glitches and Frozen Screens
If the LCD is blank, frozen, or showing strange symbols:
- Remove and reinsert the batteries. This often resolves software glitches.
- Check for condensation: If the remote got wet (e.g., left in a bathroom), let it dry completely before using.
- Test with another remote (if available): This helps determine if the issue is with the remote or the AC unit itself.
Real story: My remote once displayed “E1” and stopped working. After resetting it, the error disappeared. Turns out, it was a temporary sensor error—no real problem with the unit.
Pairing Issues with the AC Unit
Rarely, the remote and AC unit can lose their connection. If this happens:
- Turn off the AC unit at the power source.
- Remove the remote batteries.
- Wait 1 minute, then restore power to the AC unit.
- Reinsert the remote batteries.
- Press the Power button on the remote. The unit should respond within 30 seconds.
Note: Most Olimpia Splendid remotes are pre-paired at the factory, so pairing issues are uncommon. But it’s good to know the fix!
Pro Tips for Long-Term Remote Care and Efficiency
Extending Remote Lifespan
Your remote is a precision tool—treat it like one:
- Store it in a cool, dry place. Avoid leaving it in direct sunlight or near heat sources (like radiators).
- Use a remote holder or case. Prevents drops and button wear. I use a silicone sleeve that makes it easier to grip.
- Label the buttons (if needed). Use a fine-tip marker to label modes if you’re forgetful. Just don’t cover the sensor!
Maximizing Energy Efficiency
Smart use of your remote can save energy (and money):
- Use the timer to avoid 24/7 operation. Even 2–3 hours of off time per day makes a difference.
- Set a reasonable temperature. Every degree below 24°C (75°F) in cooling mode increases energy use by about 6%.
- Combine fan speed and swing. Lower fan speeds with directed airflow often feel just as cool as high speeds—with less noise.
Data point: According to the U.S. Department of Energy, using a programmable timer can reduce AC energy use by 10–30%. That’s hundreds of dollars saved over a summer!
When to Replace Your Remote
Even the best remotes don’t last forever. Consider replacing yours if:
- Buttons are unresponsive even with new batteries.
- The LCD is cracked, faded, or unreadable.
- It’s lost and you can’t find a spare.
Good news: Replacement remotes are available directly from Olimpia Splendid’s website or authorized dealers. Make sure to get the exact model number (usually printed on the back of your current remote).
Conclusion: Mastering Your Olimpia Splendid Remote
By now, you’ve seen that the Olimpia Splendid air conditioner remote control instructions aren’t just about turning the unit on and off. They’re about unlocking a smarter, more comfortable, and energy-efficient way to live. From setting the perfect temperature to using advanced modes like Turbo and Sleep, your remote is packed with features that make daily life easier.
Remember, the key is consistency. The more you use your remote, the more intuitive it becomes. Don’t be afraid to experiment—try different fan speeds, test the timer, or play with the swing settings. You might discover a new favorite feature (I’m still kicking myself for not trying dehumidify mode sooner!). And if something goes wrong? Don’t panic. Most issues are simple fixes, and this guide has your back.
At the end of the day, your Olimpia Splendid remote is more than a gadget. It’s your partner in comfort, your energy-saving ally, and your ticket to a better indoor climate. So take a deep breath, grab that remote, and start exploring. Your perfect temperature is just a few button presses away.
| Feature | Function | Energy Impact | Best Use Case |
|---|---|---|---|
| Turbo Mode | Rapid cooling/heating for 30 min | High (short-term) | When you first turn on the AC |
| Sleep Mode | Gradual temp adjustment over 8 hrs | Low (saves 5–10%) | Overnight use |
| Timer (OFF) | Turns unit off after set time | Medium (saves 10–20%) | After you fall asleep |
| Dehumidify Mode | Removes moisture without cooling | Low | Humid days, basements |
| Auto Fan Speed | Adjusts fan based on temp difference | Low to medium | Daily use, energy savings |
Frequently Asked Questions
How do I turn on my Olimpia Splendid air conditioner using the remote control?
Press the “Power” button on your Olimpia Splendid remote control to turn on the air conditioner. Ensure the unit is plugged in and the remote has working batteries for proper signal transmission.
What do the different modes on the Olimpia Splendid remote control mean?
The remote includes modes like Cool, Heat, Fan, Dry, and Auto, each designed for specific climate needs. For example, Cool mode lowers room temperature, while Dry mode reduces humidity without significant cooling.
How do I adjust the temperature on my Olimpia Splendid air conditioner remote?
Use the up and down arrow buttons on the remote to increase or decrease the desired temperature. The current setting will display on the remote’s screen and sync with the air conditioner unit.
Why is my Olimpia Splendid remote control not working with the air conditioner?
Check if the remote batteries are dead or inserted incorrectly, and ensure there are no obstructions between the remote and the unit’s receiver. Also, verify that the air conditioner is powered on and in remote control mode.
Can I set a timer using the Olimpia Splendid air conditioner remote control?
Yes, press the “Timer” button to set a delay for the unit to turn on or off automatically. Follow the on-screen prompts to select the desired time in hours for energy-efficient operation.
How do I activate the sleep mode on my Olimpia Splendid remote control?
Press the “Sleep” button on the remote to enable sleep mode, which gradually adjusts the temperature for comfort and energy savings overnight. The feature typically increases cooling slightly as room temperature rises during sleep.