
Featured image for noma air conditioner remote control instructions
Image source: relevantair.com.au
Unlock the full potential of your Noma air conditioner with simple, step-by-step remote control instructions. From setting precise temperatures to activating energy-saving modes, mastering your remote ensures optimal comfort and efficiency. Follow our expert guide to navigate every function with ease and keep your space perfectly cooled all season long.
Key Takeaways
- Power on/off: Press the Power button to toggle the AC unit.
- Adjust temperature: Use +/- buttons to set your ideal comfort level.
- Select modes: Cycle through Cool, Dry, Fan, Heat with the Mode button.
- Control fan speed: Tap Fan to switch between low, medium, or high.
- Set a timer: Use Timer to schedule automatic shutdown or startup.
- Lock settings: Press Lock to prevent accidental changes to your preferences.
- Replace batteries: Swap out old batteries when the remote signal weakens.
📑 Table of Contents
Understanding Your Noma Air Conditioner Remote Control
When the summer heat hits, few things feel as good as walking into a cool, air-conditioned room. But what happens when your Noma air conditioner remote control suddenly stops working or you just can’t figure out how to get the settings right? It’s frustrating, right? I remember the first time I tried to adjust the temperature on my Noma AC. I pressed every button, but the unit wouldn’t respond. After some trial and error, I realized I was overcomplicating it. The Noma remote control is actually quite intuitive once you understand its features and functions.
This guide will walk you through everything you need to know about your Noma air conditioner remote control instructions, from basic operations to troubleshooting common issues. Whether you’re setting up your AC for the first time or trying to fix a glitch, this post has you covered. We’ll explore button functions, modes, timer settings, and even how to replace the batteries. By the end, you’ll feel like a pro—no more guessing games or wasted energy.
Getting to Know Your Noma Remote Control Buttons
Before diving into advanced settings, it’s essential to understand what each button does. The Noma remote control is designed with user-friendliness in mind, but if you’re unfamiliar with the layout, it can be confusing. Let’s break down the key components.
Visual guide about noma air conditioner remote control instructions
Image source: c1.neweggimages.com
Essential Buttons and Their Functions
- Power (On/Off): This is the most straightforward button. Press it once to turn the AC on or off. A green or red light on the remote usually confirms the action.
- Mode: Cycles through different operation modes: Cool, Fan, Dry, Heat, and Auto (if your model supports heating). For example, pressing this button repeatedly will switch from Cool to Fan to Dry, etc.
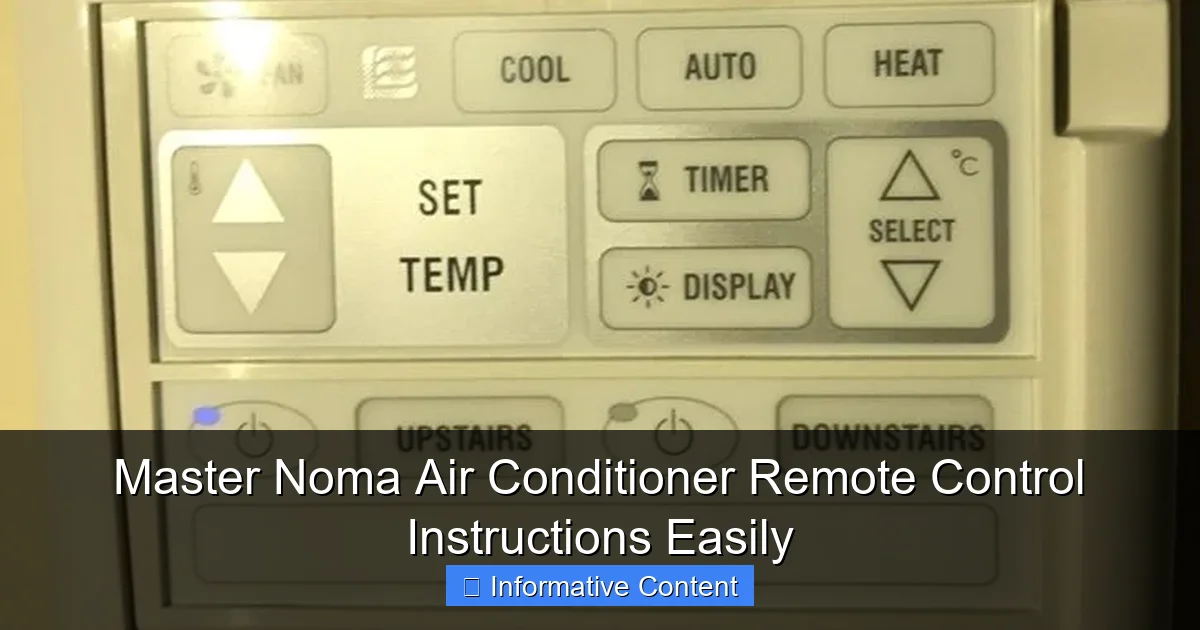
- Temperature (+/-): Use the up and down arrows to adjust the desired room temperature. Most Noma models allow adjustments from 16°C to 30°C (60°F to 86°F).
- Fan Speed: Controls airflow strength. Options usually include Low, Medium, High, and Auto. Auto adjusts the fan speed based on the room temperature.
- Timer: Allows you to set the AC to turn on or off automatically after a specific duration. We’ll cover this in detail later.
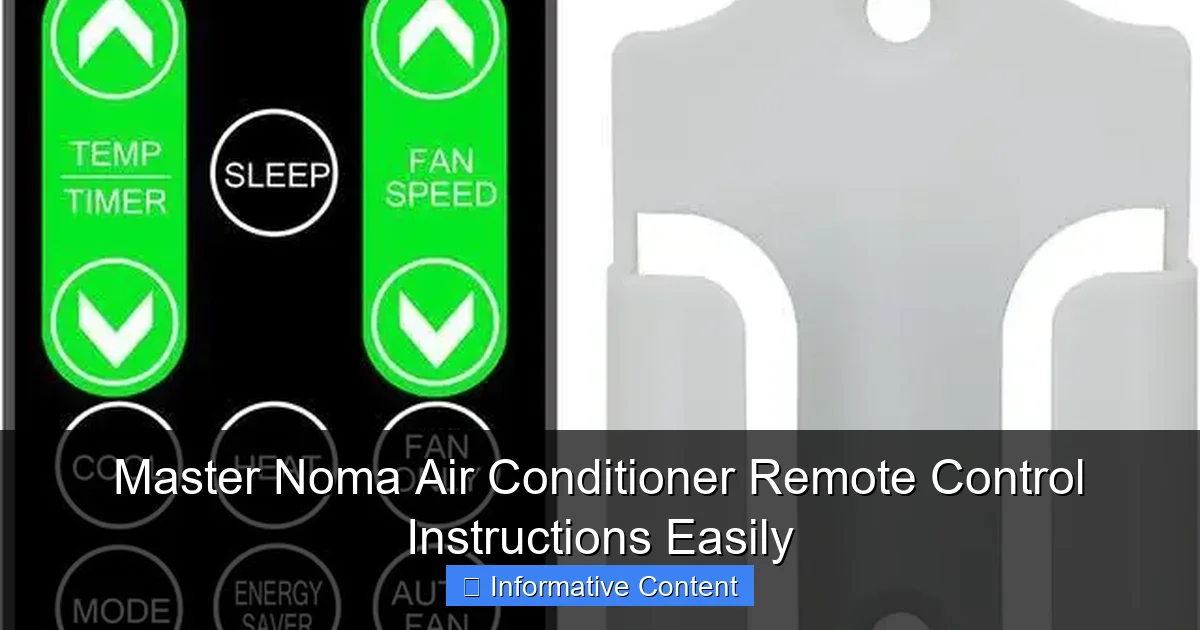
- Swing: Controls the louvers (the vents that move side to side or up and down). Pressing this button activates or deactivates the swing function for better air distribution.
- Sleep: A smart energy-saving mode that gradually adjusts the temperature overnight to keep you comfortable without overcooling.
- Turbo: Boosts cooling (or heating) for 30 minutes to quickly reach your set temperature—great for those hot afternoons.
Understanding the Display Screen
The LCD screen on your Noma remote displays important information such as current temperature, selected mode, fan speed, timer settings, and error codes. For example, if you see “LO” or “HI,” it might indicate a sensor issue or extreme room temperature. The screen is backlit, making it easy to read in low light—perfect for bedtime adjustments.
Tip: If the display is faint or unreadable, try replacing the batteries. Weak batteries can dim the screen even if the remote still works.
Button Layout Variations by Model
While most Noma remotes follow a similar design, slight differences exist between models. For instance, older models may lack a Turbo or Sleep button, while newer ones might include a Wi-Fi or Smart mode. Always check your user manual or the model number (usually found on the back of the remote) to confirm features. If you’ve lost the manual, you can often download a PDF version from the Noma support website.
Here’s a quick example: The Noma NMA-18CR remote has a dedicated “I Feel” button that uses a built-in sensor to adjust the temperature based on your location in the room. This feature isn’t available on all models, so don’t panic if you don’t see it!
Setting Up and Programming Your Remote
Getting your Noma remote to communicate properly with your air conditioner is the first step to smooth operation. Most remotes come pre-paired, but sometimes you need to re-sync them—especially after a power outage or battery change.
Initial Pairing Process
When setting up a new Noma AC, follow these steps to ensure your remote connects correctly:
- Turn on the air conditioner using the power button on the unit (if available).
- Point the remote directly at the AC’s infrared receiver (usually near the control panel).
- Press and hold the Power button on the remote for 3–5 seconds until the AC beeps or the display changes.
- Test other buttons to confirm communication (e.g., change the mode or adjust temperature).
If the AC doesn’t respond, try moving closer or removing any obstructions (like furniture or curtains) between the remote and the unit. Infrared signals are line-of-sight, so even a small object can block them.
Replacing or Resetting the Remote
Lost your remote? Don’t worry—Noma offers universal replacement remotes that work with most of their models. When purchasing a replacement, make sure it’s compatible with your AC’s model number. Once you have the new remote:
- Insert fresh AAA batteries.
- Turn on the AC manually (if possible).
- Press and hold the Reset button (often a tiny hole on the back—use a paperclip) for 10 seconds.
- Follow the pairing steps above.
Some users report that remotes lose pairing after a power surge. In such cases, unplugging the AC for 30 seconds and then restarting it can help re-establish the connection.
Programming the Timer Function
The timer is one of the most useful features on your Noma remote. It lets you automate cooling so you don’t have to manually turn the AC on or off. Here’s how to use it:
- Timer On: Press the Timer button, then use the up/down arrows to set how many hours until the AC turns on. For example, set it to 2 hours if you want the room cool when you get home from work.
- Timer Off: Same process, but the AC will shut off after the selected time. Great for bedtime or leaving the house.
- Combined Timer: Some models allow you to set both on and off times. For instance, turn on at 7 PM and off at 11 PM.
Pro Tip: Use the timer to save energy. Set it to turn off after 4–5 hours of cooling—your room will stay comfortable without running the AC all night.
Optimizing Comfort with Smart Modes and Features
Beyond basic cooling, your Noma remote offers several smart features that enhance comfort and efficiency. These aren’t just gimmicks—they’re designed to make your life easier and your energy bill lower.
Using the Sleep Mode Effectively
Sleep Mode is perfect for nighttime use. When activated, the AC gradually increases the temperature by 1–2°C (1.8–3.6°F) every hour for the first 2–3 hours. This prevents you from feeling too cold while you sleep, which can disrupt rest. After that, it stabilizes the temperature for the rest of the night.
For example, if you set the temperature to 22°C (72°F) at bedtime, after two hours it might rise to 24°C (75°F), which is still cool but not icy. This mode also reduces fan speed to minimize noise—ideal for light sleepers.
Note: Sleep Mode works best in Cool and Dry modes. It’s not available in Fan or Turbo modes.
Turbo Mode for Rapid Cooling
Got home to a sweltering house? Turbo Mode is your best friend. It runs the compressor and fan at maximum capacity for 30 minutes to cool the room quickly. After that, it automatically switches to your set temperature and fan speed.
Use Turbo Mode when:
- You’ve been out all day and the room is hot.
- You’re hosting guests and need fast cooling.
- The sun just set, and the heat is still lingering.
Caution: Avoid using Turbo Mode constantly, as it increases energy consumption. It’s best for short bursts.
Swing and Airflow Control
The Swing function ensures even air distribution by moving the louvers automatically. You can set it to horizontal (side-to-side), vertical (up-and-down), or both. This prevents hot spots and improves comfort.
To activate:
- Press the Swing button once for horizontal movement.
- Press again for vertical.
- Press a third time to turn it off.
If you prefer a fixed airflow direction, hold the Swing button for 2 seconds to lock it in place. This is useful if you want to avoid blowing air directly at your bed or desk.
Troubleshooting Common Noma Remote Issues
Even the best remotes can have hiccups. Here are the most common problems and how to fix them—no technician required.
Remote Not Responding
If your Noma remote isn’t working, try these steps:
- Check the batteries: Weak or dead batteries are the #1 cause. Replace them with fresh AAA batteries.
- Clean the infrared sensor: Dust or smudges on the remote’s front can block signals. Wipe it with a dry cloth.
- Remove obstacles: Make sure nothing is blocking the path between the remote and the AC.
- Restart the AC: Unplug the unit for 30 seconds, then plug it back in.
Still no luck? Try using the remote in a different room. If it works there, the issue might be interference from other electronics (like a TV or LED lights).
Buttons Are Sticky or Unresponsive
Spilled coffee or sticky fingers can gum up the buttons. To clean:
- Remove the batteries.
- Use a cotton swab dipped in isopropyl alcohol to clean around the buttons.
- Let it dry completely before reinserting batteries.
For stubborn grime, gently pry off the button panel (if possible) and clean underneath. Be careful not to damage the circuit board.
Incorrect Temperature Display
If the remote shows a temperature that doesn’t match your room, the sensor might be faulty. Try:
- Resetting the remote (hold Reset button for 10 seconds).
- Placing the remote in the same room as the AC’s internal sensor (usually near the front grille).
- Using a thermometer to verify the actual temperature.
Some models have a “Calibrate” option in the settings. Check your manual for details.
Error Codes on the Display
Noma remotes sometimes show error codes like “E1,” “E5,” or “F1.” These indicate issues with the AC unit itself, not the remote. For example:
- E1: Indoor temperature sensor problem.
- F1: Low refrigerant (needs professional help).
Refer to your user manual for a full list of codes. If the error persists, contact Noma support or a qualified technician.
Advanced Tips and Best Practices
Now that you’re familiar with the basics, let’s dive into some advanced tips to get the most out of your Noma remote and AC.
Energy-Saving Strategies
Cooling your home doesn’t have to break the bank. Use these tips to save energy:
- Set the temperature wisely: The ideal range is 24–26°C (75–78°F). Every degree below 24°C increases energy use by about 6%.
- Use the timer: Turn off the AC 30 minutes before leaving or going to bed.
- Combine with fans: Ceiling fans help circulate cold air, so you can set the AC higher without sacrificing comfort.
- Close curtains during the day: Blocking sunlight reduces indoor heat gain.
Remote Care and Maintenance
Extend your remote’s lifespan with these simple habits:
- Store it in a cool, dry place—not on a sunny windowsill or near a heat source.
- Use a protective case to prevent drops and scratches.
- Replace batteries every 6–12 months, even if they still work. Leaking batteries can damage the remote.
When to Use Manual Controls
Sometimes, the remote isn’t the best option. For example:
- If the remote is lost or broken, use the manual controls on the AC unit.
- If you’re setting up the AC for the first time, the manual power button ensures the unit is on before pairing the remote.
- In power outages, manual controls let you turn the AC back on without waiting for the remote to sync.
Data Table: Noma Remote Features by Model
| Model | Turbo Mode | Sleep Mode | Wi-Fi | Swing | Timer |
|---|---|---|---|---|---|
| NMA-12CR | Yes | Yes | No | Horizontal | Yes |
| NMA-18CR | Yes | Yes | Yes | Both | Yes |
| NMA-24CR | No | Yes | No | Vertical | Yes |
| NMA-30CR | Yes | Yes | Yes | Both | Yes |
Note: Features may vary by region and production year. Always check your specific model’s documentation.
Conclusion
Mastering your Noma air conditioner remote control instructions doesn’t have to be complicated. With a little practice, you’ll navigate the buttons, modes, and settings like a pro. Remember, the key is understanding each function and using them wisely—not just pressing every button to see what happens.
From setting the perfect temperature to using the timer for energy savings, your remote is a powerful tool. Don’t overlook features like Sleep Mode or Turbo Mode—they’re designed to make your life easier. And if something goes wrong, don’t panic. Most issues can be fixed with simple troubleshooting steps.
At the end of the day, your Noma AC is more than just a cooling device—it’s a comfort companion during the hottest months. Take care of your remote, use it thoughtfully, and enjoy the cool breeze without the hassle. After all, you’ve earned it.
Frequently Asked Questions
How do I pair my Noma air conditioner remote control with the unit?
To pair your Noma air conditioner remote, ensure the unit is powered on, then press and hold the “Reset” or “Pair” button on the remote for 3-5 seconds until the LED indicator flashes. Refer to your model’s manual for specific Noma air conditioner remote control instructions if issues persist.
Why isn’t my Noma remote responding to the air conditioner?
First, check the batteries and replace them if needed. Ensure there’s no obstruction between the remote and the AC unit, and try resetting the remote by removing the batteries for 30 seconds before reinserting them.
Where can I find the model-specific Noma air conditioner remote control instructions?
Download the user manual for your specific Noma AC model from the official Noma website or contact customer support. The manual includes detailed Noma air conditioner remote control instructions for troubleshooting and advanced features.
How do I switch between cooling, heating, or fan modes using the remote?
Press the “Mode” button on your Noma remote repeatedly to cycle through cooling, heating, fan, or dehumidify options. The selected mode will appear on the AC unit’s display or the remote’s LCD screen.
What does the “Timer” button do on my Noma air conditioner remote?
The “Timer” button lets you set automatic on/off times for your AC. Press it, then use the arrow keys to adjust the hours/minutes. This feature helps save energy by scheduling operation during specific times.
How do I adjust the fan speed on my Noma air conditioner?
Press the “Fan Speed” button on the remote to toggle between low, medium, high, or auto settings. Some models may require holding the button or using the arrow keys to select your preferred speed.