
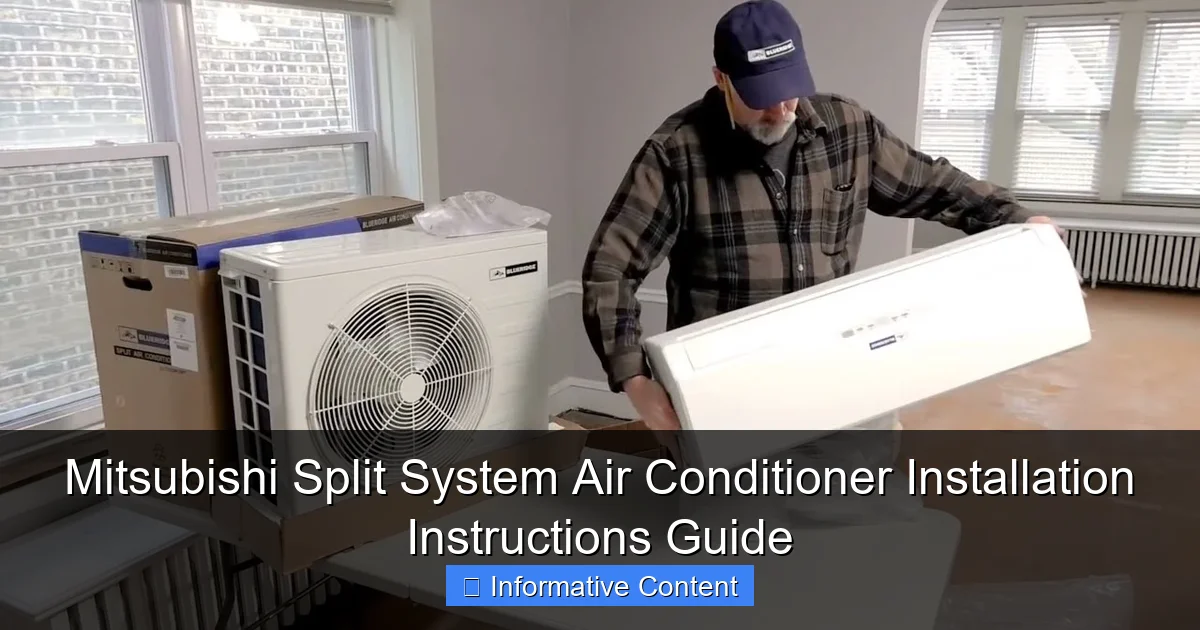
Featured image for mitsubishi split system air conditioner installation instructions
Image source: i.ytimg.com
Proper installation of a Mitsubishi split system air conditioner ensures optimal performance, energy efficiency, and longevity of the unit. This guide provides clear, step-by-step instructions for mounting indoor and outdoor units, connecting refrigerant lines, wiring, and configuring settings—essential for both DIY enthusiasts and professional installers to follow precisely. Skipping or mishandling any step can lead to system malfunctions or voided warranties, making adherence to these instructions critical.
Key Takeaways
- Read manuals thoroughly: Always review manufacturer guides before starting installation.
- Verify tools and parts: Ensure all components and tools are ready pre-installation.
- Prioritize safety: Turn off power and follow electrical codes strictly.
- Optimize unit placement: Install indoor/outdoor units as per clearance guidelines.
- Seal refrigerant lines: Prevent leaks with proper piping and insulation techniques.
- Test system performance: Run diagnostics and check airflow post-installation.
- Schedule professional help: Hire licensed technicians for complex steps like refrigerant handling.
📑 Table of Contents
- Why a Mitsubishi Split System Air Conditioner Might Be Your Best Bet
- Pre-Installation Planning: Laying the Groundwork for Success
- Step-by-Step Installation Process: From Mounting to Wiring
- Electrical and Refrigerant Safety: Don’t Skip These Crucial Steps
- System Testing and Commissioning: Making Sure It Works Right
- Common Installation Mistakes and How to Avoid Them
- Maintenance and Long-Term Care: Keeping Your System Running Smoothly
Why a Mitsubishi Split System Air Conditioner Might Be Your Best Bet
Let’s be real—installing an air conditioner isn’t exactly the kind of thing you wake up excited to do. It’s one of those tasks that feels like a mix of DIY home improvement and high-stakes engineering. But if you’ve landed on a Mitsubishi split system air conditioner, you’re already on the right track. These units are known for their quiet operation, energy efficiency, and reliable performance, especially in extreme climates. Whether you’re cooling a small bedroom or managing the temperature in a multi-room house, a split system offers flexibility without the bulk of traditional ducted systems.
I’ll admit, when I first looked into installing a Mitsubishi split system, I was overwhelmed. There were diagrams, refrigerant lines, electrical connections—it all felt like I needed a degree in HVAC engineering. But after walking through a few installations (and learning a few hard lessons), I’ve come to appreciate how well-designed and user-intuitive Mitsubishi’s systems actually are. The key is understanding the process step by step, preparing properly, and knowing when to call in the pros. This guide walks you through everything you need to know about Mitsubishi split system air conditioner installation instructions, from site prep to final testing. Whether you’re a DIY enthusiast or just want to understand the process before hiring someone, this guide will help you make informed decisions—and avoid common pitfalls.
Pre-Installation Planning: Laying the Groundwork for Success
Assessing Your Space and Cooling Needs
Before you even unbox the unit, take a step back and assess your space. Ask yourself: What room(s) am I cooling? How many windows are there? Is it south-facing (hello, summer sun)? These factors affect how powerful your system needs to be. Mitsubishi offers a range of capacities, measured in British Thermal Units (BTUs), from 9,000 BTUs for small rooms to 36,000+ BTUs for larger open-concept areas.
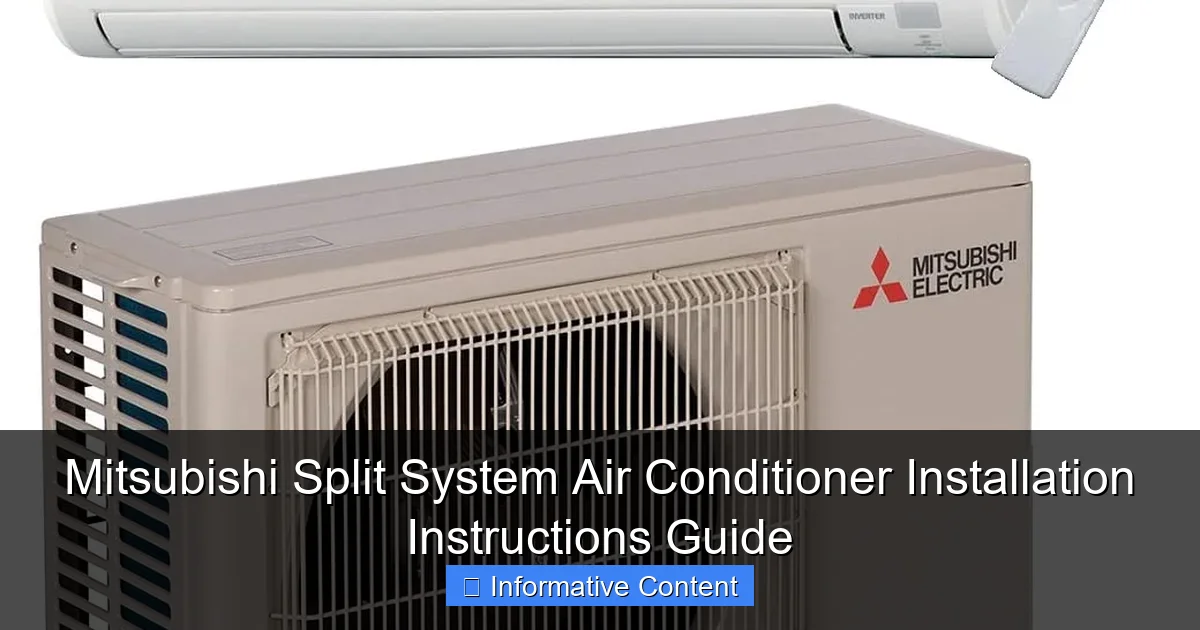
Visual guide about mitsubishi split system air conditioner installation instructions
Image source: m.media-amazon.com
For example, a 12,000 BTU unit is ideal for a 400–500 sq ft bedroom or living room, while a 24,000 BTU unit can handle a 1,000 sq ft space with multiple windows. Use Mitsubishi’s online sizing calculator or consult an HVAC pro to get a precise match. Oversizing leads to short cycling (inefficient cooling), while undersizing means your unit will run nonstop without keeping up.
Choosing the Right Indoor and Outdoor Locations
Location is everything. For the indoor unit, you’ll want:
- At least 6–8 inches of clearance above the unit
- No direct sunlight or heat sources (like lamps or TVs)
- Easy access for filter cleaning and maintenance
- A wall strong enough to support the unit’s weight (typically 20–40 lbs)
The outdoor unit needs:
- A solid, level surface (concrete pad or wall-mounted bracket)
- At least 12 inches of clearance on all sides for airflow
- Shade if possible (direct sun reduces efficiency)
- Proximity to the indoor unit (max distance varies by model, usually 50–100 ft)
Pro tip: If you live in a cold climate, avoid placing the outdoor unit where snow can pile up. A slight tilt (about 5 degrees) helps with drainage.
Tools and Materials You’ll Need
Here’s a checklist to get you started:
- Drill and masonry bits
- Vacuum pump (for refrigerant lines)
- Flaring tool and torque wrench
- Insulated copper tubing (pre-flared, if possible)
- Electrical wire (check local code—usually 12 or 14 gauge)
- Condensate drain hose and insulation
- Wall sleeve (for hole between indoor and outdoor units)
- Level, tape measure, and safety gear (gloves, goggles)
Note: Most Mitsubishi split systems come with pre-charged lines, so you don’t need to add refrigerant during installation—unless you’re extending beyond the included length.
Step-by-Step Installation Process: From Mounting to Wiring
Mounting the Indoor Unit
Start by unpacking the indoor unit and checking for damage. Use the included wall template to mark drill points. Make sure it’s level—this is crucial for proper condensate drainage. Drill the holes and insert wall anchors. Secure the mounting plate with screws. I once skipped the level check and ended up with a unit that dripped like a leaky faucet. Lesson learned!
Next, drill a 3-inch hole through the wall at a slight downward angle (about 5 degrees) toward the outside. This prevents rainwater from seeping in. Insert the wall sleeve and run the refrigerant lines, drain hose, and electrical cable through it. Connect the lines to the indoor unit’s ports using the flaring tool. Tighten with a torque wrench (check your model’s manual for exact specs—over-tightening can crack the flare).
Installing the Outdoor Unit
Place the outdoor unit on a pre-poured concrete pad or secure it with a wall bracket. If using a pad, make sure it’s 2–3 inches thick and extends beyond the unit’s footprint. Level the unit—use shims if needed. Connect the refrigerant lines to the outdoor unit’s valves. Use a vacuum pump to evacuate air and moisture from the lines (this step is non-negotiable for system efficiency). Run the pump for at least 30 minutes, then close the valves and let the system sit for 15 minutes to check for leaks.
For the electrical connection, run a dedicated circuit from your main panel. Use a disconnect box near the outdoor unit (required by code). Connect the wires (typically L1, L2, and ground) to the terminal block inside the outdoor unit. Double-check polarity and grounding. A miswired connection can fry the control board—trust me, it’s not fun to troubleshoot.
Connecting the Drain Hose
The condensate drain removes water from the indoor unit’s evaporator coil. Run the hose from the indoor unit’s drain port, through the wall, and to a floor drain or outdoor area. Avoid sharp bends—water needs to flow freely. Insulate the hose to prevent condensation inside the wall. In humid climates, consider a condensate pump if the drain isn’t downhill.
Example: In my last install, I routed the drain to a nearby gutter. But during heavy rain, the water backed up and dripped inside. Now I use a T-fitting with an air gap to prevent siphoning.
Electrical and Refrigerant Safety: Don’t Skip These Crucial Steps
Electrical Wiring Best Practices
Electricity and water don’t mix—so treat this part with care. Always turn off the main power before wiring. Use a voltage tester to confirm the circuit is dead. Mitsubishi split systems typically require 208/230V power (check your model’s specs). Use stranded wire for flexibility, and secure all connections with wire nuts or push-in connectors. Label the wires at both ends to avoid mix-ups.
For the indoor unit, connect the power cable to the terminal block. Most models have color-coded wires (red to “L1,” white to “L2,” green to “GND”). If your system has a remote control, connect the signal wire (usually a small bundle of 3–4 wires) to the indoor unit’s PCB. Test the connection before closing the cover.
Refrigerant Line Handling and Leak Testing
Refrigerant lines carry the lifeblood of your AC—don’t mess this up. If you’re extending the lines beyond the included length, you’ll need to add refrigerant (usually R-410A). But for most installs, the lines are pre-charged. Here’s how to handle them safely:
- Keep the line ends capped until you’re ready to connect
- Use a nitrogen purge to clean the lines during flaring
- After connecting, open the service valves slowly to release refrigerant
Leak testing is critical. After evacuating the lines, pressurize the system with nitrogen to 300 psi. Use an electronic leak detector or soapy water to check connections. Bubbles = leak. Fix it before proceeding. A single leak can reduce efficiency by 20% or more.
Grounding and Circuit Protection
Grounding isn’t optional—it’s a safety requirement. Connect the outdoor unit’s ground wire to your home’s grounding electrode. Use a 6 AWG copper wire if running a long distance. Install a 20–30 amp double-pole breaker in your panel (check your model’s manual for exact amperage). Add a surge protector to guard against voltage spikes—especially in areas with frequent thunderstorms.
System Testing and Commissioning: Making Sure It Works Right
Initial Power-Up and Control Setup
Once everything’s connected, it’s time for the moment of truth. Turn on the breaker and watch the outdoor unit. You should hear a soft click as the compressor engages. The indoor unit’s display should light up. Use the remote to set the mode (cool, heat, dry, fan) and temperature. Most Mitsubishi systems have a “test run” mode—activate it to run all components for 10–15 minutes.
Listen for unusual noises (banging, hissing) and check for airflow at the indoor unit’s vents. If the system doesn’t start, double-check the wiring, breaker, and thermostat settings. A common mistake is reversing the L1/L2 wires—this can damage the compressor.
Measuring Performance: Airflow, Temperature, and Efficiency
Grab a thermometer and measure the air temperature at the indoor unit’s intake and outlet. In cooling mode, the outlet should be 10–20°F cooler than the intake. For example, if the room is 75°F, the output should be 55–65°F. Use an anemometer to check airflow—it should be strong but not noisy.
Check the condensate drain for water flow. If it’s dry, the unit may not be dehumidifying properly. Also, monitor the outdoor unit’s fan speed. It should adjust based on the indoor temperature.
Remote Control and Smart Features
Mitsubishi’s remotes are intuitive, but take time to explore the settings. Key features include:
- Econo Cool: Reduces energy use by adjusting airflow based on room temperature
- Quiet Mode: Lowers fan speed for nighttime use
- Weekly Timer: Schedule on/off times for weekdays and weekends
If you have a Wi-Fi adapter (sold separately), connect the unit to your home network. Use the Mitsubishi app to control the system from your phone. I love this feature when I’m away and want to cool the house before I get home.
Common Installation Mistakes and How to Avoid Them
Improper Line Sizing or Routing
Using the wrong diameter refrigerant lines (e.g., 3/8” instead of 1/2”) can restrict flow and reduce efficiency. Always follow Mitsubishi’s line sizing chart for your model. Avoid sharp bends—use sweeping turns or 90-degree elbows. Long, kinked lines cause refrigerant pressure drop, leading to compressor strain.
Skipping the Vacuum Process
Moisture and air in the refrigerant lines are a recipe for disaster. They form ice in the expansion valve, block refrigerant flow, and corrode components. Always use a vacuum pump rated for HVAC work (not a shop vac). Evacuate to at least 500 microns and hold for 30 minutes.
Incorrect Electrical Connections
Mixing up wires or loose connections can cause intermittent power, flickering lights, or total failure. Use a multimeter to check voltage at the outdoor unit’s terminals. If you’re not confident with electrical work, hire a licensed electrician. It’s worth the $100–$200 to avoid a $1,000 compressor replacement.
Neglecting the Condensate Drain
A clogged drain can flood your wall or ceiling. Insulate the hose to prevent condensation buildup. Test the drain by pouring a cup of water into the indoor unit’s drain pan. It should flow freely. If not, clear the blockage with a wet/dry vac or pipe cleaner.
Maintenance and Long-Term Care: Keeping Your System Running Smoothly
Regular Filter Cleaning
The indoor unit’s filter traps dust, pollen, and pet hair. Clean it every 2–4 weeks during heavy use. Remove the filter, rinse it with water, and let it dry completely before reinstalling. A dirty filter reduces airflow and efficiency—I’ve seen energy bills spike 15% just from a clogged filter.
Annual Professional Check-Up
Even with perfect installation, your system needs annual maintenance. A technician should:
- Inspect refrigerant levels and pressures
- Clean the outdoor coil (use a coil cleaner, not a pressure washer)
- Tighten electrical connections
- Check the condensate pump (if installed)
Think of it like a car tune-up—it prevents breakdowns and extends the unit’s lifespan (typically 12–15 years).
Winterizing the Outdoor Unit (If Needed)
In cold climates, cover the outdoor unit with a breathable cover to protect it from snow and ice. Don’t use plastic—it traps moisture and promotes rust. If your system has a heat pump, it can operate down to -15°F, but efficiency drops in extreme cold.
| Task | Frequency | Tools Needed | Notes |
|---|---|---|---|
| Clean indoor filter | Every 2–4 weeks | Water, towel | Let filter dry completely |
| Check condensate drain | Monthly | Cup, flashlight | Pour water to test flow |
| Inspect outdoor unit | Seasonally | Gloves, brush | Remove debris from fins |
| Professional maintenance | Annually | HVAC tools | Schedule before summer/winter |
Installing a Mitsubishi split system air conditioner isn’t a weekend project for the faint of heart—but it’s far from impossible. The key is preparation, patience, and attention to detail. I’ve seen DIYers save thousands by doing it themselves, but I’ve also seen costly mistakes from skipping steps or cutting corners. If you’re unsure about electrical or refrigerant work, hire a pro for those parts. The rest—mounting, wiring, and setup—you can likely handle with this guide.
Remember, a well-installed system runs quieter, uses less energy, and lasts longer. Take your time, follow the Mitsubishi split system air conditioner installation instructions, and don’t rush the testing phase. When you finally turn it on and feel that cool, consistent airflow, you’ll know it was worth the effort. And if you ever run into a snag? Don’t stress. Every installer—even the pros—has had a moment where the unit wouldn’t start or the drain leaked. The fix is usually simpler than you think. Now go enjoy your perfectly cooled space!
Frequently Asked Questions
What are the basic steps for Mitsubishi split system air conditioner installation?
The installation of a Mitsubishi split system air conditioner involves mounting the indoor and outdoor units, connecting refrigerant lines, wiring the electrical components, and performing a system test. It’s essential to follow the manufacturer’s manual and local building codes throughout the process.
Do I need a professional to install a Mitsubishi split system air conditioner?
Yes, it’s highly recommended to hire a licensed HVAC technician for Mitsubishi split system air conditioner installation to ensure safety, proper refrigerant handling, and warranty compliance. DIY installation may void the warranty and lead to performance issues.
How far apart can the indoor and outdoor units be in a Mitsubishi split system?
The maximum allowable distance between the indoor and outdoor units varies by model but typically ranges from 15 to 30 meters. Always check your specific Mitsubishi split system’s installation manual for exact piping and wiring length limits.
What tools are required for installing a Mitsubishi split system air conditioner?
Common tools include a drill, level, vacuum pump, manifold gauge set, wrenches, and electrical testers. Specialized equipment like a refrigerant leak detector may also be needed depending on the installation complexity.
Can I install a Mitsubishi split system air conditioner myself if I have HVAC experience?
Even with HVAC experience, Mitsubishi recommends professional installation to maintain warranty coverage and ensure optimal performance. Improper installation can lead to inefficiency, refrigerant leaks, or system failure.
Where should the outdoor unit be placed during Mitsubishi split system installation?
The outdoor unit should be placed on a stable, level surface with adequate airflow and clearance from walls or obstructions—typically at least 30 cm on all sides. Avoid areas with direct sunlight, heat sources, or excessive dust.