
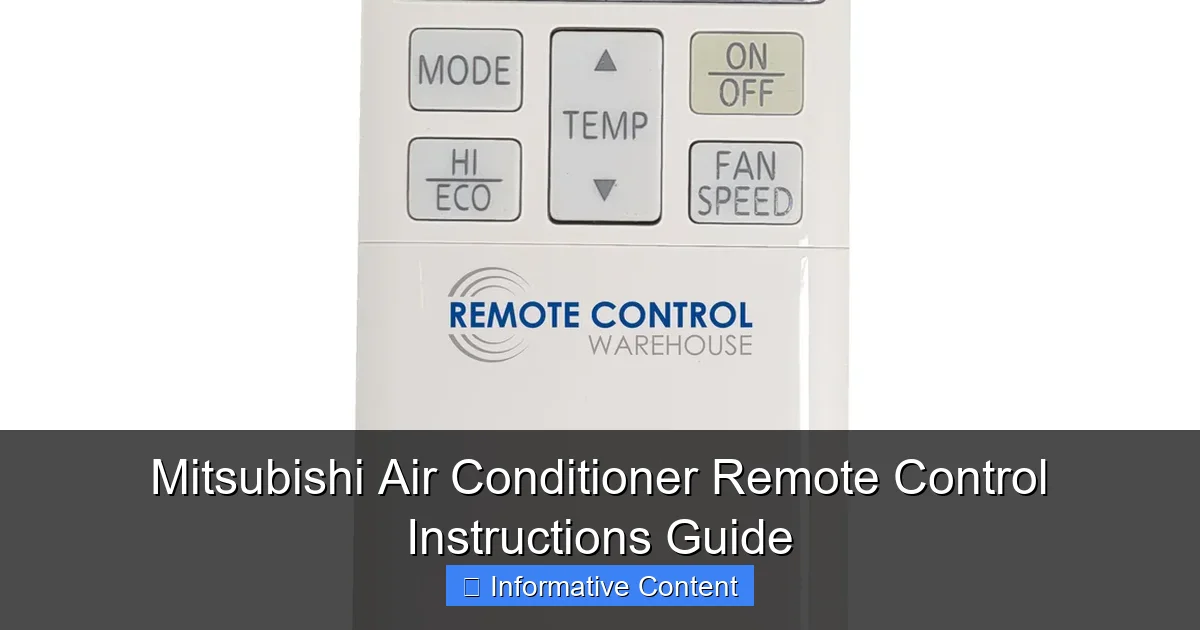
Featured image for mitsubishi air conditioner remote control instructions
Image source: remotecontrolwarehouse.com.au
Master your Mitsubishi air conditioner with ease using the intuitive remote control instructions designed for quick setup and optimal comfort. This guide walks you through every button, mode, and setting—from temperature adjustment to energy-saving timers—ensuring you get the most out of your unit. Follow these simple steps to enhance performance, reduce energy use, and enjoy perfect climate control year-round.
Key Takeaways
- Power on/off: Press the ON/OFF button to start or stop cooling.
- Adjust temperature: Use + and – buttons to set your ideal room temperature.
- Change modes: Select Cool, Heat, Fan, or Dry for precise climate control.
- Set timer: Program on/off times to save energy and enhance convenience.
- Direct airflow: Use Swing or Direction buttons to control air flow angles.
- Check battery: Replace weak batteries to ensure reliable remote performance.
📑 Table of Contents
- Why Your Mitsubishi Air Conditioner Remote Matters More Than You Think
- Getting to Know Your Mitsubishi Air Conditioner Remote Control
- Step-by-Step: How to Use Your Mitsubishi Air Conditioner Remote Control
- Advanced Features and Hidden Functions
- Troubleshooting Common Remote Issues
- Maximizing Efficiency and Longevity with Smart Remote Use
- Data Table: Common Mitsubishi Remote Models and Key Features
- Final Thoughts: Master Your Climate, One Button at a Time
Why Your Mitsubishi Air Conditioner Remote Matters More Than You Think
Let’s be honest—how often do you actually *read* the manual that comes with your air conditioner? If you’re like most people (including me, guilty as charged), it probably ended up in a drawer or got lost during the move. But here’s the thing: the Mitsubishi air conditioner remote control is more than just a plastic gadget with buttons. It’s your personal climate command center. Whether you’re battling summer heatwaves or trying to stay cozy during a cold snap, knowing how to use your remote properly can make all the difference in comfort, energy efficiency, and even appliance longevity.
I learned this the hard way. A few summers ago, my Mitsubishi AC kept turning on and off erratically. I blamed the unit, called a technician, and ended up paying for a service call—only to find out the issue was a simple remote setting I’d accidentally activated. Since then, I’ve made it a mission to master every button, mode, and feature on my Mitsubishi air conditioner remote control. And now, I want to save you the same frustration. This guide will walk you through everything you need to know, from basic functions to hidden tricks, so you can get the most out of your AC—without needing a degree in HVAC engineering.
Getting to Know Your Mitsubishi Air Conditioner Remote Control
Common Models and Their Remote Designs
Mitsubishi Electric offers several air conditioner lines—from the popular Mr. Slim series to ductless mini-splits and ceiling cassettes—and each typically comes with a slightly different remote control. But don’t worry: the core functions are remarkably consistent across models. Most remotes fall into two main categories:
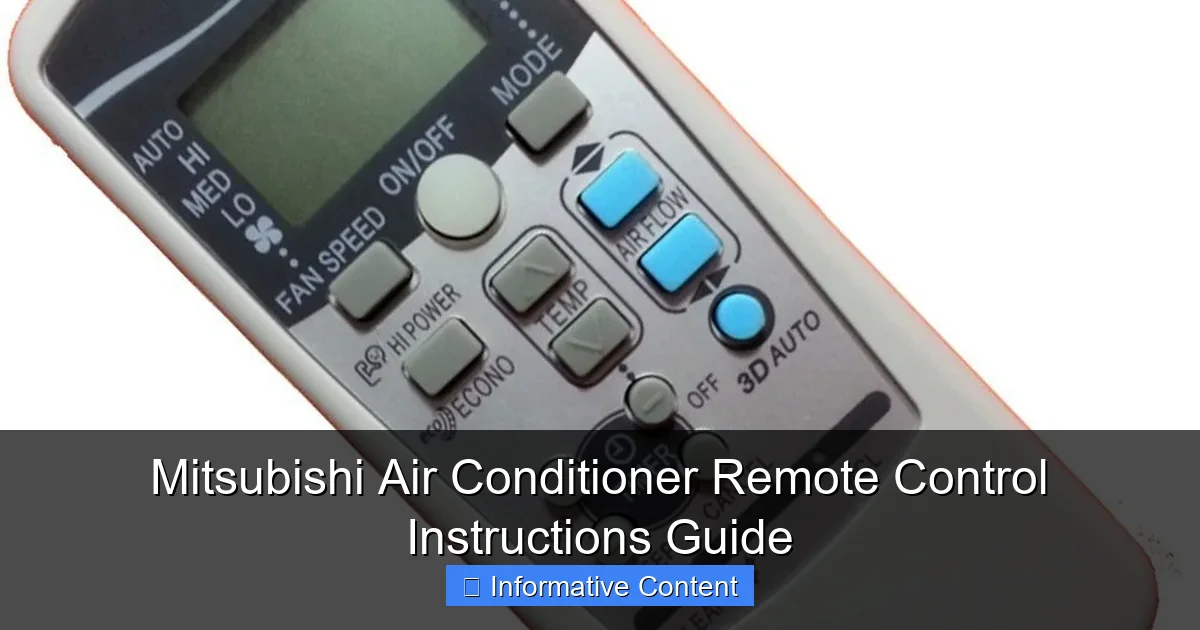
Visual guide about mitsubishi air conditioner remote control instructions
Image source: s.ecrater.com
- Standard Infrared (IR) Remotes: Found on older or basic models. These require a direct line of sight to the indoor unit and are usually compact with a simple button layout.
- Advanced Smart Remotes or Wi-Fi Enabled Units: Found on newer models like the Mitsubishi M-Series or Hyper-Heat systems. These may include LCD screens, backlighting, and even smartphone app integration.
For example, the PAR-FA32MA remote (common in many wall-mounted units) has a backlit LCD display, while the PAR-21MAA is a more basic, non-backlit version. The key is to identify your specific remote model—usually printed on the back or in the battery compartment. Once you know that, you can find the exact user manual online (Mitsubishi’s support site is great for this).
Anatomy of the Remote: What Each Button Does
Let’s break down the typical layout of a Mitsubishi air conditioner remote control. Even if your model looks slightly different, these buttons are almost universal:
- Power Button: Turns the unit on and off. Simple, but essential. Some remotes use a “Hold to Power On” feature to prevent accidental activation.
- Mode Button: Cycles through operation modes: Cool, Heat, Dry, Fan, Auto. More on these later.
- Temperature Up/Down Arrows: Adjusts the desired room temperature. Most models allow settings from 60°F to 86°F (16°C to 30°C).
- Fan Speed Button: Lets you choose between Auto, Low, Medium, High, and sometimes Quiet or Super Quiet settings.
- Swing Button: Controls the horizontal and vertical vanes (flaps) to direct airflow. Some remotes have separate horizontal and vertical swing controls.
- Timer Button: Sets on/off timers for energy savings and convenience.
- Filter Reset Button: After cleaning or replacing the air filter, this resets the filter maintenance indicator.
- Econo Mode or Powerful Button: Econo Mode saves energy by slightly adjusting temperature and fan speed. Powerful boosts cooling/heating for 15–30 minutes.
- Quiet Mode: Reduces fan and compressor noise—great for nighttime use.
Pro Tip: If your remote has a “Test Run” or “Check” button, use it only if you’re troubleshooting with a technician. It’s not for daily use.
Step-by-Step: How to Use Your Mitsubishi Air Conditioner Remote Control
Turning On and Setting the Mode
Start by pressing the Power button. You should see the indoor unit’s indicator light turn on, and the remote display will activate. Next, press the Mode button until you reach your desired setting:
- Cool: For summer. The compressor runs to lower the room temperature.
- Heat: For winter. Uses the heat pump to warm the room (available on heat pump models).
- Auto: The AC automatically switches between cooling and heating based on the room’s current temperature. Great for mild climates.
- Dry: Reduces humidity without drastically cooling the room. Ideal for damp, muggy days.
- Fan: Circulates air without cooling or heating. Useful for ventilation.
Example: It’s 78°F outside, but your room feels stuffy. Set the mode to Dry and temperature to 75°F. The AC will dehumidify the air, making it feel cooler without overcooling.
Adjusting Temperature and Fan Speed
After setting the mode, use the temperature arrows to choose your comfort level. Remember: the AC doesn’t cool the room to the exact temperature immediately. It works to maintain that temperature over time.
For fan speed, consider:
- Auto: The AC chooses the best fan speed based on the temperature difference.
- Low/Medium/High: Use Low for quiet operation (e.g., while sleeping), High for fast cooling/heating.
- Quiet/Super Quiet: Found on premium models. Reduces noise by up to 50%—perfect for bedrooms.
Pro Tip: In Cool mode, setting the fan to Auto is usually the most efficient. The AC will ramp up the fan when needed and slow it down as the room approaches the set temperature.
Using Airflow Direction (Swing) and Vane Control
The Swing button is a game-changer for comfort. When activated, the horizontal and vertical vanes move automatically, distributing air evenly. But you can also manually set the vane position:
- Press Swing once: Horizontal vanes move automatically.
- Press again: Vertical vanes move.
- Press and hold: Locks vanes in a fixed position (e.g., direct airflow away from your bed).
Real-life example: My bedroom AC used to blow directly on my face at night, causing dry eyes. By using the Swing button to set the vanes at a 30-degree angle, I now get gentle, indirect airflow—and I sleep better.
Setting the Timer (On/Off and Weekly)
The Timer function is perfect for energy savings and convenience. Most Mitsubishi remotes offer:
- On Timer: Turns the AC on after a set delay (e.g., 1 hour before you get home).
- Off Timer: Turns the AC off after a set duration (e.g., 2 hours after you fall asleep).
- Weekly Timer: Available on advanced models. Lets you program different on/off times for each day of the week.
How to set the Off Timer:
- Press Timer until “Off” appears.
- Use the +/- buttons to set the delay (e.g., 2 hours).
- Press Timer again to confirm.
Pro Tip: Use the Off Timer in Cool mode to save energy. The room stays cool for a while after the AC shuts off, thanks to thermal inertia.
Advanced Features and Hidden Functions
Econo Mode vs. Powerful Mode: When to Use Each
These two features are often misunderstood. Let’s clarify:
- Econo Mode: Activated via a dedicated button or through the Menu. It limits the compressor’s maximum power and slightly adjusts the target temperature to save energy (up to 20% in some cases). Use it when you’re home but don’t need rapid cooling/heating.
- Powerful Mode: Boosts cooling/heating for 15–30 minutes. Ideal when you come home to a hot/cold house and want fast relief. After the time expires, the AC returns to normal operation.
Example: It’s 95°F outside, and your house feels like an oven. Press Powerful to cool it down fast, then switch to Econo to maintain comfort efficiently.
Quiet Mode and Night Mode for Peaceful Operation
If your remote has a Quiet or Night Mode button, use it at bedtime. This mode:
- Reduces fan speed to the lowest setting.
- Lowers compressor noise (on compatible models).
- May dim the indoor unit’s display.
Pro Tip: Combine Quiet Mode with the Off Timer for uninterrupted sleep. The AC runs quietly for a few hours, then shuts off.
Using the Filter Reset and Maintenance Alerts
Mitsubishi ACs track how many hours the unit has been running. When the air filter needs cleaning (typically every 2–3 months), the indoor unit will flash a Filter indicator.
- Turn off the AC.
- Clean the air filter (vacuum or wash with water, then dry completely).
- Press and hold the Filter Reset button on the remote for 3–5 seconds.
- The indicator light should turn off.
Why this matters: A dirty filter reduces airflow, makes the AC work harder, and increases energy bills. Resetting the indicator ensures the AC keeps track of the next cleaning cycle.
Troubleshooting Common Remote Issues
Remote Not Working? Try These Fixes
Nothing’s more frustrating than pressing buttons and getting no response. Here’s what to check:
- Battery Check: Replace old batteries (usually 2 x AAA). Low batteries can cause weak IR signals.
- Line of Sight: Make sure there’s no obstruction between the remote and the indoor unit. Even a thin curtain can block the signal.
- Distance: Most remotes work up to 25 feet (7.5 meters). Move closer if needed.
- IR Sensor: Wipe the front of the indoor unit’s IR receiver with a soft cloth. Dust or grime can block signals.
- Remote Mode: Some remotes have a “Remote Off” mode (activated accidentally). Press Mode + Power simultaneously for 3 seconds to reset.
Real-life fix: My remote stopped working after I moved a bookshelf in front of the AC. Once I repositioned it, everything worked fine.
Display Not Lighting Up or Showing Error Codes
If the remote’s display is dark or shows an error code (e.g., “E1”, “U4”), it could indicate:
- Low batteries: Replace them.
- Remote malfunction: Try a factory reset (usually Menu + Power for 5 seconds).
- Unit error: Some codes relate to the indoor/outdoor unit. Check the user manual or call Mitsubishi support.
Pro Tip: Take a photo of the error code and the remote model number before calling support. It speeds up troubleshooting.
Pairing a Replacement or Smart Remote
If you’ve lost your remote or want to upgrade to a Wi-Fi model (like the Mitsubishi Kumo Cloud remote), you may need to pair it:
- Install the new remote’s batteries.
- Turn on the AC using the indoor unit’s manual switch (if available).
- On the remote, press and hold Menu + Power for 5–10 seconds until the display flashes.
- Point the remote at the indoor unit and press Power to send a signal.
Note: Wi-Fi remotes require a stable internet connection and app setup (via the Mitsubishi Kumo Cloud app).
Maximizing Efficiency and Longevity with Smart Remote Use
Energy-Saving Tips Using Your Remote
Your Mitsubishi air conditioner remote control is a powerful tool for saving energy. Try these:
- Use the Timer: Set the AC to turn on 30 minutes before you wake up or return home. Avoid running it all day.
- Set the Right Temperature: In summer, aim for 78°F (26°C). In winter, 68°F (20°C) is comfortable and efficient.
- Combine Modes: Use Dry mode on humid days to feel cooler without lowering the temperature.
- Close Doors and Curtains: The remote can’t fix poor insulation, but it helps the AC work smarter.
Example: I set my Off Timer for 2 hours at night. The AC runs while I fall asleep, then shuts off. The room stays cool for another hour or two.
Maintenance Alerts and Preventive Care
Beyond the filter reset, your remote can help with long-term care:
- Check for Alerts: Some models show “Check” or “Service” messages. Don’t ignore them.
- Keep the Remote Clean: Wipe it monthly with a dry cloth. Spills or grime can damage buttons.
- Store Properly: Keep it in a dry, cool place. Avoid leaving it in direct sunlight (e.g., on a windowsill).
Pro Tip: Take a photo of your remote settings (temperature, mode, fan speed) and save it on your phone. If the remote resets, you can restore your preferences quickly.
When to Upgrade Your Remote (Smart Features)
If you have an older Mitsubishi AC, consider upgrading to a smart remote or Wi-Fi adapter. Benefits include:
- Control the AC from your smartphone, even when you’re away.
- Receive maintenance alerts and energy usage reports.
- Set custom schedules based on your routine.
Cost vs. Benefit: A smart remote costs $50–$100, but the convenience and energy savings can pay for itself in a year.
Data Table: Common Mitsubishi Remote Models and Key Features
| Remote Model | Display Type | Backlight | Wi-Fi/Smart | Timer Features | Special Modes |
|---|---|---|---|---|---|
| PAR-21MAA | LCD | No | No | On/Off | Econo, Powerful |
| PAR-FA32MA | LCD | Yes | No | On/Off, Weekly | Econo, Powerful, Quiet |
| PAR-SL101A | OLED | Yes | Yes (Kumo Cloud) | On/Off, Weekly, Smart Scheduling | All + Voice Control |
| PAR-U02A | LCD | Yes | No | On/Off | Econo, Powerful, Dry |
Note: Always verify compatibility with your indoor unit before purchasing a replacement remote.
Final Thoughts: Master Your Climate, One Button at a Time
Your Mitsubishi air conditioner remote control isn’t just a tool—it’s a bridge between you and perfect indoor comfort. From basic cooling to advanced energy-saving features, every button has a purpose. And now, armed with this guide, you’re no longer just pressing buttons blindly. You’re making informed choices that affect your comfort, your energy bills, and even the lifespan of your AC.
I’ll leave you with one final tip: take five minutes today to clean your remote, replace the batteries if needed, and try one new feature—maybe the Econo Mode or Off Timer. You’ll be surprised how much difference it makes. Because at the end of the day, the best air conditioning isn’t just about cool air. It’s about control. And that control starts right in the palm of your hand.
Frequently Asked Questions
How do I use the Mitsubishi air conditioner remote control to adjust the temperature?
To adjust the temperature, press the up or down arrow buttons on your Mitsubishi air conditioner remote control. The current temperature setting will appear on the display screen, and you can fine-tune it in 1°C increments for optimal comfort.
Why is my Mitsubishi remote control not working with the AC unit?
If your Mitsubishi remote isn’t working, first check the batteries and replace them if needed. Ensure there’s no obstruction between the remote and the unit’s IR sensor, and verify that the remote is set to the correct mode (e.g., cool, heat, or fan).
How do I set the timer on my Mitsubishi air conditioner remote control?
To set the timer, press the “Timer” button on the remote and use the arrow keys to select your desired start/stop time. Confirm by pressing “Set” or “Enter”—the timer icon will appear on the display to indicate activation.
What do the symbols on my Mitsubishi air conditioner remote control mean?
The symbols on your Mitsubishi remote represent functions like fan speed, swing direction, sleep mode, and turbo cooling. Refer to your model’s manual for a full legend, but common icons include a snowflake (cool), sun (heat), and fan (airflow).
How do I activate the “Econo Cool” or energy-saving mode?
Press the “Mode” button until you reach “Econo Cool” (or look for a leaf/eco icon). This mode optimizes cooling efficiency by slightly adjusting temperature and fan speed, reducing energy consumption without sacrificing comfort.
Can I reset my Mitsubishi remote control if it’s malfunctioning?
Yes, remove the batteries, press all buttons once to discharge residual power, then reinsert the batteries. For persistent issues, perform a factory reset by holding “Power” and “Timer” for 5 seconds, as detailed in your Mitsubishi air conditioner remote control instructions.