
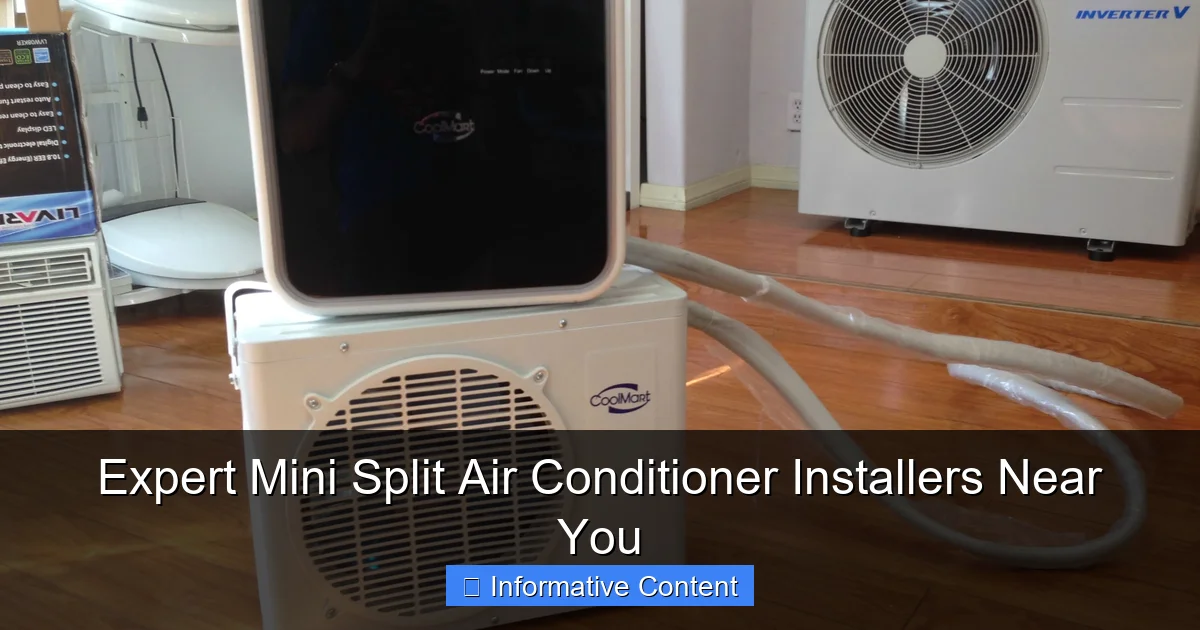
Featured image for mini split air conditioner installers
Image source: i.pinimg.com
Finding certified mini split air conditioner installers near you ensures optimal performance, energy efficiency, and long-term reliability. These skilled professionals handle everything from sizing and placement to electrical connections and refrigerant lines, guaranteeing a seamless, code-compliant installation. Trusting local experts minimizes risks and maximizes your system’s cooling power and lifespan.
Key Takeaways
- Hire certified installers to ensure optimal system performance and warranty compliance.
- Verify local expertise for climate-specific installation and energy efficiency.
- Compare multiple quotes to balance cost, quality, and service guarantees.
- Check customer reviews to assess reliability and post-installation support quality.
- Prioritize proper sizing to maximize efficiency and avoid long-term repair costs.
- Ask about warranties covering both labor and equipment for full protection.
📑 Table of Contents
- Why Mini Split Air Conditioners Are the Future of Home Cooling
- What Makes a Great Mini Split Installer?
- How to Find Trusted Mini Split Installers Near You
- Common Mini Split Installation Mistakes (And How to Avoid Them)
- What to Expect During the Installation Process
- How to Maintain Your Mini Split for Longevity
- Cost Breakdown: What to Expect When Hiring Installers
- Final Thoughts: Don’t Cut Corners on Installation
Why Mini Split Air Conditioners Are the Future of Home Cooling
Remember that one summer when your central AC gave up on life right before your big family BBQ? The house turned into a sauna, your guests were fanning themselves with napkins, and you were sweating through your shirt trying to figure out what to do. That’s when I realized: traditional cooling systems have their limits. But then I discovered mini split air conditioners—and honestly, it felt like a game-changer.
Mini split systems are sleek, energy-efficient, and perfect for homes without ductwork or those looking for zoned temperature control. They’re quiet, easy to maintain, and can even heat your space in winter (hello, heat pump models!). But here’s the thing: none of these benefits matter if the installation isn’t done right. That’s where expert mini split air conditioner installers near you come in. These pros don’t just mount a unit on the wall—they ensure your system works efficiently, lasts longer, and actually saves you money.
What Makes a Great Mini Split Installer?
Not all HVAC technicians are created equal, especially when it comes to mini splits. These systems require precision, knowledge of electrical work, and a deep understanding of refrigerant lines. A bad installation can lead to poor performance, high energy bills, and even costly repairs down the line. So, how do you separate the experts from the amateurs?
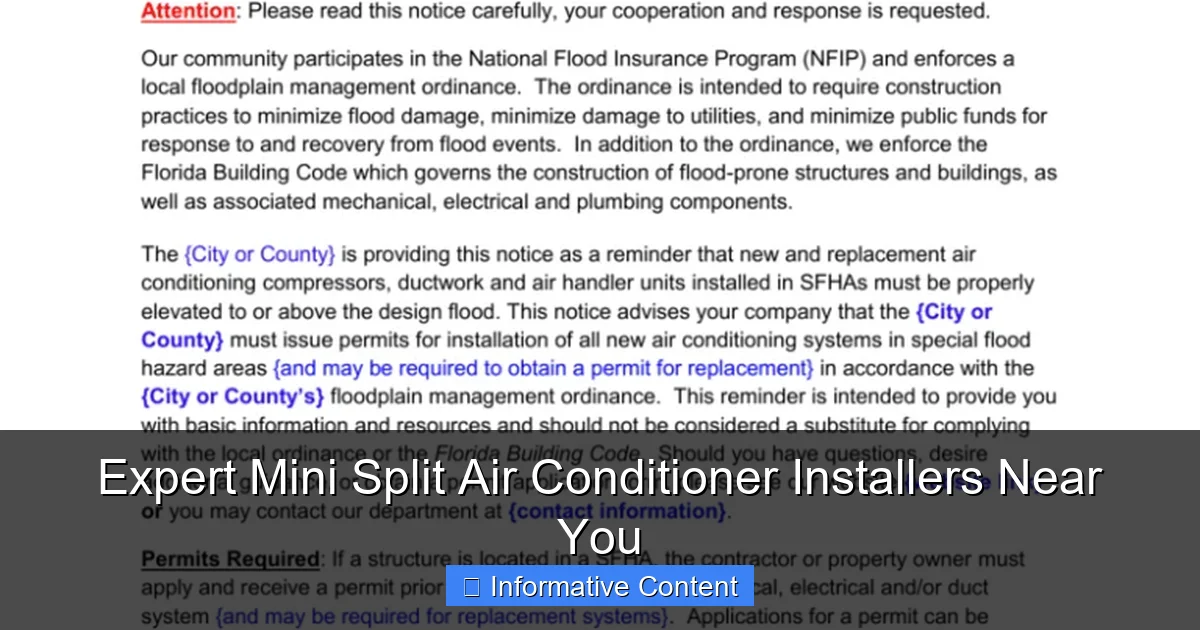
Visual guide about mini split air conditioner installers
Image source: s3.studylib.net
Certifications and Experience Matter
First, look for installers with certifications from reputable organizations like NATE (North American Technician Excellence) or HVAC Excellence. These aren’t just fancy titles—they prove the technician has undergone rigorous training and testing. For example, a NATE-certified installer knows how to size your unit correctly, which is crucial for efficiency.
Experience also counts. Ask how many mini split installations they’ve done. A pro with 50+ installations under their belt has likely seen (and fixed) every issue imaginable. I once hired a guy who “dabbled” in mini splits, and let’s just say my unit sounded like a washing machine for weeks. Learn from my mistake: go for someone with a solid track record.
Ask the Right Questions
During consultations, a great installer will ask you questions like:
- How many rooms do you want to cool or heat?
- Do you have existing ductwork or prefer ductless?
- Are there any tricky spaces (like a sunroom or attic) that need special attention?
If they skip these questions, it’s a red flag. A good installer tailors the solution to your needs, not a one-size-fits-all approach. For instance, my neighbor wanted to cool his garage workshop. The installer recommended a high-static ducted unit (which looks like a ceiling cassette) to handle the heat from power tools. That’s the kind of expertise you want.
Check Their Tools and Techniques
Mini splits require specialized tools, like vacuum pumps for refrigerant lines and laser levels for precise mounting. If the installer shows up with just a drill and a ladder, run. Proper tools mean they’re serious about the job. Also, ask about their line set routing—this is the bundle of refrigerant and electrical lines connecting indoor and outdoor units. A pro will hide them neatly or run them through walls to keep your home looking tidy.
How to Find Trusted Mini Split Installers Near You
Finding the right installer can feel overwhelming, especially with so many options online. But with a little digging, you can find someone reliable and skilled. Here’s how I’ve done it successfully (and how you can too).
Start with Local Reviews and Referrals
Google, Yelp, and Facebook are your best friends here. Look for installers with 4.5+ stars and read the reviews carefully. Pay attention to comments like:
- “They explained everything step by step.”
- “The team was clean, on time, and didn’t leave a mess.”
- “Fixed a problem the previous installer caused.”
Personal referrals are gold. Ask friends, neighbors, or coworkers who’ve had mini splits installed. I found my go-to installer through my cousin, who’s a contractor. His recommendation saved me from a shady company that quoted me half the price but had terrible reviews.
Verify Licenses and Insurance
Always check if the installer is licensed in your state. You can usually verify this through your local licensing board’s website. For example, in California, HVAC contractors need a C-20 license. Also, confirm they have liability insurance. This protects you if something goes wrong—like if they accidentally damage your wall or cause a refrigerant leak.
Pro tip: Ask for a copy of their insurance certificate. A legit installer won’t hesitate to provide it.
Compare Quotes (But Don’t Always Go for the Cheapest)
Get at least three quotes from different installers. But remember: the lowest price isn’t always the best deal. A cheap quote might mean corners are being cut—like using lower-quality materials or skipping essential steps. Look for detailed quotes that break down labor, equipment, and any additional costs (e.g., permits).
For example, one installer quoted me $4,500 for a 24,000 BTU system. Another quoted $5,200 but included a 10-year warranty, free maintenance for a year, and a custom line set cover. Guess who I went with? The second one—and I’ve never regretted it.
Common Mini Split Installation Mistakes (And How to Avoid Them)
Even the best systems can fail if installed incorrectly. I’ve seen it happen—and it’s not pretty. Here are the most common mistakes and how to avoid them.
Poor Unit Placement
Indoor units need proper airflow. If they’re placed near a curtain, behind a couch, or in a cramped corner, they’ll struggle to cool the room. A good installer will measure your space and recommend the optimal location. For example, in my living room, they placed the unit high on the wall, away from direct sunlight and furniture.
Outdoor units need space too. They should be at least 12 inches from walls, bushes, or fences to allow for airflow. I once saw an installer mount a unit right next to a bush—within a month, the leaves were blocking the fan, and the system was overheating. Don’t let this happen to you.
Incorrect Refrigerant Line Sizing
Mini splits are sensitive to refrigerant line length and diameter. Too long, and the system loses efficiency. Too short, and the compressor can overheat. A pro will calculate the exact line length needed and use the correct diameter (usually 1/4″ and 3/8″ for smaller units).
I had a friend who tried a DIY install with a 30-foot line set when the manufacturer recommended 25 feet max. The unit ran, but it never reached full capacity. A professional would’ve known this and adjusted accordingly.
Improper Electrical Connections
Mini splits need a dedicated electrical circuit. If they’re plugged into an existing circuit with other appliances, you’ll trip the breaker—or worse, cause a fire. A licensed electrician should handle the wiring. I’ve seen installers try to “make it work” with extension cords, which is a huge safety hazard.
Also, check if the installer uses the right gauge wire. For example, a 240V unit might need 12-gauge wire, not 14-gauge. This is where expertise really matters.
What to Expect During the Installation Process
Knowing what happens during installation can ease your nerves and help you spot any red flags. Here’s a step-by-step breakdown of a typical mini split install.
Site Assessment and Planning
The installer will visit your home to:
- Measure the space to determine the right unit size (BTUs).
- Check electrical capacity (e.g., panel amperage).
- Plan the best location for indoor and outdoor units.
- Decide on line set routing and drainage.
This step is crucial. If the installer skips it, they’re guessing—not planning. I once watched a crew rush through this phase and end up drilling holes in the wrong wall. Not fun.
Mounting the Units
The indoor unit is mounted on the wall with a mounting bracket. The installer will use a level to ensure it’s perfectly straight—no one wants a crooked AC. The outdoor unit sits on a pad or bracket, depending on the space.
Pro tip: If you have a two-story home, the outdoor unit should be on the same side as the indoor units to minimize line set length. This saves money and improves efficiency.
Running the Line Set and Wiring
This is where the magic happens. The installer will:
- Drill a hole in the wall for the line set (usually 2-3 inches wide).
- Feed the refrigerant lines, drain pipe, and electrical wiring through the hole.
- Connect the lines to the indoor and outdoor units.
They’ll also vacuum the lines to remove air and moisture—this is called “pulling a vacuum.” If they skip this step, your system will have air bubbles, which reduce efficiency and can damage the compressor.
Testing and Commissioning
Once everything’s connected, the installer will:
- Check for refrigerant leaks using a leak detector.
- Test the electrical connections.
- Turn on the system and measure airflow, temperature drop, and refrigerant pressure.
This is your chance to ask questions. A good installer will walk you through the remote control, explain maintenance, and even show you how to clean the filters. I always appreciate when they leave behind a written manual or quick-start guide.
How to Maintain Your Mini Split for Longevity
A well-installed mini split can last 15–20 years, but only if you maintain it properly. Here’s how to keep your system running smoothly.
Clean the Filters Monthly
Dirty filters restrict airflow and make your system work harder. Most mini splits have washable filters—just rinse them with water and let them dry. I set a monthly reminder on my phone to do this. It takes 5 minutes and makes a huge difference.
Inspect the Outdoor Unit
Check the outdoor unit every few months for debris, leaves, or dirt. A quick rinse with a hose can clear out buildup. Also, make sure the area around it is clear—no plants or furniture blocking airflow.
Schedule Annual Professional Maintenance
Even if your system seems fine, have an installer check it yearly. They’ll inspect the refrigerant levels, clean the coils, and ensure all connections are tight. This can catch small issues before they become big (and expensive) problems.
For example, a friend of mine skipped maintenance for two years. By the third year, his unit wasn’t cooling well. The installer found a refrigerant leak—which could’ve been fixed easily if caught earlier. The repair cost him $800. Ouch.
Cost Breakdown: What to Expect When Hiring Installers
Mini split installation costs vary widely based on unit size, complexity, and your location. Here’s a realistic breakdown to help you budget.
| Factor | Average Cost | Notes |
|---|---|---|
| Unit Size (BTUs) | $1,500–$5,000 | 12,000 BTU: $1,500–$2,500; 24,000 BTU: $3,000–$5,000 |
| Labor | $500–$1,500 | Simple install: $500; complex (multi-zone): $1,000+ |
| Line Set and Wiring | $200–$800 | Longer runs or custom routing cost more |
| Permits and Fees | $100–$300 | Required in some cities |
| Additional Features | $200–$1,000+ | Smart thermostats, line set covers, etc. |
Note: These are rough estimates. Always get a detailed quote from your installer.
For example, my 18,000 BTU system cost $4,200 total: $3,000 for the unit, $800 for labor, $300 for line set, and $100 for a permit. But I added a smart thermostat ($200), which was worth it for the convenience.
Final Thoughts: Don’t Cut Corners on Installation
Mini split air conditioners are a fantastic investment—if installed correctly. A great installer will ensure your system works efficiently, saves energy, and lasts for years. They’ll take the time to understand your needs, explain the process, and leave you with a clean, professional job.
Remember, the cheapest option isn’t always the best. Paying a little more for an expert installer can save you thousands in repairs and energy bills down the line. And if you’re ever in doubt, trust your gut. A reputable installer will be transparent, patient, and happy to answer your questions.
So, whether you’re upgrading from window units or building a new home, take the time to find expert mini split air conditioner installers near you. Your comfort (and your wallet) will thank you.
Frequently Asked Questions
How do I find reliable mini split air conditioner installers near me?
Look for licensed, insured, and NATE-certified HVAC contractors with verified reviews and experience installing ductless mini split systems. Prioritize local companies familiar with regional building codes for efficient service.
What should I expect during a mini split installation?
A professional installer will assess your space, mount indoor/outdoor units, connect refrigerant lines, and test the system. Most residential installations take 4–8 hours, depending on complexity.
How much does it cost to hire mini split air conditioner installers?
Installation costs range from $1,500 to $5,000+ depending on unit size, number of zones, and labor rates. Reputable installers provide detailed quotes upfront with equipment and labor breakdowns.
Can mini split air conditioner installers help with permits or rebates?
Yes, many installers handle permit paperwork and guide you through utility rebates or tax credits for energy-efficient systems. Confirm this service during your initial consultation.
Do installers offer warranties on mini split installations?
Most installers provide a 1–2 year labor warranty, while manufacturers offer 5–10 year parts warranties. Ask about extended coverage options during the hiring process.
Why choose professionals over DIY for mini split installation?
Professional installers ensure correct refrigerant charge, electrical connections, and system calibration—critical for efficiency and safety. DIY risks leaks, code violations, and voided warranties.