

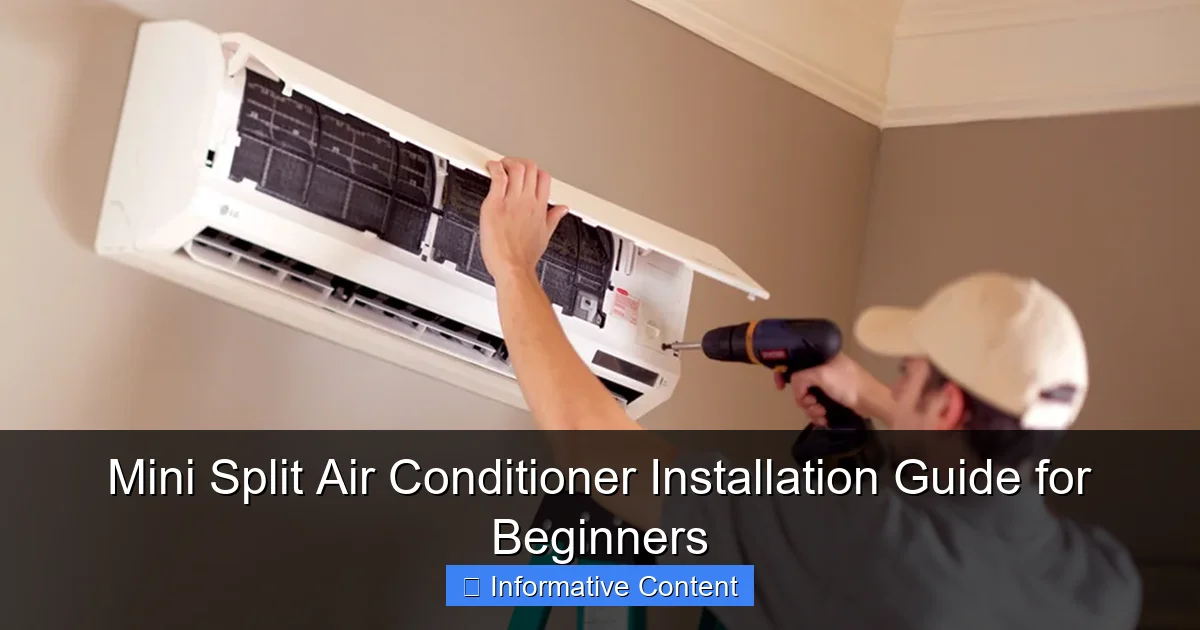
Featured image for mini split air conditioner installation
Image source: 2.bp.blogspot.com
Installing a mini split air conditioner yourself can save hundreds—if you follow the right steps. This beginner-friendly guide walks you through safe electrical connections, proper refrigerant line routing, and secure wall mounting to ensure peak efficiency and avoid costly mistakes. With the right tools and precautions, DIY installation is achievable and rewarding.
Key Takeaways
- Plan carefully: Choose the right unit size and location for optimal efficiency.
- Follow codes: Adhere to local electrical and building codes for safety.
- Seal gaps: Properly insulate and seal wall penetrations to prevent leaks.
- Level is key: Ensure indoor and outdoor units are perfectly level.
- Vacuum lines: Remove moisture and debris from refrigerant lines before connecting.
- Test thoroughly: Run system checks to confirm performance and detect issues.
📑 Table of Contents
- Why Mini Splits Are a Game-Changer for Home Cooling
- What Is a Mini Split Air Conditioner (And Why Choose It?)
- Planning Your Mini Split Installation: The Pre-Work Checklist
- Step-by-Step Installation: From Wall to Working System
- Critical Post-Installation Steps: Testing and Safety
- Maintenance and Troubleshooting: Keeping Your System Running
- Final Thoughts: Is DIY Mini Split Installation Worth It?
Why Mini Splits Are a Game-Changer for Home Cooling
Let’s be honest: dealing with sweltering heat without a reliable air conditioning system is like trying to run a marathon in snow boots. It’s uncomfortable, exhausting, and just plain inefficient. That’s where mini split air conditioners come in. These compact, ductless systems have quietly revolutionized how we cool our homes, offering a smart alternative to bulky window units or expensive central HVAC systems. I remember the first time I installed one in my garage workshop. I was skeptical—how could such a small unit handle the Texas summer heat? But within 20 minutes of turning it on, I was sipping iced tea in a perfectly chilled 72°F space. That’s the magic of mini splits: they’re powerful, efficient, and surprisingly easy to install if you’re willing to get your hands a little dirty.
Whether you’re converting a sunroom, cooling a home office, or just tired of noisy window ACs, this mini split air conditioner installation guide for beginners is designed to walk you through the process step by step. I’ll share the tools you need, the common pitfalls to avoid, and even a few lessons I learned the hard way (like that time I accidentally drilled through a water pipe—yikes). No fluff, no sales pitch, just honest, practical advice to help you get it right the first time.
What Is a Mini Split Air Conditioner (And Why Choose It?)
How Mini Splits Work
Think of a mini split as the lovechild of a window AC and a central air system. It has two main parts: an outdoor compressor/condenser unit and one or more indoor air handlers (the “heads”). These are connected by a small bundle of refrigerant lines, a power cable, and a condensate drain line, all routed through a 3-inch hole in your wall. Unlike central systems, there are no ducts. That means no energy loss from leaky ducts (which can waste up to 30% of cooling power, according to the U.S. Department of Energy). Instead, cold air is delivered directly where you need it, making mini splits up to 30-40% more efficient than traditional systems.
Visual guide about mini split air conditioner installation
Image source: contentgrid.homedepot-static.com
Key Benefits for Beginners
- Zoned cooling: Cool only the rooms you use. Running a 2-ton central AC to chill your 100 sq ft bedroom? That’s like using a firehose to fill a teacup. A mini split lets you set different temps for different zones.
- No ductwork: Ideal for older homes, add-ons, or rentals where installing ducts is impossible or too costly.
- Quiet operation: The noisy compressor is outside. Indoor units hum at a whisper-quiet 19-30 decibels—quieter than a library.
- Energy efficiency: Most models have SEER ratings of 18-30+, far exceeding the 13-16 SEER of standard window units.
Pro tip: If you’re renting or unsure about long-term placement, opt for a portable mini split (like the Senville Leto series). These use a sliding door kit instead of wall penetration, making them renter-friendly.
When a Mini Split Might Not Be the Best Fit
Before you buy, consider these limitations:
- Upfront cost: A single-zone system averages $1,500-$3,500 (vs. $200-$800 for a window unit).
- Installation complexity: While DIY-friendly, it’s not as simple as plugging in a portable AC. You’ll need to handle refrigerant lines and electrical connections.
- Outdoor unit placement: The condenser needs 12-18 inches of clearance on all sides and a solid, level surface. No shady balconies or cramped crawl spaces!
For example, my neighbor tried installing his condenser on a second-story balcony. The vibration rattled the railing, and the unit overheated from poor airflow. Lesson learned: always check local building codes for outdoor unit placement rules.
Planning Your Mini Split Installation: The Pre-Work Checklist
Step 1: Sizing Your System Correctly
“Bigger is better” doesn’t apply here. An oversized unit will cool too quickly, leaving you clammy and wasting energy. Use this simple formula:
- For rooms < 150 sq ft: 6,000-9,000 BTUs
- 150-350 sq ft: 9,000-12,000 BTUs
- 350-550 sq ft: 12,000-18,000 BTUs
- Add 1,000 BTUs for rooms with south-facing windows, poor insulation, or frequent appliance use (e.g., a home gym with treadmills).
Real-world example: My 300 sq ft sunroom has large windows and gets afternoon sun. A 12,000 BTU unit kept it cool, but a 9,000 BTU struggled. Always err on the side of slightly larger if your room has heat-generating features.
Step 2: Choosing Indoor and Outdoor Locations
- Indoor unit: Mount on an interior wall, 6-8 feet high, away from furniture and vents. Avoid kitchens (grease buildup) and bathrooms (moisture). The air handler should have 12+ inches of clearance on all sides.
- Outdoor unit: Place on a concrete pad or wall bracket, 10-15 feet from the indoor unit if possible (max line length varies by model—usually 50-100 ft). Ensure it’s not under eaves (risk of ice buildup) or near air intakes (noise complaints).
- Line set path: Map the shortest route between units. Avoid sharp bends (refrigerant flow issues) and crossing electrical panels (safety hazard).
Pro tip: Use a laser level to mark the indoor unit’s mounting bracket. A crooked unit looks amateur and affects airflow.
Step 3: Gather Your Tools and Materials
You’ll need:
- Basic tools: Drill, 3-inch hole saw, level, stud finder, adjustable wrench, screwdrivers, tape measure.
- Specialized tools: Refrigerant manifold gauge set (for checking pressures), vacuum pump (to remove air from lines), torque wrench (for flare fittings).
- Materials: Line set cover kit (to hide pipes), condensate drain hose, mounting hardware, electrical conduit (if required by code).
- Safety gear: Gloves, safety glasses, hearing protection (for drilling).
Don’t have a vacuum pump? Rent one from an HVAC supply store for $40/day. I learned this after trying (and failing) to use a shop vac to evacuate my lines. Spoiler: it didn’t work, and I had to call a pro to fix it.
Step-by-Step Installation: From Wall to Working System
Step 1: Mount the Indoor Unit Bracket
- Use a stud finder to locate wall studs. Mark the bracket’s position 6-8 feet high, ensuring it’s level.
- Drill pilot holes, then secure the bracket with 2.5-inch lag screws into studs (or heavy-duty drywall anchors if studs aren’t available).
- Double-check the level—this is crucial for proper drainage.
Common mistake: Mounting the bracket too low. This restricts airflow and makes the unit look awkward. My first installation had the unit at 5 feet. My 6’2” brother kept bumping his head on it. Oops.
Step 2: Drill the Wall Penetration
- Mark the center point for the 3-inch hole, 1-2 inches below the indoor unit’s bottom edge (to allow for drainage slope).
- Drill a small pilot hole first to check for obstructions (wires, pipes).
- Use the hole saw to cut through the wall. On exterior walls, go slowly to avoid cracking siding.
- Install a plastic grommet to protect the line set from sharp edges.
Safety note: Turn off power to the area if drilling near outlets or switches. Use a non-contact voltage tester to confirm wires are dead.
Step 3: Route the Line Set, Electrical, and Drain
- Unroll the pre-charged line set (refrigerant lines + control cable + drain hose). Avoid kinks or sharp bends.
- Feed the bundle through the wall hole from inside to outside. Secure it temporarily with a zip tie.
- On the outside, run the lines downward from the hole to the condenser (to prevent rain from entering).
- Connect the drain hose to the indoor unit’s outlet, ensuring it has a 1/4-inch per foot downward slope. Use a P-trap if required by your model.
- For electrical: Run 12/2 or 14/2 NM-B cable (check your manual) from a dedicated 15-20 amp breaker to the indoor unit. Use conduit if the wire passes through walls.
Pro tip: Wrap the line set in foam insulation to prevent condensation and energy loss. I skipped this once and found water dripping inside my wall. Not fun.
Step 4: Mount and Connect the Outdoor Unit
- Place the condenser on a pre-leveled pad or wall bracket. Use rubber anti-vibration pads if on a balcony.
- Connect the refrigerant lines using a torque wrench (over-tightening can crack flares; under-tightening causes leaks). Wrap connections with Teflon tape.
- Attach the control wire to the condenser’s terminal block (match wire colors to labels).
- Connect the drain line if your model has an outdoor condensate drain.
Real-world example: My condenser was 12 feet from the indoor unit. I used a 15-foot line set, leaving slack for movement. The manual specified a 10-foot max for my model, but I called the manufacturer—they approved the extra length with a refrigerant charge adjustment.
Critical Post-Installation Steps: Testing and Safety
Step 1: Evacuate the Refrigerant Lines
- Connect the vacuum pump to the service ports on both units.
- Open the manifold gauge valves and run the pump for 30-60 minutes to remove air and moisture.
- Close valves, turn off the pump, and wait 15 minutes. A stable vacuum reading (29-30 inHg) means no leaks.
- Disconnect the pump, then slowly open the refrigerant valves to charge the system (the lines are pre-charged—no extra refrigerant needed for most models).
Warning: Never skip this step! Trapped air causes poor cooling, high energy bills, and compressor damage. I once rushed this and my unit ran for a week before I noticed ice on the lines. Cost me $200 in repairs.
Step 2: Electrical and Safety Checks
- Turn off power at the breaker. Connect the indoor unit’s wires to the control board (follow the manual’s diagram).
- At the condenser, connect the power supply (usually 240V). Use a voltage tester to confirm proper phase and grounding.
- Check the condensate drain: Pour 1/2 cup of water into the indoor unit’s drain pan. It should flow freely to the outside.
- Inspect all connections for tightness and proper insulation.
Code requirement: In many areas, you need a permit and inspection for the electrical work. Check with your local building department.
Step 3: Power On and Test
- Turn on the breaker. The indoor unit should power up (no beeps or error codes).
- Set the thermostat to “Cool” and 60°F. Within 10 minutes, you should feel cold air.
- Listen for unusual noises (buzzing, grinding) or vibrations.
- Check the refrigerant lines: They should be cold (suction line) and warm (liquid line), with no frost or condensation.
- Run the system for 1-2 hours. Measure temperature drop at the indoor unit (should be 15-20°F cooler than room temp).
Pro tip: Use a thermal camera (or your hand) to check for hot spots on electrical connections. Overheating means a loose wire.
Maintenance and Troubleshooting: Keeping Your System Running
Routine Maintenance Schedule
To avoid costly repairs, follow this schedule:
| Task | Frequency | Notes |
|---|---|---|
| Clean indoor filter | Every 2-4 weeks | Wash with mild soap; dry completely before reinstalling |
| Inspect outdoor unit | Monthly | Remove leaves, debris; ensure 12-inch clearance |
| Check refrigerant lines | Every 6 months | Look for cracks, leaks, or insulation damage |
| Flush condensate drain | Every 6 months | Prevent clogs with a 50/50 vinegar-water solution |
| Professional inspection | Every 2-3 years | Technician checks refrigerant charge, electrical connections, and airflow |
Common Issues and Quick Fixes
- No cooling: Check if the filter is clogged, the breaker is tripped, or the thermostat is set to “Heat.”
- Leaking water: Clean the drain line or check for a clogged filter (causes ice buildup that melts).
- Unit won’t turn on: Verify the remote has batteries and the indoor unit’s emergency switch is “On.”
- Strange noises: Rattling? Tighten loose mounting screws. Hissing? Could be a refrigerant leak—call a pro.
- Frequent short-cycling: Clean the outdoor condenser coils (use a fin comb for bent fins).
Real-world example: My unit kept short-cycling in summer. I discovered a bird’s nest blocking the condenser fan. A quick cleanup restored normal operation.
Final Thoughts: Is DIY Mini Split Installation Worth It?
After installing three mini splits in my own home (and fixing two botched DIY jobs for friends), I can confidently say: yes, it’s worth it—if you’re patient and methodical. You’ll save $500-$1,500 in labor costs, gain a sense of accomplishment, and end up with a system tailored to your needs. But it’s not a weekend project for the faint of heart. Refrigerant handling, electrical work, and wall modifications require focus. If you’re unsure about any step, don’t hesitate to call a pro. I once tried to save $300 on a vacuum pump rental and ended up paying $600 for a technician to fix my mistake.
The key takeaway? Mini split air conditioner installation is doable for beginners, but it’s a marathon, not a sprint. Take your time, follow the manual, and prioritize safety. When you finally feel that crisp, quiet airflow on a 100°F day, you’ll know every drill hole, every torque setting, and every trip to the hardware store was worth it. And if you do hit a snag? Remember: even the pros make mistakes. Just keep learning, and soon you’ll be the neighbor everyone calls for AC advice.
Frequently Asked Questions
What is a mini split air conditioner installation, and how does it work?
A mini split air conditioner installation involves mounting an indoor air-handling unit and connecting it to an outdoor compressor via refrigerant lines. These systems are ductless, making them energy-efficient and ideal for cooling individual rooms or zones.
Can I install a mini split air conditioner myself, or do I need a professional?
While DIY kits are available, professional mini split air conditioner installation is recommended to ensure proper refrigerant handling, electrical connections, and compliance with local codes. Improper installation can void warranties and reduce efficiency.
How much does a mini split air conditioner installation cost on average?
The cost ranges from $1,500 to $5,000, depending on the unit size, number of zones, and labor rates. High-end models with advanced features may cost more but offer long-term energy savings.
What tools are needed for a DIY mini split air conditioner installation?
Essential tools include a drill, hole saw, vacuum pump, refrigerant gauges, and a level. A mounting bracket, line set cover, and electrical supplies are also required for a complete setup.
How long does a mini split air conditioner installation take?
Most installations take 4–8 hours for a single zone, depending on complexity. Multi-zone setups or challenging access may require additional time for routing refrigerant lines and wiring.
What maintenance is required after a mini split air conditioner installation?
Regularly clean the air filters, check refrigerant levels, and inspect outdoor units for debris. Annual professional servicing ensures optimal performance and extends the system’s lifespan.