
Featured image for lennox air conditioner installation
Image source: fahrhall.com
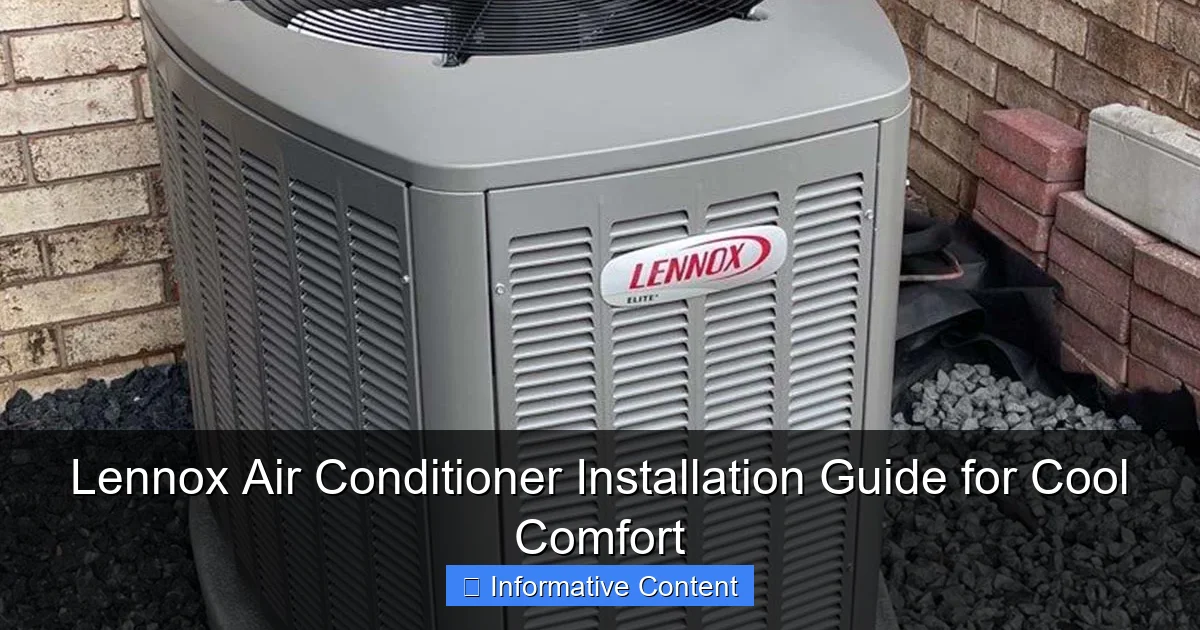
Proper Lennox air conditioner installation ensures maximum efficiency, longevity, and cooling performance. This guide walks you through essential steps—from selecting the right unit and preparing the site to connecting refrigerant lines and verifying system operation—helping both DIYers and pros avoid costly mistakes. Always follow local codes and manufacturer guidelines to maintain warranty coverage and indoor comfort.
Key Takeaways
- Professional installation ensures efficiency: Hire certified technicians for optimal performance and warranty compliance.
- Proper sizing is critical: Match AC unit size to your home’s square footage for best results.
- Clear installation site: Remove obstructions around indoor and outdoor units for airflow and safety.
- Verify electrical requirements: Confirm voltage and amperage match Lennox specifications to avoid damage.
- Test system post-install: Run diagnostics to confirm refrigerant levels and thermostat accuracy.
- Schedule annual maintenance: Extend lifespan with professional tune-ups and filter replacements.
📑 Table of Contents
- Why a Lennox Air Conditioner Installation Could Be Your Best Summer Move
- Choosing the Right Lennox Model for Your Home
- Pre-Installation Checklist: What You Need to Know Before the Crew Arrives
- Step-by-Step: What Happens During a Professional Lennox Air Conditioner Installation
- Common Installation Mistakes (And How to Avoid Them)
- Maintenance After Installation: Keeping Your Lennox Running Smoothly
- Data Table: Lennox Air Conditioner Models Comparison
- Wrapping Up: Your Path to Cool Comfort
Why a Lennox Air Conditioner Installation Could Be Your Best Summer Move
Let me paint a picture for you. It’s the middle of July, the sun is relentless, and your old AC unit is wheezing like a marathon runner on a steep hill. You’re sweating through your t-shirt, your energy bill is skyrocketing, and the only relief is a lukewarm breeze from an overworked window fan. Sound familiar?
If you’re nodding your head, you’re not alone. Every summer, thousands of homeowners face the same dilemma: upgrade their cooling system or suffer through another sweltering season. That’s where a Lennox air conditioner installation comes into play. Lennox has built a reputation for reliability, energy efficiency, and quiet performance—but installing one isn’t as simple as unboxing and plugging it in. Done right, it’s a game-changer. Done wrong? You could be stuck with poor cooling, high bills, and a unit that quits on you when you need it most.
In this guide, I’ll walk you through everything you need to know about installing a Lennox air conditioner—from choosing the right model to avoiding common pitfalls. Whether you’re a DIY enthusiast or hiring a pro, I’ll share real-world tips, practical examples, and honest insights to help you get the most out of your investment.
Choosing the Right Lennox Model for Your Home
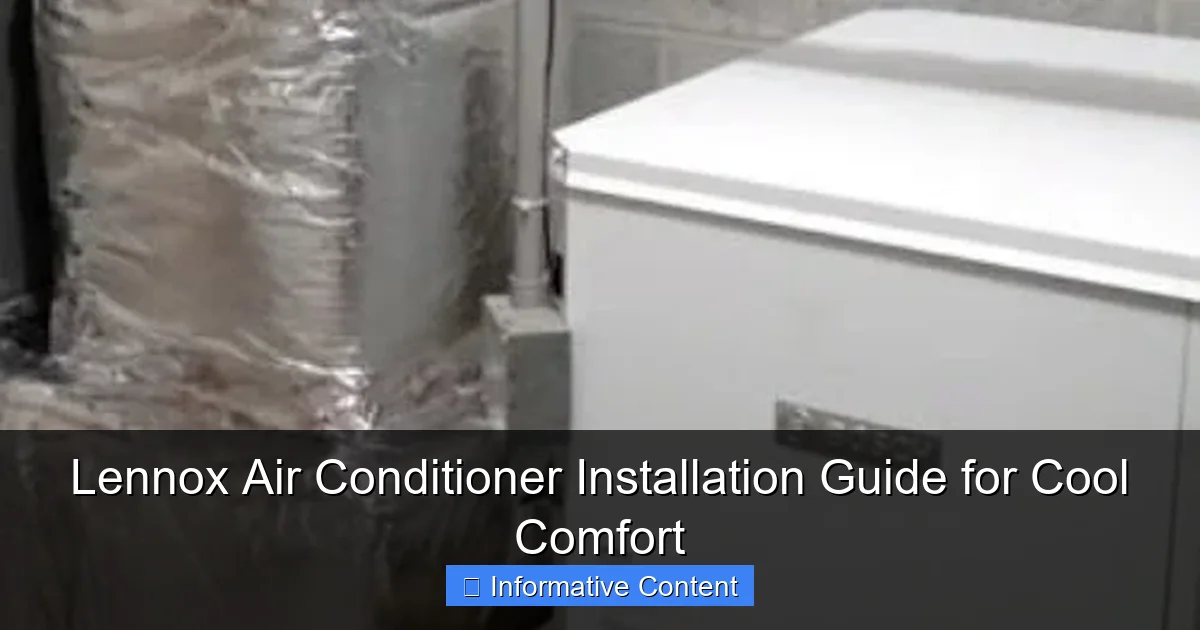
Before you even think about installation, you’ve got to pick the right unit. It’s tempting to go for the biggest, baddest AC on the market, but size matters—and not in the way you might think. Oversized units cool too quickly, leading to short cycling (which wastes energy and wears out parts). Undersized units? They’ll run non-stop and still leave you sweating.
Visual guide about lennox air conditioner installation
Image source: schoonover-hvac.com
Understanding SEER and Efficiency Ratings
SEER (Seasonal Energy Efficiency Ratio) is the big number you’ll see on every Lennox model. It measures how much cooling you get per unit of electricity. The higher the SEER, the more efficient the unit.
- Lennox XC25: SEER up to 26 – one of the most efficient on the market, ideal for hot climates and energy-conscious homeowners.
- Lennox SL28XCV: SEER up to 28 – variable-capacity, ultra-quiet, and smart thermostat compatible. Great for larger homes with uneven cooling needs.
- Lennox XC21: SEER up to 21 – a solid mid-range option, balancing performance and price.
Pro tip: Don’t just chase high SEER. A SEER 16 unit in a mild climate might be more cost-effective than a SEER 26 model. Think long-term savings vs. upfront cost. For example, in Phoenix, AZ, a SEER 20+ unit can cut cooling costs by 30–40% compared to a 10-year-old SEER 10 system.
Matching Size to Your Home’s Needs
Size here refers to cooling capacity, measured in tons (1 ton = 12,000 BTUs per hour). A common mistake? Assuming bigger is better. I once helped a friend in Dallas install a 5-ton unit in a 1,800 sq ft home. It cooled the house in 10 minutes, then shut off—over and over. Humidity stayed high, and the compressor wore out in three years.
Instead, use a Manual J load calculation. This considers:
- Square footage
- Insulation levels
- Window size and orientation
- Number of occupants
- Local climate
A certified HVAC contractor should do this. But if you’re curious, online calculators (like those from Energy Star) can give you a ballpark. For reference:
- 1,000–1,500 sq ft: 2–3 tons
- 1,500–2,000 sq ft: 3–4 tons
- 2,000–2,500 sq ft: 4–5 tons
Smart Features and Compatibility
Lennox has stepped up its smart game. Many models work with the Lennox iComfort S30 thermostat, which learns your habits, adjusts for weather, and even alerts you when filters need changing. If you’ve got a smart home setup (Alexa, Google Home), this is a huge plus.
But here’s a heads-up: older Lennox models may not support the latest tech. If you’re planning to go smart, confirm compatibility before buying. For example, the SL28XCV integrates seamlessly, but a 2015-era XC16 might not.
Pre-Installation Checklist: What You Need to Know Before the Crew Arrives
So you’ve picked your model. Now what? A smooth Lennox air conditioner installation starts with preparation. Skipping this step can lead to delays, extra costs, or even safety issues.
Clear the Area and Ensure Access
Your outdoor condenser unit needs space to breathe. Lennox recommends at least:
- 24 inches of clearance on all sides
- 36 inches in front for service access
- No overhanging branches or shrubs
I learned this the hard way. My neighbor’s unit was tucked behind a rose bush. The HVAC tech spent an hour just clearing space—and charged extra for the “difficult access.”
Also, clear a path for the crew. Move patio furniture, grills, or anything blocking the way. If you’ve got a second-floor unit, ensure the roof or balcony is safe and accessible.
Check Electrical and Ductwork Compatibility
Newer Lennox models often require updated electrical service. Most need a dedicated 240-volt circuit. Older homes may need a panel upgrade or new wiring.
Ask your installer to verify:
- Amperage capacity of your electrical panel
- Wire gauge (usually 10–6 AWG, depending on distance)
- Disconnect switch location (required by code, typically within line of sight of the unit)
Ductwork is another common issue. If your ducts are old, leaky, or undersized, even the best Lennox unit won’t perform. A quick test? Turn on the fan and feel for air leaks at joints. Or, better yet, get a duct blaster test (a pro service that measures leakage).
Permits and Local Codes
Most municipalities require permits for HVAC installations. This ensures the work meets safety and efficiency standards. Your installer should handle this, but it’s good to confirm. In some states (like California), you’ll also need to file for rebates or tax credits—permits are often required for those.
Example: In Austin, TX, the city requires a mechanical permit for AC replacement. The fee is $150, but it’s worth it. I’ve seen DIYers get fined for unpermitted work—and their home insurance voided a claim when a faulty install caused a fire.
Prepare Your Home (Yes, Even the Inside)
Installation can get messy. Cover furniture with drop cloths. Move valuables away from work zones. If you’ve got pets, consider boarding them for the day—noise and strangers can stress them out.
And don’t forget the thermostat. If you’re upgrading to a smart model, make sure the wiring is compatible. Older thermostats might lack a C-wire (common wire), which powers smart thermostats. Some installers add a C-wire kit, but it’s an extra $50–$100.
Step-by-Step: What Happens During a Professional Lennox Air Conditioner Installation
Now for the main event. A typical Lennox air conditioner installation takes 4–8 hours, depending on complexity. Here’s what to expect, from start to finish.
1. Removing the Old Unit
The crew starts by shutting off power and disconnecting refrigerant lines. They’ll carefully remove the old condenser and indoor coil (if replacing). This isn’t just a “pull it out” job—refrigerant must be recovered and disposed of legally (EPA regulations). Expect a 30–60 minute wait for this step.
Pro tip: Ask the crew to show you the old unit’s model number and serial tag. It’s useful for warranty claims or future reference.
2. Installing the New Condenser
The new Lennox condenser is placed on a level pad (usually concrete or composite). The crew will:
- Secure it with vibration pads to reduce noise
- Connect refrigerant lines (copper tubing) and insulate them
- Attach the electrical wiring and disconnect switch
- Install a condensate drain line (if needed)
Watch for this: the lineset must be the correct size and length. Too long? It can cause refrigerant flow issues. Too short? It strains the compressor. Lennox provides specs in the manual—your installer should follow them.
3. Updating the Indoor Components
If you’re replacing the air handler or furnace coil:
- The old coil is removed and the new one (matched to the outdoor unit) is installed
- Duct connections are sealed with mastic (not duct tape—it degrades)
- The blower motor is checked and cleaned
For split systems, this happens in your basement, attic, or utility closet. The crew might need to cut access panels or work in tight spaces. Patience is key!
4. Refrigerant Charging and System Testing
This is where many DIYers go wrong. Refrigerant must be charged to the exact specifications—not “eyeballed.” Too much or too little affects efficiency and can damage the compressor.
The installer will:
- Evacuate the system (remove air and moisture) with a vacuum pump
- Weigh in the correct amount of refrigerant (R-410A for most Lennox models)
- Run the system and check pressures, temperatures, and airflow
They’ll also test the thermostat, safety controls, and emergency shutoff. A good installer will spend 30–45 minutes on this step.
5. Final Walkthrough and Paperwork
Once everything’s running, the crew should:
- Show you how to operate the thermostat
- Explain maintenance (filter changes, cleaning the condenser)
- Provide warranty info and registration instructions
- Leave behind manuals and contact details
Ask for a copy of the load calculation and refrigerant charge report. It’s proof the job was done right—and handy if you sell your home.
Common Installation Mistakes (And How to Avoid Them)
Even with pros, things can go sideways. Here are the top mistakes I’ve seen—and how to steer clear.
Incorrect Refrigerant Charging
As mentioned, this is a biggie. I once visited a home where the installer “topped off” the refrigerant without measuring. The unit ran, but efficiency dropped 20%, and the homeowner got hit with a $2,000 repair a year later.
How to avoid: Demand a written report showing the exact refrigerant amount. Lennox units have a data plate with the charge weight—match it.
Poor Duct Sealing
Leaky ducts waste 20–30% of your cooling. I’ve seen installers use tape (a no-no) or skip sealing altogether.
How to avoid: Ask for a duct leakage test (blower door test). Or, inspect joints yourself—look for gaps. If you see light, it’s leaking.
Wrong Thermostat Placement
Placing the thermostat near a heat source (like a kitchen or sunny window) makes the AC run longer than needed. I once fixed a “broken” Lennox unit—only to find the thermostat was next to the garage door!
How to avoid: Install the thermostat on an interior wall, away from vents, windows, and appliances.
Ignoring the Manual J
Some installers skip the load calculation and “size by square footage.” This leads to oversized units—like the 5-ton in my friend’s home.
How to avoid: Insist on a Manual J report. Reputable contractors won’t charge extra for it (it’s part of their job).
Skipping the Warranty Registration
Lennox offers up to 10 years of parts and compressor coverage—but only if you register within 60 days. I’ve seen homeowners miss out because the installer didn’t remind them.
How to avoid: Register online at LennoxPros.com. Keep the serial number handy (it’s on the unit’s data plate).
Maintenance After Installation: Keeping Your Lennox Running Smoothly
Your Lennox air conditioner installation is just the beginning. Proper care ensures years of reliable service.
Monthly Tasks
- Change the air filter every 1–3 months (more often if you’ve got pets or allergies). A dirty filter restricts airflow, forcing the unit to work harder.
- Clean the condenser coils with a garden hose (turn off power first). Remove leaves, grass, and debris.
- Check the condensate drain for clogs. Pour a cup of bleach down the line every spring.
Seasonal Checks
- Spring: Schedule a professional tune-up. The tech will check refrigerant, electrical connections, and airflow.
- Fall: Cover the condenser (optional) with a breathable cover to protect from debris. Never use plastic—it traps moisture.
When to Call a Pro
Watch for these red flags:
- Unit runs constantly but doesn’t cool
- Strange noises (grinding, hissing)
- High energy bills with no change in usage
- Water leaks or ice on the coils
Most issues are fixable, but the sooner you catch them, the cheaper the repair. For example, a refrigerant leak can cost $300 to fix—but a seized compressor? $1,500+.
Data Table: Lennox Air Conditioner Models Comparison
| Model | SEER Rating | Sound Level (dBA) | Smart Thermostat | Best For |
|---|---|---|---|---|
| XC25 | Up to 26 | 58–66 | iComfort S30 | Hot climates, energy savings |
| SL28XCV | Up to 28 | 54–62 | iComfort S30 | Large homes, quiet operation |
| XC21 | Up to 21 | 68–72 | Lennox ComfortSense | Budget-friendly, reliable cooling |
| EL18XCV | Up to 18 | 69–74 | Lennox ComfortSense | Entry-level, mild climates |
Note: SEER and sound levels vary by tonnage and installation conditions. Always check the specific unit’s data sheet.
Wrapping Up: Your Path to Cool Comfort
Installing a Lennox air conditioner isn’t just about beating the heat—it’s about investing in comfort, efficiency, and peace of mind. Done right, your new system will cool your home evenly, lower your bills, and run quietly for years.
But here’s the truth: the brand matters less than the installation. A poorly installed XC25 won’t outperform a well-installed EL18XCV. That’s why choosing a qualified contractor is crucial. Look for NATE-certified techs, check reviews, and don’t skip the Manual J.
And remember, maintenance is your friend. A little care each month can prevent big headaches down the road. Change filters, clean coils, and schedule annual tune-ups.
So, is a Lennox air conditioner installation worth it? If you value reliability, energy savings, and smart features—yes, absolutely. Just do your homework, prepare your home, and don’t cut corners. Your future self (and your wallet) will thank you.
Now, go enjoy that cool, quiet, perfectly balanced air. You’ve earned it.
Frequently Asked Questions
How much does Lennox air conditioner installation typically cost?
Lennox air conditioner installation costs vary based on system size, complexity, and region, but typically range from $3,500 to $7,500. Professional installation ensures optimal performance and warranty compliance.
Can I install a Lennox AC unit myself to save money?
DIY installation is not recommended for Lennox air conditioners—certified technicians ensure proper refrigerant handling, electrical connections, and warranty validity. Improper installation can lead to inefficiency or system damage.
What should I look for in a Lennox air conditioner installation contractor?
Choose a contractor with Lennox Premier Dealer status, proper licensing, and NATE certification. Check customer reviews to ensure reliable Lennox air conditioner installation service and post-installation support.
How long does a Lennox air conditioner installation take?
Most installations take 4–8 hours, depending on system complexity and ductwork needs. A professional team will minimize disruptions while ensuring thorough setup and testing.
Do I need permits for Lennox air conditioner installation?
Yes, many areas require HVAC permits for Lennox air conditioner installation to comply with local codes. Reputable contractors handle permit paperwork and inspections as part of the service.
What maintenance is needed after installing a Lennox AC?
Schedule annual professional tune-ups and replace filters every 1–3 months to maintain efficiency. Proper upkeep extends the lifespan of your Lennox system and preserves the warranty.