
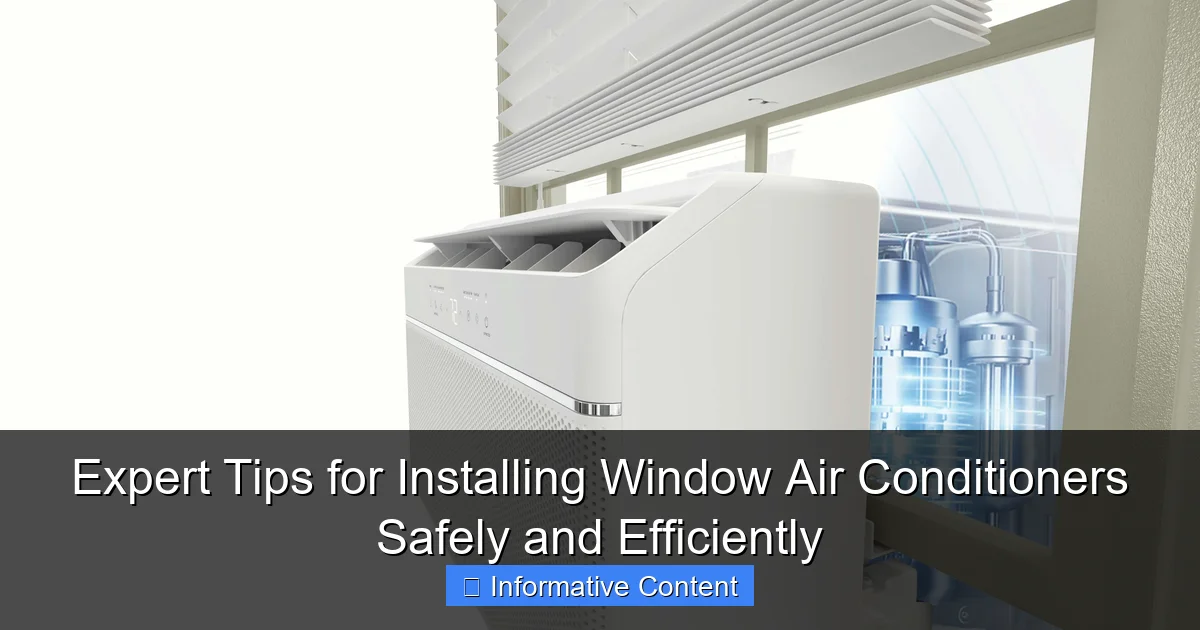
Featured image for installing window air conditioners
Image source: d1pjg4o0tbonat.cloudfront.net
Proper installation is crucial for maximizing efficiency and ensuring safety when installing window air conditioners. Always secure the unit with support brackets, seal gaps with foam or weatherstripping, and tilt it slightly outward for optimal drainage and performance. Following manufacturer guidelines and local codes prevents hazards like electrical issues or structural damage.
Key Takeaways
- Measure carefully: Ensure precise window dimensions for a snug, efficient fit.
- Check support brackets: Install and secure brackets before placing the unit.
- Seal all gaps: Use foam tape or insulation to prevent air leaks.
- Tilt slightly outward: Angle the AC 5° for proper drainage and efficiency.
- Verify electrical safety: Plug into a grounded outlet; avoid extension cords.
- Clean regularly: Maintain filters monthly to boost performance and air quality.
- Remove in winter: Store indoors to protect the unit and seal windows.
📑 Table of Contents
- Why Proper Window Air Conditioner Installation Matters
- Step 1: Choosing the Right Window Air Conditioner
- Step 2: Preparing the Window and Workspace
- Step 3: Installing the Air Conditioner Safely
- Step 4: Sealing Gaps and Insulating for Efficiency
- Step 5: Electrical Safety and Testing
- Step 6: Maintenance Tips for Long-Term Performance
- Data Table: Common Window AC Issues and Fixes
- Final Thoughts: Enjoy Cool, Safe Comfort
Why Proper Window Air Conditioner Installation Matters
There’s nothing quite like the relief of a cool breeze from a window air conditioner after a long, sweltering day. But that comfort can quickly turn into frustration if your unit isn’t installed correctly. I learned this the hard way a few summers ago when my brand-new AC started leaking water onto the floor, wobbling dangerously in the window, and barely cooling the room. It turned out I’d skipped a few crucial steps—like checking the window frame and securing the unit properly.
Installing a window air conditioner safely and efficiently isn’t just about plugging it in and turning it on. It’s about making sure the unit is stable, energy-efficient, and doesn’t become a safety hazard. Whether you’re a first-time installer or just looking to avoid past mistakes, this guide will walk you through everything you need to know to get it right—from choosing the right unit to sealing gaps and maintaining performance.
Step 1: Choosing the Right Window Air Conditioner
Before you even think about installation, you need to pick the right air conditioner for your space. The wrong unit can lead to poor cooling, higher energy bills, and even damage to your window frame. Here’s how to make an informed choice.
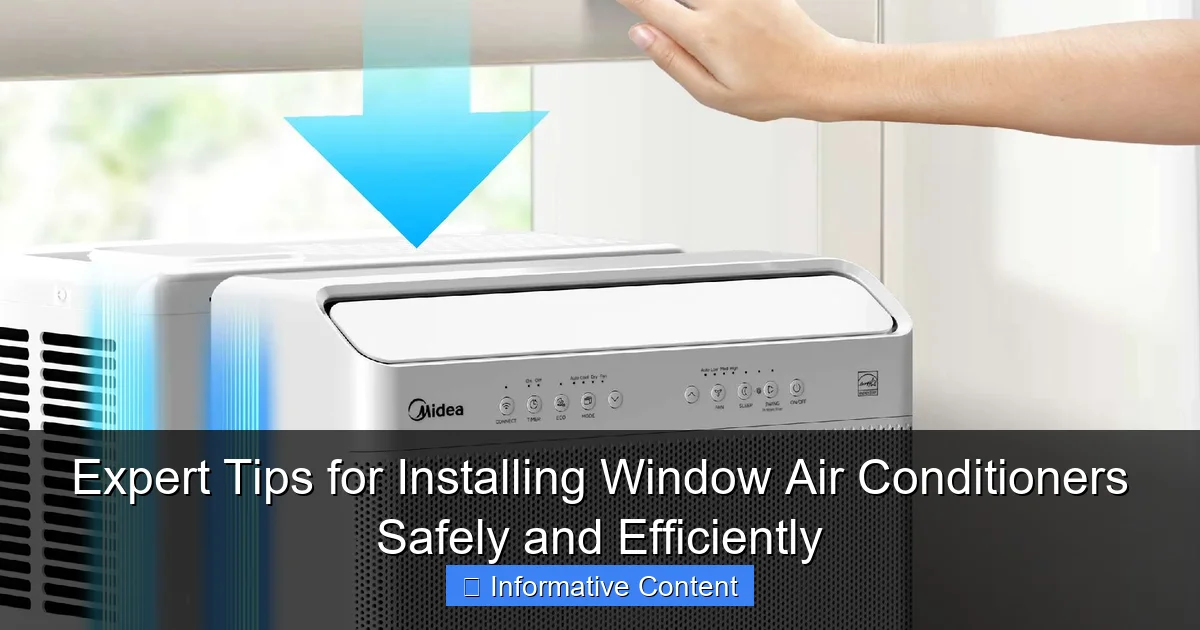
Visual guide about installing window air conditioners
Image source: d1pjg4o0tbonat.cloudfront.net
Measure Your Room Accurately
Most manufacturers recommend a unit with 20 BTUs (British Thermal Units) per square foot of space. For example, a 150-square-foot bedroom would need a 3,000-BTU unit, while a 350-square-foot living room might require an 8,000-BTU model. But don’t stop at room size—consider these factors too:
- Sun exposure: Rooms with large south- or west-facing windows need more cooling power. Add 10% to the BTU calculation.
- Ceiling height: Standard calculations assume 8-foot ceilings. For every additional foot, increase BTUs by 10%.
- Occupancy: Each person adds about 600 BTUs due to body heat. A family of four in a 400-square-foot room might need a 10,000-BTU unit instead of 8,000.
When I installed my first AC, I ignored the sun exposure factor. The unit struggled all day, and my energy bill spiked. Lesson learned: always account for heat sources.
Check Window Compatibility
Not every window can handle a standard window AC. Measure the width and height of your window opening. Most units fit windows between 23 and 36 inches wide and at least 15.5 inches high. If your window is narrower, you might need a slider/casement air conditioner or a portable AC instead.
Also, check the sill depth. The AC’s support brackets usually require at least 10–12 inches of sill to rest on. I once tried installing a unit on a shallow sill—it tilted forward, and I had to reinforce it with wood blocks (not ideal, but it worked).
Prioritize Energy Efficiency
Look for the Energy Star label and check the Combined Energy Efficiency Ratio (CEER). The higher the CEER, the less energy the unit uses. For example, a 10,000-BTU AC with a CEER of 12.0 uses about 833 watts, while one with a CEER of 10.5 uses 952 watts. That’s a 14% difference in energy use!
Also, consider features like:
- Programmable thermostat (saves energy by cooling only when needed)
- Sleep mode (gradually increases temperature at night)
- Smart controls (remote access via app for pre-cooling before you get home)
Step 2: Preparing the Window and Workspace
Once you’ve got the right AC, it’s time to prep your window. This step is often overlooked, but it’s critical for safety and efficiency.
Clear the Area and Gather Tools
Move furniture, curtains, and any obstacles away from the window. You’ll need:
- Tape measure
- Screwdriver (Phillips or flathead, depending on the unit)
- Scissors or utility knife (for cutting foam insulation)
- Level (to ensure the AC is straight)
- Work gloves (to protect your hands from sharp edges)
- Helper (window ACs are heavy—don’t try to install alone!)
<
I once tried installing a 12,000-BTU unit solo. It took me 45 minutes, and I nearly dropped it. A friend’s help made the second attempt smooth and safe.
Inspect the Window Frame and Sill
Look for signs of rot, cracks, or loose screws in the frame. If the wood is soft or the sill is wobbly, you’ll need to reinforce it before installing the AC. Use exterior-grade wood filler for small cracks or add a metal support bracket for weak sills.
Also, check the weather stripping. If it’s cracked or missing, replace it. This helps prevent drafts and improves insulation.
Clean the Window Tracks
Dirt and debris in the window track can make it hard to slide the AC into place. Vacuum or wipe the tracks clean. If they’re sticky, a little silicone spray can help (avoid oil-based lubricants—they attract dust).
Step 3: Installing the Air Conditioner Safely
Now for the main event. Follow these steps to secure the AC without risking injury or damage.
Attach the Support Brackets
Most window ACs come with an L-shaped support bracket that attaches to the sill. Position it so the AC will tilt slightly backward (about 1/4 inch) to help condensation drain outside. Use the screws provided, but don’t overtighten—you might crack the sill.
Pro tip: If your sill is uneven, use a thin shim (like a paint stir stick) under the bracket to level it.
Slide the AC into the Window
With a helper, lift the AC and slide it into the window. Make sure the bottom of the unit rests on the support bracket. Close the window sash until it’s snug against the AC’s top rail. Don’t force it—if it’s stuck, check for misalignment.
For double-hung windows, you’ll usually need to remove the top sash. For slider windows, the AC mounts vertically with side panels to fill the gap.
Secure the Unit with Side Panels and Screws
Most ACs have adjustable side panels (accordion-style or sliding) to fill the space between the unit and the window frame. Extend them fully and lock them in place. Then, use the screws provided to attach the top rail to the window sash. This prevents the AC from falling forward.
I once skipped the screws, thinking the weight would keep it in place. Big mistake—a gust of wind nearly pulled the unit out!
Check for Level and Stability
Place a level on top of the AC. If it’s not straight, adjust the support bracket or add shims. The unit should feel rock-solid when you press on it. If it wobbles, double-check the brackets and screws.
Step 4: Sealing Gaps and Insulating for Efficiency
Even a perfectly installed AC can waste energy if there are gaps around it. Sealing is key to keeping cool air in and hot air out.
Use Foam Weather Stripping
Cut foam strips to fit between the window sash and the AC’s top rail. Press them in firmly. For side gaps, use foam tape or adhesive-backed weather stripping. I like the self-adhesive foam tape from Home Depot—it’s easy to apply and lasts for years.
Install an Exterior Storm Panel (Optional)
For extra insulation, attach a clear acrylic panel to the outside of the window. It creates a dead-air space that reduces heat transfer. You can buy pre-made panels or cut one to size with a utility knife.
Seal the Bottom Gap
If there’s a gap under the AC, stuff it with fiberglass insulation or a foam board cut to size. Avoid using loose insulation—it can block drainage.
Warning: Never seal the back of the AC completely. The unit needs airflow to expel heat. Only seal the sides, top, and bottom.
Step 5: Electrical Safety and Testing
Power is the final piece of the puzzle. Do this wrong, and you risk overheating, tripped circuits, or even a fire.
Use the Right Outlet
Most window ACs require a standard 120-volt outlet. Check the unit’s manual for amperage (usually 10–15 amps). Plug the AC directly into the wall—never use an extension cord or power strip. These can overheat under the high load.
If your outlet is old or loose, replace it. I once had a buzzing outlet that turned out to be a loose wire—scary stuff!
Test the Unit
Turn on the AC and listen for unusual noises (grinding, rattling). Check that air blows strongly from the front vents. After 10 minutes, feel the back—it should be warm, not hot.
Use a thermometer to measure the air temperature. It should be 15–20°F cooler than the room air. If not, check for:
- Dirty air filter (clean or replace it)
- Blocked condenser coils (clean with a coil brush)
- Low refrigerant (call a pro—don’t DIY this!)
Monitor for Leaks
Condensation is normal, but water inside the room isn’t. Check for leaks after running the AC for 30 minutes. If you see water, the unit might be tilted too far forward or the drain holes might be clogged.
Step 6: Maintenance Tips for Long-Term Performance
Your AC will last longer and run more efficiently if you maintain it properly. Here’s how.
Clean the Filter Monthly
A dirty filter restricts airflow, making the AC work harder. Wash it with mild soap and water, then let it dry completely before reinstalling. Some units have reusable filters; others need replacement every 3–6 months.
Clean the Coils Annually
Over time, dust and grime build up on the evaporator and condenser coils. This reduces cooling efficiency. Use a soft brush and coil cleaner (available at hardware stores) to gently clean them. Never use a pressure washer—it can bend the fins.
Inspect Seals and Brackets
Check the foam strips and screws every few months. Replace any that are cracked or loose. I keep a small kit with extra foam tape and screws in my toolbox—it saves trips to the store.
Remove the AC in Winter
Leaving the AC in the window all year can damage the unit and let cold air in. If you can’t remove it, cover it with a weatherproof AC cover to protect it from snow and ice.
Data Table: Common Window AC Issues and Fixes
| Issue | Possible Cause | Quick Fix |
|---|---|---|
| Water leaking inside | Unit tilted forward, clogged drain holes | Adjust tilt, clear drain holes with wire |
| Not cooling | Dirty filter, blocked coils, low refrigerant | Clean filter/coils, call pro for refrigerant |
| Loud noises | Wobbly unit, loose parts | Tighten screws, check for debris in fan |
| Tripped circuit breaker | Overloaded outlet, faulty wiring | Plug into dedicated outlet, check wiring |
Final Thoughts: Enjoy Cool, Safe Comfort
Installing a window air conditioner might seem daunting, but with the right prep and care, it’s a manageable DIY project. The key is to take your time—measure twice, install once. Focus on stability, sealing, and electrical safety, and your AC will keep you cool for years.
Remember, it’s not just about surviving the summer heat. A well-installed AC saves energy, reduces noise, and prevents costly repairs. So grab your tools, call a friend, and enjoy the cool air with peace of mind. After all, comfort shouldn’t come with a side of stress.
Frequently Asked Questions
What’s the best way to install a window air conditioner safely?
To install a window air conditioner safely, ensure the unit is level and securely supported by brackets or mounting hardware. Always follow the manufacturer’s instructions and check that the window frame is sturdy enough to support the weight. Never install the AC near curtains or flammable materials.
Do I need special tools to install a window air conditioner?
Most window air conditioner installations require basic tools like a screwdriver, level, measuring tape, and possibly a drill. Some units include mounting hardware, but you may need additional support brackets or weather stripping depending on your window type. Check the manual for specifics.
How do I ensure my window AC is energy efficient after installation?
For optimal efficiency, seal gaps around the unit with foam strips or weatherstripping to prevent air leaks. Ensure the unit is tilted slightly outward for proper drainage and clean the filter regularly. A tight, insulated seal reduces energy waste and improves cooling performance.
Can I install a window air conditioner alone?
While it’s possible to install a window air conditioner solo, having a helper is highly recommended due to the unit’s weight and awkward positioning. If working alone, use a temporary brace or support bar to hold the AC in place while securing it.
What are common mistakes to avoid during window air conditioner installation?
Common mistakes include skipping the support brackets, failing to level the unit, or leaving gaps unsealed. Avoid overloading electrical circuits and never place the AC where it could fall or obstruct emergency exits. Proper installation ensures safety and efficiency.
How do I prepare my window for air conditioner installation?
Clear the window area of obstructions, measure the opening to confirm fit, and clean the sill or frame. For older windows, reinforce the frame if needed and ensure the locking mechanism works. Preparing the space reduces installation time and improves stability.