
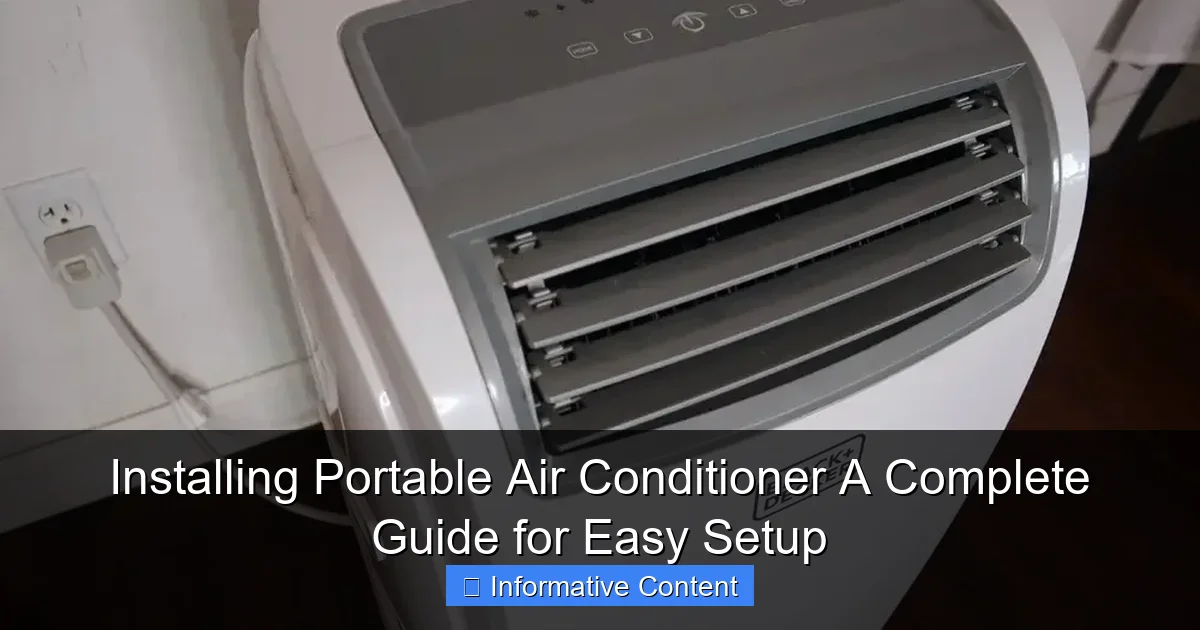
Featured image for installing portable air conditioner
Image source: i.insider.com
Installing a portable air conditioner is quick and tool-free, requiring only a compatible window kit and proper ventilation for optimal performance. Follow the manufacturer’s instructions to seal gaps and direct exhaust heat outside, ensuring efficient cooling and preventing hot air from re-entering your space. With minimal setup, you’ll enjoy instant relief from the heat—no professional help needed.
Key Takeaways
- Choose the right size: Match AC capacity to room size for optimal cooling.
- Ventilation is crucial: Always install the exhaust hose through a window or wall.
- Seal gaps tightly: Prevent hot air leaks with included window sealing kits.
- Drain water regularly: Empty the tank or use continuous drainage if needed.
- Place near power source: Avoid extension cords to ensure safe operation.
- Clean filters weekly: Maintain airflow and efficiency with routine cleaning.
📑 Table of Contents
- Why a Portable Air Conditioner Might Be Your Summer Savior
- Understanding How Portable Air Conditioners Work
- Tools and Materials You’ll Need for Installation
- Step-by-Step Installation Guide
- Optimizing Performance and Efficiency
- Troubleshooting Common Installation Issues
- Final Thoughts: Enjoy Your Cool Oasis
Why a Portable Air Conditioner Might Be Your Summer Savior
Let’s be honest—summer heat can be brutal. Whether you’re living in an apartment without central AC, renting a space where permanent installations aren’t allowed, or just need a little extra cooling in a sun-drenched bedroom, a portable air conditioner can be a game-changer. I remember my first summer in a top-floor apartment with no ceiling fan and a window unit that rattled like a washing machine. That’s when I discovered portable ACs. They’re not magic, but they’re close enough when you’re sweating through your sheets at 2 a.m.
Installing a portable air conditioner might sound intimidating at first, especially if you’ve never dealt with hoses, exhausts, or window kits. But here’s the good news: with the right guidance, it’s actually one of the simplest home cooling solutions to set up. No electricians, no major modifications, and no need to drill holes in your walls (in most cases). In this guide, I’ll walk you through every step of the installing portable air conditioner process—from unboxing to first cool breeze—so you can beat the heat with confidence. Whether you’re a DIY newbie or a seasoned home improver, this guide is for you.
Understanding How Portable Air Conditioners Work
Before you dive into installation, it helps to understand what you’re working with. A portable air conditioner isn’t just a box that blows cold air—it’s a compact, self-contained system that cools your space by removing heat and humidity. Unlike window units, which sit outside your window, portable ACs sit inside your room and vent hot air through a hose to the outside. Think of it like a mini HVAC system on wheels.
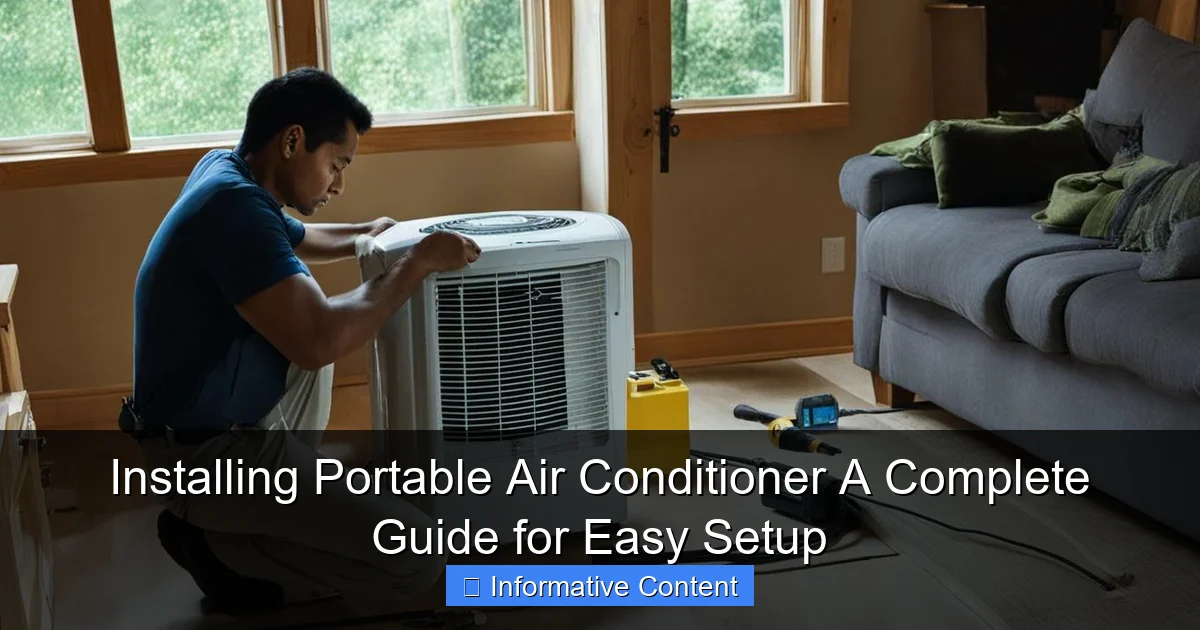
Visual guide about installing portable air conditioner
Image source: breezeboss.com
Single Hose vs. Dual Hose Systems
The first thing to know is that portable ACs come in two main types: single-hose and dual-hose. This isn’t just a branding choice—it affects performance, efficiency, and where you can install it.
- Single-hose models have one exhaust hose that vents hot air outside. They’re simpler to install and more common. However, they create negative pressure in the room, which can pull warm, humid air back in from other areas. This reduces efficiency, especially in very hot or humid climates. I once used a single-hose unit in a 95°F garage, and while it cooled the immediate area, it struggled to keep up after an hour.
- Dual-hose models have two hoses: one that draws fresh air from outside to cool the condenser, and another that exhausts hot air. This prevents negative pressure and generally provides better cooling performance. They’re a bit more complex to install, but worth it if you live in a hot, humid area or want faster cooling. For example, my cousin in Miami swears by his dual-hose unit—it cools his 400 sq ft living room in under 20 minutes.
Tip: If you’re in a dry climate or cooling a small room (under 300 sq ft), a single-hose unit is usually sufficient. For larger spaces or high humidity, go dual-hose.
BTUs and Room Size: Matching the Right Unit to Your Space
You’ll see BTUs (British Thermal Units) listed on every portable AC. This number tells you how much cooling power the unit has. But more isn’t always better—oversizing can lead to short cycling (the unit turning on and off too quickly), while undersizing means it’ll struggle to cool.
- 10,000–12,000 BTUs: Best for 200–300 sq ft rooms (e.g., a bedroom or home office).
- 13,000–14,000 BTUs: Ideal for 300–400 sq ft (e.g., a living room or studio apartment).
- 15,000+ BTUs: For larger spaces (400+ sq ft) or very hot climates.
I once tried to cool my entire 600 sq ft apartment with a 12,000 BTU unit. It worked, but it ran nonstop and barely kept the temperature below 78°F. Lesson learned: match the BTU to your space. Also, consider room layout—open floor plans need more power than enclosed rooms.
Drainage: Self-Evaporating vs. Manual Drain
Portable ACs remove moisture from the air, and that water has to go somewhere. Most modern units are “self-evaporating,” meaning they use the hot exhaust air to evaporate most of the condensation, so you rarely need to empty the tank. But in very humid environments (like coastal areas), you may still need to drain occasionally.
- Self-evaporating models: Great for low-humidity areas or short-term use. I use one in my dry Colorado home and haven’t drained it in six months.
- Manual drain models: Require you to empty a water tank every few days or connect a hose to a floor drain. Not fun, but sometimes necessary.
Pro tip: If you’re in a humid climate, look for a model with a “continuous drain” option. You can attach a hose to the unit and run it to a floor drain or bucket—no more manual emptying!
Tools and Materials You’ll Need for Installation
One of the best things about installing a portable air conditioner is that it requires minimal tools. You won’t need a toolkit full of wrenches or a ladder. Most of what you need comes with the unit or is already lying around your house.
Essential Tools and Supplies
- Window kit (included with most units): Usually a plastic or foam insert with a hole for the exhaust hose. This is the heart of your setup.
- Exhaust hose: Typically 5–7 feet long, flexible, and corrugated. Make sure it’s not kinked—this reduces airflow.
- Hose connectors: These attach the hose to the AC unit and the window kit. Most are universal, but check compatibility.
- Measuring tape: To measure your window and ensure the kit fits.
- Scissors or utility knife: For trimming foam or plastic inserts.
- Level (optional but helpful): To make sure your window kit is straight.
- Extension cord (only if necessary and rated for AC use): Never use a standard extension cord—it’s a fire hazard. If you must, get a heavy-duty 14-gauge cord rated for 15 amps.
Optional but Helpful Extras
- Foam weather stripping: If your window kit doesn’t seal well, use this to fill gaps and prevent hot air from sneaking in.
- Zip ties: To secure the hose and prevent it from sagging or disconnecting.
- Drain hose (if not included): For continuous drainage in humid climates.
- Portable fan: To help circulate cool air after the AC is running.
Real-world example: When I installed my first portable AC, I didn’t have foam stripping. The kit fit, but warm air kept leaking in through the sides. I fixed it with some leftover weather stripping from a door project—worked like a charm. Don’t skip sealing the gaps!
Checking Your Window Type
Most portable ACs work with single-hung, double-hung, or sliding windows. Casement or awning windows? You might need an adapter or a custom solution. Measure your window opening before buying—some kits only fit windows 24–48 inches wide. If your window is too wide, you can cut the foam insert to size, but make sure it still seals tightly.
Step-by-Step Installation Guide
Now for the fun part: actually setting up your portable air conditioner. I’ll walk you through the process as if we’re doing it together. Take your time—this isn’t a race. A proper install means better cooling and fewer headaches later.
Step 1: Choose the Right Location
Start by picking the best spot for your unit. Here’s what to look for:
- Near a window: The exhaust hose should be as short and straight as possible. Max length is usually 7 feet—longer hoses reduce efficiency.
- Near a power outlet: Avoid extension cords if you can. Plug directly into a grounded outlet. If the outlet is far, consider relocating the AC or using a heavy-duty cord (rated for AC use).
- On a flat, stable surface: The unit should sit level. If the floor is uneven, use shims or a small platform.
- At least 12–18 inches from walls and furniture: This allows proper airflow. I once placed mine too close to a bookshelf—it overheated after a few hours.
Step 2: Assemble the Window Kit
Open your window and lay out the window kit parts. Most kits include:
- A plastic or foam insert with a hole for the hose.
- Adjustable side panels (foam or plastic) to fit different window widths.
- Screws or clips to secure it in place.
Slide the insert into the window opening. Adjust the side panels until the kit fits snugly. Use the level to make sure it’s straight. If there are gaps, use foam stripping to seal them. Tip: Don’t overtighten screws—this can warp the plastic.
Step 3: Connect the Exhaust Hose
Attach one end of the hose to the AC unit’s exhaust port (usually on the back or side). Push it in until it clicks or use the included clamp to secure it. Then, connect the other end to the window kit. Again, make sure it’s snug—no gaps. If your hose is too long, don’t coil it up. Cut it to size (if possible) or run it straight out the window.
Pro tip: Use zip ties to secure the hose to the window frame. This prevents it from falling out or getting kinked.
Step 4: Position the AC Unit and Test
Roll the portable air conditioner into place. Make sure the hose isn’t stretched or bent. Plug it in and turn it on. Listen for any strange noises—grinding, rattling, or hissing. These could mean a loose hose or airflow blockage. Let it run for 10–15 minutes. You should feel cool air coming from the front vents and hot air from the exhaust hose.
If it’s not cooling well, check these common issues:
- Is the hose kinked or blocked?
- Is the window kit sealed properly?
- Is the filter clean? (Dirty filters reduce airflow.)
Optimizing Performance and Efficiency
Installing your portable AC is just the beginning. To get the most out of it, you’ll need to fine-tune the setup and maintain it properly.
Sealing the Window Kit: Why It Matters
A poorly sealed window kit can let in hot air and reduce cooling efficiency by up to 30%. After installing the kit, run your hand around the edges. If you feel a draft, seal it with foam stripping, duct tape, or even a damp towel (temporarily). For a permanent fix, consider installing a window AC seal kit—they’re cheap and effective.
Using Curtains or Reflective Film
Even the best portable AC struggles if the sun is beating through the window. Use blackout curtains or reflective film to block solar heat. I installed reflective film on my south-facing window, and it cut the indoor temperature by 5°F—without running the AC longer.
Smart Placement Tips
- Keep the hose as short and straight as possible: Every bend or extra foot reduces airflow.
- Elevate the unit slightly if possible: Cold air sinks, so placing it on a low table or platform helps distribute cool air.
- Use a fan to circulate air: A small oscillating fan can push cool air to other areas of the room.
Regular Maintenance for Long-Term Performance
- Clean the filter monthly: A clogged filter forces the AC to work harder. Most filters are washable—just rinse with water and let dry.
- Check the drain tank: Even self-evaporating models may need occasional draining.
- Inspect the hose and seals: Look for cracks or loose connections every few months.
My routine: I clean my filter every three weeks and drain the tank once a summer. It takes 10 minutes and keeps the unit running smoothly.
Troubleshooting Common Installation Issues
Even with careful setup, things can go wrong. Here are the most common issues and how to fix them—without calling a pro.
Unit Not Cooling Properly
- Check the exhaust hose: Is it kinked, too long, or disconnected?
- Inspect the filter: A dirty filter blocks airflow.
- Verify the room size: Is the AC undersized for your space?
- Look for hot air leaks: Is the window kit sealed? Are doors or vents open?
Water Leaking from the Unit
This usually means the drain tank is full or the unit isn’t level. Empty the tank and make sure the AC is sitting flat. If it keeps leaking, check the drain port for clogs.
Excessive Noise or Vibration
Place the unit on a rubber mat or foam pad to reduce vibration. Make sure nothing is touching the back or sides. If the noise persists, the compressor might be failing—contact the manufacturer.
Hose Keeps Falling Out
Use zip ties, clamps, or duct tape to secure both ends. For the window kit, add a small hook or clip to hold the hose in place.
| Issue | Possible Cause | Quick Fix |
|---|---|---|
| Not cooling | Kinked hose, dirty filter | Straighten hose, clean filter |
| Water leak | Full tank, unlevel unit | Empty tank, level the unit |
| Too noisy | Vibration, loose parts | Use a rubber mat, check connections |
| Hose disconnects | Loose fit, no clamp | Use zip ties or clamps |
Final Thoughts: Enjoy Your Cool Oasis
Installing a portable air conditioner isn’t just about setting up a machine—it’s about creating a comfortable, livable space during the hottest months of the year. I’ve been there: sweaty, frustrated, and ready to give up. But once you get it right, there’s nothing better than walking into a cool room after a long, hot day.
Remember, the key to a successful installing portable air conditioner experience is preparation. Choose the right unit for your space, seal the window kit tightly, and keep the hose short and straight. A little maintenance goes a long way—clean the filter, check the seals, and empty the tank when needed. And don’t be afraid to experiment. Try different window kits, adjust the fan speed, or add a reflective film. Every room is different, and small tweaks can make a big difference.
At the end of the day, a portable AC is more than a convenience—it’s a tool for better sleep, more productive work, and a happier home. So take your time, follow these steps, and enjoy the cool breeze. You’ve earned it.
Frequently Asked Questions
How do I install a portable air conditioner properly?
To install a portable air conditioner, place it near a window and power outlet, then attach the exhaust hose to the unit and secure the window vent kit. Ensure the hose slopes downward to prevent heat buildup and maintain proper airflow.
Can I install a portable air conditioner without a window?
While most portable ACs require a window for venting hot air, you can use a sliding door or drop ceiling with an adapter kit. However, window venting remains the most efficient method for installing a portable air conditioner.
Do I need special tools to set up a portable air conditioner?
No, most units come with all necessary parts like hose connectors and window brackets. You’ll typically only need a screwdriver to adjust the window vent kit or secure the exhaust hose.
How long does it take to install a portable air conditioner?
With clear instructions, installing a portable air conditioner takes 15–30 minutes. The process involves assembling the vent kit, attaching the hose, and sealing gaps to maximize cooling efficiency.
What’s the best way to vent a portable air conditioner in a sliding window?
Use a sliding window vent kit with adjustable side panels to fill the gap. Seal any remaining space with foam or tape to ensure no hot air leaks back into the room.
Why is my portable air conditioner leaking after installation?
Leaks often occur if the unit isn’t level or the exhaust hose isn’t properly aligned. Check the drain plug and internal bucket, and ensure the hose is securely connected to avoid condensation buildup.