
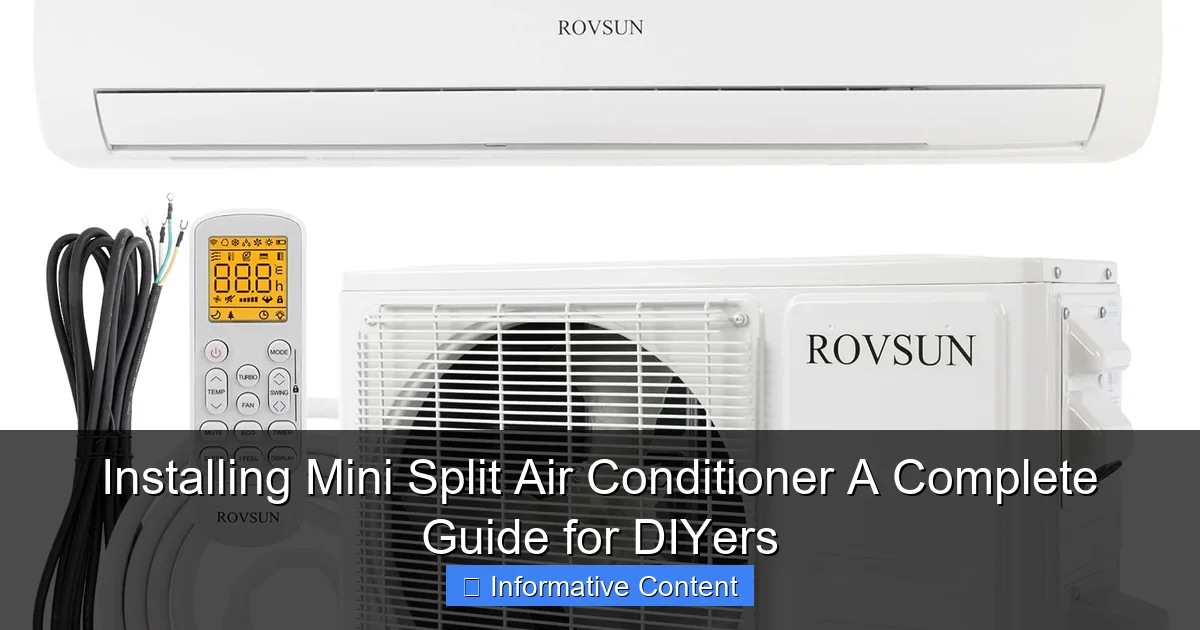
Featured image for installing mini split air conditioner
Image source: m.media-amazon.com
Installing a mini split air conditioner yourself can save you hundreds of dollars and is entirely achievable with the right tools and preparation. This guide walks DIYers through every critical step—from selecting the ideal indoor and outdoor unit locations to safely handling refrigerant lines and electrical connections. With careful planning and attention to manufacturer instructions, you can enjoy efficient, professional-grade cooling without hiring an HVAC technician.
Key Takeaways
- Plan carefully: Choose the right unit size and location for optimal efficiency.
- Follow manuals: Always adhere to manufacturer instructions for safety and performance.
- Seal properly: Prevent air leaks with quality insulation and sealing around the conduit.
- Test thoroughly: Check refrigerant lines, electrical connections, and drainage before use.
- Hire pros when needed: Complex electrical or refrigerant tasks require licensed technicians.
- Prioritize safety: Turn off power and use protective gear during installation.
📑 Table of Contents
- Why Mini Split Air Conditioners Are a Game-Changer
- Is DIY Mini Split Installation Right for You?
- Tools, Materials, and Pre-Installation Prep
- Step-by-Step Installation: From Mounting to Charging
- Common Mistakes and How to Avoid Them
- Mini Split Sizing and Performance Comparison
- Final Thoughts: Is DIY Mini Split Installation Worth It?
Why Mini Split Air Conditioners Are a Game-Changer
Imagine coming home on a sweltering summer day to a house that’s already cool and comfortable. No loud window units rattling in the background. No bulky ductwork running through your walls. Just quiet, efficient cooling (or heating!) that follows you from room to room. That’s the magic of a mini split air conditioner.
Mini splits have exploded in popularity over the last decade—and for good reason. Unlike traditional HVAC systems, they don’t require ducts. That means less energy loss, better air quality, and more flexibility in design. Whether you’re retrofitting an older home, adding a sunroom, or just want to upgrade your current cooling setup, a mini split can be a smart, long-term solution. And the best part? With the right tools and guidance, you can install one yourself.
Is DIY Mini Split Installation Right for You?
Let’s be honest: installing a mini split isn’t as simple as plugging in a fan. But it’s not rocket science either. If you’re handy with basic tools, comfortable with light electrical work, and willing to spend a weekend on the project, DIY installation is absolutely possible. I’ve done it twice—once on my own home office and again in my mother-in-law’s guest suite—and both times, the savings were worth the effort.
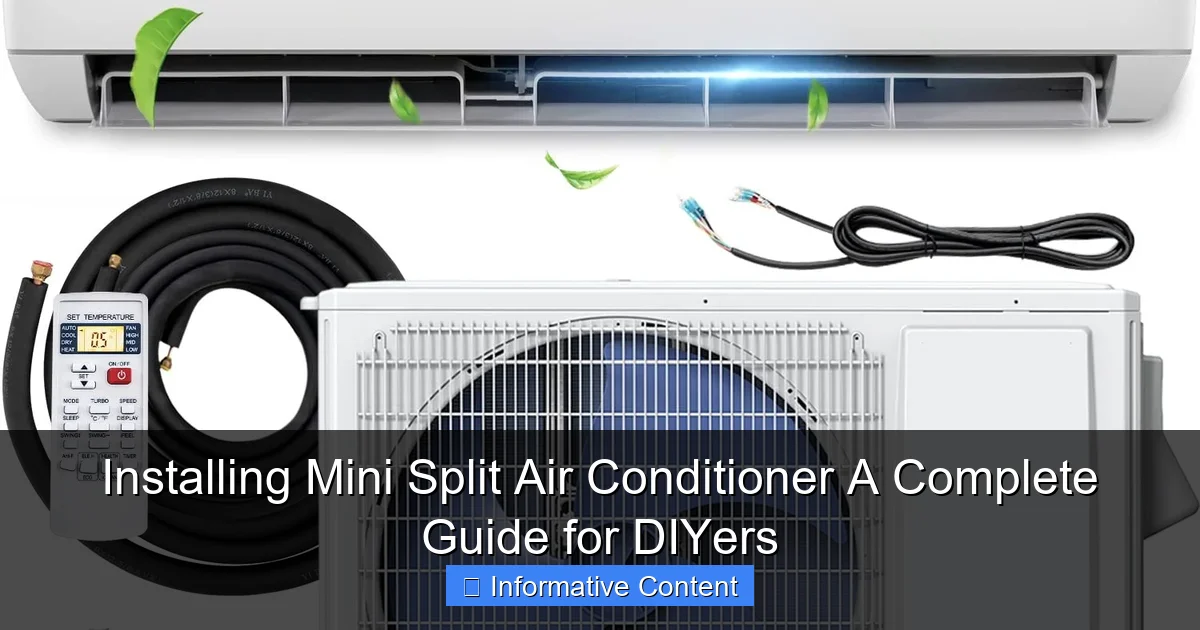
Visual guide about installing mini split air conditioner
Image source: m.media-amazon.com
When DIY Makes Sense
- Single-zone systems: If you’re cooling just one room (like a bedroom, home gym, or sunroom), the job is much simpler. Most DIYers start here.
- Clear access to walls and electrical panel: You’ll need to run refrigerant lines, a power cable, and a condensate drain line between the indoor and outdoor units. If your walls are easy to drill through and your electrical panel has available breaker space, you’re in good shape.
- You’re willing to follow instructions carefully: This isn’t a “wing it” kind of project. But with a good manual and some online videos, you’ll be fine.
When You Should Call a Pro
- Multi-zone systems: If you’re installing multiple indoor units connected to one outdoor compressor, the refrigerant balancing gets tricky. Most manufacturers require a licensed HVAC tech to handle the final vacuum and charge.
- No experience with electrical wiring: While mini splits use standard 208/230V circuits, you still need to pull a dedicated line from your main panel. If you’re not 100% confident with electrical safety, hire an electrician for this part.
- Historic or complex home layouts: Some homes have brick, stone, or stucco exteriors that make drilling tough. Or maybe your indoor unit is on the second floor and the outdoor unit is in the backyard—long line sets require extra care.
Pro tip: Even if you’re going DIY, consider hiring a pro just for the refrigerant evacuation and charging. It’s usually $150–$300, but it ensures your system runs efficiently and maintains the manufacturer’s warranty.
Tools, Materials, and Pre-Installation Prep
Before you start drilling holes, take a deep breath and gather everything you’ll need. Trust me—there’s nothing worse than being halfway through the job and realizing you’re missing a key tool. Here’s what I always pack in my DIY mini split kit.
Essential Tools
- Drill and hammer drill: You’ll need a 3-inch hole saw (or larger) for the refrigerant lines and drain. A hammer drill is a must for concrete, brick, or stucco.
- Vacuum pump and micron gauge: This is critical. After connecting the refrigerant lines, you must pull a deep vacuum (below 500 microns) to remove moisture and air. Skip this, and your system could fail within months.
- Torque wrenches: These ensure you tighten flare nuts to the exact spec. Over-tightening can damage the fittings; under-tightening leads to leaks.
- Manifold gauge set: Helps monitor pressure during evacuation and charging (if you’re doing that yourself).
- Level and stud finder: The indoor unit must be perfectly level. A small bubble off can cause water to pool and leak.
- Wire stripper, fish tape, and conduit bender: For running the power and control wires.
Materials and Supplies
- Mini split system (indoor + outdoor units): Choose based on room size and climate. I’ll cover sizing in the next section.
- Line set (refrigerant lines): Most kits include 25 feet of insulated copper tubing. If your indoor and outdoor units are farther apart, buy an extension kit (but keep it under 65 feet total).
- Condensate drain line: Usually 5/8” vinyl tubing. Make sure it slopes downward away from the indoor unit.
- Electrical wire (typically 12/2 or 10/2 with ground): Check your unit’s manual for amperage and wire gauge.
- Condensate pump (if needed): If the indoor unit is higher than the outdoor unit, gravity won’t drain the water. A small pump solves this.
- Wall sleeve or conduit: Protects the lines from weather and pests.
- Mounting hardware: Most kits include brackets, but I always buy extra stainless steel screws for the outdoor unit.
Pre-Installation Checklist
- Check local permits: Some cities require a permit for HVAC work, even DIY. Call your building department to confirm.
- Turn off power: Always disconnect power to the circuit you’re working on. Use a non-contact voltage tester to double-check.
- Plan the line run: Map out the shortest, most direct path between indoor and outdoor units. Avoid sharp bends in the refrigerant lines—they reduce efficiency.
- Test fit the indoor unit: Hold the mounting bracket against the wall to make sure it clears windows, furniture, and electrical outlets.
- Clear the outdoor unit location: The compressor needs 12–18 inches of clearance on all sides for airflow. No bushes, fences, or clutter.
My lesson learned: I once installed a mini split in my sunroom and realized too late that the outdoor unit was right under a tree. Leaves and debris clogged the fins every few weeks. Now I always check for overhanging branches or nearby vents.
Step-by-Step Installation: From Mounting to Charging
Now for the fun part—actually installing the system. I’ll walk you through the process as if we’re doing it together. Let’s say we’re installing a 12,000 BTU single-zone mini split in a 300 sq ft home office.
1. Mount the Indoor Unit
Start by attaching the mounting bracket to the wall. Use a level to ensure it’s perfectly straight. Drill pilot holes and secure with wall anchors (or lag screws if you hit a stud). Then, hang the indoor unit on the bracket. It should click into place—don’t force it.
Pro tip: Place a towel under the unit to protect the floor from condensation during installation.
2. Drill the Hole for the Lines
Measure from the indoor unit to the outdoor location. Drill a 3-inch hole through the wall at a slight downward angle (about 1/4” per foot) so water drains outside. Insert a wall sleeve to protect the lines and seal the gap with silicone caulk later.
3. Run the Line Set, Drain, and Wiring
Feed the refrigerant lines, drain tube, and control wire through the hole. Use zip ties to bundle them neatly. At the outdoor end, leave enough slack (about 12–18 inches) so you can connect to the compressor without tension.
Important: Never bend the refrigerant lines tighter than a 4-inch radius. Kinks reduce efficiency and can cause leaks.
4. Mount the Outdoor Unit
Place the outdoor unit on a solid, level surface—concrete pad, pavers, or a sturdy bracket. Secure it with bolts or straps to prevent movement in high winds. Make sure the unit is tilted slightly backward (about 1/4”) so water drains away from the wall.
5. Connect the Refrigerant Lines
Remove the caps from the compressor’s service valves. Carefully flare the ends of the copper lines (if not pre-flared). Attach them to the compressor using a torque wrench. Tighten to the manufacturer’s spec—usually 25–35 ft-lbs for small units.
Warning: Never use Teflon tape on flare connections. It can flake off and damage the compressor.
6. Wire the Power and Control
Run the power cable from your electrical panel to the outdoor unit. Use conduit for outdoor runs. Connect the wires to the terminal block (follow the diagram in the manual). Then, connect the control wire between indoor and outdoor units.
Safety note: If you’re not comfortable working with high voltage, hire an electrician for this step.
7. Evacuate the System
This is the make-or-break moment. Connect your vacuum pump and micron gauge to the service valves. Open the valves and run the pump for at least 30 minutes. The gauge should read below 500 microns. If it rises after shutting off the pump, you have a leak—find and fix it.
8. Charge the Refrigerant (If Required)
Most pre-charged mini splits don’t need additional refrigerant. But if your line set is longer than 25 feet, you may need to add a small amount. Use a digital scale and follow the manual’s instructions to the gram. Overcharging reduces efficiency; undercharging shortens the compressor’s life.
9. Test the System
Turn on the power and fire up the unit. Listen for odd noises. Check that the indoor fan blows air and the outdoor fan spins. Use an infrared thermometer to confirm the air is cooling (or heating). Monitor the condensate drain—water should flow freely.
Common Mistakes and How to Avoid Them
Even the most careful DIYers make mistakes. I’ve made a few myself. Here are the most common pitfalls—and how to steer clear of them.
Leaky Refrigerant Lines
Flare connections are the #1 source of refrigerant leaks. Always use a torque wrench and never guess. If you hear a hissing sound after charging, use a refrigerant leak detector (or soapy water) to find the leak. Tighten or re-flare as needed.
Improper Slope on the Drain Line
If the condensate drain doesn’t slope downward, water can back up and leak inside. Test it by pouring water into the indoor unit’s drain pan. It should flow out the other end. If it doesn’t, adjust the line or install a pump.
Ignoring Clearance Requirements
Mini splits need space to breathe. The outdoor unit should be at least 12 inches from walls and 24 inches from ceilings or overhangs. The indoor unit needs 6–8 inches of clearance on all sides. Blocked airflow reduces efficiency by up to 30%.
Overlooking Electrical Safety
Always turn off the main breaker when working with wiring. Use a voltage tester to confirm the circuit is dead. And never connect a mini split to an existing circuit unless it’s rated for the load. Most units need a dedicated 20-amp breaker.
Skipping the Vacuum
Moisture in the refrigerant lines can cause ice buildup and compressor damage. Always pull a deep vacuum (below 500 microns) and hold it for at least 10 minutes. If the pressure rises, you have a leak or moisture in the system.
Wrong Unit Size
Too big, and the unit will short-cycle, wasting energy. Too small, and it can’t keep up on hot days. Use a sizing chart (like the one below) to pick the right BTU rating for your space.
Mini Split Sizing and Performance Comparison
Choosing the right size is crucial. Here’s a quick reference table based on room area and climate. Remember: insulation, windows, and sun exposure affect the numbers.
| Room Size (sq ft) | BTU Recommendation | Best For | Energy Efficiency (SEER) |
|---|---|---|---|
| 150–250 | 6,000–9,000 | Small bedrooms, offices | 20–25 SEER |
| 250–400 | 9,000–12,000 | Medium bedrooms, sunrooms | 18–23 SEER |
| 400–600 | 12,000–18,000 | Large living rooms, basements | 16–21 SEER |
| 600–900 | 18,000–24,000 | Open-concept homes | 15–20 SEER |
| 900+ | 24,000+ (or multi-zone) | Whole-home systems | 14–18 SEER |
Note: SEER (Seasonal Energy Efficiency Ratio) measures cooling efficiency. Higher is better. Most modern mini splits range from 18–25 SEER. A 20 SEER unit uses about 30% less energy than a 14 SEER model.
For hot climates (like Texas or Arizona), go one size up. For mild areas (Pacific Northwest), you can size down slightly. And always account for large windows, poor insulation, or high ceilings.
Final Thoughts: Is DIY Mini Split Installation Worth It?
After installing two mini splits myself, I can say with confidence: yes, it’s worth the effort. The upfront cost is lower (you’ll save $500–$1,500 vs. hiring a pro), and the long-term energy savings are real. My home office unit runs at 22 SEER and costs about $15/month to cool—half what my old window AC used.
But it’s not for everyone. If you’re not comfortable with electrical work or don’t have the right tools, don’t force it. A poorly installed mini split can lead to leaks, inefficiency, or even fire hazards. And remember: the warranty on most units requires professional installation for refrigerant work.
That said, if you’re handy, patient, and willing to follow instructions, installing a mini split air conditioner is one of the most satisfying DIY projects you can tackle. You’ll gain a new skill, save money, and enjoy a more comfortable home. And when your friends ask, “You installed that yourself?”—you can smile and say, “Yeah, I did.”
Just take your time, double-check every step, and don’t rush the vacuum. A well-installed mini split can last 15–20 years. And that’s something worth doing right.
Frequently Asked Questions
Can I install a mini split air conditioner myself, or do I need a professional?
Yes, you can install a mini split air conditioner yourself if you have basic DIY skills and follow the manufacturer’s instructions carefully. However, for safety and optimal performance, hiring a professional is recommended, especially for electrical and refrigerant line connections.
What tools are needed for installing a mini split air conditioner?
Essential tools for installing a mini split air conditioner include a drill, level, hole saw, vacuum pump, refrigerant gauges, wrenches, and a stud finder. Make sure to also have safety gear like gloves and goggles to protect yourself during the process.
How do I choose the right location for my mini split air conditioner?
Choose a location with proper airflow, away from direct sunlight and heat sources, and ensure the indoor unit is mounted high on a wall. The outdoor unit should be placed on a stable, level surface with enough clearance for ventilation.
What are the most common mistakes to avoid when installing a mini split air conditioner?
Common mistakes during installing a mini split air conditioner include incorrect placement, poor sealing of holes, and improper refrigerant line sizing. Always double-check measurements and follow the manual to prevent leaks and inefficiencies.
Do I need a permit to install a mini split air conditioner?
In many areas, you’ll need a permit for installing a mini split air conditioner, especially if it involves electrical work or refrigerant handling. Check your local building codes to ensure compliance and avoid fines.
How long does it take to complete a mini split air conditioner installation?
A typical mini split air conditioner installation can take 4 to 8 hours, depending on complexity and experience level. Rushing the process can lead to errors, so allow plenty of time for each step.