
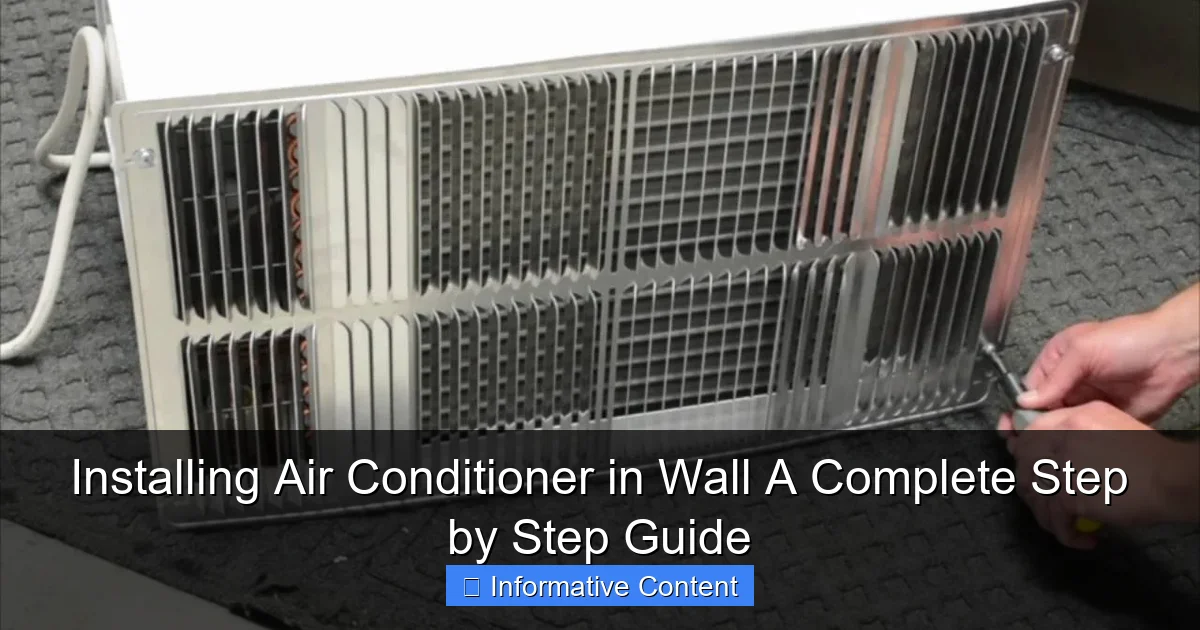
Featured image for installing air conditioner in wall
Image source: i.ytimg.com
Installing an air conditioner in a wall requires precise planning, proper tools, and strict adherence to safety protocols to ensure efficient cooling and long-term performance. From selecting the right unit and cutting a precise wall opening to securing the sleeve, mounting the AC, and sealing gaps, each step is critical for optimal operation and energy efficiency—follow this guide to avoid costly mistakes and enjoy a professional-grade installation.
Key Takeaways
- Measure carefully: Ensure precise wall opening dimensions for a snug AC fit.
- Seal gaps properly: Use foam strips to prevent air leaks and improve efficiency.
- Check electrical needs: Verify voltage and circuit compatibility before installation.
- Secure the unit: Anchor the AC firmly to support its weight and reduce vibrations.
- Insulate well: Wrap pipes and wires to minimize condensation and energy loss.
- Test after install: Run a full cycle to confirm cooling and drainage function.
📑 Table of Contents
- Why Installing an Air Conditioner in a Wall Could Be Your Best Summer Move
- Understanding Wall Air Conditioners: Types, Benefits, and What to Look For
- Pre-Installation Checklist: What You Need to Know Before Cutting a Hole
- Step-by-Step Installation Guide: From Measuring to Mounting
- Common Mistakes and How to Avoid Them
- Maintenance, Efficiency, and Long-Term Care
- Cost Comparison and ROI: Is It Worth It?
- Final Thoughts: Cool Confidence Starts Here
Why Installing an Air Conditioner in a Wall Could Be Your Best Summer Move
Let’s be honest—summer heat can turn your cozy home into a sauna. You’ve probably tried fans, open windows, and even those fancy ice packs behind the neck (they help, but not for long). If you’re tired of sweating through your favorite TV show or waking up drenched, it might be time to consider a permanent solution: installing an air conditioner in wall. This isn’t just about cooling down—it’s about comfort, efficiency, and reclaiming your space.
I remember the first time I installed a wall air conditioner in my sun-drenched living room. The difference was night and day. No more tripping over portable units, no more noise from window ACs rattling in the frame, and best of all—consistent, quiet cooling. But I won’t lie: the process felt a bit intimidating at first. Between picking the right model, measuring the space, and actually cutting into the wall, it’s easy to get overwhelmed. That’s why I’ve put together this complete guide. Whether you’re a DIY enthusiast or just want to know what to expect when hiring a pro, this step-by-step walkthrough will help you make an informed, stress-free decision.
Understanding Wall Air Conditioners: Types, Benefits, and What to Look For
Before you start measuring and drilling, it’s important to understand what a wall air conditioner is—and why it might be the perfect fit for your home. Unlike portable or window units, wall ACs are built into an exterior wall, offering a sleek, permanent cooling solution. They’re often called “through-the-wall” or “in-wall” air conditioners, and they come with some serious advantages.
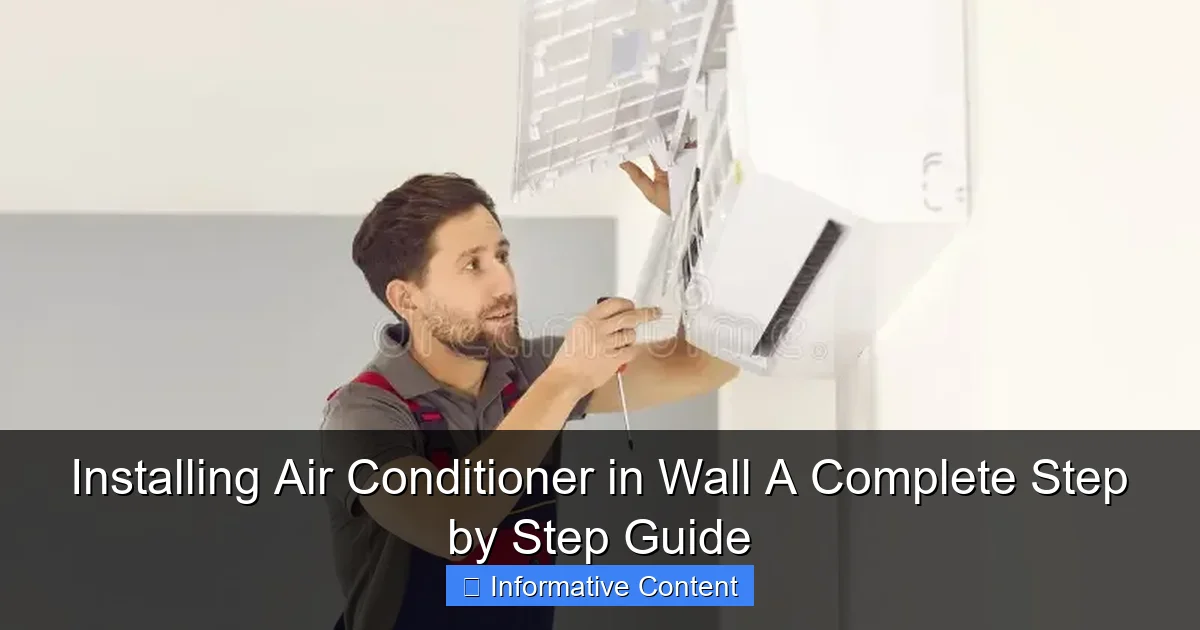
Visual guide about installing air conditioner in wall
Image source: thumbs.dreamstime.com
Types of Wall Air Conditioners
There are two main types you’ll encounter:
- Through-the-wall units (TTW): These are installed in a sleeve that’s inserted into a hole cut in your exterior wall. They’re typically used in apartments, hotels, and older homes where window units aren’t ideal. TTW units are often more powerful and efficient than window models.
- Ductless mini-split systems: While not technically “wall units” in the traditional sense, mini-splits have an indoor wall-mounted head and an outdoor compressor. They require professional installation but offer superior efficiency, quiet operation, and zoning capabilities.
For this guide, we’ll focus on TTW units—the most common choice for DIY-friendly, standalone cooling. But if you’re considering a mini-split, the wall preparation and structural considerations still apply.
Benefits of Installing Air Conditioner in Wall
Why go through the effort? Here’s what you gain:
- Improved aesthetics: No bulky window units blocking your view or letting in drafts.
- Better efficiency: Wall units are sealed tightly, reducing energy loss and improving cooling performance.
- Less noise: The condenser is outside, so indoor noise is significantly reduced.
- More space: No need to clear a window sill or block a walkway with a portable unit.
- Long-term value: A professionally installed wall AC can increase your home’s appeal and functionality.
One homeowner I spoke with, Sarah from Arizona, said her wall unit reduced her summer energy bill by nearly 20% compared to her old window AC. “It’s not just cooler,” she told me. “It’s smarter.”
Key Features to Look For
When shopping for a wall air conditioner, keep these specs in mind:
- BTU (British Thermal Units): Match this to your room size. A 150 sq ft bedroom? 5,000–6,000 BTUs. A 400 sq ft living room? 10,000–12,000 BTUs. Too high, and you’ll cool the room too fast without dehumidifying; too low, and it’ll struggle.
- Energy Efficiency Ratio (EER): Aim for at least 10.5. Higher EER = lower energy use.
- Voltage: Most units run on 115V, but larger models may need 230V—check your electrical panel.
- Smart features: Wi-Fi, remote control, and programmable timers add convenience.
- Sleeve compatibility: Some units come with a sleeve; others require a separate purchase. Make sure they match.
Pro tip: Always check the unit’s “through-the-wall” rating. Not all “wall” ACs are designed for exterior wall installation. Some are meant for interior walls with ducting—so read the label carefully.
Pre-Installation Checklist: What You Need to Know Before Cutting a Hole
Before you grab a saw and start hacking into your wall, take a deep breath. This step is all about preparation—and it’s where most DIYers trip up. Skipping this phase can lead to costly mistakes, safety hazards, or even structural damage. Let’s walk through what you need to do first.
Step 1: Choose the Right Location
Not every wall is suitable. Here’s what to look for:
- Exterior wall only: The condenser needs to vent outside. Never install in an interior wall.
- Clearance: At least 20 feet of unobstructed space outside for airflow. No trees, fences, or walls blocking the back.
- Sunlight exposure: Avoid direct afternoon sun if possible—it reduces efficiency.
- Accessibility: You’ll need space around the unit for maintenance. Don’t install behind heavy furniture.
- Proximity to power: The unit needs a dedicated outlet or hardwired connection. Running extension cords is a fire hazard.
I once helped a friend install a unit in a shaded corner of their back wall. It was perfect—cool air in, hot air out, and no one could see it from the street. Location matters more than you think.
Step 2: Check Local Codes and Permits
This is a big one. Many cities require permits for structural modifications like cutting into exterior walls. Some even have rules about where units can be placed (e.g., not visible from the street in historic districts).
- Call your local building department.
- Ask about electrical codes (NEC compliance).
- Check homeowner’s association (HOA) rules if applicable.
Getting a permit might feel like a hassle, but it’s worth it. I know someone who skipped this step and ended up paying a $500 fine during a home inspection when selling. Ouch.
Step 3: Inspect the Wall Structure
Grab a stud finder and check what’s behind the wall. You’re looking for:
- Studs and joists: You’ll need to cut between them. Avoid cutting through major structural elements.
- Insulation and vapor barriers: These may need to be removed or resealed.
- Electrical wires and plumbing: A single nicked wire can be dangerous. Turn off power at the breaker and use a non-contact voltage tester.
- Exterior finish: Brick, stucco, siding, or wood—each requires different cutting tools.
Example: If your wall is vinyl siding, you’ll need to remove a few panels first. For brick, a diamond blade on a circular saw is a must. Know your materials before you start.
Step 4: Gather Your Tools and Materials
Here’s what you’ll likely need:
- Measuring tape and level
- Circular saw or reciprocating saw (with masonry blade if needed)
- Hammer and pry bar
- Jigsaw (for trimming)
- Drill and driver bits
- Stud finder and voltage tester
- Exterior-grade caulk and foam sealant
- Flashing tape (for weatherproofing)
- AC sleeve (if not included with unit)
- Safety gear: gloves, goggles, mask
Don’t skimp on safety gear. Drywall dust, insulation fibers, and metal shavings are no joke for your lungs or eyes.
Step-by-Step Installation Guide: From Measuring to Mounting
Now comes the fun part—actually installing the unit. This is where your prep pays off. Follow these steps carefully, and you’ll have a professional-looking installation in a weekend (or less, if you’re handy).
Step 1: Measure and Mark the Opening
Start by measuring the AC sleeve (or the unit’s rough opening, if it’s a built-in model). Add 1/4 inch to each side for clearance. Use a level and pencil to mark the rectangle on the interior wall.
- Double-check the slope: Most sleeves need a slight downward tilt (about 1/4 inch) toward the outside for drainage.
- Use a plumb line to ensure the mark is perfectly vertical.
Tip: Tape a large piece of cardboard over the marked area to catch dust during cutting.
Step 2: Cut the Interior Wall
Turn off power to the area. Use a drywall saw or reciprocating saw to cut along the interior lines. Be careful not to cut into studs—stop about 1/4 inch short. You’ll finish the cut from the outside.
- Remove drywall and insulation carefully.
- Check for hidden wires or pipes again.
Step 3: Cut the Exterior Wall
Go outside and transfer the same dimensions to the exterior. This is where it gets tricky—especially with brick or stucco.
- For wood or vinyl: Use a circular saw with a fine-tooth blade.
- For stucco: Score the outline with a utility knife, then use a chisel and hammer.
- For brick: Use a masonry saw or angle grinder with a diamond blade. Wear a respirator!
Cut slowly and steadily. Rushing leads to jagged edges and misalignment.
Step 4: Install the Sleeve
Slide the metal sleeve into the hole. It should fit snugly, with the front flush to the interior wall and the back protruding slightly outside.
- Shim the sleeve to ensure it’s level and plumb.
- Secure it to the wall studs with screws (not just drywall).
- Apply exterior-grade caulk around the outside flange to seal gaps.
- Add flashing tape above the sleeve to direct water away.
Important: Never seal the bottom completely—condensation needs to drain outside.
Step 5: Prepare the Electrical Connection
This step is critical for safety. If the unit requires 230V or hardwiring, hire a licensed electrician. But for 115V models:
- Run a dedicated 14/2 or 12/2 NM-B cable from the breaker panel.
- Install a 15-amp or 20-amp GFCI outlet near the sleeve.
- Label the breaker clearly.
Never use an existing outlet. Wall ACs draw a lot of power—overloading a circuit can cause fires.
Step 6: Insert and Secure the Unit
Carefully slide the air conditioner into the sleeve from the inside. Most units have a locking mechanism or brackets to secure them.
- Connect the power cord (or have the electrician make the hardwired connection).
- Check that the unit sits level and doesn’t wobble.
- Seal gaps around the unit with foam backer rod and caulk.
Turn on the power and test the unit. Listen for unusual noises and check for cool air within a few minutes.
Common Mistakes and How to Avoid Them
Even experienced DIYers make mistakes during wall AC installation. The good news? Most are avoidable with a little awareness. Here are the top pitfalls—and how to sidestep them.
1. Poor Sizing
Too small, and the unit runs constantly. Too large, and it cycles on and off too quickly, wasting energy and failing to dehumidify.
- Solution: Use a BTU calculator. Factor in room size, insulation, sun exposure, and ceiling height. When in doubt, go one size up—but not two.
2. Inadequate Sealing
Air leaks around the sleeve are common. They let in bugs, moisture, and outside air, reducing efficiency.
- Solution: Use closed-cell foam backer rod and exterior-grade caulk. Don’t use expanding foam—it can warp the sleeve.
3. Wrong Slope
If the sleeve isn’t tilted slightly downward, condensation can pool inside and cause water damage.
- Solution: Use a level and shim the back of the sleeve. A 1/4-inch drop over 12 inches is ideal.
4. Ignoring Electrical Safety
Using undersized wires, shared circuits, or improper grounding is dangerous.
- Solution: Follow NEC guidelines. When in doubt, call an electrician. It’s cheaper than a fire.
5. Cutting into Structural Elements
Cutting through a load-bearing stud or joist can compromise your wall’s integrity.
- Solution: Use a stud finder and consult a structural engineer if you’re unsure. Reinforce with sistered studs if needed.
6. Skipping Maintenance Prep
Wall units need annual cleaning. If you install it in a spot with no access, you’ll regret it.
- Solution: Leave at least 18 inches of clearance around the unit. Install a removable panel if needed.
One homeowner I know, Mark, installed his unit too close to a bookshelf. Now he can’t clean the filter without moving everything. “It’s a pain,” he says. “Wish I’d thought about maintenance first.”
Maintenance, Efficiency, and Long-Term Care
Installing air conditioner in wall is just the beginning. To keep it running efficiently for years, you need a simple but consistent maintenance routine. Think of it like changing the oil in your car—skip it, and you’ll pay later.
Monthly Tasks
- Clean the filter: Rinse it under water every 4–6 weeks. A clogged filter forces the unit to work harder, increasing energy use by up to 15%.
- Check the condenser coils (outside): Gently remove leaves, dirt, and debris. A leaf blower works great.
- Inspect the drain pan: Make sure it’s not cracked or leaking.
Seasonal Tasks
- Spring: Turn on the unit and run it for 10 minutes. Listen for odd noises. Check for cool air and proper drainage.
- Fall: Cover the outside unit with a breathable AC cover to protect it from snow and debris. Never use plastic—it traps moisture.
Annual Deep Clean
- Remove the front panel and wipe down the interior fins.
- Use a fin comb to straighten bent fins (they reduce airflow).
- Spray the outdoor condenser coil with coil cleaner (available at hardware stores).
- Check refrigerant levels—only a pro should handle this.
Energy Efficiency Tips
- Set the thermostat to 78°F when you’re home. Every degree lower increases energy use by 6–8%.
- Use a programmable or smart thermostat to cool only when needed.
- Seal windows and doors to keep cool air in.
- Install curtains or blinds to block afternoon sun.
Example: A study by the U.S. Department of Energy found that proper AC maintenance can improve efficiency by 10–25%. That’s real money back in your pocket.
When to Call a Pro
- Strange noises (grinding, banging)
- Water leaks inside or outside
- No cooling despite power
- Frequent breaker trips
- Low refrigerant (his sound, weak airflow)
Don’t try to fix refrigerant issues yourself. It’s illegal without EPA certification—and dangerous.
Cost Comparison and ROI: Is It Worth It?
Let’s talk money. Installing air conditioner in wall isn’t cheap, but it’s often more cost-effective than you think. Here’s a breakdown of typical costs and long-term savings.
| Item | DIY Cost | Professional Cost |
|---|---|---|
| Unit (8,000 BTU) | $400–$600 | $400–$600 |
| Sleeve (if needed) | $50–$100 | $50–$100 |
| Electrical work | $0 (if DIY) | $200–$500 |
| Permit and inspection | $50–$150 | $50–$150 |
| Labor (installation) | $0 | $300–$600 |
| Total | $500–$850 | $1,000–$1,950 |
Now, the ROI:
- Energy savings: A high-efficiency wall unit can save $50–$150 per year compared to a window AC.
- Lifespan: 10–15 years with proper care.
- Home value: A permanent AC system is a selling point. Buyers love it.
Even if you hire a pro, the payback period is often under 5 years—especially in hot climates. And let’s not forget the priceless comfort of a cool, quiet home.
Final Thoughts: Cool Confidence Starts Here
Installing air conditioner in wall isn’t just a home improvement project—it’s an investment in your comfort, health, and peace of mind. Yes, it takes effort. Yes, there are risks if you rush. But with the right tools, knowledge, and patience, you can do it safely and effectively.
Remember: preparation is everything. From choosing the right location to sealing every gap, every step matters. Don’t cut corners on safety or code compliance. And if you’re unsure about electrical work or structural changes, call in a pro. There’s no shame in getting help—especially when it comes to your home.
When I turned on my wall AC for the first time and felt that steady, quiet breeze, I knew it was worth it. No more noisy window units. No more tripping over cords. Just clean, efficient cooling—exactly where I needed it.
So go ahead. Measure twice, cut once, and enjoy a summer of cool confidence. Your future self will thank you.
Frequently Asked Questions
What is the best way to install an air conditioner in a wall?
The best way to install an air conditioner in a wall is to follow a detailed plan, including measuring the opening, ensuring proper support, and sealing gaps to maximize efficiency. Always refer to the manufacturer’s instructions and local building codes for guidance.
Can I install a wall air conditioner myself, or do I need a professional?
While experienced DIYers can install a wall air conditioner, hiring a professional is recommended for complex tasks like electrical wiring or structural modifications. For simpler installations, a step-by-step guide can help ensure safety and proper function.
What tools do I need for installing an air conditioner in wall?
Essential tools include a drill, level, measuring tape, screwdrivers, and a reciprocating saw for cutting the opening. You may also need a stud finder, caulk gun, and safety gear like gloves and goggles.
How do I ensure proper drainage when installing an air conditioner in a wall?
To ensure proper drainage, slightly tilt the unit outward (about ¼ inch) during installation so condensation flows outside. Also, check that the drain pan and hose are clear of obstructions to prevent leaks.
What are the common mistakes to avoid when installing an air conditioner in a wall?
Avoid skipping the support brackets, failing to seal gaps, or ignoring electrical safety requirements. These mistakes can lead to poor performance, water damage, or even fire hazards.
How much does it cost to install an air conditioner in a wall?
Costs vary depending on labor, unit size, and modifications needed, but expect to pay $300–$800 for professional installation. DIY can reduce costs, but consider long-term safety and efficiency trade-offs.