
Featured image for installing a portable air conditioner
Image source: m.media-amazon.com
Installing a portable air conditioner is quick and hassle-free when you follow five simple steps. From choosing the right window kit to securing the exhaust hose and ensuring proper ventilation, each step guarantees efficient cooling without permanent modifications—perfect for renters or seasonal use.
Key Takeaways
- Choose the right size: Match AC capacity to room size for optimal cooling.
- Vent properly: Use the included kit to seal the exhaust hose securely.
- Clear the space: Keep 18+ inches around the unit for airflow.
- Drain wisely: Empty the tank or set up continuous drainage early.
- Test before leaving: Run the unit to check noise and cooling.
- Maintain filters: Clean monthly to ensure efficiency and longevity.
📑 Table of Contents
- Why Portable Air Conditioners Are a Game-Changer for Home Cooling
- Step 1: Choose the Right Portable AC for Your Space
- Step 2: Gather Your Tools and Supplies
- Step 3: Set Up Your Window Venting System
- Step 4: Position and Level the Unit
- Step 5: Power On and Optimize Performance
- Common Mistakes and How to Avoid Them
- Data Table: Portable AC Installation Checklist
- Final Thoughts: Enjoy Your Cool Oasis
Why Portable Air Conditioners Are a Game-Changer for Home Cooling
Let’s be honest—summer heat can be brutal, especially if you rent, live in a home without central AC, or just need to cool one or two rooms. That’s where a portable air conditioner comes in. I remember my first summer in a small city apartment with no window units allowed. I was sweating through my sheets every night, and my ceiling fan did little more than move hot air around. Then I discovered portable ACs. They’re not perfect, but they’re a lifesaver when you need targeted, temporary cooling.
Unlike window units, portable air conditioners don’t require permanent installation or structural changes. You can move them from room to room, store them in winter, and even take them with you if you move. But here’s the catch: they only work well if you install them correctly. I’ve made every mistake in the book—wrong window setup, poor hose placement, even blocking the exhaust—and learned the hard way that a little prep goes a long way. In this guide, I’ll walk you through installing a portable air conditioner made easy in 5 steps, so you can avoid the pitfalls and enjoy cool, refreshing air in no time.
Step 1: Choose the Right Portable AC for Your Space
Before you even unbox your unit, make sure it’s the right fit. Not all portable ACs are created equal, and picking the wrong one can leave you disappointed. I once bought a “10,000 BTU” unit that barely cooled my 300-square-foot living room. Turns out, BTUs (British Thermal Units) measure cooling power, and they’re only useful if matched to your room size.
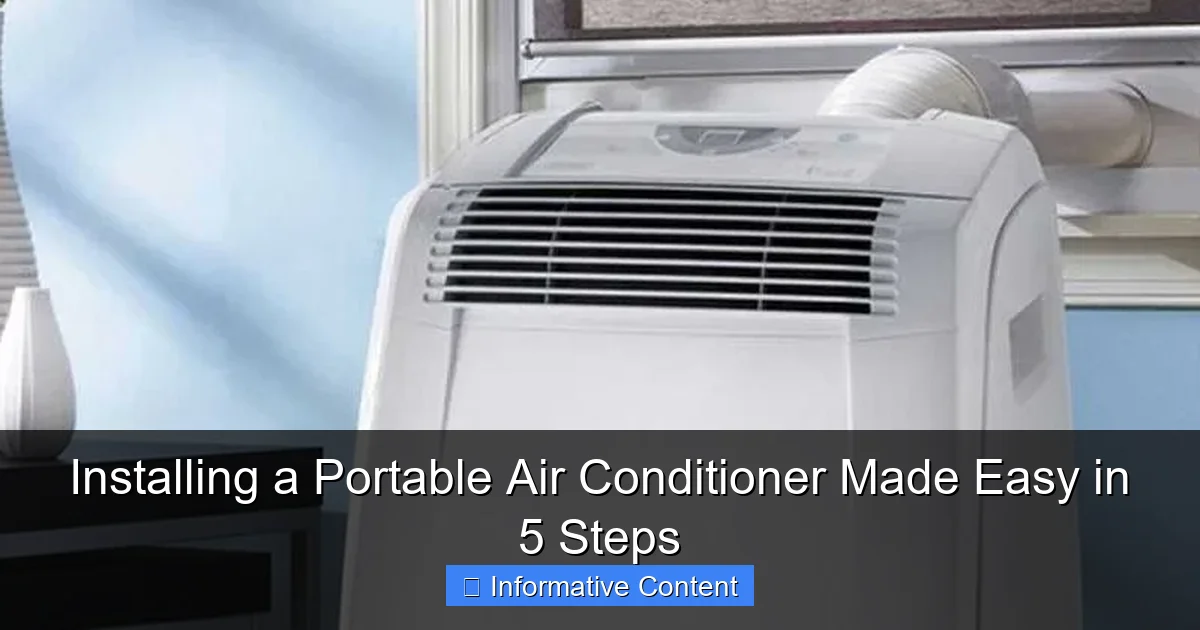
Visual guide about installing a portable air conditioner
Image source: bluesmartmia.com
Match BTUs to Room Size
Here’s a simple rule of thumb:
- 150–350 sq ft: 8,000–10,000 BTUs
- 350–550 sq ft: 10,000–14,000 BTUs
- 550–1,000 sq ft: 14,000–18,000 BTUs
For example, if you’re cooling a bedroom (say, 200 sq ft), an 8,000 BTU unit is ideal. Going too high wastes energy and money; too low means your AC runs nonstop and never reaches the set temperature.
Pro tip: Check the Energy Efficiency Ratio (EER). Look for units with an EER of 10 or higher. This means they cool efficiently without spiking your electricity bill.
Consider Dual-Hose vs. Single-Hose Models
This is a big one. Single-hose units draw hot air from the room and exhaust it outside through one hose. Sounds simple, but it creates negative pressure, pulling hot air back in from gaps around doors and windows. That’s like trying to fill a bucket with a hole in the bottom.
Dual-hose models use one hose to exhaust hot air and a second to draw fresh air from outside. They’re more efficient, cool faster, and maintain room pressure better. Yes, they’re slightly louder and cost more, but if you’re serious about comfort, go dual-hose.
Real-life example: I upgraded from a single-hose to a dual-hose unit. My bedroom cooled 10°F faster, and the AC didn’t run constantly. Worth every extra dollar.
Check for Key Features
Not all portable ACs are smart, but some features make life easier:
- Programmable thermostat: Lets you set a temperature and forget it.
- Timer: Schedule it to turn on before you get home.
- Remote control: No more getting up to adjust the temp.
- Drain-free operation: Some units auto-evaporate condensation. Others need manual draining—annoying if you forget.
I once had a unit that beeped every time it needed draining. I ignored it… until the floor was covered in water. Lesson learned.
Step 2: Gather Your Tools and Supplies
You don’t need a toolbox full of gear, but having the right items makes installation smooth. Here’s what I keep in my “portable AC kit”:
Essential Supplies
- Window kit: Usually included with the AC. It’s a panel that fits into the window frame to hold the exhaust hose and seal gaps.
- Exhaust hose: The long, flexible tube that vents hot air outside. Most units come with one, but check length—ideally 5–6 feet.
- Hose adapters: Some kits include adapters for different window types (sliding, casement, etc.). If not, buy them separately.
- Weather stripping or foam tape: To seal gaps around the window kit. I use foam tape—it’s cheap and easy to apply.
- Level: To make sure your window kit sits flat. A wonky kit leaks hot air.
- Measuring tape: Measure your window opening before buying the kit.
Pro tip: If your window kit doesn’t fit snugly, use pool noodles. Cut one to size, place it along the edges, and seal with tape. It’s a DIY fix that works surprisingly well.
Optional but Helpful
- Extension cord: Only if your outlet is far. But make sure it’s rated for AC use (look for “heavy-duty” and “14-gauge”).
- Fan or dehumidifier: Pair them with your AC. Fans help circulate cool air; dehumidifiers reduce moisture, making the room feel cooler.
- Smart plug: Control your AC with your phone or voice assistant. I use one to turn on my AC 30 minutes before I get home.
Note: Never use a regular extension cord with a portable AC. It can overheat and cause a fire. Always plug directly into a wall outlet.
Step 3: Set Up Your Window Venting System
This is where many people go wrong. A poor window setup leaks hot air, reduces efficiency, and makes your AC work harder. I learned this when my first unit kept turning off due to “overheating”—the exhaust hose was bent and blocked.
Measure and Prepare the Window
First, open your window and measure the width and height. Your window kit should fit snugly. If it’s too small, use the foam tape or pool noodles to fill gaps. If it’s too big, you might need to cut it (some kits are adjustable).
For sliding windows: Place the kit in the open gap. Lower the window onto it to hold it in place. For casement or awning windows, you may need a custom adapter or a side panel.
Example: My bedroom has a sliding window. I measured 36 inches wide. The kit was 35.5 inches, so I added foam tape to the sides. No gaps, no leaks.
Attach the Exhaust Hose
Connect one end of the hose to the AC’s exhaust port (usually on the back or side). Secure it with the included clamp or tape. Then, attach the other end to the window kit. Most kits have a circular opening with a locking mechanism.
Key tip: Keep the hose as straight and short as possible. Bends and kinks restrict airflow. If the hose is too long, don’t coil it—cut it to size. A 6-foot hose is ideal for most rooms.
Pro move: Insulate the hose with foam pipe wrap. It reduces condensation and keeps hot air from leaking back in. I do this every summer, and it helps a lot.
Seal All Gaps
Even tiny gaps let hot air in. Use foam tape, weather stripping, or pool noodles to seal:
- Between the window and the kit
- Between the kit and the window frame
- Where the hose connects to the kit
Test it: Turn on the AC and hold your hand near the edges. If you feel warm air, seal it better.
Step 4: Position and Level the Unit
Where you place your portable AC matters. Put it in the wrong spot, and you’ll waste energy or get uneven cooling.
Ideal Placement
- Near the window: The hose should be short and straight. Avoid placing the AC in the middle of the room.
- On a hard, level surface: Tile, hardwood, or concrete. Carpet can block the intake vents.
- Away from heat sources: No direct sunlight, lamps, ovens, or electronics.
- At least 12–18 inches from walls: Gives the AC room to pull in air and vent heat.
My mistake: I once placed my AC in a corner. It kept overheating because hot air couldn’t escape. Now I keep it 18 inches from the wall, and it runs smoothly.
Level the Unit
Use a level to check. If the AC isn’t level, condensation may pool in the wrong place, causing leaks or error codes. Adjust with shims (small pieces of wood or plastic) if needed.
Bonus: If your floor is uneven, place a sturdy board under the AC. I use a 2×4 cut to size. It’s simple but effective.
Drain the Water (If Needed)
Some portable ACs auto-evaporate condensation, but others collect water in a tank. Check the manual. If your unit has a tank, you’ll need to:
- Empty it when full (usually every 8–12 hours in humid climates).
- Use the continuous drain option if available. Attach a garden hose to the drain port and run it to a floor drain or bucket.
Example: In my humid basement, I use the continuous drain. I ran a hose into a bucket under the window. No more manual draining—just empty the bucket once a week.
Step 5: Power On and Optimize Performance
You’re almost there! Now it’s time to turn on your AC and make sure it runs efficiently.
Plug It In and Test
Plug the AC directly into a wall outlet. Turn it on and set the mode to “cool.” The fan should start, and you should feel cool air from the front vents within minutes.
If nothing happens, check:
- Is the outlet working? Try a lamp or phone charger.
- Is the hose properly connected? A loose hose can trigger a safety shutoff.
- Is the filter clean? A dirty filter blocks airflow.
Pro tip: Run the AC for 10–15 minutes before judging performance. It takes time to cool the room.
Adjust Settings for Efficiency
Use these settings to save energy and stay comfortable:
- Temperature: Set it to 72–75°F. Every degree below 75°F increases energy use by 6–8%.
- Fan speed: Use “auto” mode if available. It adjusts based on room temperature.
- Timer: Schedule it to turn off when you leave or go to sleep.
- Sleep mode: Reduces fan speed at night for quieter operation.
My routine: I set my AC to 74°F at 5 PM, so the room is cool when I get home. It turns off at 7 AM, saving energy during the day.
Maintain for Long-Term Performance
To keep your AC running well:
- Clean the filter monthly: Rinse it with water and let it dry. A clogged filter reduces airflow.
- Check the hose for kinks: Straighten it if needed.
- Store properly in winter: Drain all water, clean the unit, and store it in a dry place.
Data point: A clean filter can improve cooling efficiency by up to 15%. I clean mine every 4 weeks, and it makes a noticeable difference.
Common Mistakes and How to Avoid Them
Even with the best setup, things can go wrong. Here’s what I’ve learned from my own mishaps:
Overlooking the Hose Length
Long, coiled hoses restrict airflow. Keep it short and straight. If you need to extend it, use a manufacturer-approved extension kit—not duct tape and a garden hose (yes, I tried that).
Ignoring Room Seals
Close doors and windows in the room. If you leave the door open, the AC cools the whole house, which is inefficient. Use a draft stopper under the door if needed.
Running the AC in Extreme Heat
Portable ACs struggle in 95°F+ weather. If it’s sweltering outside, close blinds, use fans, and avoid cooking. This reduces the load on your AC.
Forgetting the Drain
Check your water tank daily in humid weather. A full tank shuts off the AC. Set a reminder on your phone if you tend to forget.
Using the Wrong Outlet
Portable ACs need a dedicated 120-volt outlet. Don’t plug it into a power strip or multi-plug adapter. It can overheat and cause a fire.
Data Table: Portable AC Installation Checklist
| Task | Done? | Notes |
|---|---|---|
| Match BTUs to room size | ☐ | 8,000–10,000 BTUs for 150–350 sq ft |
| Choose dual-hose if possible | ☐ | Better efficiency, less noise |
| Prepare window kit and hose | ☐ | Measure window, seal gaps |
| Level the unit | ☐ | Use a level or shims |
| Plug into wall outlet | ☐ | No extension cords |
| Set temperature to 72–75°F | ☐ | Save energy, stay comfortable |
| Clean filter monthly | ☐ | Improves airflow and efficiency |
Final Thoughts: Enjoy Your Cool Oasis
Installing a portable air conditioner doesn’t have to be stressful. With the right prep, a little patience, and these 5 steps, you’ll have a cool, comfortable room in no time. I’ve been through the trial and error, and now my portable AC runs like a champ—quiet, efficient, and reliable.
Remember, the key is installing a portable air conditioner made easy by focusing on the details: the right unit, a tight window seal, proper placement, and smart settings. Don’t rush the setup. Take your time, double-check connections, and seal every gap.
And when that first blast of cool air hits your face? You’ll know it was worth it. Whether you’re cooling a bedroom, home office, or rental, a portable AC can be a summer game-changer. Just do it right the first time, and you’ll stay cool all season long.
Frequently Asked Questions
How do I install a portable air conditioner properly?
Installing a portable air conditioner is simple: place it near a window and power outlet, attach the exhaust hose to the window kit, and seal gaps to prevent hot air leaks. Ensure the unit is on a flat, stable surface for optimal drainage and performance.
Can I install a portable air conditioner without a window?
While a window is the most common venting option, you can use a sliding door or drop ceiling with a custom adapter. However, venting through a window remains the most efficient method for exhausting hot air.
What’s the best way to set up the exhaust hose during installation?
Connect the exhaust hose securely to both the portable air conditioner and the window kit, keeping it as straight and short as possible. Avoid kinks or bends to maintain airflow and cooling efficiency.
Do I need special tools to install a portable air conditioner?
Most portable AC units come with a window kit and require no special tools—just follow the manual’s instructions. Basic household items like a screwdriver may help secure the window panel.
How do I prevent water leaks when installing a portable air conditioner?
Ensure the unit is level and the drain plug is closed unless using continuous drainage. If your model has a self-evaporative system, occasional dripping is normal, but check the manual for specific drainage guidelines.
Can I install a portable air conditioner in a room without an exterior wall?
Venting requires an exterior wall or opening, but creative solutions like venting through a dryer vent or wall duct may work. Always prioritize safe, manufacturer-approved venting methods for efficient cooling.