
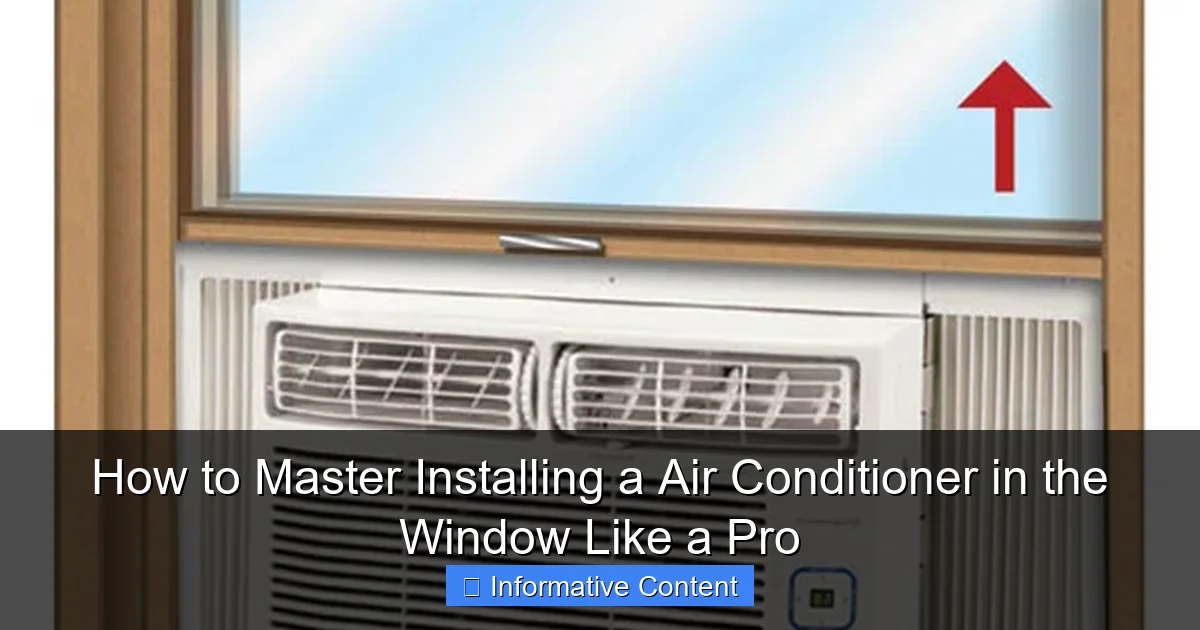
Featured image for installing a air conditioner in the window
Image source: ajmadison.com
Mastering window air conditioner installation starts with precise measurements and a secure fit to prevent air leaks and ensure optimal performance. Follow a step-by-step approach—bracing the unit, sealing gaps with foam, and using support brackets—for a safe, efficient setup that maximizes cooling and energy savings.
Key Takeaways
- Measure carefully: Ensure precise window dimensions before purchasing the AC unit.
- Secure the unit: Always use brackets or support arms for safe installation.
- Seal gaps tightly: Prevent air leaks with foam or weather stripping.
- Check local codes: Follow regulations for electrical and structural safety.
- Test before use: Verify stability and cooling function post-installation.
- Maintain access: Leave room for quick removal and seasonal storage.
📑 Table of Contents
- How to Master Installing a Air Conditioner in the Window Like a Pro
- Choosing the Right Air Conditioner for Your Window
- Preparing Your Workspace and Tools
- Step-by-Step Installation Process
- Post-Installation Checks and Maintenance Tips
- Common Mistakes and How to Avoid Them
- Data Table: Window AC Installation Checklist
- Conclusion: Cool Confidence Awaits
How to Master Installing a Air Conditioner in the Window Like a Pro
Let’s face it: summer heat is no joke. One moment you’re sipping lemonade on the porch, and the next, you’re melting like an ice cream cone in direct sunlight. I remember my first summer in a third-floor walk-up apartment with no central AC. I was desperate—sweating through my sheets and waking up with the sun, already overheated. That’s when I decided to take matters into my own hands and install a window air conditioner. I fumbled through it, made a few mistakes, and learned a ton along the way. Now, I can confidently say I’ve mastered installing a air conditioner in the window—and you can too.
Whether you’re a DIY newbie or a seasoned home improver, installing a window AC unit doesn’t have to be stressful. With the right tools, preparation, and a little patience, you can cool your space efficiently and safely. In this guide, I’ll walk you through every step, from choosing the right unit to sealing it like a pro. No fluff, no sales pitches—just real, practical advice from someone who’s been there. By the end, you’ll feel confident tackling this project on your own, saving money on labor and gaining a skill that’ll last for summers to come.
Choosing the Right Air Conditioner for Your Window
Measure Your Window Accurately
Before you even think about buying a unit, you need to know your window dimensions. I learned this the hard way when I ordered a model that was just 2 inches too wide. Don’t be like me. Measure the width and height of your window opening—not the frame. Use a tape measure and note down both the minimum and maximum width. Many windows taper slightly, so you’ll need a unit that fits the narrowest point.
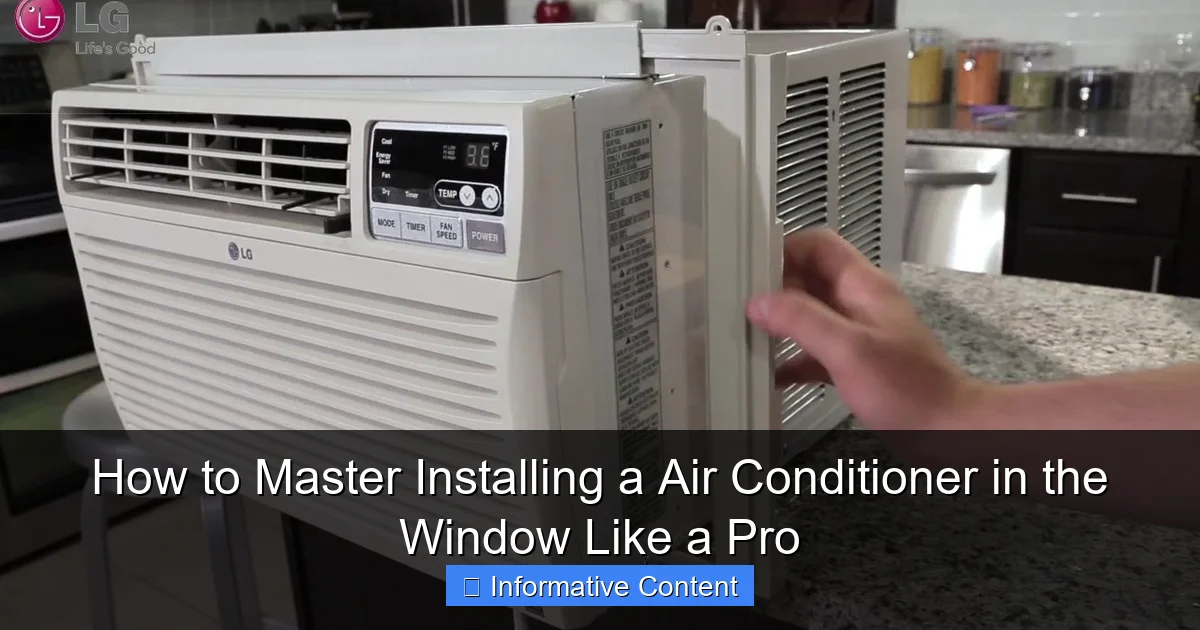
Visual guide about installing a air conditioner in the window
Image source: i.ytimg.com
For example, if your window measures 24–28 inches wide and 16 inches high, look for a unit labeled as “24–28 inch” or “standard double-hung” compatible. Some models come with adjustable side panels, which are perfect for slightly irregular openings. Pro tip: Take a photo of your window with a ruler in the frame to show the store or seller if you’re shopping online.
Calculate the Correct BTU Size
BTU stands for British Thermal Units—basically, how much cooling power the unit has. Too small, and it’ll run nonstop without cooling. Too large, and it’ll short-cycle, wasting energy and creating humidity. Use this simple rule of thumb:
- 150–250 sq ft: 5,000–6,000 BTU
- 250–350 sq ft: 7,000–8,000 BTU
- 350–450 sq ft: 9,000–10,000 BTU
- 450–550 sq ft: 12,000 BTU
For rooms with high ceilings, large windows, or lots of sun, go up one BTU level. I once tried a 6,000-BTU unit in a 300 sq ft sunroom. It was like using a desk fan in a sauna. After upgrading to 8,000 BTU, the difference was night and day.
Check Window Type and Compatibility
Not all windows are created equal. Most window ACs are designed for double-hung or sliding windows. If you have casement or awning windows, you’ll need a special model or a through-the-wall unit. Also, check the window sill depth—your unit should sit securely on the sill without overhanging too much. A minimum of 3–4 inches of sill support is ideal.
Another thing: older windows may have loose tracks or warped frames. If your window wobbles when you push it, reinforce it first with shims or a temporary brace. A shaky window can lead to a wobbly AC, which is both unsafe and noisy.
Preparing Your Workspace and Tools
Gather the Right Tools and Materials
You don’t need a full workshop, but having the right tools makes the job smoother and safer. Here’s what I keep in my “AC toolkit”:
- Measuring tape
- Level
- Drill and drill bits (if mounting brackets)
- Screwdriver (Phillips and flathead)
- Scissors or utility knife
- Work gloves (to protect your hands from sharp metal edges)
- Eye protection (safety first!)
- Weather stripping or foam tape (for sealing gaps)
- Wooden shims (for leveling)
Most AC units come with a window mounting kit—usually side panels, screws, and a support bracket. Check the box before you start. If anything’s missing, don’t improvise. Call the manufacturer or visit a hardware store. I once used cardboard to fill a gap—big mistake. It warped in the heat and let in hot air.
Clear the Area and Plan for Safety
Clear the space around your window. Move furniture, rugs, and anything fragile. You’ll be lifting a heavy unit (most weigh 50–80 lbs), so having room to maneuver is crucial. I once tried installing mine from a cluttered bedroom and nearly dropped it on my foot. Not fun.
Also, plan your route. If you’re on a high floor, have a friend help you lift the unit. Never try to install a window AC alone if it’s more than waist-high. And always keep the unit upright—tilting it can damage the compressor.
Pro tip: Lay down a towel or cardboard on the floor to protect your surface from scratches or condensation drips during installation.
Inspect the Window and Frame
Before you lift the AC, inspect the window frame and sill. Look for:
- Cracks or rot in the wood
- Loose or missing screws in the track
- Excessive wobble when opening/closing
If the frame is damaged, repair it first. A weak frame can’t support the weight of the AC, especially in wind or rain. I once ignored a small crack in my sill—within a week, it had split further, and the AC started leaning. A $10 wood filler patch saved me from a potential fall.
Step-by-Step Installation Process
Step 1: Install the Side Panels (If Included)
Most window ACs come with adjustable side panels that fill the gap between the unit and the window frame. Start by attaching these to the sides of the AC. Use the included screws—don’t overtighten, or you’ll warp the metal.
For example, if your window is 26 inches wide and the AC is 22 inches, the panels should extend 2 inches on each side. Some models use accordion-style panels; others have rigid ones. Test the fit before lifting the unit into place.
Tip: If your window is wider than the maximum panel extension, you can use foam board or rigid insulation cut to size. Just make sure it’s fire-resistant and secure.
Step 2: Lift and Position the Air Conditioner
This is the trickiest part. With a friend (or two), lift the AC and place it on the window sill. The front should face inside, and the back (with the exhaust) should extend outside. Make sure the unit is centered and level—use your level tool.
Never rest the AC on the window’s lower sash (the moving part). The sill is sturdier. If the unit tilts forward or backward, use wooden shims under the front or back edge to level it. A tilted AC can leak water or drain improperly.
Personal story: I once installed mine without checking the level. The water pooled inside the unit and dripped into my apartment. A $20 level tool saved me from a $300 repair.
Step 3: Secure the Window Sash and Brackets
Once the AC is in place, lower the window sash onto the unit. Most models have a sliding rail or locking bracket that attaches to the sash. Screw it in securely—this prevents the window from being opened from the outside (a safety and security feature).
If your model includes an external support bracket, install it now. This metal arm attaches to the AC’s back and screws into the window frame or wall. It’s essential for heavier units or high floors. I skipped this step once—windy night, the AC started rocking, and I had to re-secure it at 2 a.m.
For sliding windows, you may need to attach a vertical support bar to the frame to prevent the window from moving.
Step 4: Seal All Gaps
Even a tiny gap can let in hot air, bugs, and moisture. Use weather stripping, foam tape, or a window AC seal kit to close all openings:
- Between the side panels and window frame
- Between the top of the unit and the sash
- Under the unit (if there’s a gap)
For the top, I like to use a removable foam strip—it’s easy to install and remove when the season ends. Some people use plastic sheeting, but I find it looks messy and traps condensation.
Pro tip: Check the seal at night with a flashlight. Shine it from outside—if you see light leaking in, you’ve missed a spot.
Post-Installation Checks and Maintenance Tips
Test the Unit and Check for Leaks
Plug in the AC and turn it on. Listen for unusual noises (grinding, buzzing, or rattling) and check for vibration. The unit should run smoothly. If it’s vibrating, double-check the level and tighten all screws.
After 15–20 minutes, inspect the inside and outside for water leaks. Condensation is normal, but dripping inside your home isn’t. If you see water, check:
- Is the unit tilted correctly? (It should slope slightly backward to drain outside)
- Is the drain hole clogged? (Clean it with a pipe cleaner)
- Is the filter dirty? (A clogged filter reduces airflow and causes ice buildup)
I once had a leak because the drain hole was blocked by a leaf. A quick clean fixed it—no plumber needed.
Secure Cables and Power Source
Route the power cord away from foot traffic and water sources. Use a GFCI outlet if possible—it cuts power if there’s a short, preventing shocks. Never use an extension cord unless it’s heavy-duty and rated for your AC’s wattage. I used a thin extension cord once—it overheated and tripped the breaker daily.
Pro tip: Tape the cord to the wall with painter’s tape to prevent tripping. Remove it when you take the unit down.
Regular Maintenance for Longevity
Your window AC needs a little TLC to last. Here’s my seasonal checklist:
- Monthly: Clean the filter (rinse under water or vacuum)
- Every 3 months: Wipe the coils and fan blades (use a soft brush)
- End of season: Drain all water, cover the unit (if leaving in), or store it upright
A clean filter can improve efficiency by up to 15%—and it only takes 5 minutes. I keep mine in a labeled bin with cleaning supplies so I don’t forget.
Common Mistakes and How to Avoid Them
Ignoring the Weight and Support
Window ACs are heavy. A 12,000-BTU unit can weigh 80 lbs—that’s like lifting a large dog. Never rely on the window sash alone to hold it. Use brackets, and if your window is old, reinforce the frame first.
One reader told me their AC fell out during a storm because they didn’t use the support bracket. The unit shattered, and the window frame cracked. A $15 bracket could’ve prevented that.
Skipping the Seal
Air leaks aren’t just annoying—they make your AC work harder, increasing energy bills. I once saved $25 a month by sealing a 1-inch gap with foam tape. Over a summer, that’s $100 back in my pocket.
Don’t use duct tape—it peels in heat. Use weather stripping or closed-cell foam tape instead.
Installing in a High-Traffic or Unsafe Window
Avoid installing in a window that’s:
- Near a fire escape (blocking it is illegal)
- On a high floor without a balcony (risk of falling)
- Facing a busy street (noise, pollution, security risk)
Choose a window that’s easy to access for cleaning and maintenance. My first unit was in a tiny bathroom window—I had to climb on the sink to clean it. Not ideal.
Data Table: Window AC Installation Checklist
| Task | Tool/Material Needed | Time Required | Difficulty (1-5) |
|---|---|---|---|
| Measure window | Tape measure | 5 minutes | 1 |
| Attach side panels | Screws, screwdriver | 10 minutes | 2 |
| Lift and position AC | Helper, level | 15 minutes | 4 |
| Secure window sash | Brackets, drill | 10 minutes | 3 |
| Seal all gaps | Weather stripping, foam tape | 10 minutes | 2 |
| Test and clean | Filter, cloth | 15 minutes | 1 |
Conclusion: Cool Confidence Awaits
Installing a air conditioner in the window isn’t rocket science—it’s a mix of common sense, careful preparation, and a little elbow grease. You don’t need to be a handyman to do it right. Just take your time, follow the steps, and don’t skip the details. A well-installed AC keeps you cool, saves energy, and gives you peace of mind.
Remember, the goal isn’t just to get the unit in the window—it’s to do it safely, efficiently, and in a way that lasts. Whether you’re cooling a studio apartment, a home office, or a sun-drenched bedroom, mastering this skill means you’re ready for summer, no matter how hot it gets.
So grab your tools, invite a friend, and get to work. And when you’re sitting in your cool, quiet room a few hours later, you’ll look back and think: “I did that.” And that’s the best feeling of all.
Frequently Asked Questions
How do I choose the right size air conditioner for my window?
Measure your window opening and room square footage to ensure proper fit and cooling capacity. An undersized unit won’t cool effectively, while an oversized one can waste energy and create humidity issues.
What tools do I need to install a window air conditioner?
Most installations require a screwdriver, level, measuring tape, and foam insulation strips. Some units may need additional brackets or side panels—check your model’s manual for specifics.
Can I install a window air conditioner alone, or do I need help?
While lightweight models can be installed solo, having a helper is safer for heavier units. Proper lifting technique and securing the AC are critical to prevent accidents or window damage.
How do I seal gaps when installing a window air conditioner?
Use the included side panels or foam insulation to block gaps between the AC and window frame. This prevents hot air leaks and improves efficiency during operation.
Is installing an air conditioner in the window safe for all window types?
Most double-hung or sliding windows work, but casement or jalousie windows may require special kits. Always verify your window type matches the AC’s installation requirements before purchasing.
What’s the best way to ensure my window air conditioner stays secure?
Use mounting brackets or support arms as directed by the manufacturer. Double-check the unit’s tilt angle (slightly outward) to prevent water leakage into the room.