
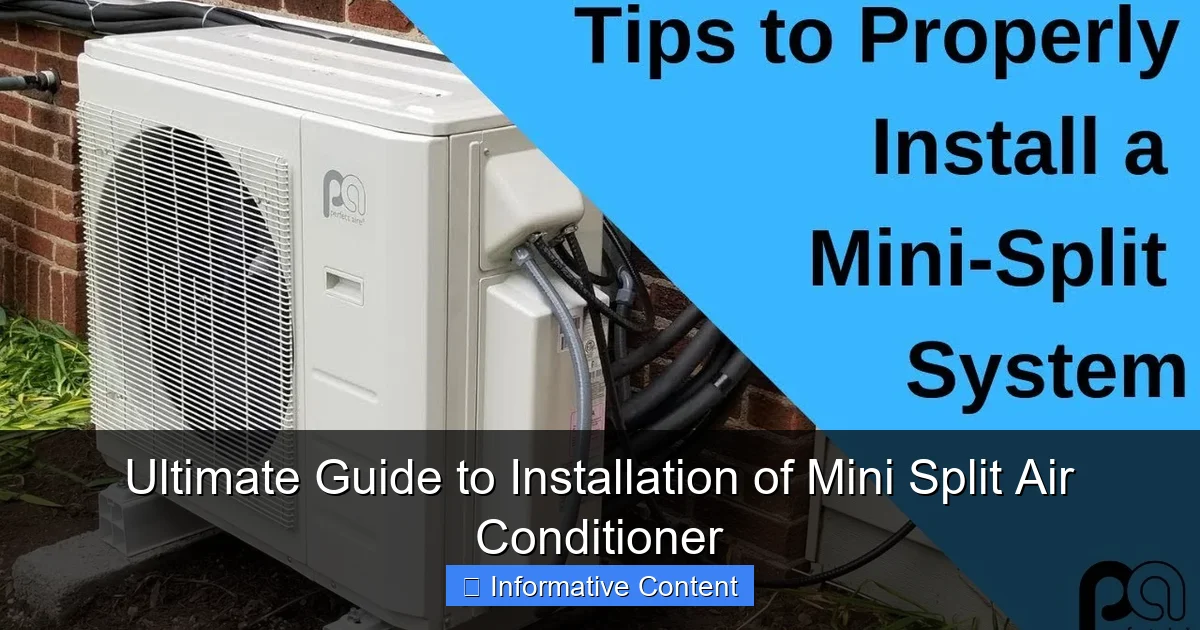
Featured image for installation of mini split air conditioner
Image source: i.ytimg.com
Proper installation of a mini split air conditioner ensures peak efficiency, performance, and longevity. This guide walks you through essential steps—from selecting the ideal indoor and outdoor unit locations to correct refrigerant line routing, electrical connections, and system vacuuming—for a seamless, code-compliant setup. DIYers can save significantly, but hiring a licensed HVAC pro for the refrigerant charge and final inspection guarantees safety and warranty compliance.
Key Takeaways
- Plan carefully: Choose the right location for indoor and outdoor units to maximize efficiency.
- Check electrical requirements: Ensure your power supply matches the unit’s voltage and amperage needs.
- Drill precisely: Use a 3-inch hole for refrigerant lines, avoiding structural damage.
- Seal properly: Prevent air leaks by sealing gaps around refrigerant lines with foam or caulk.
- Test thoroughly: Run a performance test after installation to verify cooling and airflow.
- Follow local codes: Always adhere to building and electrical regulations for safe installation.
📑 Table of Contents
Why Mini Splits Are a Game-Changer for Home Comfort
Let’s be honest: traditional HVAC systems can feel like overkill—especially if you’re heating or cooling a single room, a garage, or a small apartment. That’s where the installation of mini split air conditioner units comes in. These sleek, energy-efficient systems are like the Swiss Army knife of climate control: compact, quiet, and incredibly versatile. I remember when my neighbor, Sarah, converted her sunroom into a home office. She didn’t want to extend the ductwork from her central AC, and the space was too hot in summer and too cold in winter. A mini split solved her problem in a weekend—no mess, no noise, and now she’s saving on her energy bill.
Mini splits, also known as ductless systems, have surged in popularity for a reason. They offer targeted comfort without the energy waste of ducts. Whether you’re retrofitting an older home, adding climate control to an ADU (accessory dwelling unit), or just want better efficiency, the installation of mini split air conditioner is a smart, modern solution. But here’s the catch: while they’re simpler than central systems, they’re not “plug and play.” A proper install makes all the difference in performance, longevity, and your monthly electric bill. So, let’s walk through everything you need to know—from planning to post-installation checks—so you can make informed decisions and avoid common pitfalls.
Understanding Mini Split Systems: The Basics
How Mini Splits Work (Without the Jargon)
At first glance, a mini split might look like two separate units—one inside, one outside. But they’re actually a single system connected by refrigerant lines and electrical wiring. The indoor unit (mounted on a wall, ceiling, or floor) delivers cooled or heated air directly to the room. The outdoor unit (the compressor) handles the heavy lifting: absorbing heat from the air (in cooling mode) or extracting heat from the outside (in heating mode). There are no ducts, which means less energy loss—typically 30% less than ducted systems, according to the U.S. Department of Energy.
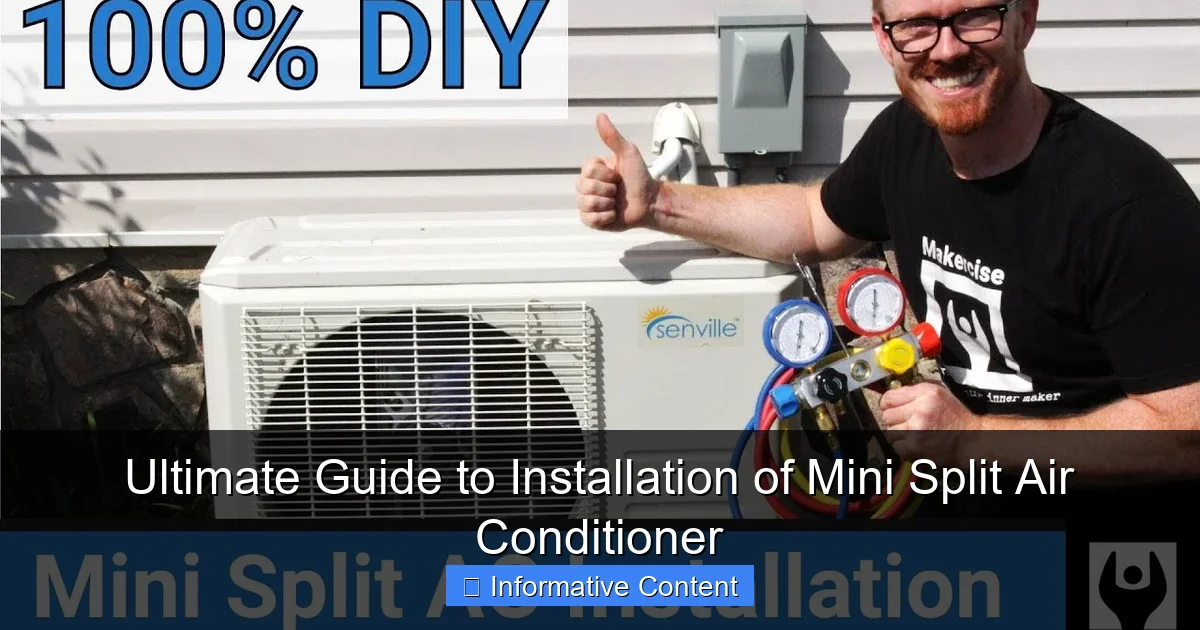
Visual guide about installation of mini split air conditioner
Image source: i.ytimg.com
Think of it like this: instead of pushing air through long, leaky ducts (which lose heat or cool), mini splits deliver air directly where you need it. That’s why they’re so efficient. And because they use inverter technology, the compressor speeds up or slows down based on demand, avoiding the energy spikes of traditional on/off systems.
Types of Mini Splits: Which One Fits Your Needs?
Not all mini splits are created equal. Here’s a quick breakdown:
- Single-zone systems: One indoor unit paired with one outdoor unit. Perfect for a single room (e.g., a bedroom, sunroom, or garage).
- Multi-zone systems: One outdoor unit powers 2–8 indoor units. Ideal for whole homes or multiple rooms (e.g., a house with a basement, main floor, and attic).
- Wall-mounted units: The most common. Sleek, affordable, and easy to install. Best for most rooms.
- Ceiling cassette units: Hidden in the ceiling, with air blowing from all four sides. Great for open-concept spaces or rooms with low walls.
- Floor-mounted (or low-wall) units: Sit near the floor. Ideal for rooms with high ceilings or limited wall space (e.g., sunrooms).
Tip: For a small apartment (under 800 sq ft), a single-zone wall-mounted unit might be all you need. But if you’re cooling a 1,500 sq ft home with a mix of rooms, a multi-zone system with 3–4 indoor units could be more efficient and cost-effective long-term.
Planning Your Installation: The Key to Success
Step 1: Assess Your Space and Climate Needs
Before buying anything, ask yourself: What am I trying to achieve? Are you cooling a 200 sq ft home office? Heating a drafty basement? Or creating a year-round comfort zone in a garage workshop? Your answer determines the BTU (British Thermal Unit) size you need. As a rule of thumb:
- 100–200 sq ft: 6,000–9,000 BTU
- 200–400 sq ft: 9,000–12,000 BTU
- 400–600 sq ft: 12,000–18,000 BTU
- 600–800 sq ft: 18,000–24,000 BTU
But don’t stop there. Consider these factors:
- Insulation quality: Poor insulation (e.g., old homes, garages) may require a larger unit.
- Sun exposure: South- or west-facing rooms get hotter—add 10–15% more BTU.
- Ceiling height: Rooms with 10+ ft ceilings need more cooling power.
- Local climate: In hot/humid areas (e.g., Florida), prioritize dehumidification. In cold climates (e.g., Minnesota), ensure the unit has a low-ambient heating mode (works below 15°F).
Real-world example: My friend Mark installed a 12,000 BTU unit in his 350 sq ft sunroom. It was sunny all afternoon, so he upgraded to 15,000 BTU. Now, it stays cool even on 90°F days—and he didn’t overspend on a 18,000 BTU unit he didn’t need.
Step 2: Choose the Right Location (Indoor & Outdoor)
Location is everything. For the indoor unit:
- Mount it high on a wall (7–9 ft up) for better air distribution. Avoid placing it behind furniture or curtains.
- Keep it 6+ ft from heat sources (e.g., ovens, radiators).
- Ensure 6+ inches of clearance from the ceiling and walls for airflow.
For the outdoor unit:
- Place it on a level, stable surface (concrete pad, mounting bracket). Avoid grass or dirt—they can clog the fan.
- Ensure 12+ inches of clearance from walls, fences, and bushes for airflow.
- Keep it shaded if possible. Direct sun can reduce efficiency by 10–15%.
Pro tip: Measure the distance between the indoor and outdoor units. Most systems allow up to 50–100 ft of refrigerant line. If it’s longer, you’ll need to add line sets (extra cost) or choose a unit rated for longer runs.
Step 3: Check Electrical Requirements
Mini splits need a dedicated 120V or 240V circuit (check the manual). Most 12,000 BTU units use 240V. If your home only has 120V outlets, you’ll need an electrician to install a 240V outlet. Also:
- Verify your electrical panel has space for a new breaker.
- Use the right wire gauge (e.g., 12-gauge for 240V). Undersized wires can overheat.
- Install a disconnect switch near the outdoor unit for safety (required by code).
Warning: Never use an extension cord or shared circuit. It’s a fire hazard.
Step-by-Step Installation Process
Tools and Materials You’ll Need
Before you start, gather these tools:
- Power drill and masonry bits (for wall mounting)
- Stud finder (to avoid pipes/wires)
- Level (for straight mounting)
- Vacuum pump and manifold gauge (for refrigerant lines)
- Torque wrench (for flare connections)
- Drill bit for 3-inch hole (for line set)
- Electrical conduit and wire (if running new circuit)
- Condensate pump (if the indoor unit is below the outdoor unit)
Most kits include brackets, line sets, and drain hoses. Double-check what’s included—some brands charge extra for line sets over 25 ft.
Step 1: Mount the Indoor Unit
- Mark the wall using the mounting template (included). Ensure it’s level and 6+ inches from the ceiling.
- Drill pilot holes into studs or use anchors for drywall.
- Secure the mounting plate with screws. Tighten firmly—it holds 20+ lbs.
- Drill a 3-inch hole through the wall (slightly angled downward to the outside). This is for the refrigerant line, drain hose, and electrical cable.
- Hang the indoor unit on the plate. Most units click into place.
Tip: If the hole is in a visible spot, use a wall sleeve or cover plate to hide it.
Step 2: Install the Outdoor Unit
- Prepare the pad or bracket. Level it with shims if needed.
- Secure the unit to the pad with vibration-absorbing pads (reduces noise).
- Connect the electrical: Run conduit from the indoor unit to the outdoor disconnect switch. Use weatherproof fittings.
- Connect the refrigerant lines:
- Remove the caps from the indoor and outdoor units.
- Use a flare tool to shape the line ends.
- Attach with a torque wrench (over-tightening cracks the flare).
- Insulate the lines with foam sleeves (prevents condensation).
- Connect the drain hose to the indoor unit and run it outside. Use a condensate pump if the indoor unit is below the outdoor unit.
Critical: Never kink or bend the refrigerant lines. Sharp bends reduce efficiency.
Step 3: Vacuum and Charge the System
- Connect the manifold gauge to the service ports (on the outdoor unit).
- Evacuate the lines with a vacuum pump for 30–60 minutes. This removes air and moisture.
- Check for leaks with a refrigerant leak detector. Even a tiny leak reduces efficiency.
- Charge the system with the exact refrigerant amount (listed in the manual). Overcharging or undercharging ruins performance.
Warning: Only certified HVAC technicians should handle refrigerants. In the U.S., you need an EPA 608 license to buy refrigerant. If you’re DIY-ing, skip this step—hire a pro.
Common Mistakes and How to Avoid Them
1. Incorrect Line Set Length or Routing
Too long? The refrigerant won’t flow properly. Too short? You’ll stress the connections. Always measure twice. Also, avoid routing lines near:
- Heat sources (e.g., dryer vents, chimneys)
- High-traffic areas (e.g., walkways where they could get damaged)
Fix: Use protective conduit or line covers if the line runs along a wall.
2. Poor Condensate Drainage
Water dripping from the indoor unit is a red flag. Common causes:
- Drain hose is kinked or clogged
- No slope (the hose should angle downward)
- No air trap (causes water to back up)
Solution: Install a condensate pump if the indoor unit is below the outdoor unit. Clean the drain every 3 months with a vinegar solution.
3. Ignoring Clearance Requirements
Blocked airflow = reduced efficiency and compressor failure. The outdoor unit needs:
- 12+ inches from walls
- 3+ feet above snow level (in cold climates)
- No leaves, dirt, or debris around the fan
Tip: Trim bushes regularly. A clogged outdoor unit can cut cooling capacity by 30%.
4. Skipping the Vacuum Process
Air and moisture in the refrigerant lines cause:
- Ice buildup on the indoor unit
- Corrosion in the compressor
- Higher energy bills
Rule: Always evacuate the lines for at least 30 minutes. Use a vacuum gauge to verify it’s below 500 microns.
Maintenance and Long-Term Care
Monthly and Seasonal Tasks
Mini splits are low-maintenance, but a little care goes a long way. Here’s your checklist:
- Monthly:
- Clean the indoor air filter (rinse with water, dry, reinstall)
- Check for leaks or unusual noises
- Every 3 months:
- Clean the drain pan and hose with vinegar
- Inspect the outdoor unit for debris
- Seasonally:
- Cover the outdoor unit in winter (use a breathable cover)
- Check refrigerant pressure (if you have gauges)
Pro tip: Set phone reminders. I use a free app called “Home Maintenance” to track filter changes.
Troubleshooting Common Issues
| Issue | Likely Cause | Quick Fix |
|---|---|---|
| Unit not cooling/heating | Dirty filter, low refrigerant, blocked outdoor unit | Clean filter, check outdoor unit, call pro for refrigerant |
| Water dripping inside | Clogged drain, no slope, frozen coil | Clear drain, check hose slope, defrost coil |
| Unusual noises (grinding, buzzing) | Loose parts, compressor issue, debris in outdoor unit | Tighten screws, clean outdoor unit, call pro |
| Remote control not working | Dead batteries, signal blocked | Replace batteries, remove obstacles |
Note: If the unit displays an error code (e.g., “E1” or “P2”), check the manual. Most codes point to specific issues (e.g., refrigerant leak, sensor failure).
Final Thoughts: Is a Mini Split Right for You?
The installation of mini split air conditioner systems is one of the smartest investments you can make for home comfort. They’re energy-efficient, quiet, and flexible—perfect for retrofits, new builds, or targeted climate control. But like any home project, success depends on planning, quality materials, and attention to detail. I’ve seen DIYers save thousands by installing their own systems, but I’ve also seen botched jobs that cost more to fix than hiring a pro from the start.
Here’s my advice: if you’re handy, confident with electrical work, and willing to invest time in research, DIY installation is doable. But if you’re unsure about refrigerant, electrical codes, or mounting heavy units, hire a licensed HVAC technician. A proper install ensures:
- Optimal efficiency (lower energy bills)
- Longer lifespan (15+ years vs. 8–10 for a poorly installed unit)
- Warranty protection (most brands require professional installation)
And remember: a mini split isn’t just an AC. Many models offer heat pump technology, so they heat in winter too. In mild climates, they can replace furnaces entirely. Whether you’re cooling a home office, warming a sunroom, or creating a year-round comfort zone, the right mini split can transform your space—quietly, efficiently, and with style.
So, take your time. Plan carefully. And when the first cool breeze hits your face on a sweltering summer day, you’ll know it was worth it.
Frequently Asked Questions
How difficult is the installation of a mini split air conditioner for DIYers?
The installation of a mini split air conditioner can be moderately challenging for DIYers, requiring basic electrical and plumbing skills. While some homeowners tackle it themselves, hiring a professional ensures compliance with local codes and proper refrigerant handling.
What tools are needed for a mini split air conditioner installation?
Essential tools include a drill, hole saw, refrigerant gauges, vacuum pump, level, and wrenches. You’ll also need electrical supplies like wire strippers and a voltage tester to complete the installation safely.
Do I need a permit to install a mini split air conditioner?
Yes, most regions require a permit for HVAC work, including the installation of a mini split air conditioner, especially when modifying electrical systems or handling refrigerants. Always check local regulations to avoid fines or safety issues.
How long does it take to install a mini split system?
A standard mini split air conditioner installation typically takes 4–8 hours, depending on complexity, such as line routing and electrical connections. Professional installers may complete it faster due to their experience.
Can I install a mini split AC in a room without windows?
Yes, mini split systems are ideal for rooms without windows since they don’t require a window unit or exterior ventilation. Only a small hole in the wall is needed to connect the indoor and outdoor units via refrigerant lines.
What’s the best location for the outdoor unit during installation?
Place the outdoor unit on a level, vibration-free surface with at least 12 inches of clearance for airflow. Avoid direct sunlight, debris, and areas prone to flooding to ensure efficient operation and longevity.