
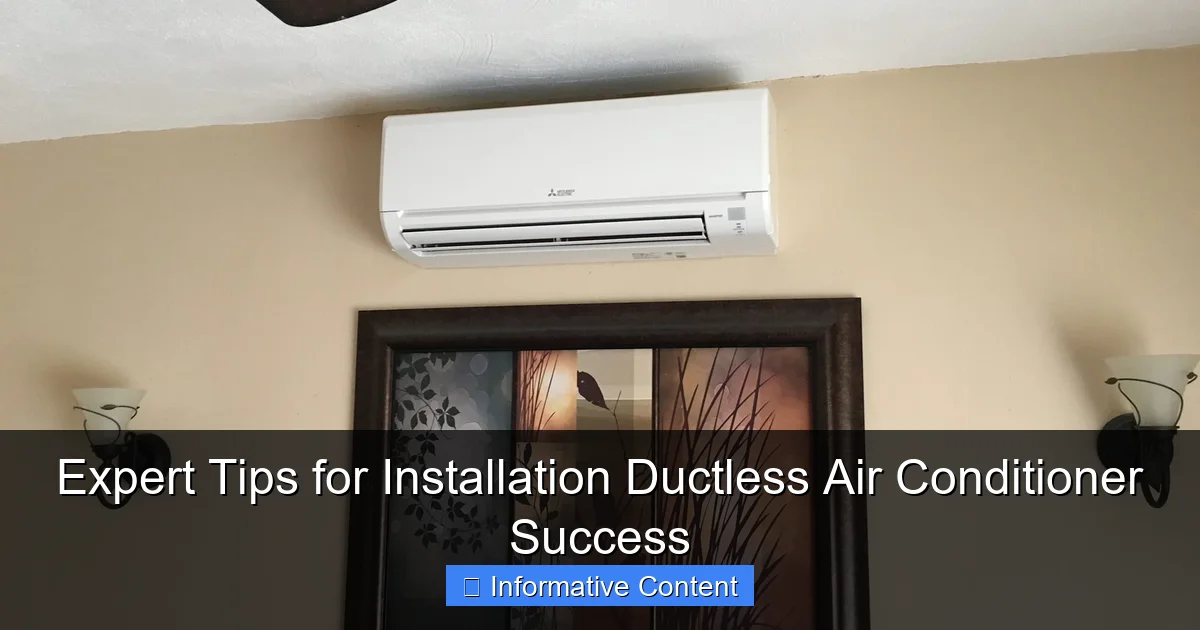
Featured image for installation ductless air conditioner
Image source: vasirefrigeration.com
Proper installation is the key to maximizing efficiency and longevity when setting up a ductless air conditioner. Hiring a certified technician ensures correct sizing, optimal placement, and refrigerant line setup, preventing costly repairs and energy waste. Avoid DIY pitfalls—expert installation delivers reliable comfort and peak performance from day one.
Key Takeaways
- Choose the right size: Proper BTU calculation ensures efficient cooling and energy savings.
- Hire a certified pro: Expert installation guarantees safety, performance, and warranty compliance.
- Optimize indoor unit placement: Install high on walls for even airflow and comfort.
- Seal outdoor unit properly: Prevent leaks and vibrations with secure, level mounting.
- Plan refrigerant lines carefully: Minimize bends and length to boost system efficiency.
- Test system post-install: Verify cooling, drainage, and electrical connections before use.
📑 Table of Contents
- Why Ductless Air Conditioners Are a Game-Changer
- Understanding Ductless AC Systems: What You Need to Know
- Step-by-Step Guide to Installation Ductless Air Conditioner
- Common Installation Mistakes (And How to Avoid Them)
- When to Call a Pro (And Why It’s Worth It)
- Maintenance Tips to Keep Your System Running Smoothly
- Final Thoughts: Your Path to Ductless Success
Why Ductless Air Conditioners Are a Game-Changer
Imagine this: You’re sweating through a summer afternoon, fanning yourself with a pizza menu, while your old central AC groans like it’s on its last leg. You call a technician, and they quote you a price that makes you want to move to a cave. Sound familiar? That’s where a ductless air conditioner swoops in like a superhero.
Also known as a mini-split, a ductless AC system offers a sleek, efficient, and flexible way to cool (and often heat) your home without the need for bulky ductwork. Whether you’re retrofitting an older house, adding comfort to a sunroom, or just tired of high energy bills, ductless systems are a breath of fresh air. But here’s the catch: how you install it can make or break your experience.
Understanding Ductless AC Systems: What You Need to Know
Before you dive into installation ductless air conditioner projects, let’s break down what you’re working with. A ductless system has two main parts: an outdoor compressor/condenser unit and one or more indoor air-handling units (called “heads”). They’re connected by a small conduit that houses refrigerant lines, a power cable, and a condensate drain.
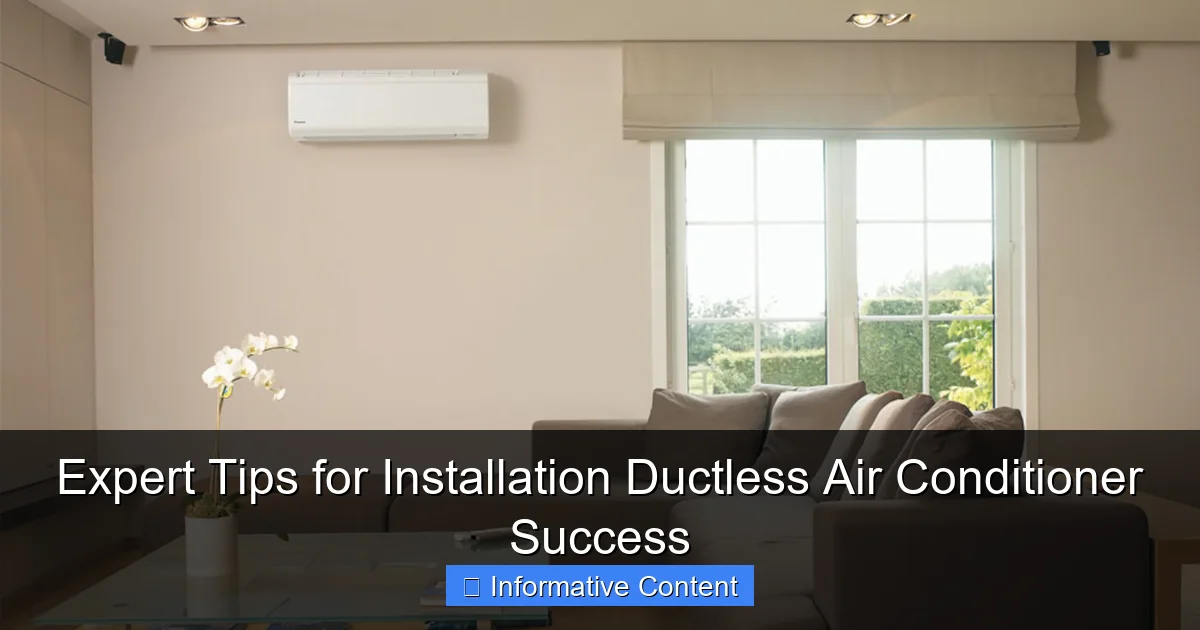
Visual guide about installation ductless air conditioner
Image source: goservicemax.com
The magic? No ducts. That means less energy loss (up to 30% in traditional systems, according to the U.S. Department of Energy) and more control over where and how you cool your space. But like any tech, it’s not foolproof. Let’s unpack the basics.
Types of Ductless Systems
- Single-zone: One outdoor unit powers one indoor head. Perfect for a single room or small apartment.
- Multi-zone: One outdoor unit supports up to 8 indoor heads. Ideal for cooling multiple rooms with different temperature needs.
- Ceiling cassette: Recessed into the ceiling, great for spaces with limited wall space.
- Wall-mounted: The most common. Sleek, affordable, and easy to install (with the right know-how).
- Floor-mounted: Installed near the floor, useful for rooms with low ceilings or high windows.
For example, my neighbor Sarah used a single-zone system in her home office. She kept it at 68°F while the rest of the house hovered at 74°F—saving her $80 a month on cooling costs. Meanwhile, my cousin used a multi-zone setup for his three-bedroom bungalow, with each bedroom on its own schedule.
Key Components and Their Roles
- Outdoor unit: Handles heat exchange. Must be placed where airflow isn’t blocked (more on placement later).
- Indoor unit: Blows conditioned air into the room. Look for models with inverter technology—they adjust compressor speed to match demand, boosting efficiency.
- Conduit: The “lifeline” connecting both units. Typically 3–4 inches in diameter. Avoid sharp bends.
- Remote control/smart thermostat: Lets you adjust settings from your couch (or your phone).
Pro tip: Always check the SEER rating (Seasonal Energy Efficiency Ratio). A higher SEER (18+ is excellent) means lower energy bills. But remember: a high SEER won’t matter if the system’s poorly installed.
Step-by-Step Guide to Installation Ductless Air Conditioner
Now, the fun part: installation ductless air conditioner. This isn’t a job for the faint of heart, but with the right prep, you can avoid costly mistakes. Here’s how to do it right—step by step.
Step 1: Plan Your Layout (Measure Twice, Cut Once)
Start by sketching your home’s floor plan. Mark where you want indoor units (e.g., living room, bedroom) and the outdoor unit. Key considerations:
- Indoor unit placement: Mount high on an exterior wall, away from direct sunlight or heat sources. Leave 6–8 inches of clearance above and 12 inches on each side for airflow.
- Outdoor unit location: Place it on a stable, level surface (concrete pad or wall brackets). Keep it 3+ feet from walls, plants, or vents to avoid airflow blockage.
- Conduit path: Plan the shortest, straightest route between units. Avoid sharp turns (use 90-degree elbows if needed) to prevent refrigerant flow issues.
Example: My friend Mark tried to run the conduit through a crawl space but hit a pipe. He ended up rerouting, adding 10 feet of line—and a $200 extra charge for refrigerant. Lesson: always scope the path first.
Step 2: Drill the Access Hole (Precision Matters)
You’ll need a 3-inch diameter hole through the exterior wall for the conduit. Use a hammer drill with a carbide bit. Here’s the catch: the hole must slope *downward* toward the outside (about 5 degrees) to let condensate drain properly. If it slopes inward, water can leak into your home.
Tip: Use a laser level to ensure the hole’s angle is perfect. My cousin skipped this and ended up with a puddle on her living room carpet. Not cool.
Step 3: Mount the Indoor Unit (Sturdy and Level)
- Attach the mounting plate to the wall with screws (use a stud finder for extra stability).
- Hang the indoor unit on the plate. Double-check it’s level—use a spirit level. A crooked unit can cause water leaks or airflow issues.
- Connect the refrigerant lines, power cable, and drain hose to the unit. Wrap joints with foam tape to prevent condensation.
Pro tip: If you’re installing a wall-mounted unit, avoid areas with heavy furniture. You don’t want to block airflow or make the remote control useless.
Step 4: Position the Outdoor Unit (Stability + Airflow)
- Place the unit on a concrete pad or vibration-resistant brackets. Level it with shims.
- Ensure 3+ feet of clearance on all sides for airflow. If installing on a balcony, add a railing to block wind (but not airflow).
- Connect the conduit to the outdoor unit. Tighten connections with a wrench—but don’t overdo it. Stripped threads are a nightmare.
Warning: Don’t install the outdoor unit in direct sunlight or under an eave where rain/snow can accumulate. My neighbor learned this when his unit froze in winter. Oops.
Step 5: Vacuum and Test (The Make-or-Break Moment)
This is where many DIYers fail. You must evacuate air and moisture from the refrigerant lines using a vacuum pump (rent one if needed). Here’s how:
- Connect the vacuum pump to the service valves on the outdoor unit.
- Run the pump for 15–30 minutes until the gauge reads -30 inHg (a perfect vacuum).
- Close the valves, disconnect the pump, and let the system sit for 30 minutes. If the pressure rises, there’s a leak.
- Charge the system with refrigerant (only a licensed pro should do this—improper charging ruins efficiency).
After charging, turn the system on. Check for:
- Consistent airflow from the indoor unit.
- No unusual noises (hissing, rattling).
- Condensate draining properly (watch for leaks).
Common Installation Mistakes (And How to Avoid Them)
Even seasoned DIYers make blunders. Here are the top pitfalls—and how to dodge them.
Mistake 1: Ignoring Refrigerant Line Length
Most manufacturers specify a maximum line length (e.g., 50–100 feet). Exceeding it can:
- Reduce cooling capacity.
- Cause compressor damage from oil return issues.
Solution: Check your model’s manual. If the run is long, add refrigerant (but again—hire a pro for this).
Mistake 2: Poor Indoor Unit Placement
Mounting the indoor unit too close to the ceiling? You’ll create a “cold pocket” of air that doesn’t circulate. Placing it near a heat source (like a TV)? The unit will run nonstop.
Solution: Follow the 6–8 inch clearance rule. Use a thermometer to test airflow patterns before finalizing placement.
Mistake 3: Skipping the Vacuum Process
Air and moisture in the lines cause sludge—a sticky residue that clogs the system. Result? Shortened lifespan and costly repairs.
Solution: Never skip vacuuming. Use a micron gauge for precision (rental: $30/day at tool shops).
Mistake 4: Improper Drain Line Slope
If the condensate drain line isn’t sloped correctly, water backs up and leaks into your wall. Mold alert!
Solution: Slope the line downward (¼ inch per foot). Use a level to check. Test with water before connecting to the indoor unit.
Mistake 5: Forgetting Electrical Requirements
Ductless units need a dedicated circuit (usually 15–20 amps). Sharing a circuit with other appliances can trip breakers.
Solution: Hire an electrician to install a new breaker if needed. Never “daisy-chain” power cords.
When to Call a Pro (And Why It’s Worth It)
Let’s be real: Some parts of installation ductless air conditioner are best left to the experts. Here’s when to swallow your DIY pride and call a licensed HVAC pro.
Complex Multi-Zone Setups
Installing multiple indoor units? You’ll need to balance refrigerant distribution across all lines. A pro uses specialized tools (like a manifold gauge set) to ensure even cooling. My cousin tried this himself and ended up with one room freezing while another stayed warm. $500 in repairs later, he hired a pro.
Refrigerant Charging
This isn’t just “topping off” fluid. Too much refrigerant causes flooding; too little causes starvation. Both damage the compressor. Only pros have the tools (and license) to handle refrigerants legally.
Structural Challenges
Got concrete walls? A brick facade? Drilling through these requires industrial tools. A pro has the gear and knows how to avoid hidden pipes/wires.
Warranty Requirements
Many manufacturers void warranties if the system isn’t installed by a licensed pro. Example: Mitsubishi’s warranty requires “certified installation.” Skip this, and you’re on the hook for a $2,000 compressor replacement.
Bottom line: If you’re unsure, hire a pro. The average cost is $1,500–$3,000, but it’s cheaper than replacing a ruined system.
Maintenance Tips to Keep Your System Running Smoothly
A well-installed ductless system can last 15–20 years. But like a car, it needs regular “tune-ups.” Here’s how to extend its life.
Monthly: Clean the Filters
Dirty filters reduce airflow and efficiency. Remove the indoor unit’s front panel and rinse the filter with water. Let it dry before reinstalling. Do this monthly during peak season.
Quarterly: Check the Outdoor Unit
- Clear leaves, dirt, and debris from the fins.
- Inspect for damage (dents, bent fins).
- Ensure the unit is level. Shifted units vibrate and wear out faster.
Annually: Professional Tune-Up
Even if everything seems fine, schedule a pro inspection once a year. They’ll:
- Check refrigerant levels.
- Test electrical connections.
- Clean the coils (a dirty coil cuts efficiency by 20%).
- Inspect the condensate drain.
Cost: $100–$200, but it pays off. A 2019 study by the National Association of Home Builders found that annual maintenance cuts energy use by 15–25%.
Long-Term: Monitor Performance
Notice longer run times? Higher bills? Reduced airflow? These are red flags. Don’t wait—call a pro. Catching issues early saves big.
| Maintenance Task | Frequency | DIY or Pro? | Why It Matters |
|---|---|---|---|
| Clean indoor filters | Monthly | DIY | Prevents airflow blockage and mold |
| Inspect outdoor unit | Quarterly | DIY | Ensures proper airflow and drainage |
| Check refrigerant levels | Annually | Pro | Maintains cooling efficiency |
| Clean coils | Annually | Pro | Boosts heat exchange and lifespan |
| Test thermostat | Annually | DIY/Pro | Ensures accurate temperature control |
Final Thoughts: Your Path to Ductless Success
Installing a ductless air conditioner isn’t rocket science, but it’s not a weekend DIY project either. The key is planning, precision, and knowing when to ask for help. A poorly installed system will cost you more in repairs than you’d save on labor—trust me, I’ve seen it happen.
Start by choosing the right system for your needs (single-zone vs. multi-zone). Plan your layout like a chessboard—every move matters. Follow the steps in this guide, and don’t cut corners on vacuuming or refrigerant charging. When in doubt, hire a pro. And once it’s installed? Treat it right with regular maintenance.
At the end of the day, a well-installed ductless AC isn’t just about comfort. It’s about freedom: freedom from high energy bills, freedom to cool (or heat) only the rooms you use, and freedom to enjoy your home—no matter how hot it gets outside. So take a deep breath, grab your tools (or your phone to call a pro), and get ready to feel the difference. Your future self will thank you.
Frequently Asked Questions
What is the best location to install a ductless air conditioner?
The ideal location for a ductless air conditioner is on an exterior wall, high enough to allow proper airflow but within reach for maintenance. Avoid direct sunlight or heat sources to maximize efficiency and cooling performance.
Can I install a ductless air conditioner myself?
While DIY installation is possible, hiring a licensed HVAC technician ensures proper refrigerant line setup, electrical connections, and system performance. Incorrect installation can void warranties and lead to long-term issues.
How long does a ductless air conditioner installation take?
A standard ductless air conditioner installation typically takes 4–8 hours, depending on the complexity, number of indoor units, and refrigerant line routing. Professional installers minimize disruption to your home.
What permits are needed for a ductless air conditioner installation?
Many regions require electrical and HVAC permits for ductless AC installations to ensure code compliance. A certified installer will handle permit applications and inspections, saving you time and hassle.
How much space is needed between the indoor unit and ceiling?
Leave at least 6–8 inches of clearance between the indoor unit and ceiling for optimal airflow and maintenance access. Check manufacturer guidelines, as requirements vary by model.
Does a ductless air conditioner need a dedicated circuit?
Yes, most ductless systems require a dedicated electrical circuit to handle the startup surge and continuous load. Your installer will confirm the correct amperage and wiring during the installation ductless air conditioner process.