
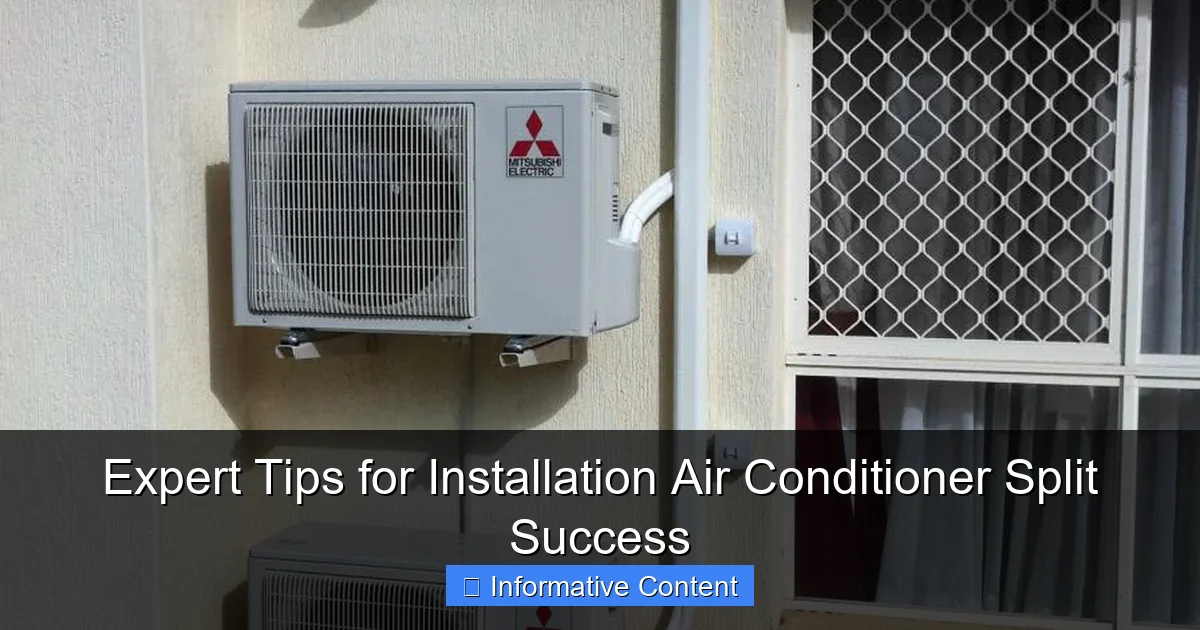
Featured image for installation air conditioner split
Image source: brisbaneair.com.au
Proper installation of a split air conditioner is crucial for peak performance and energy efficiency—always hire a certified technician to handle refrigerant lines and electrical connections. Position the indoor unit high on a wall, away from heat sources and direct sunlight, to ensure optimal airflow and cooling distribution. Skipping professional setup risks leaks, poor efficiency, and voided warranties, making expert installation a smart long-term investment.
Key Takeaways
- Choose the right location: Ensure optimal airflow and avoid direct sunlight for efficiency.
- Hire certified technicians: Professional installation prevents leaks and ensures warranty validity.
- Seal all connections properly: Prevents refrigerant leaks and maintains system performance.
- Insulate refrigerant lines: Reduces energy loss and improves cooling efficiency significantly.
- Test system thoroughly: Verify operation, drainage, and thermostat accuracy post-installation.
- Maintain clear outdoor unit: Keep debris away to ensure proper airflow and longevity.
📑 Table of Contents
- Why Proper Installation Air Conditioner Split Matters More Than You Think
- Step 1: Choosing the Right Location for Indoor and Outdoor Units
- Step 2: Preparing the Installation Site and Tools
- Step 3: Installing the Indoor and Outdoor Units Correctly
- Step 4: Electrical Wiring and Safety Checks
- Step 5: Testing and Final Adjustments
- Conclusion: Your Installation Air Conditioner Split Journey Starts Now
Why Proper Installation Air Conditioner Split Matters More Than You Think
Let’s be honest—installing an air conditioner split unit isn’t exactly the most exciting home improvement project. But if you’ve ever dealt with a poorly installed unit that hums like a jet engine, leaks water like a broken tap, or just doesn’t cool your room properly, you know how much of a difference proper installation air conditioner split can make.
I learned this the hard way when I helped my sister install a budget-friendly split AC in her apartment. We thought we could save money by doing it ourselves, but within a week, the indoor unit started dripping water, the compressor outside was overheating, and the energy bills skyrocketed. After calling in a professional, we discovered we’d made several critical mistakes—from incorrect refrigerant line routing to improper electrical grounding.
That experience taught me one thing: the quality of your installation air conditioner split directly impacts performance, efficiency, longevity, and even safety. Whether you’re upgrading your home cooling system or installing a new unit for the first time, getting the installation right is non-negotiable. In this guide, I’ll walk you through everything you need to know—from site assessment to final testing—so your split AC works smoothly, quietly, and efficiently for years to come.
Step 1: Choosing the Right Location for Indoor and Outdoor Units
Before drilling a single hole, you need to plan where your indoor and outdoor units will go. This step is often overlooked, but it’s the foundation of a successful installation air conditioner split. A poorly placed unit can lead to inefficient cooling, noise issues, and premature wear.
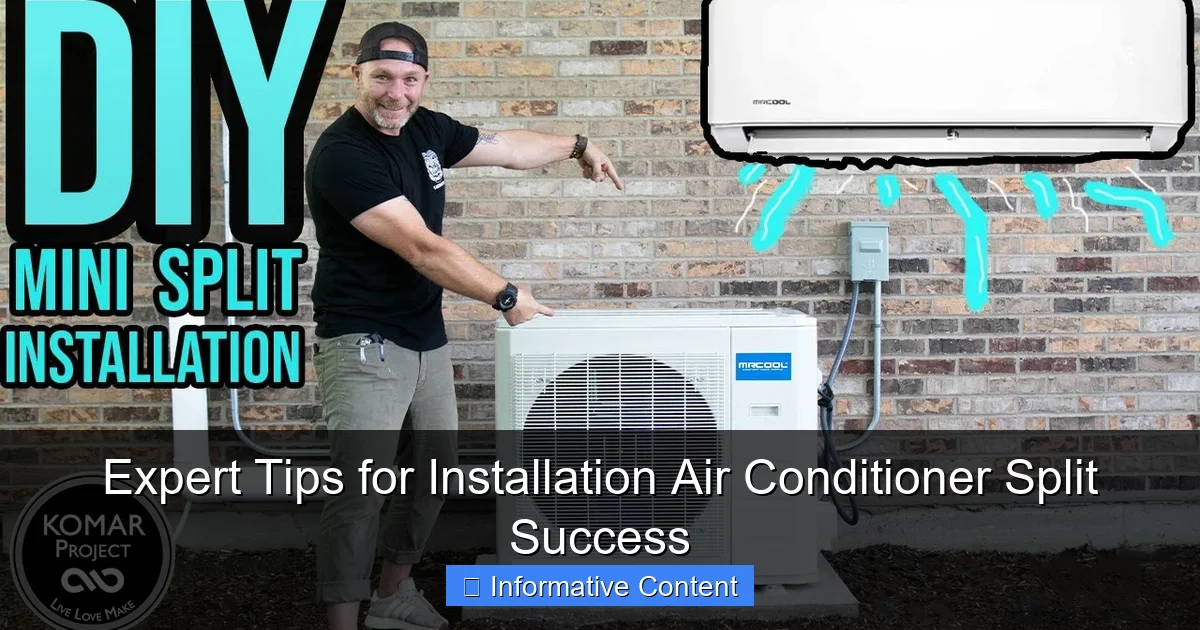
Visual guide about installation air conditioner split
Image source: i.ytimg.com
Indoor Unit Placement: Think About Airflow and Accessibility
The indoor unit should be mounted on an interior wall, ideally in the center of the room or near the ceiling. Here’s why:
- Even Cooling: Placing the unit high on the wall allows cold air to sink naturally, promoting better circulation.
- Avoid Obstructions: Keep at least 12 inches (30 cm) of clearance above and on both sides. Curtains, shelves, or artwork can block airflow and reduce efficiency.
- Minimize Sun Exposure: Avoid placing the unit directly under a window or in a spot hit by direct sunlight. Heat from the sun can interfere with the thermostat readings.
- Accessibility for Maintenance: Leave enough space around the unit for cleaning the filter and servicing the fan. I once saw a unit installed behind a bookshelf—good luck cleaning that filter!
Pro Tip: If you’re installing in a bedroom, avoid pointing the airflow directly at the bed. A drafty night can ruin your sleep and increase the risk of waking up with a stiff neck or congestion.
Outdoor Unit Placement: Stability, Ventilation, and Noise
The outdoor unit (the condenser) needs space to breathe—literally. Here’s what to consider:
- Ventilation: Leave at least 12 inches (30 cm) of clearance on all sides. More is better, especially in hot climates. I’ve seen units crammed into balconies with barely any airflow—this leads to overheating and compressor failure.
- Stable Foundation: Mount the unit on a concrete pad or a vibration-resistant bracket. A wobbly unit can vibrate, causing noise and damaging refrigerant lines over time.
- Drainage: Ensure the unit is slightly tilted (about 1–2 degrees) away from the wall to allow condensation to drain properly.
- Noise Reduction: If you live in an apartment or have close neighbors, place the unit as far from shared walls as possible. Use rubber anti-vibration pads to reduce sound transmission.
- Sun and Weather Protection: While the unit is built for outdoor use, placing it in a shaded area (like the north side of a building) can improve efficiency. Avoid areas where leaves, snow, or debris might accumulate.
Example: In my friend’s house, the outdoor unit was installed on a narrow balcony with no shade and surrounded by potted plants. After a summer storm, leaves clogged the condenser fins, and the unit overheated. A simple relocation to a more open, shaded spot fixed the issue instantly.
Step 2: Preparing the Installation Site and Tools
Now that you’ve picked the perfect spots, it’s time to prep. A clean, organized workspace makes the entire installation air conditioner split process smoother and safer.
Tools and Materials Checklist
Here’s what you’ll need (or your installer should bring):
- Power drill with masonry bits
- Vacuum pump (for refrigerant lines)
- Manifold gauge set
- Torque wrench
- Spirit level
- Measuring tape
- Pipe cutter and flaring tool
- Insulation tape and UV-resistant cable ties
- Condensate drain pipe (usually included)
- Electrical wiring (check local code requirements)
- Mounting brackets and screws
- Safety gear: gloves, goggles, hard hat (if working on a roof)
Pro Tip: If you’re hiring a pro, ask them to bring a refrigerant leak detector and a clamp meter to verify electrical safety and refrigerant levels. These tools are essential for a proper installation but are often skipped by budget installers.
Site Preparation: Clean, Measure, and Mark
- Clean the Wall: Wipe down the indoor and outdoor wall surfaces. Dust and debris can interfere with bracket adhesion.
- Mark the Holes: Use the mounting bracket as a template to mark drill points. Double-check with a spirit level to ensure the unit will be perfectly horizontal.
- Check Wall Type: Is it concrete, brick, wood, or drywall? This determines the type of drill bit and anchors you’ll need. For example, in drywall, you’ll need toggle bolts or molly bolts to support the weight.
- Plan the Hole Route: The hole for the refrigerant lines, power cable, and drain hose should be at a slight downward slope (toward the outside) to prevent water from pooling inside.
Real-World Example: A client once insisted on installing the indoor unit on a plaster wall with old, crumbling mortar. The installer used standard anchors, and within a month, the unit started to sag. A quick fix with heavy-duty wall anchors solved it—but it could’ve been avoided with a proper wall assessment.
Step 3: Installing the Indoor and Outdoor Units Correctly
Now comes the main event. This is where many DIYers (and even some amateurs) make costly mistakes. Let’s break it down step by step.
Mounting the Indoor Unit
- Secure the mounting bracket to the wall using appropriate anchors. Tighten firmly, but don’t over-torque—this can crack the bracket.
- Hang the indoor unit on the bracket. Most units have a “click” or “lock” mechanism. Double-check that it’s seated properly.
- Connect the condensate drain hose. Use PVC or flexible hose and ensure it slopes downward continuously. Add a P-trap (a U-shaped bend) to prevent odors from backing up.
- Insulate the refrigerant lines with foam insulation sleeves. This prevents condensation and improves efficiency.
- Tape the power cable, refrigerant lines, and drain hose together neatly using UV-resistant tape. Avoid sharp bends.
Common Mistake: Skipping the P-trap in the drain line. I’ve seen this cause foul smells and even mold growth inside the unit. A simple U-bend in the drain pipe fixes it.
Installing the Outdoor Unit
- Place the unit on a stable, level platform. Use vibration pads if possible.
- Secure it to the platform with bolts or brackets. In earthquake-prone areas, use seismic restraints.
- Run the refrigerant lines, power cable, and drain hose through the wall hole. Keep them as short and straight as possible to reduce friction and improve efficiency.
- Connect the refrigerant lines using a flaring tool. Tighten the flare nuts with a torque wrench (usually 10–20 ft-lbs, depending on line size). Over-tightening can crack the flare; under-tightening causes leaks.
- Connect the power cable to the outdoor unit’s terminal block. Match the colors (black to L1, white to L2, green to ground). Use wire nuts or terminal connectors.
Pro Tip: Always use a dielectric union if connecting copper to aluminum or steel. This prevents galvanic corrosion, which can lead to leaks over time.
Vacuum and Refrigerant Charging
This is the most technical part—and where many installations fail.
- Connect the manifold gauge set to the service valves on both units.
- Run a vacuum pump for at least 30 minutes to remove air and moisture from the lines. A good vacuum reads below 500 microns.
- Close the valves and let the system sit for 10 minutes. If the vacuum holds, you’re good to go. If it rises, there’s a leak.
- Charge the refrigerant according to the manufacturer’s specs. Never “eyeball” it. Overcharging reduces efficiency; undercharging causes poor cooling.
Warning: Only licensed HVAC technicians should handle refrigerant. It’s illegal and dangerous to do it yourself without certification.
Step 4: Electrical Wiring and Safety Checks
Electrical work isn’t something to cut corners on. A single mistake can lead to fire, electrocution, or damage to your AC unit.
Wiring the Indoor and Outdoor Units
- Run a dedicated circuit from your electrical panel to the outdoor unit. Most split ACs require 15–20 amps.
- Use wire rated for outdoor use (THHN or THWN-2) and sized for the distance (usually 12 or 14 gauge).
- Install a disconnect box (a small switch) within 3 feet of the outdoor unit. This allows you to safely cut power during maintenance.
- Ground both units properly. The ground wire should be connected to a grounding rod or the home’s main grounding system.
Example: A neighbor skipped the disconnect box, thinking it wasn’t necessary. When the AC stopped working, he had to shut off the main breaker to service it—in the middle of summer. A $50 disconnect box would’ve saved him a lot of sweat.
Safety Checks Before Powering On
- Inspect all connections for tightness and insulation.
- Verify the refrigerant line insulation is intact.
- Check the condensate drain for free flow (pour water in the indoor unit’s tray to test).
- Ensure the outdoor unit is level and secure.
- Use a multimeter to test voltage at the outdoor unit’s terminals. It should match the unit’s rating (e.g., 230V).
Pro Tip: Take photos of all connections before powering on. If something goes wrong later, you’ll have a reference to show your technician.
Step 5: Testing and Final Adjustments
You’re almost done! But don’t skip this step. A thorough test ensures your installation air conditioner split is working at peak performance.
Initial Startup and Performance Test
- Turn on the power and set the thermostat to cooling mode.
- Listen for unusual noises. A soft hum is normal; grinding, clicking, or rattling isn’t.
- Check the airflow from the indoor unit. It should be strong and even. Use a thermometer to measure the air temperature—it should be 15–20°F cooler than room temperature.
- Monitor the outdoor unit. The fan should spin, and the compressor should start (you’ll hear a click and a low hum).
- Check for leaks. Use soapy water on refrigerant line connections. Bubbles mean a leak.
Fine-Tuning the System
- Adjust the Vanes: Set the vertical and horizontal louvers to direct airflow where you want it.
- Set the Thermostat: Program it for your lifestyle. A 78°F setting is a good balance of comfort and efficiency.
- Test the Remote: Make sure all functions (cooling, fan speed, timer) work.
- Check the Drain: Run the AC for 30 minutes and verify water is dripping from the outdoor unit’s drain line.
Data Table: Common Installation Issues and Solutions
| Issue | Possible Cause | Solution |
|---|---|---|
| Unit not cooling | Low refrigerant, dirty filter, blocked airflow | Check refrigerant charge, clean filter, clear obstructions |
| Water leakage | Clogged drain, improper slope, cracked pan | Clear drain line, check slope, replace pan if needed |
| Loud noise | Loose parts, vibration, refrigerant issues | Tighten brackets, add vibration pads, check refrigerant |
| High energy bills | Incorrect sizing, poor insulation, dirty coils | Verify BTU rating, insulate lines, clean coils |
| Frequent cycling | Oversized unit, thermostat issues, low refrigerant | Check sizing, recalibrate thermostat, verify refrigerant |
Conclusion: Your Installation Air Conditioner Split Journey Starts Now
Installing a split air conditioner isn’t rocket science—but it’s not child’s play either. Every step, from choosing the right location to testing the final system, plays a role in how well your unit performs. A well-executed installation air conditioner split means better comfort, lower energy bills, fewer repairs, and a longer lifespan for your investment.
Remember, if you’re unsure about any part of the process—especially refrigerant handling or electrical work—don’t hesitate to call a licensed professional. The cost of a proper installation is a fraction of what you’ll pay in repairs, energy waste, or early replacement.
And here’s my final piece of advice: treat your split AC like a long-term partner. Clean the filters monthly, check the drain annually, and schedule a professional tune-up every 1–2 years. With the right care, your unit will keep you cool and comfortable for a decade or more.
Now, go enjoy that perfectly chilled air—you’ve earned it.
Frequently Asked Questions
What is the best location for installation air conditioner split units?
The indoor unit should be installed on a sturdy wall, away from direct sunlight and heat sources, while the outdoor unit needs a well-ventilated space with clearance for airflow. Proper placement ensures optimal performance and energy efficiency.
How long does a professional installation air conditioner split take?
A standard split AC installation typically takes 4–8 hours, depending on complexity, refrigerant line length, and electrical requirements. Hiring a certified technician ensures safe and code-compliant setup.
Can I install a split air conditioner myself?
DIY installation is not recommended due to risks like refrigerant leaks, electrical hazards, and voided warranties. Professional installers have the tools and expertise to handle gas charging and safety checks properly.
What tools are needed for installation air conditioner split systems?
Essential tools include a drill, level, vacuum pump, manifold gauge, pipe bender, and hole saw. Professionals also use specialized equipment to measure refrigerant levels and test system efficiency.
Why is proper drainage important during installation?
Incorrect drainage can lead to water leaks, mold growth, and indoor unit damage. The condensate drain pipe must slope downward and be connected securely to prevent blockages and overflow.
How do I choose the right size for my split AC installation?
AC size depends on room square footage, insulation, and climate. A unit too small will underperform, while an oversized one wastes energy—consult an HVAC expert for accurate load calculations.